WEEK 10, Last Week
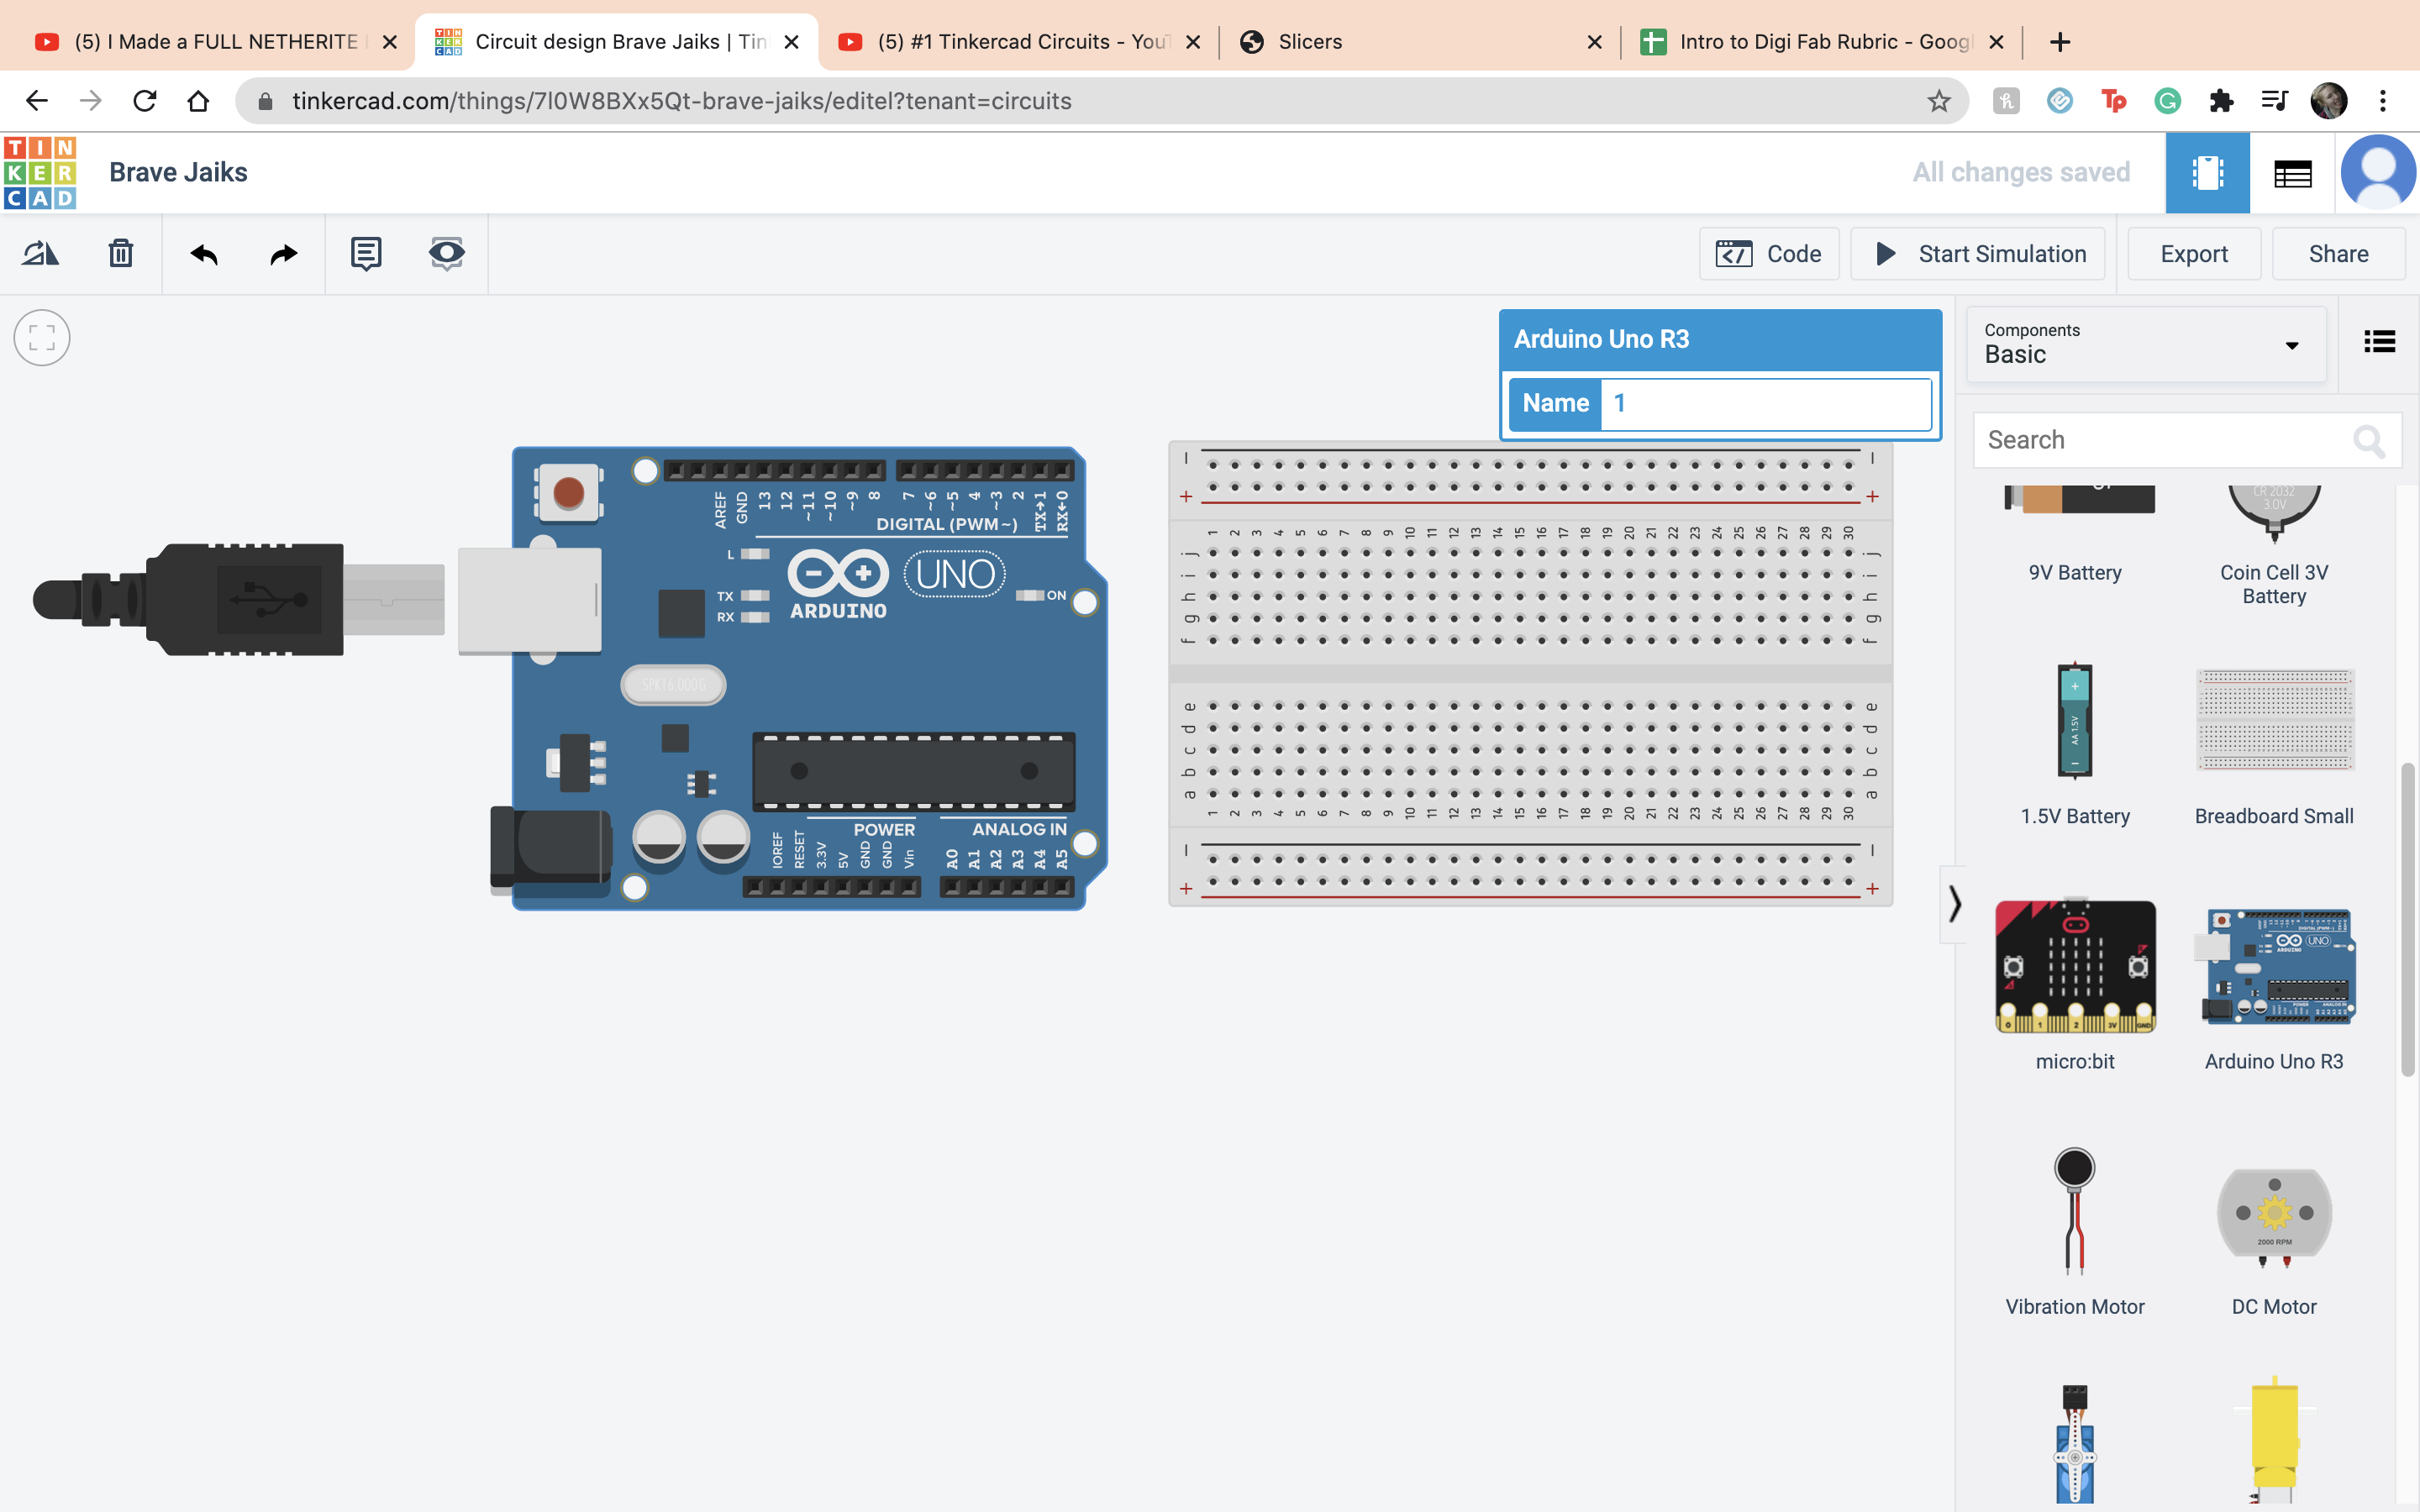
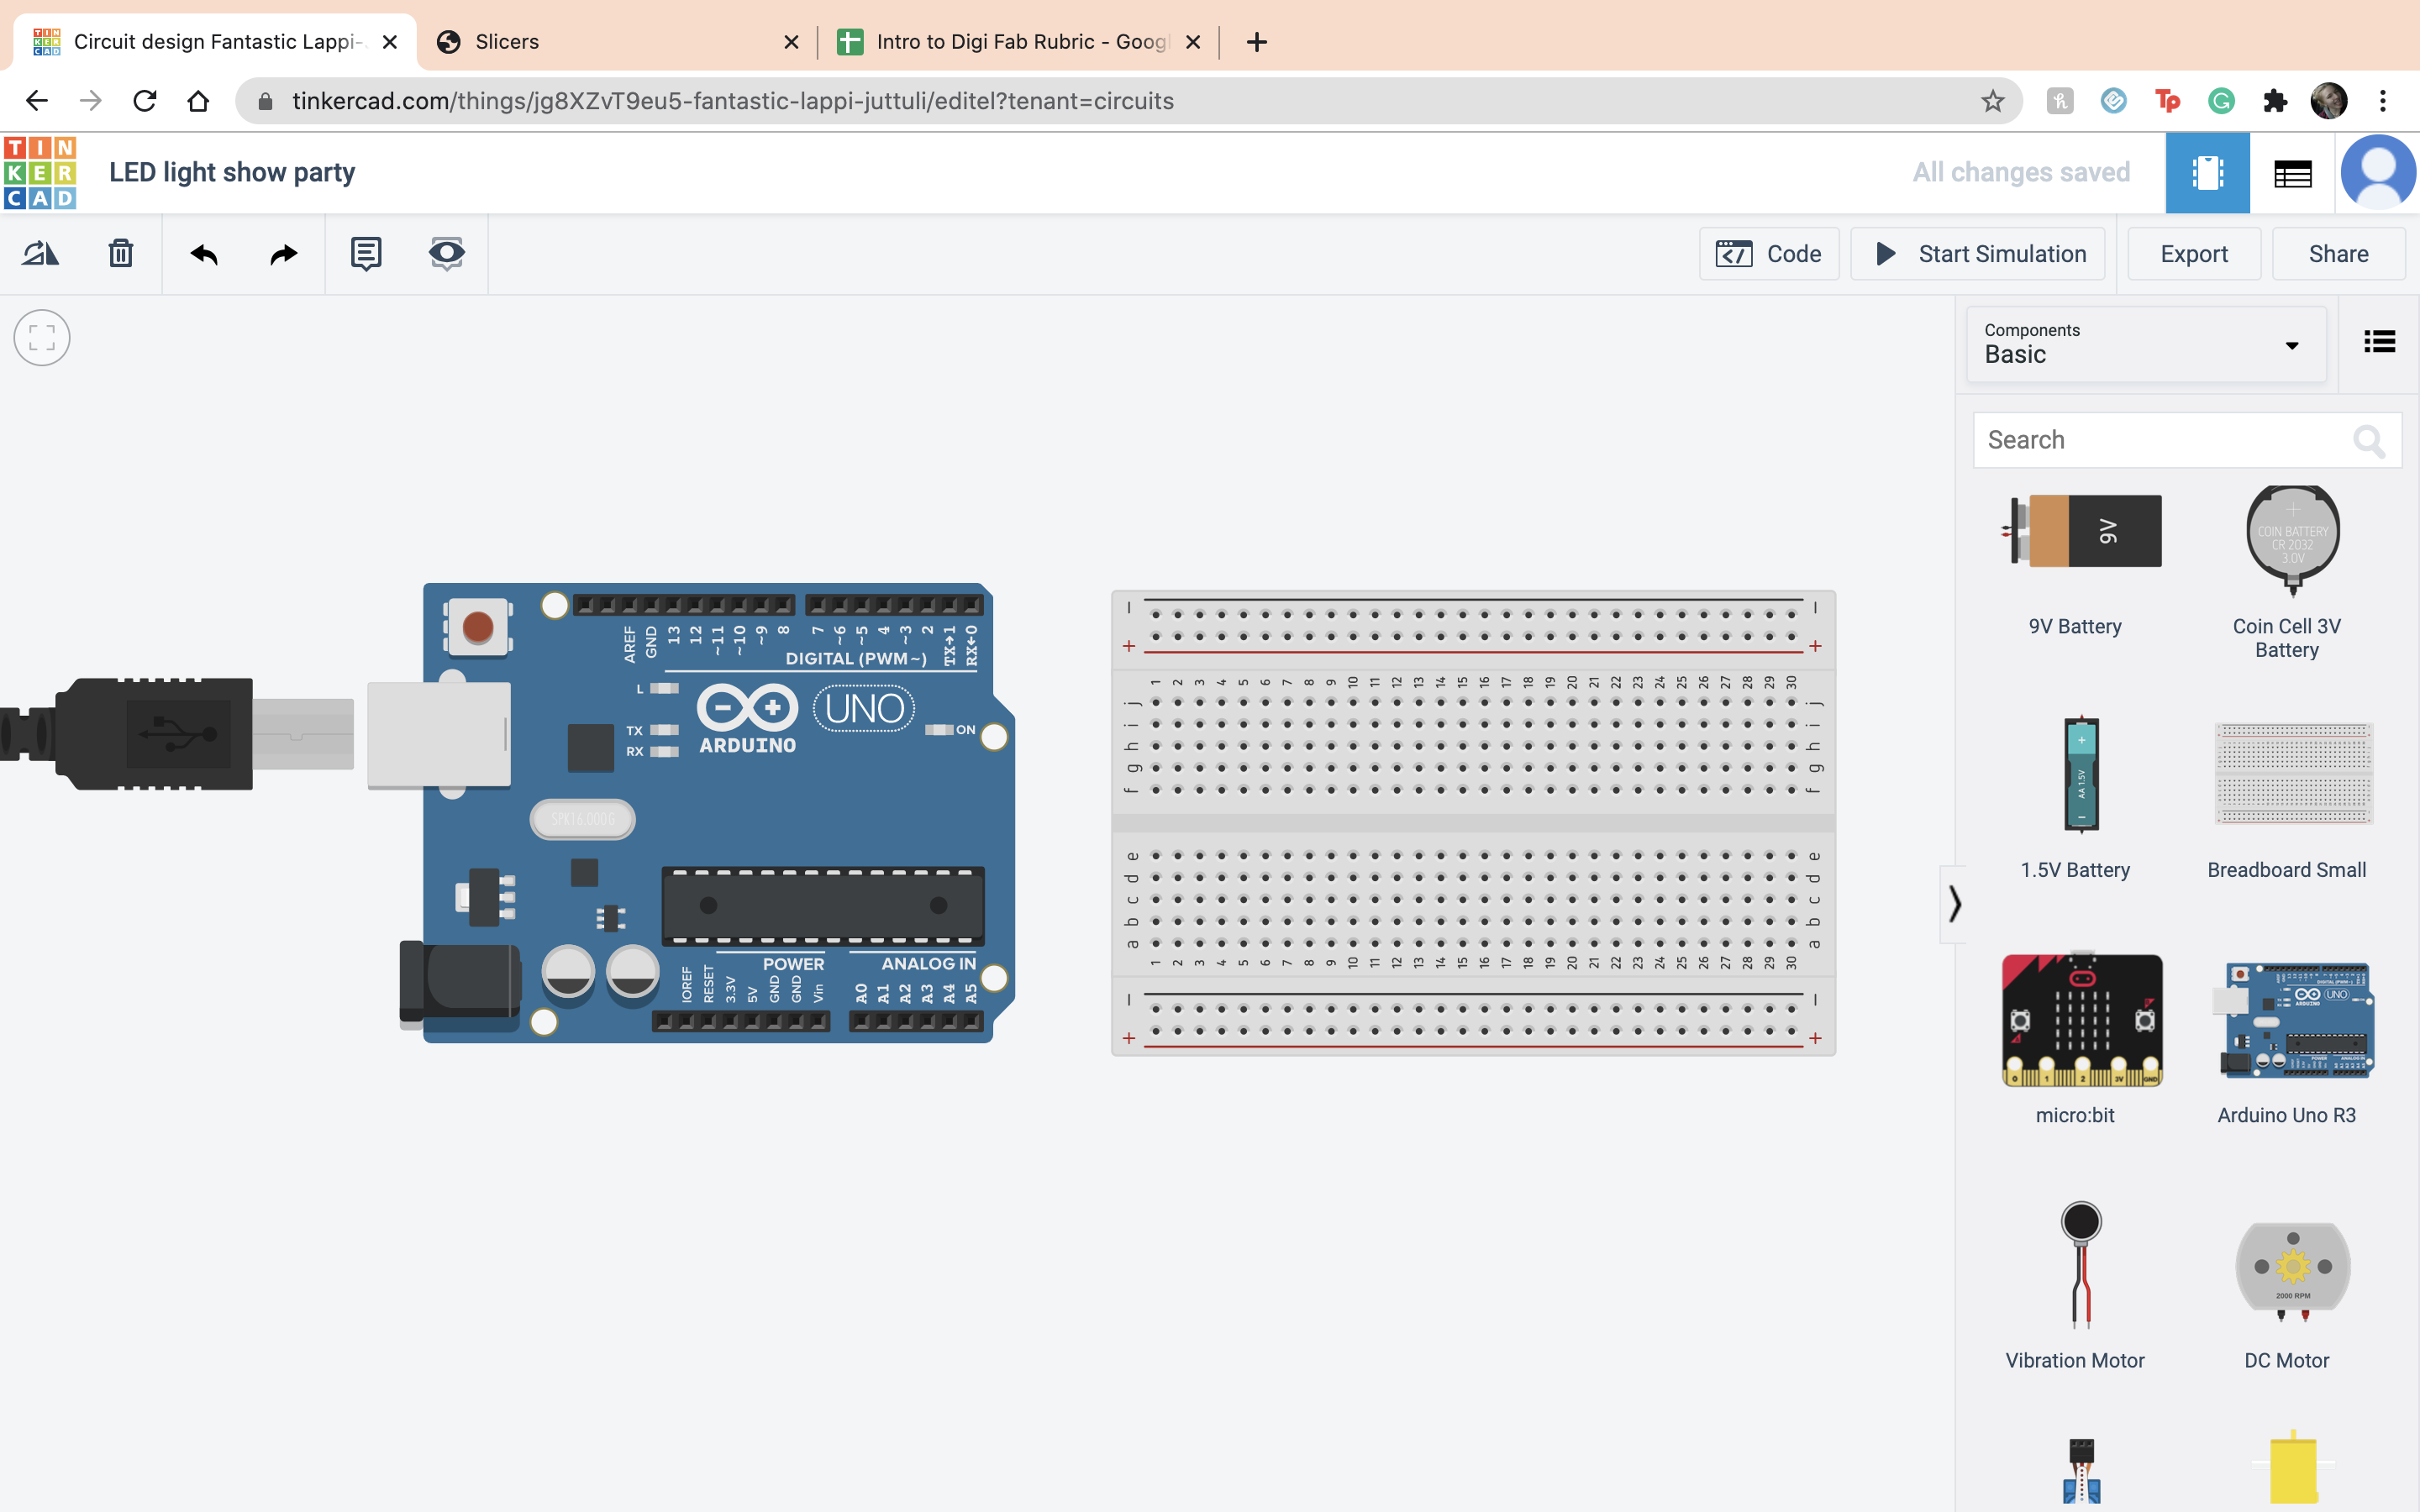
This week there is a lot happeneing. There are multiple parts, so be prepared to read. The first part is follow along the first video provided to us. So first thing I did was put down a breadboard and a arunio board.
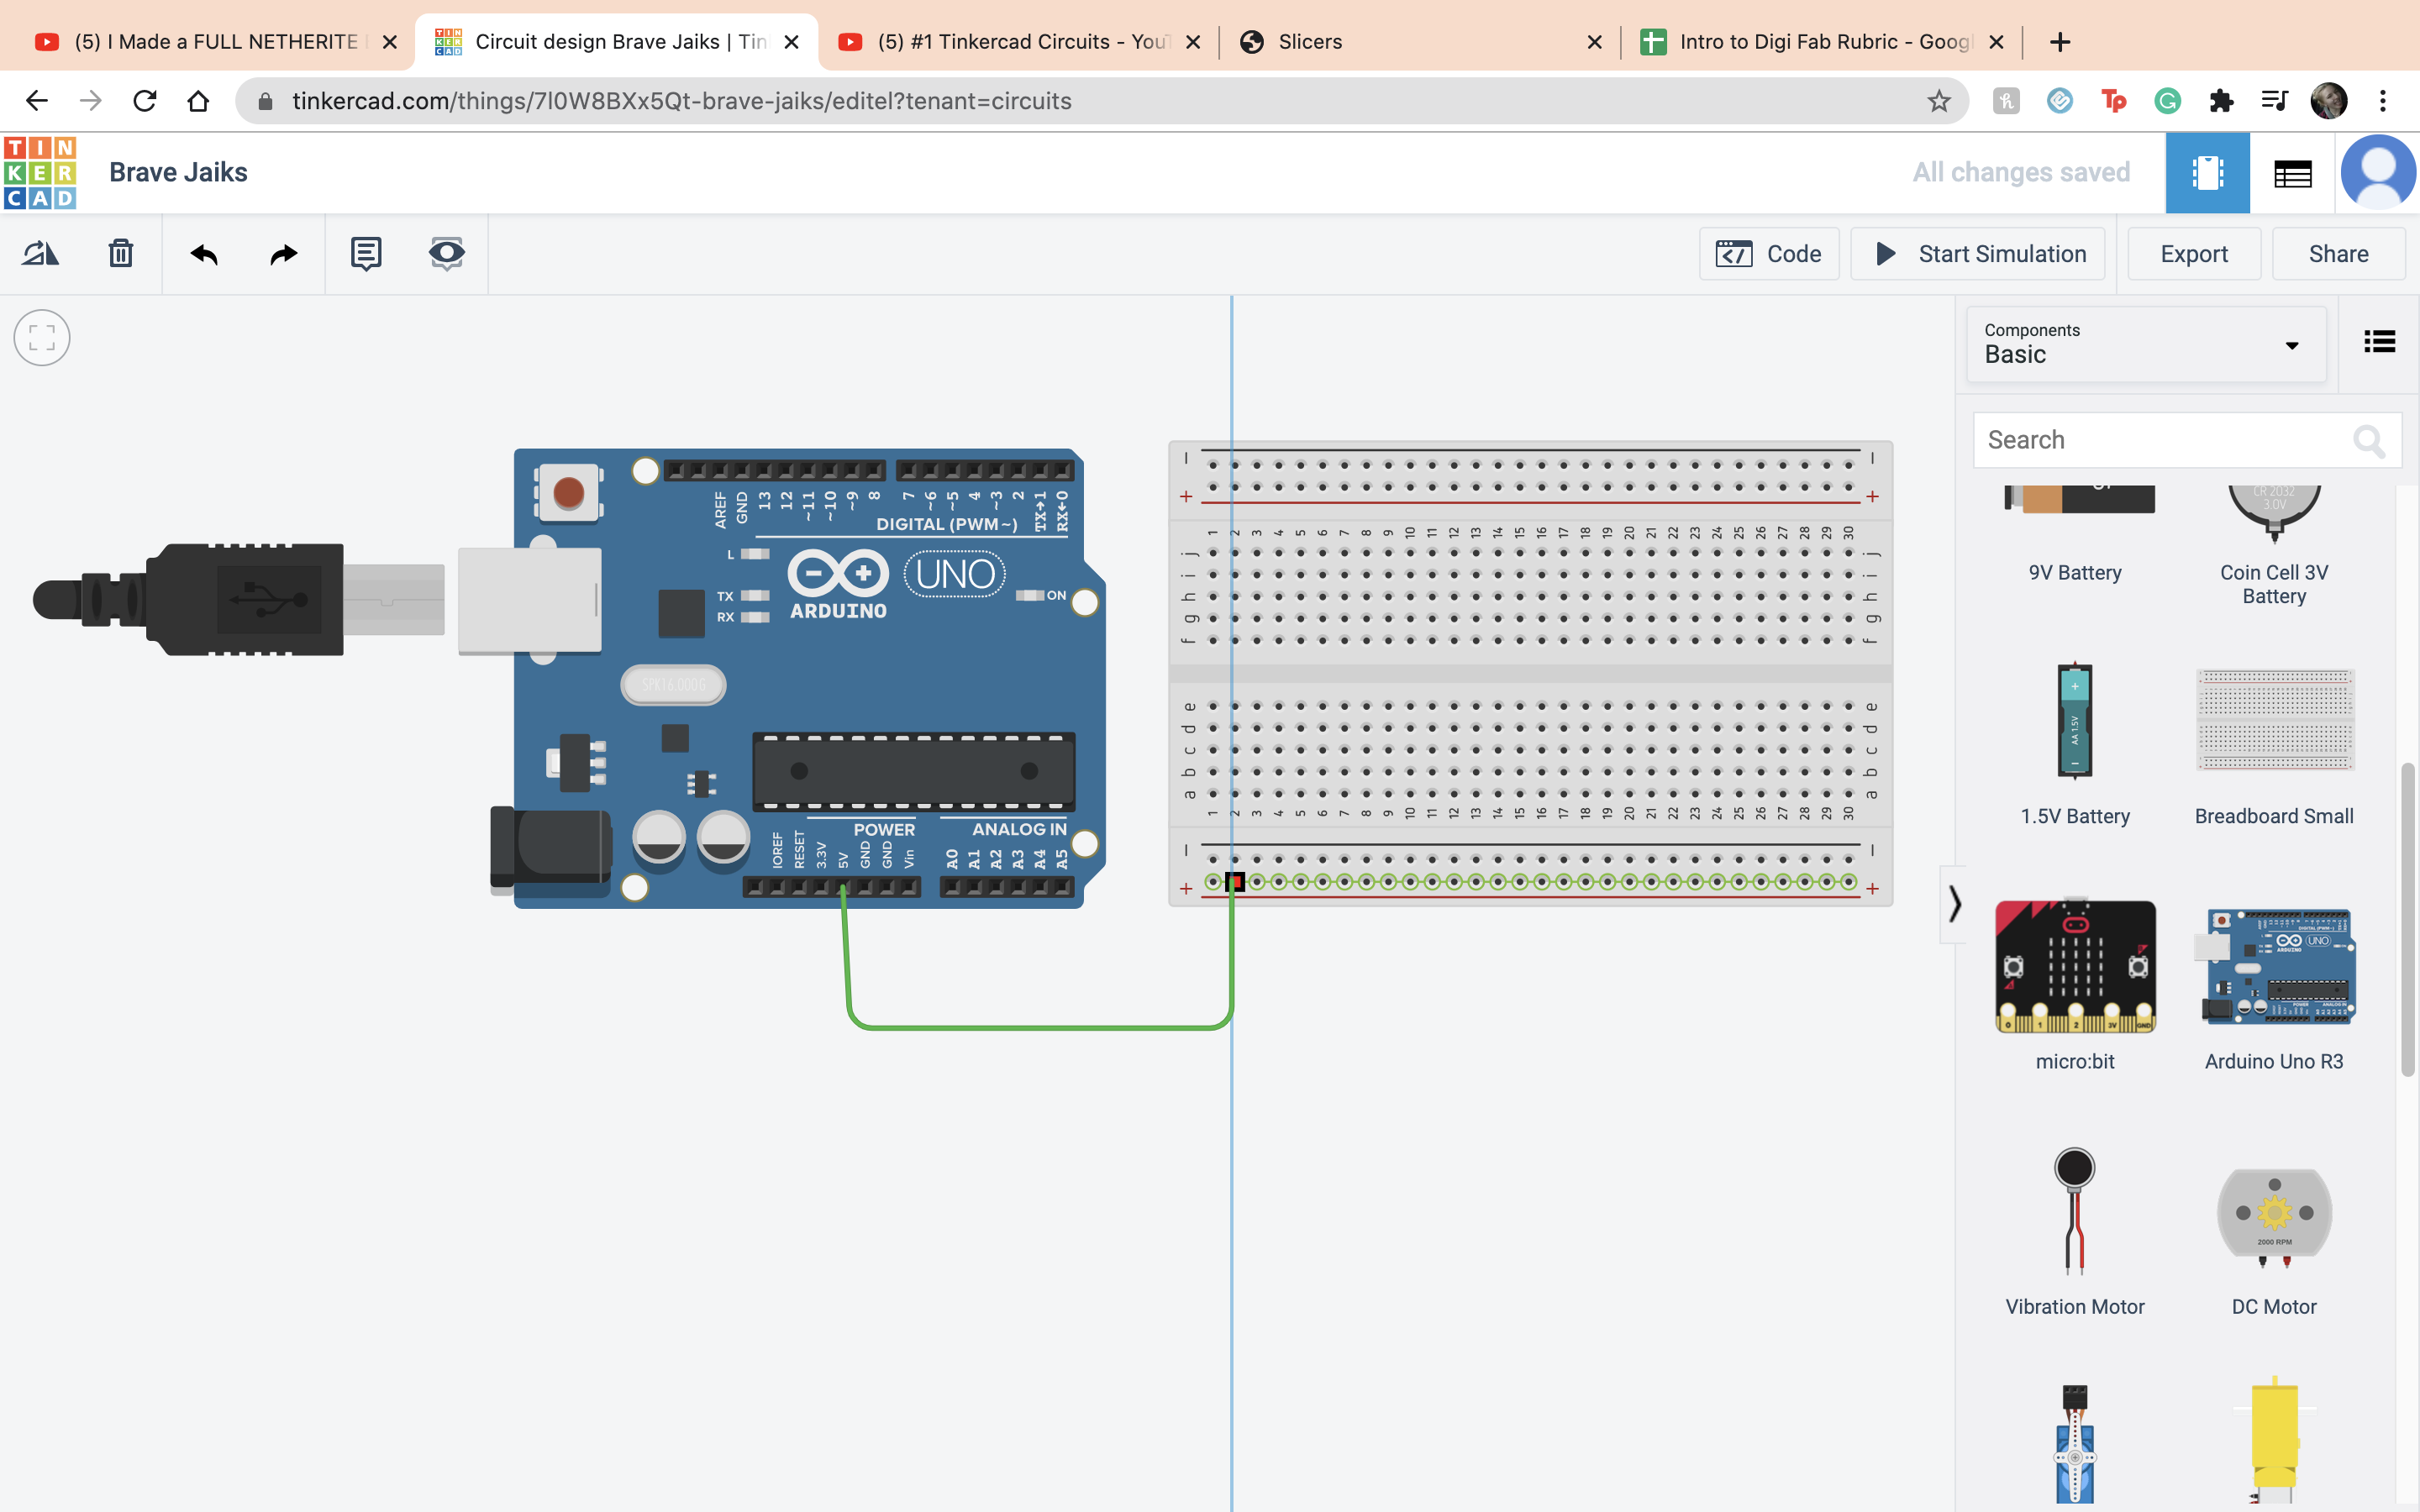
 Then I connected the 5 volts to the positive terminal
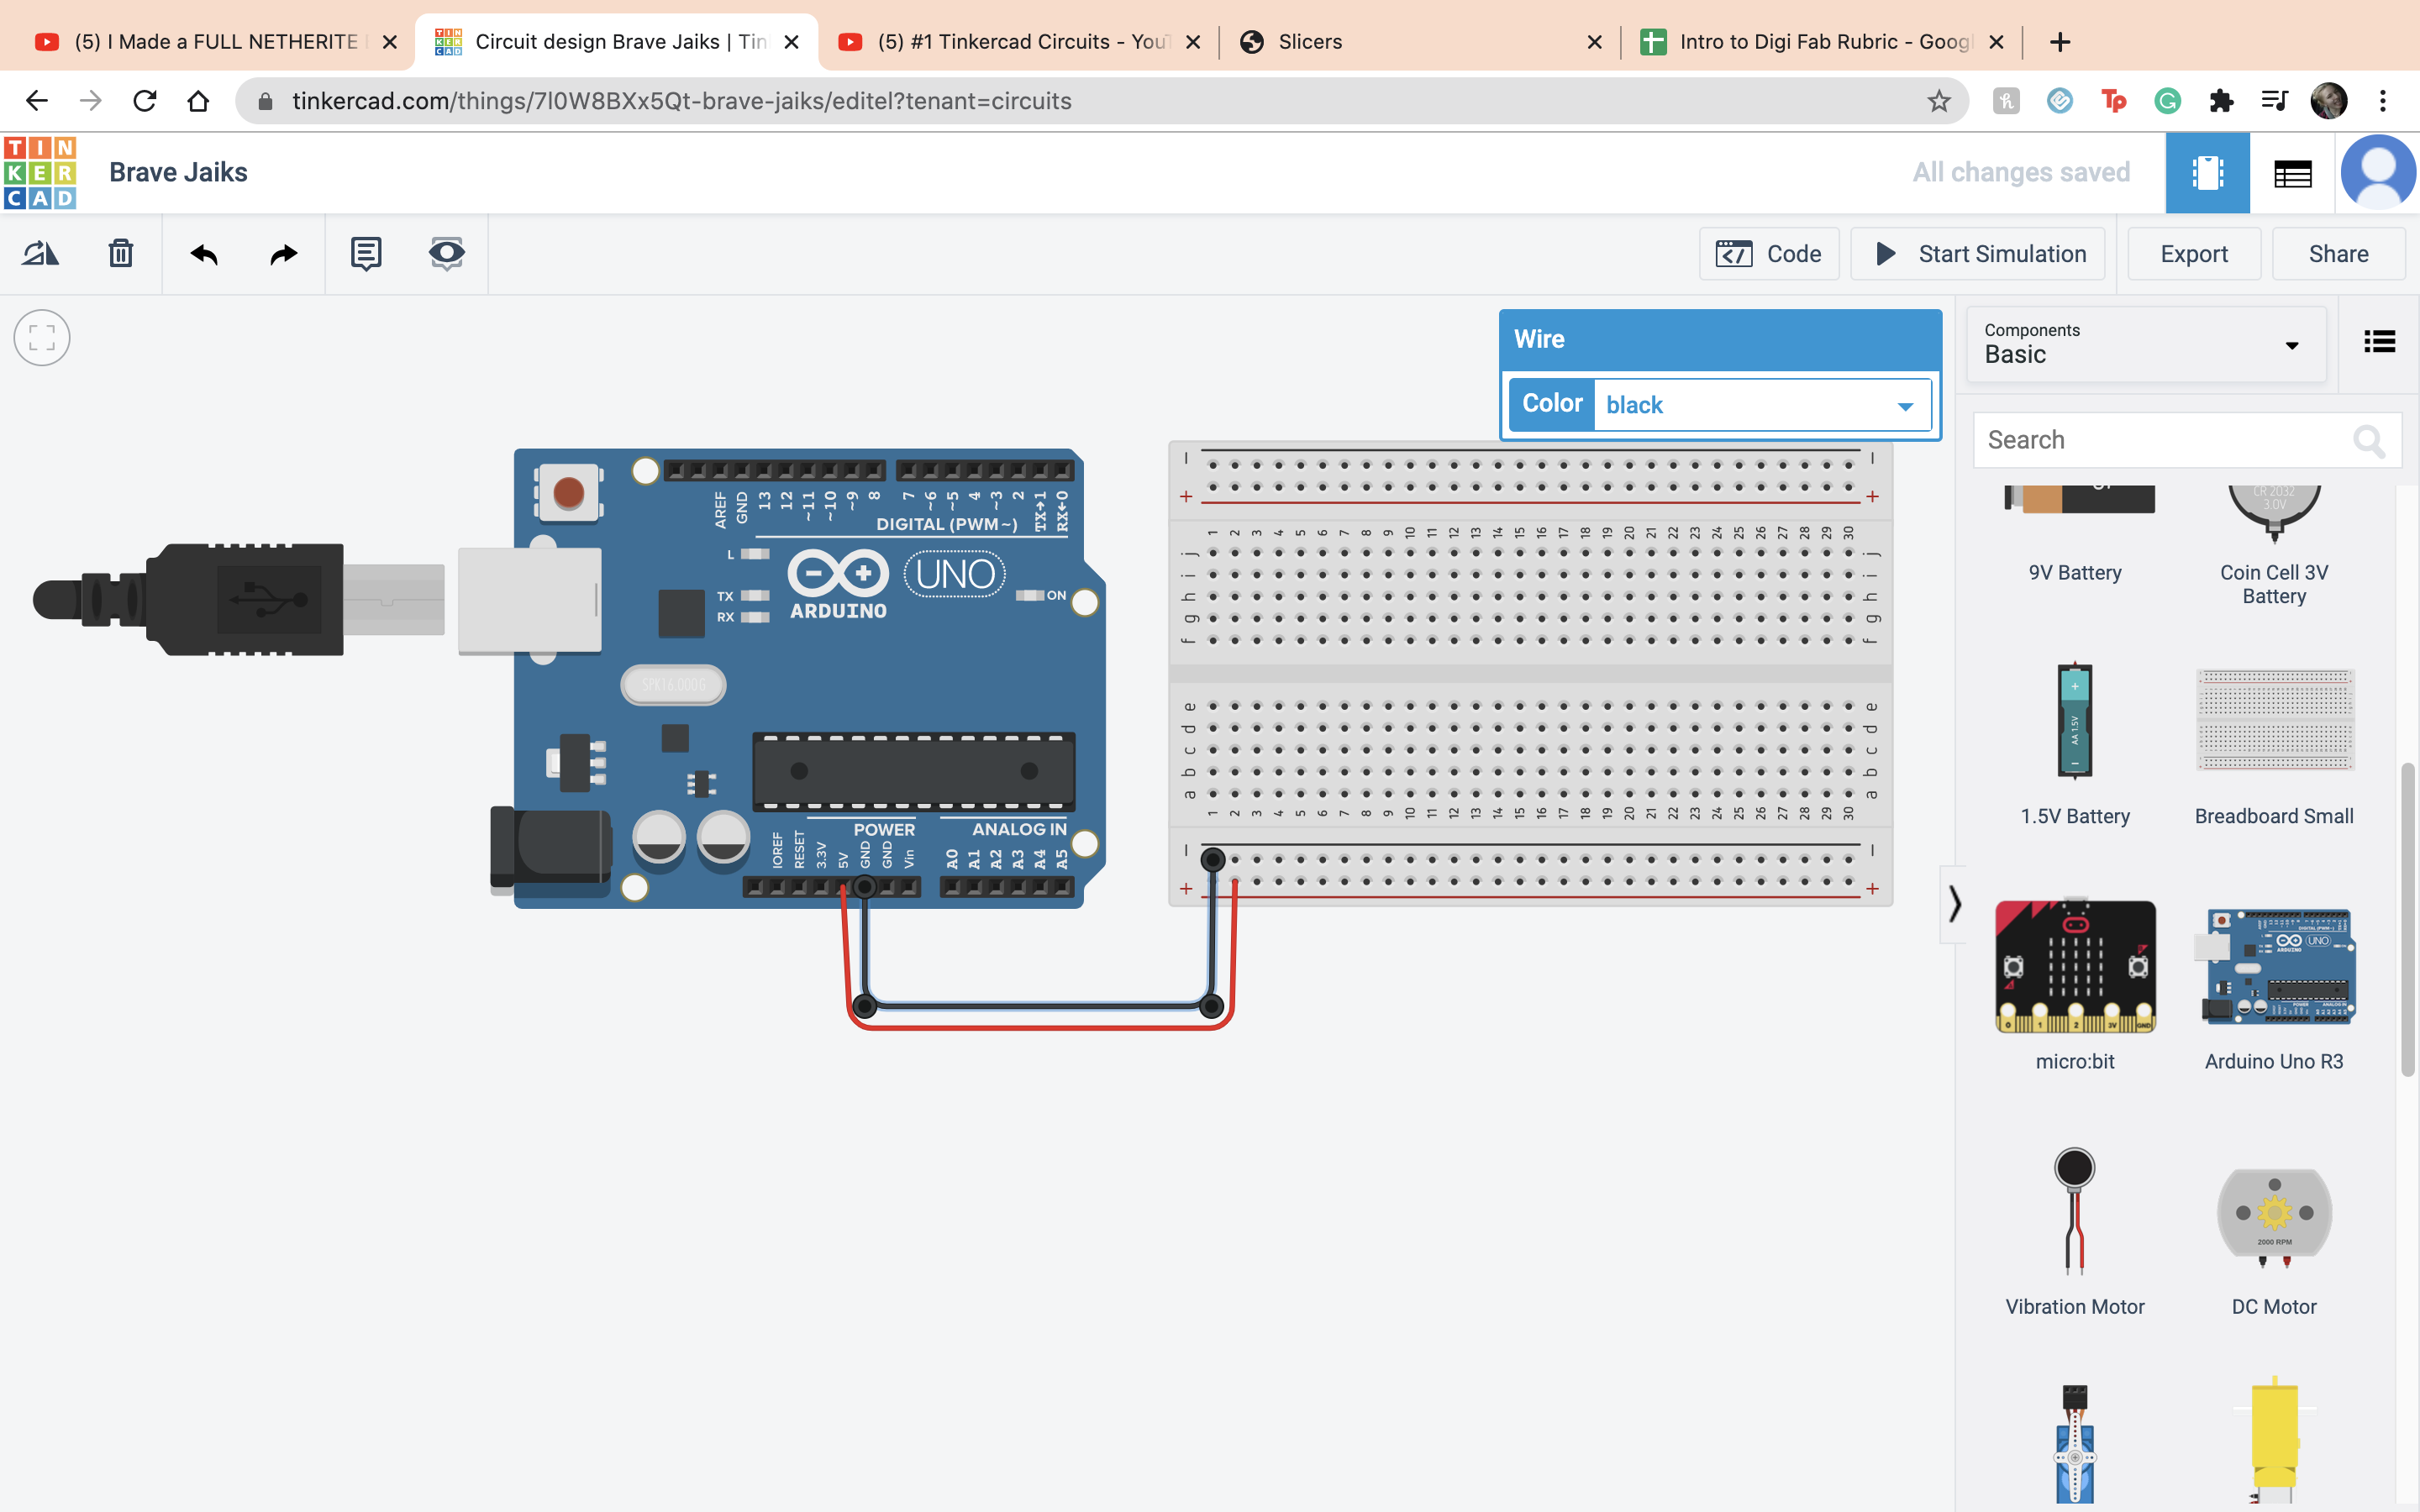
 Then I connected the ground to the negative terminal
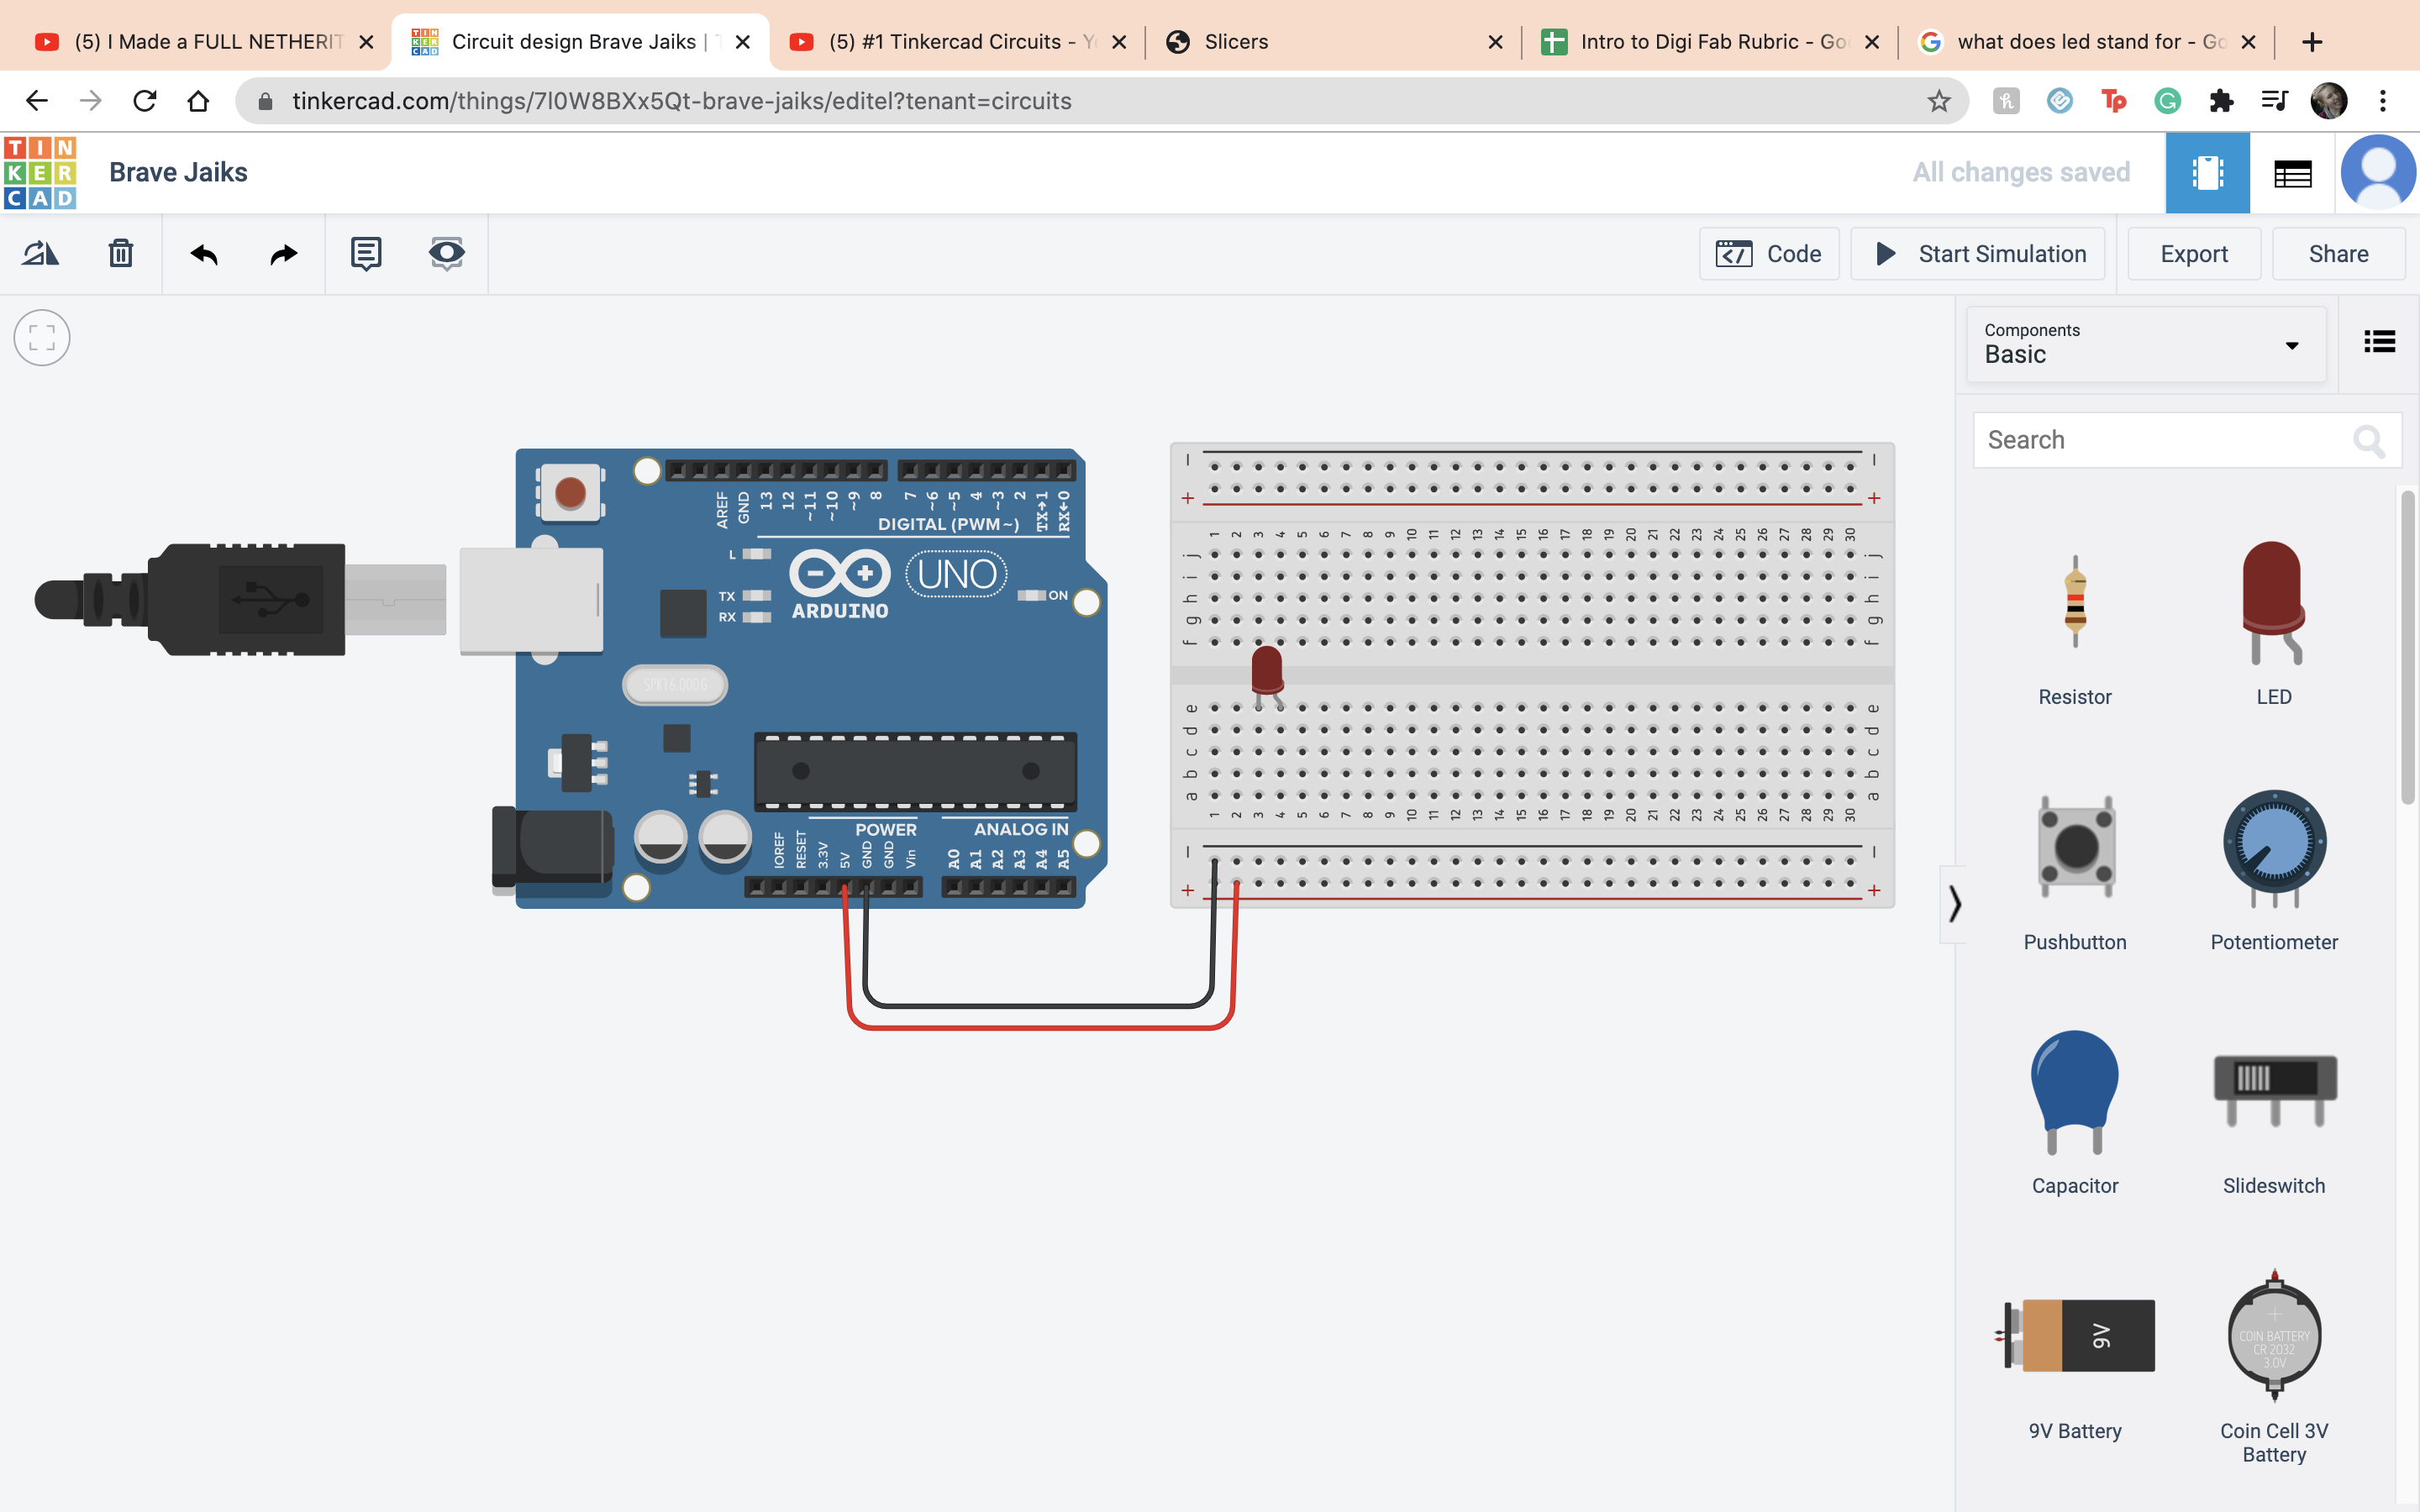
 Next it is time to set up the LED, which stands for Light-emitting diode. The difference between a LED and a regular light is that the current flow in one direction.
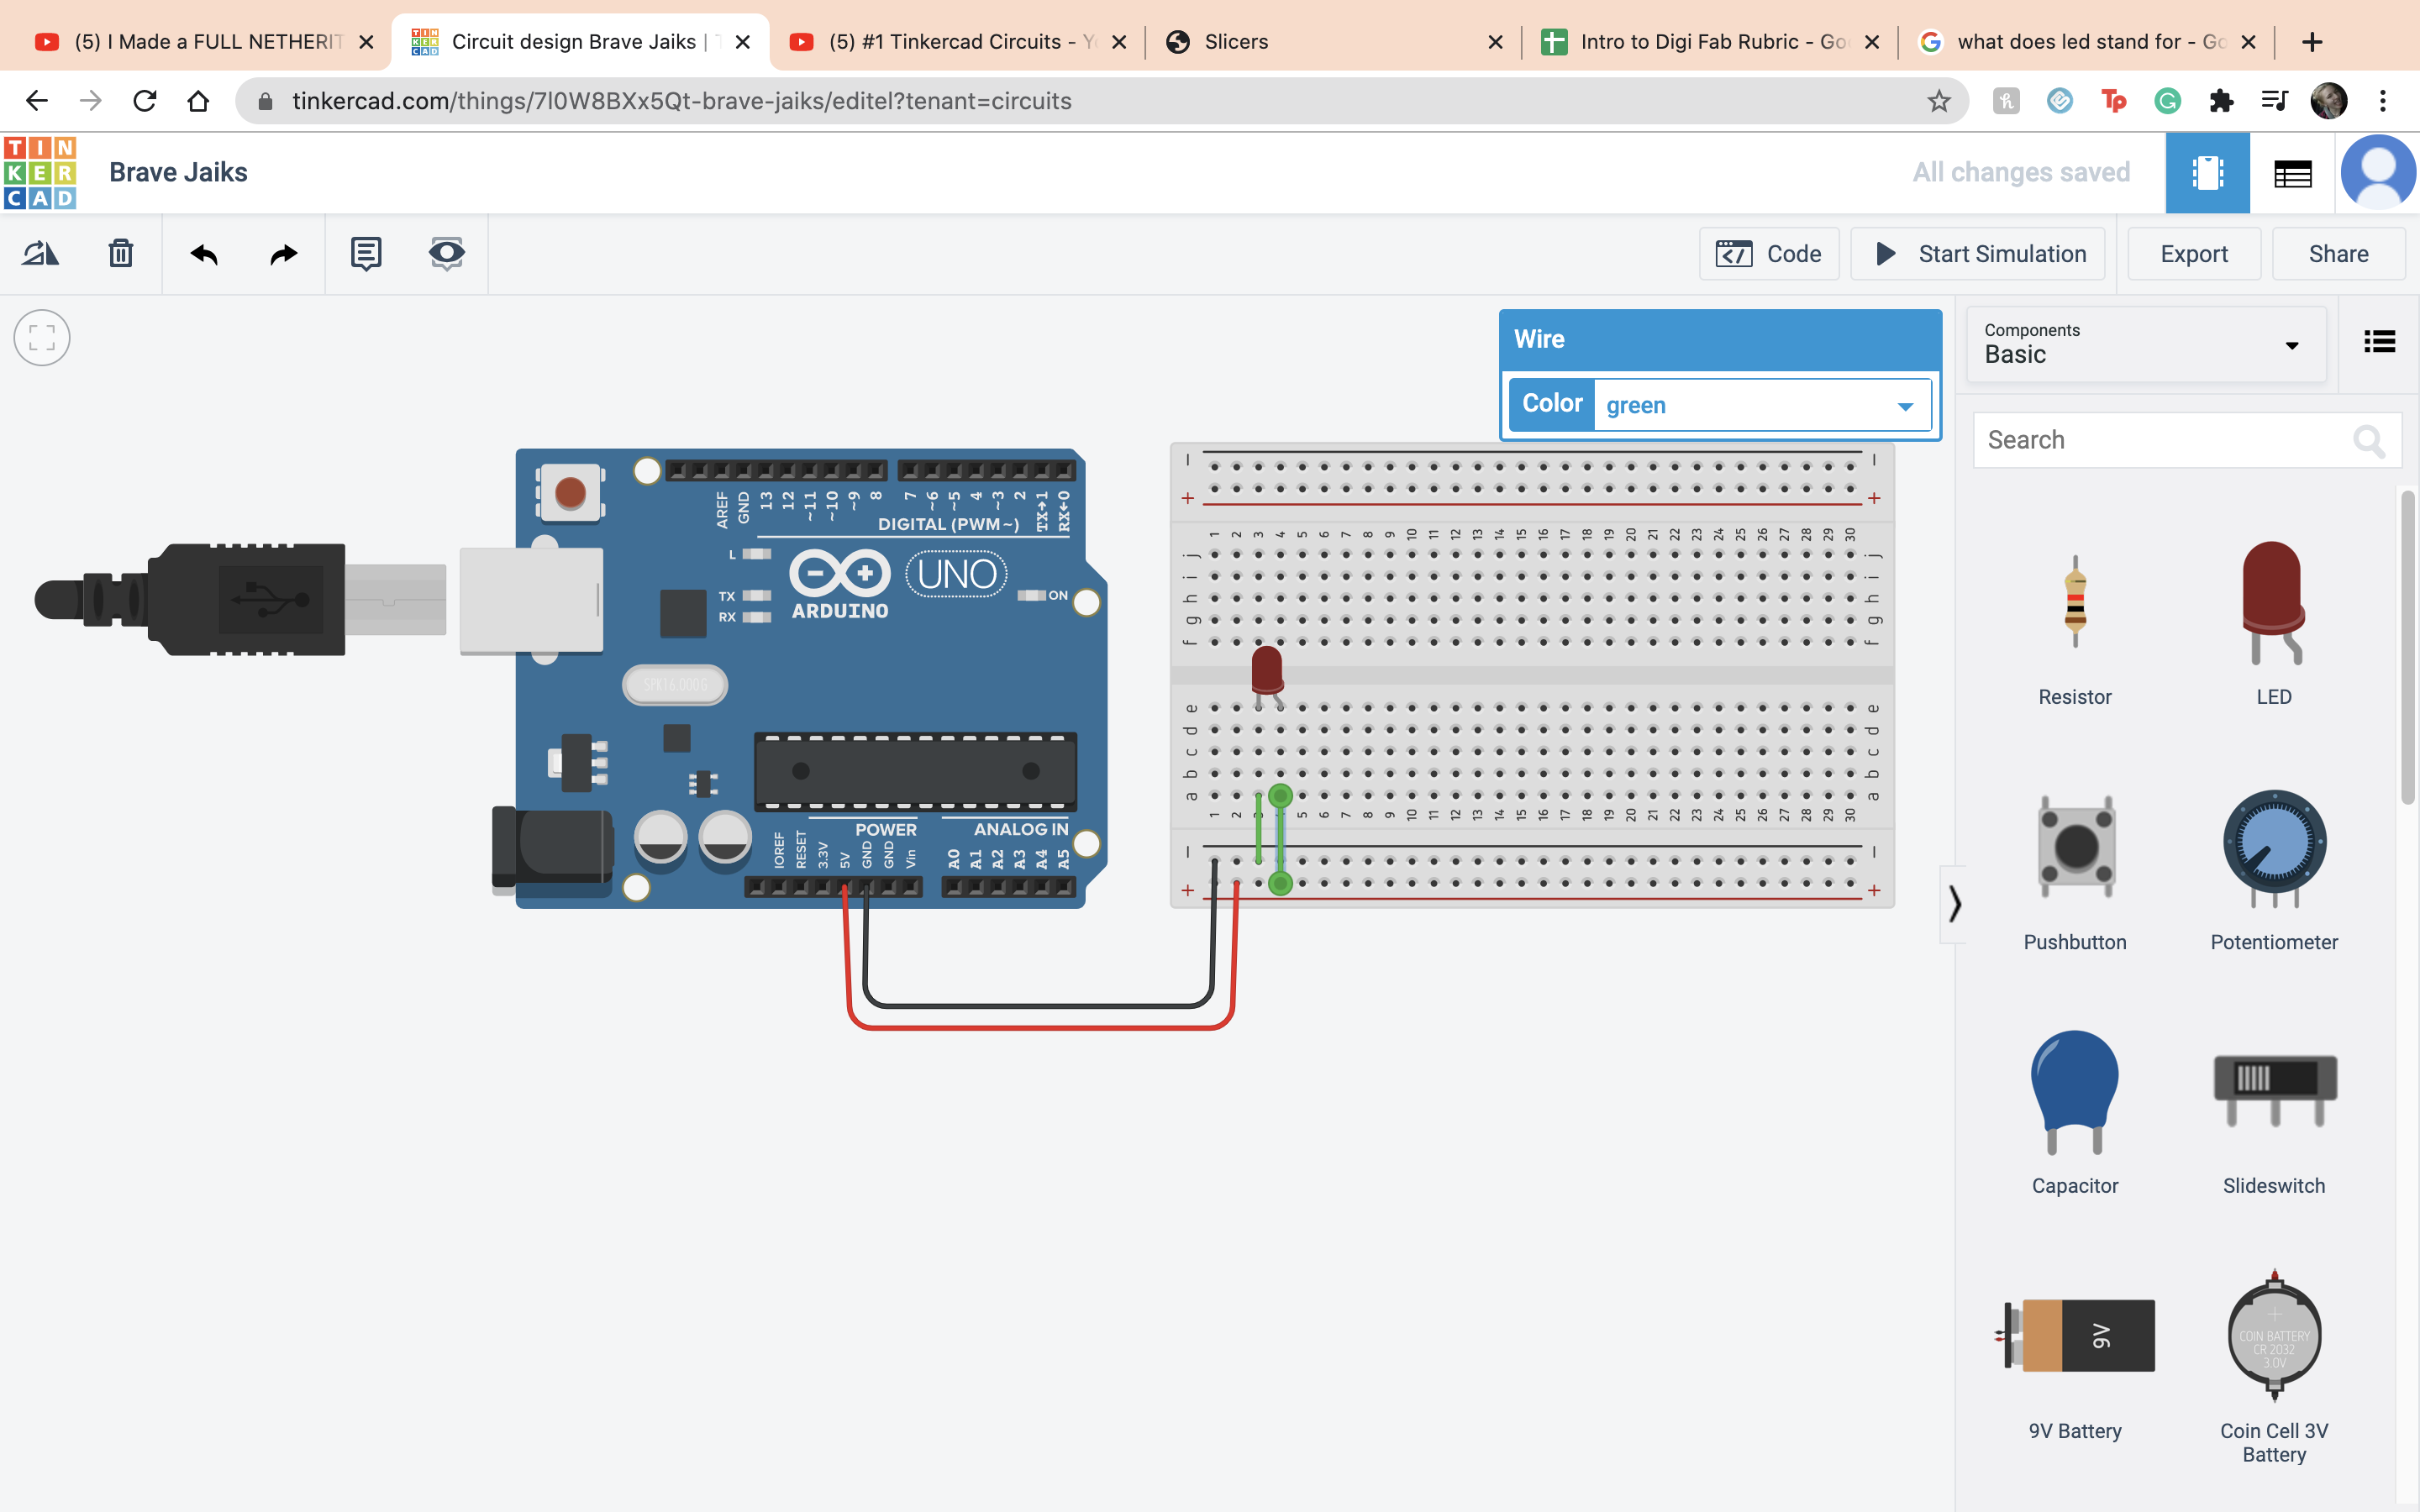
 The current has to run from the anode to the cathode. so I connected the anode to the positve terminal and the cathode to the negative terminal
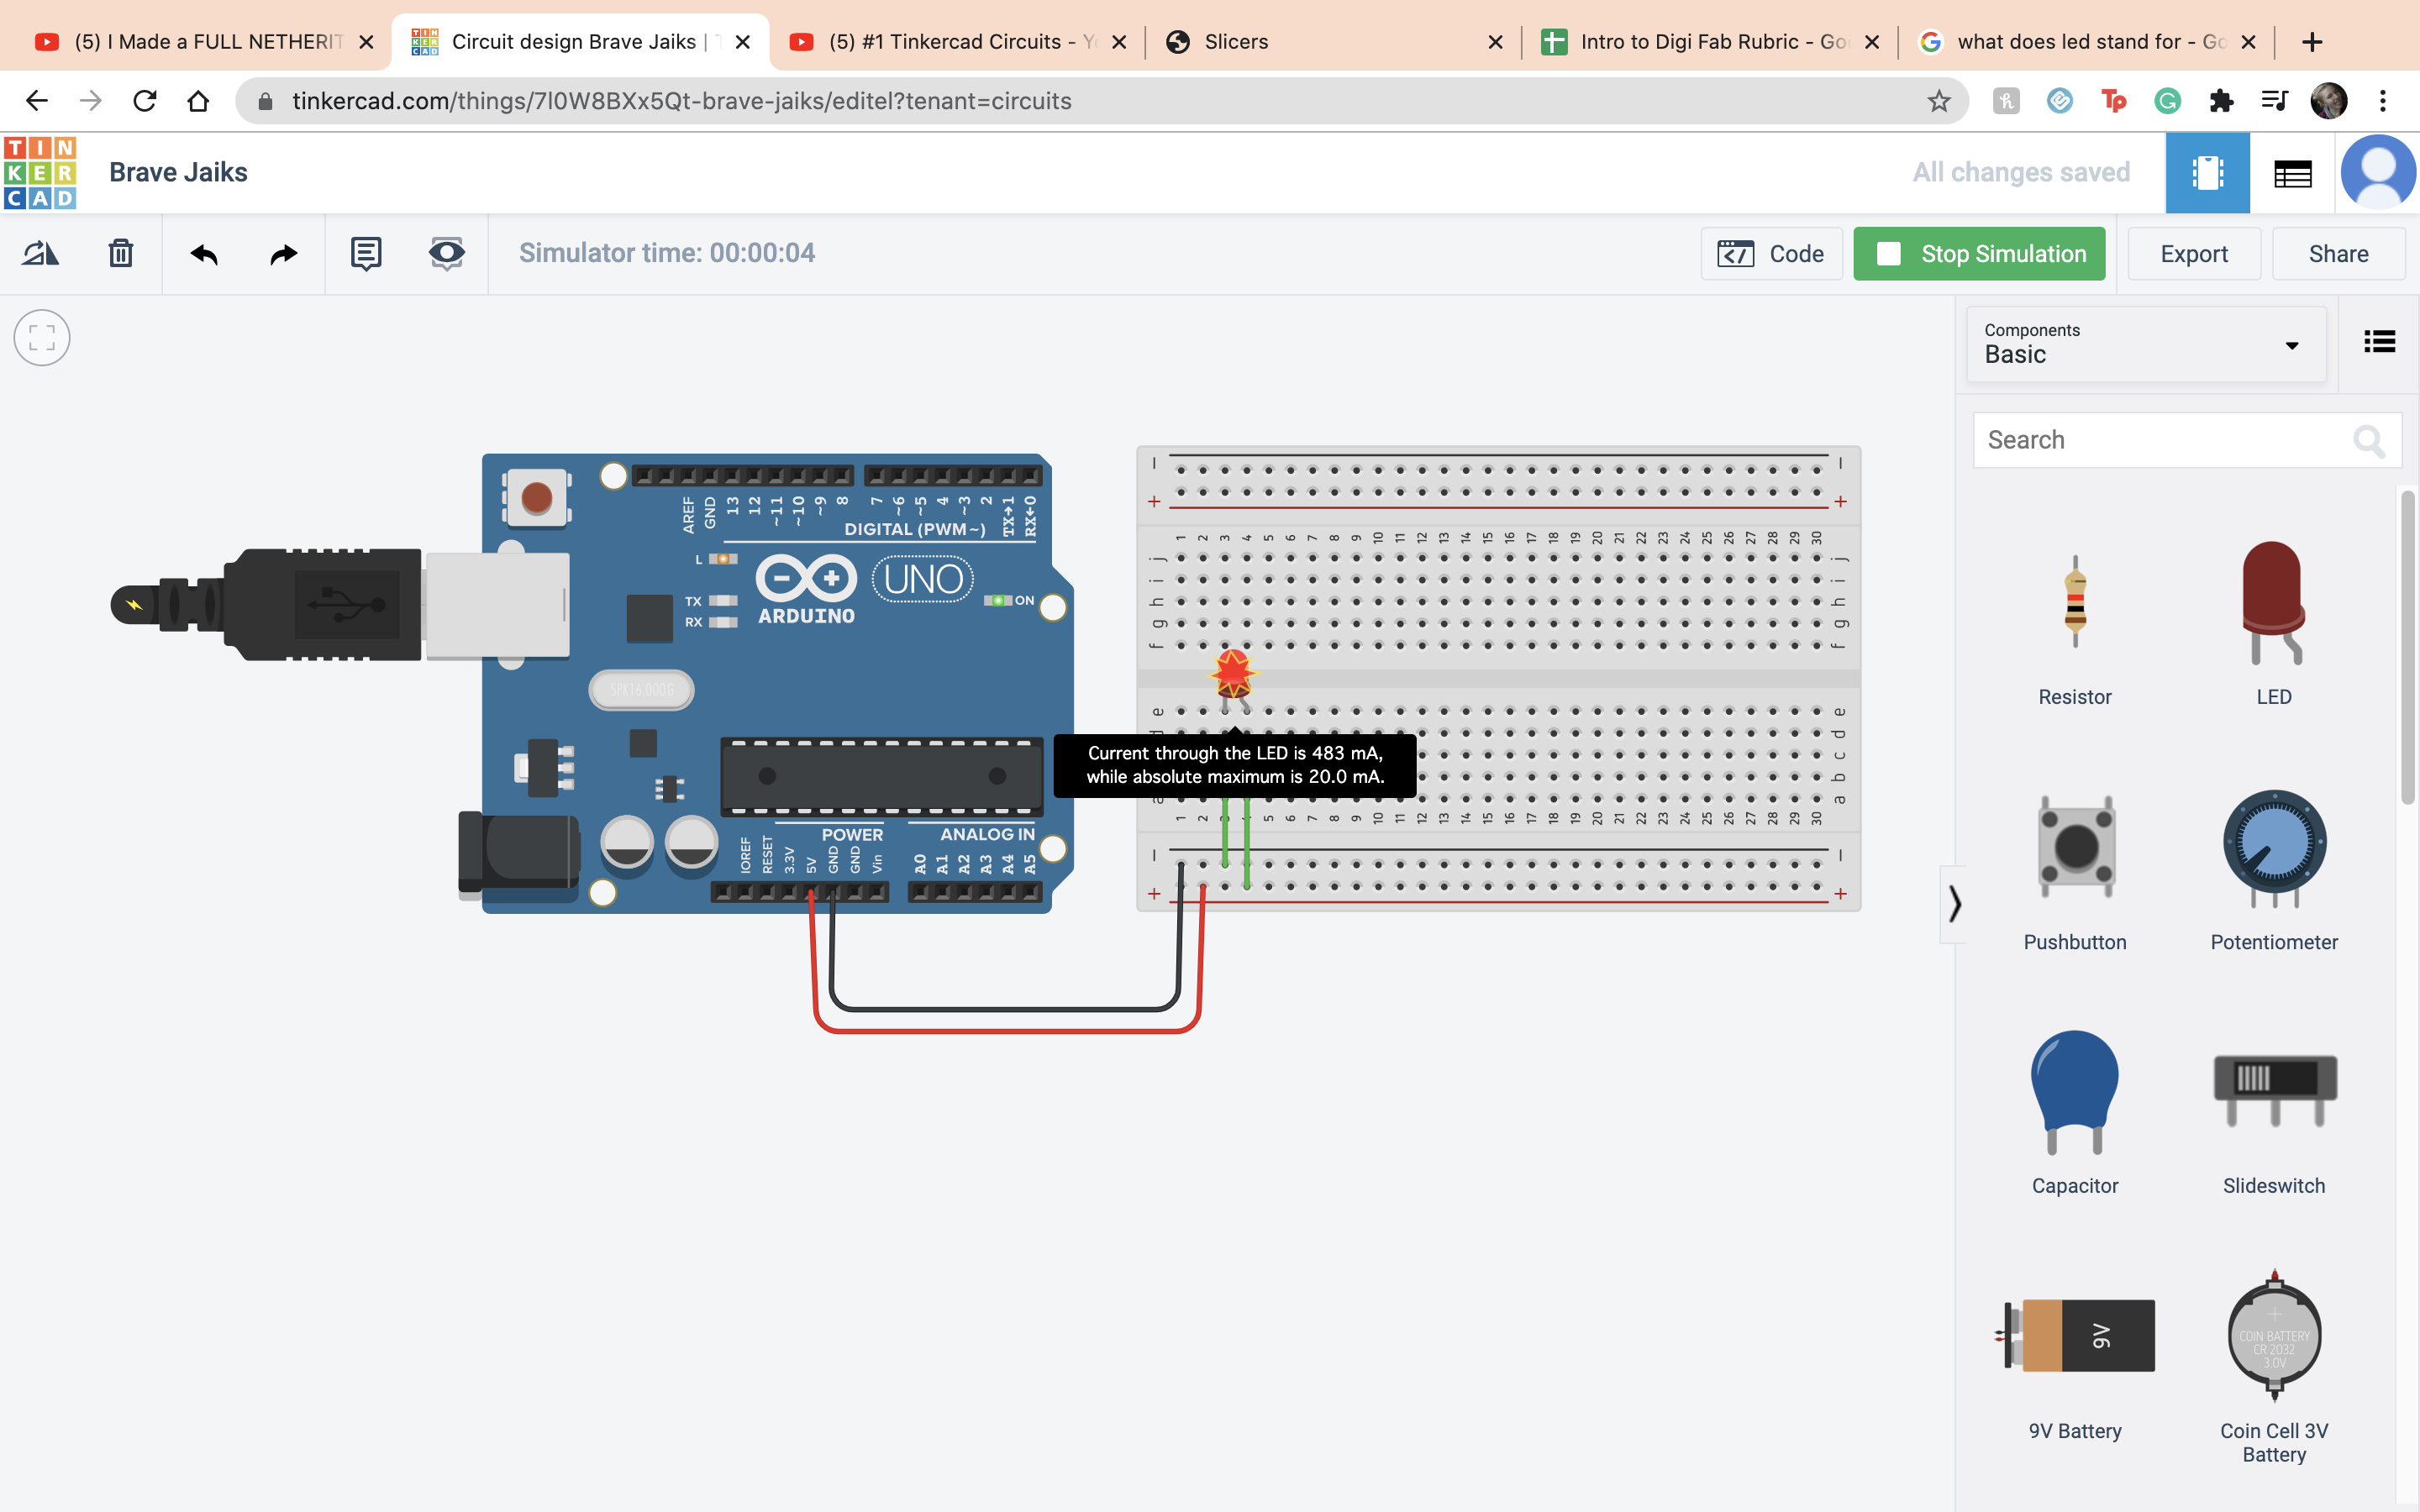
 If you start the simulation the LED is overloaded so now we have to fix that.
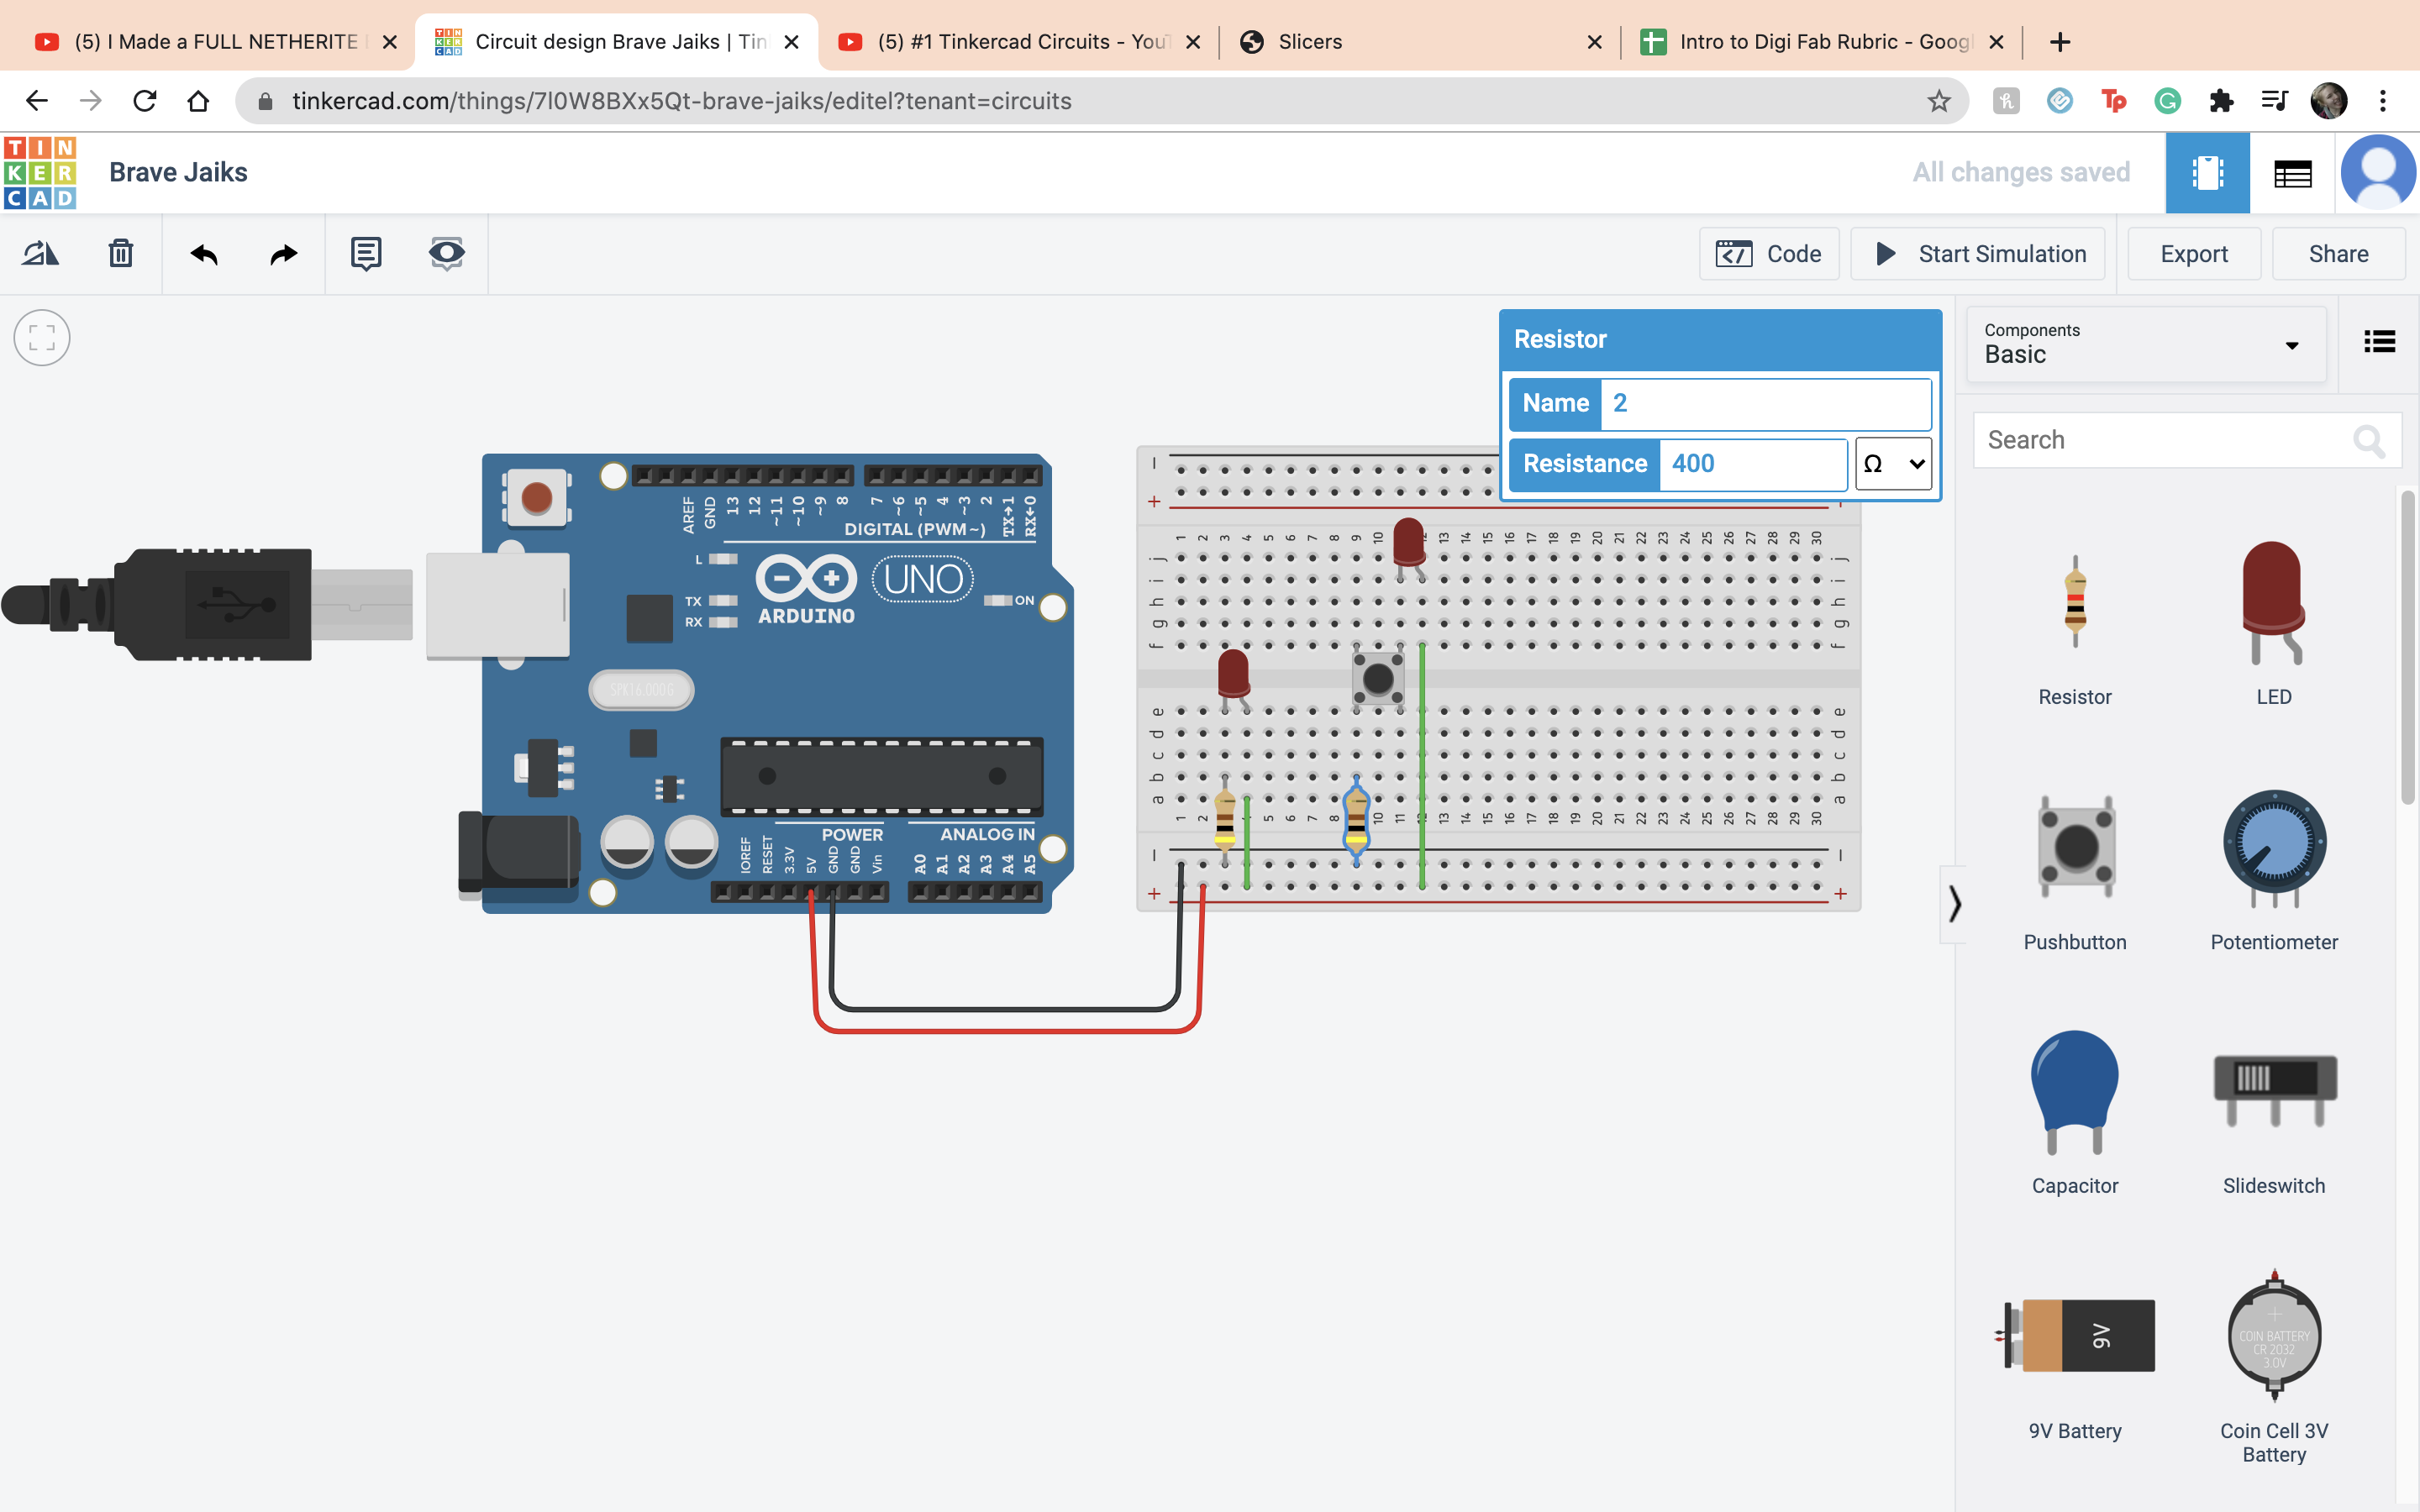
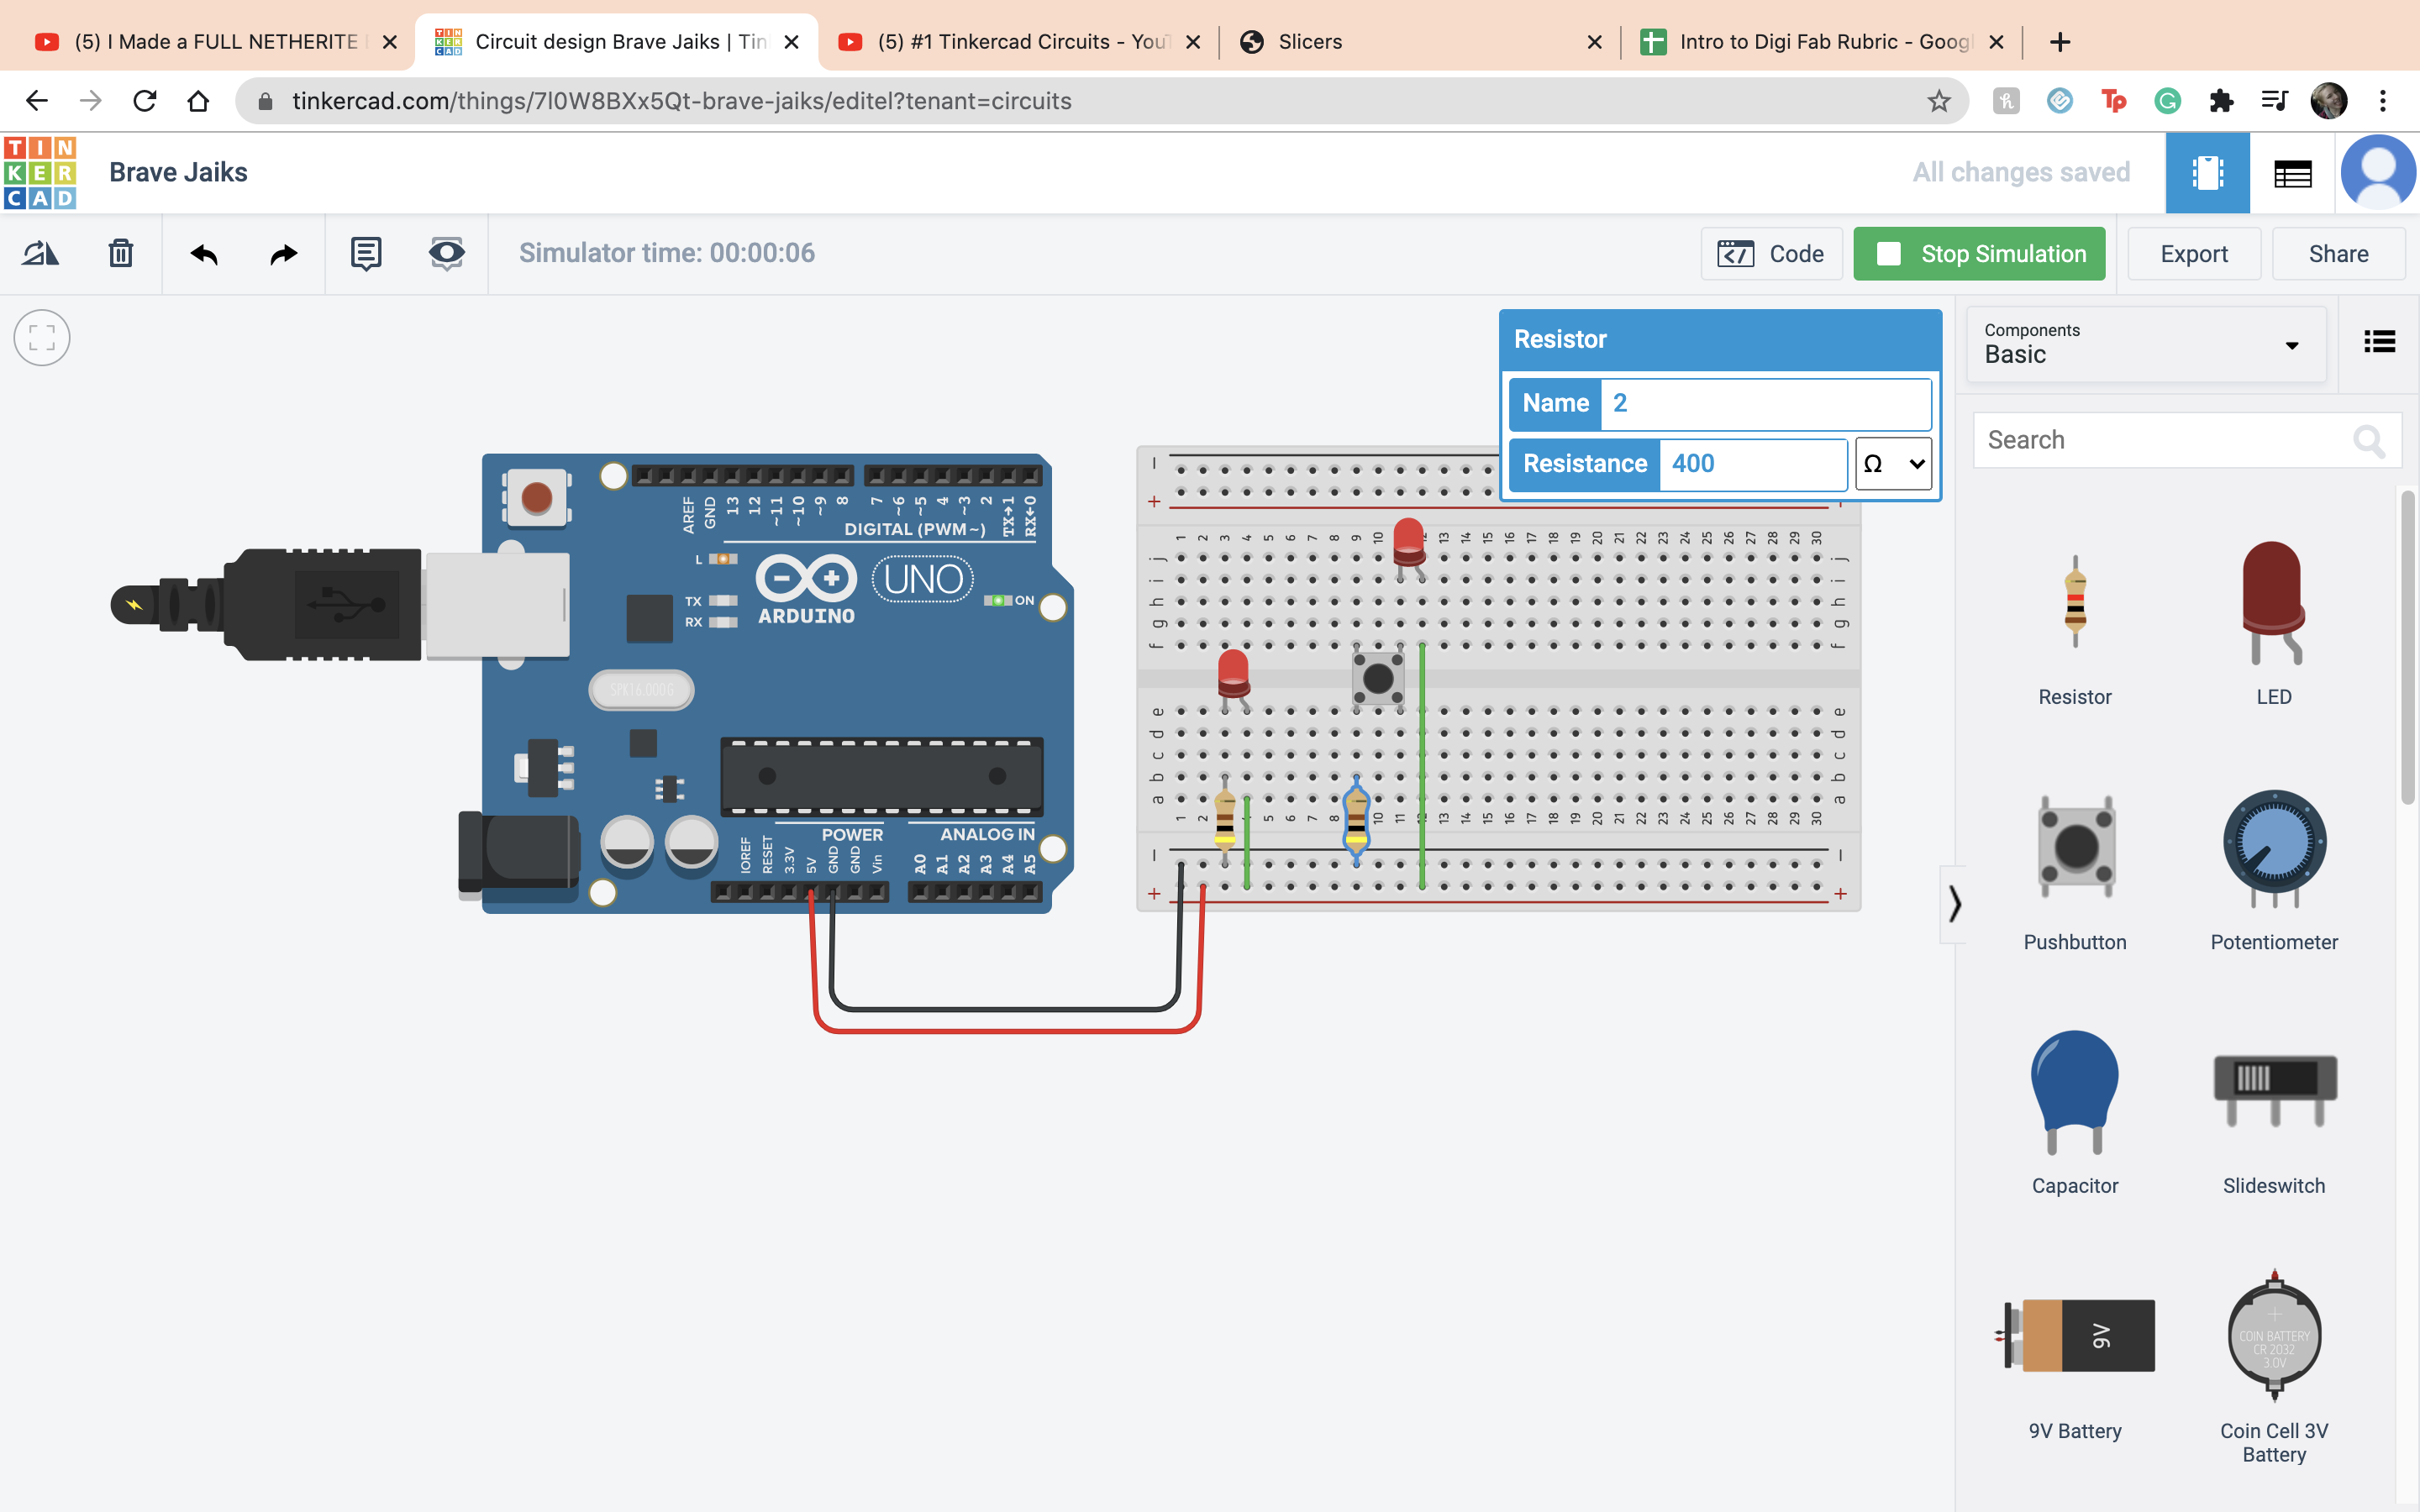
 So you would have to put in a resistor and I set it to 400 ohms. In real life you would have to do math but I am very happy we dont have to do that here.
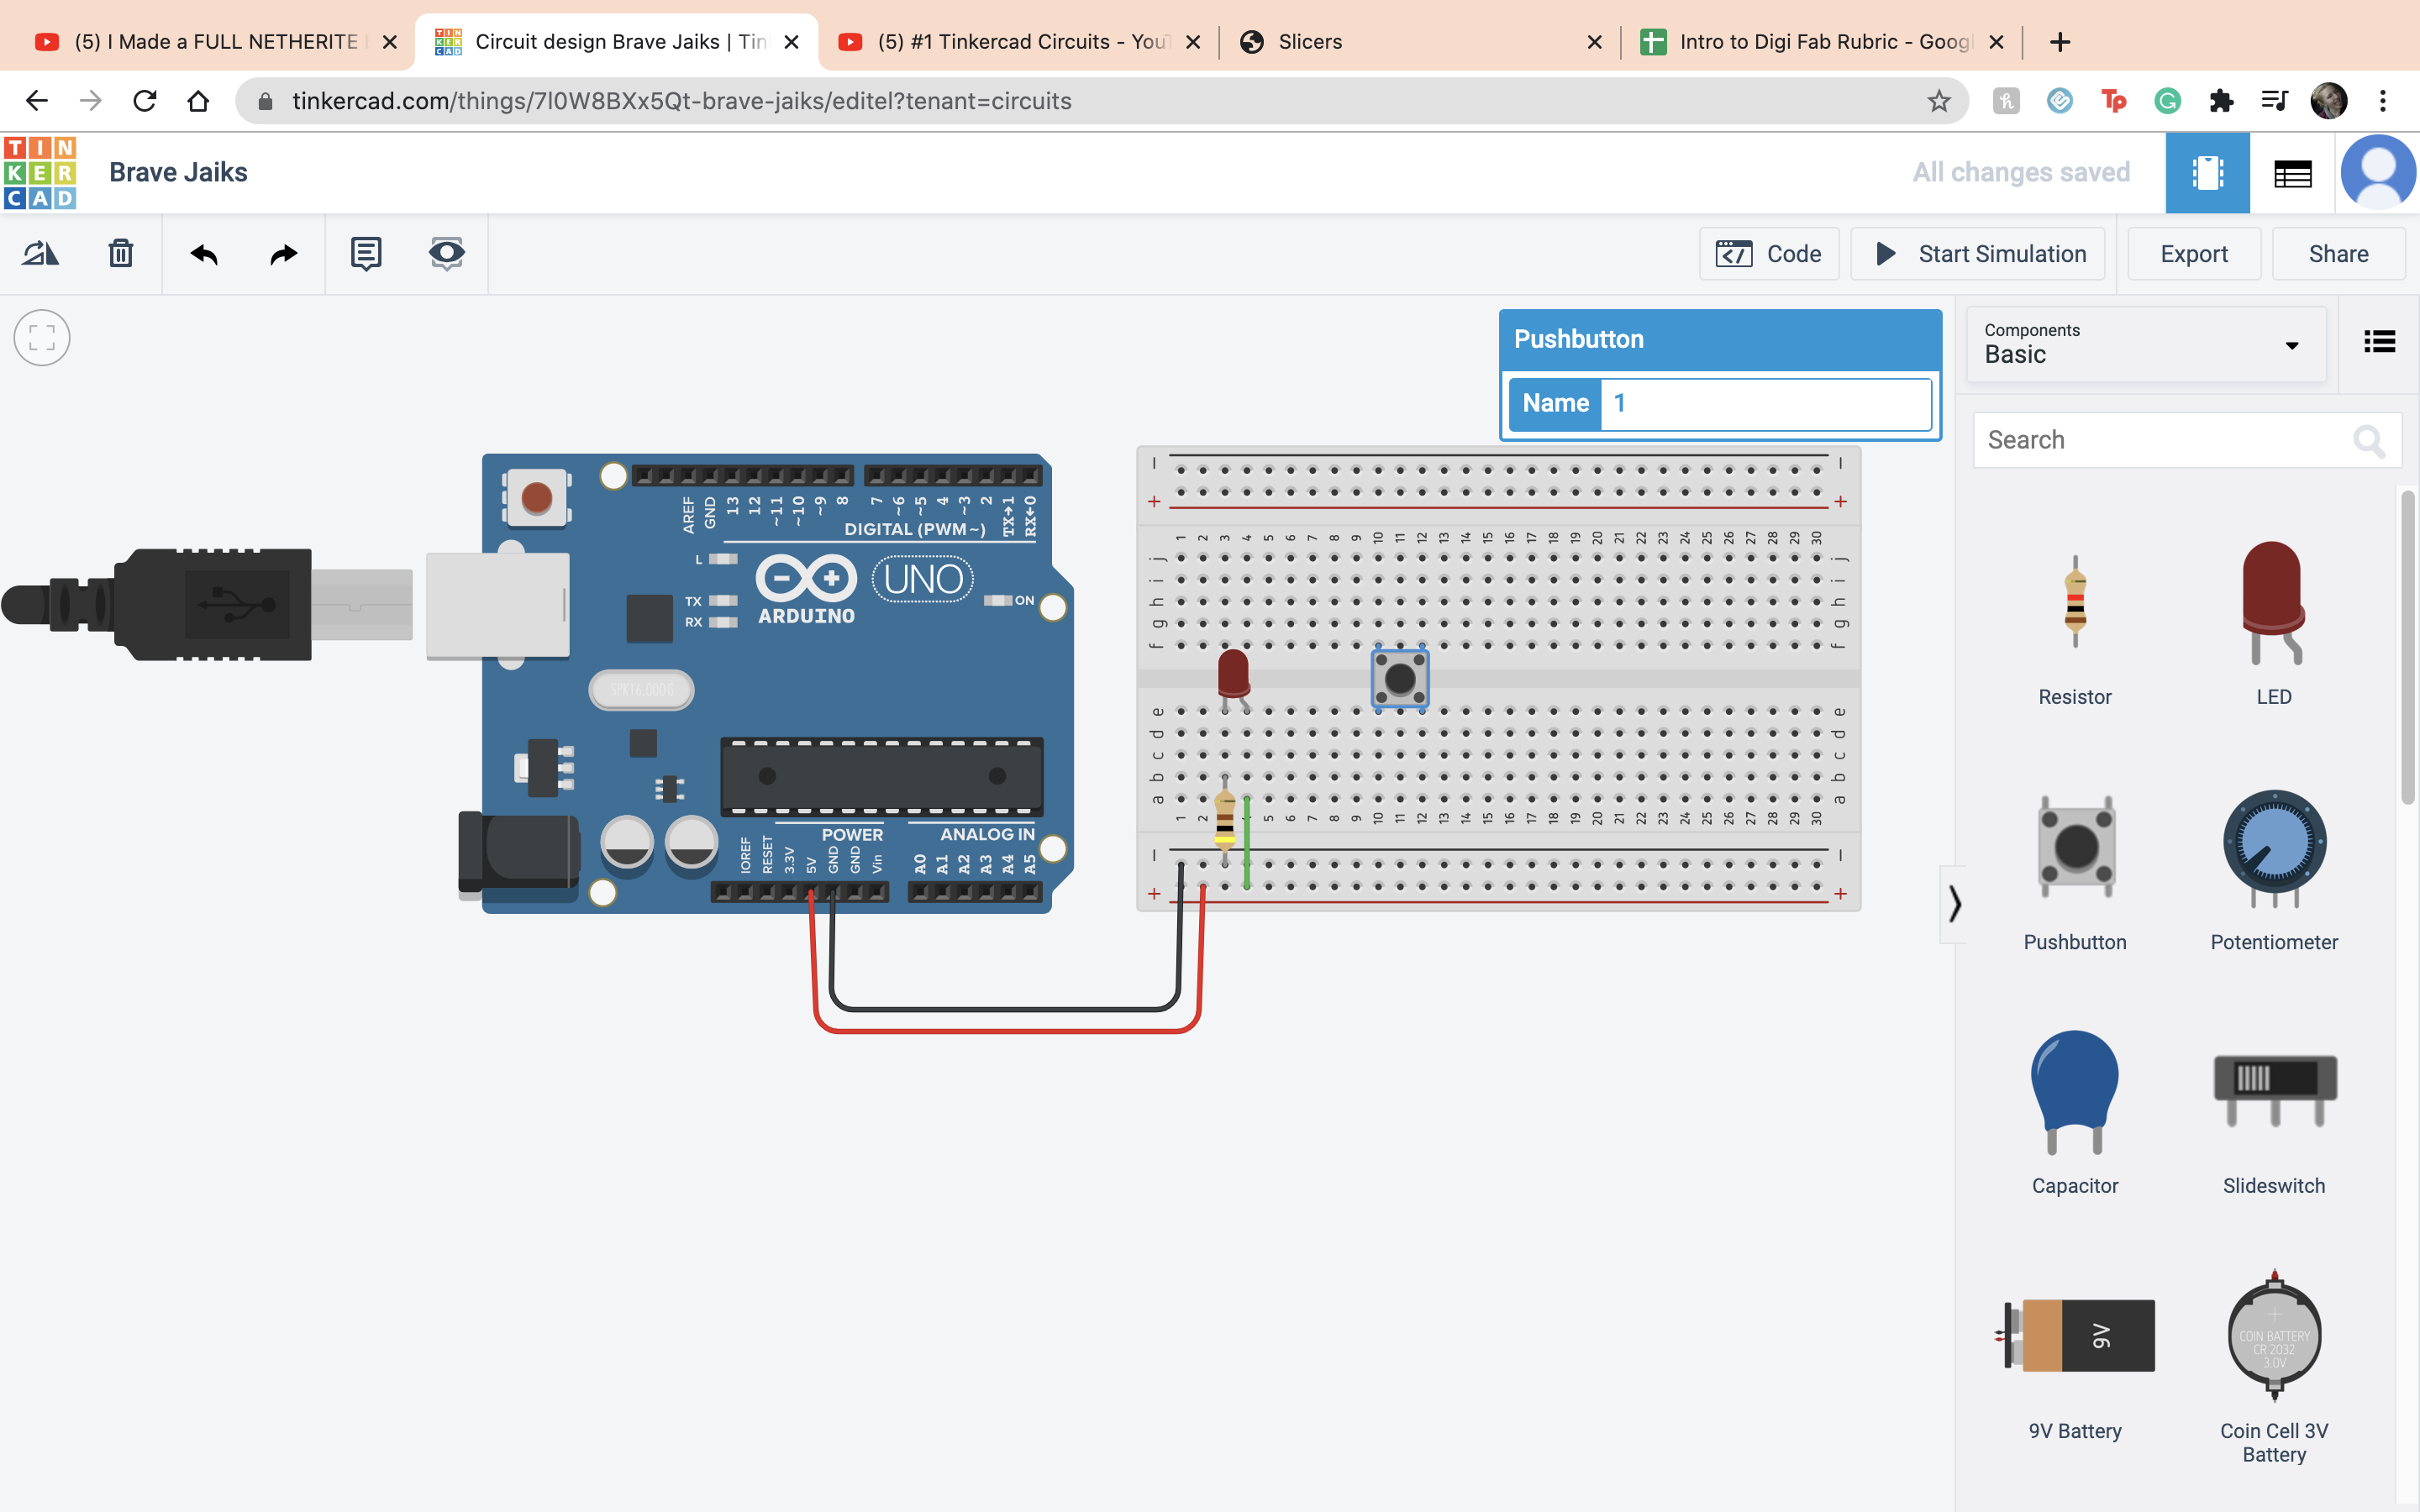
 Next we add a button, it works by connecting together the first terminal and the second terminal.
 Then we add a LED to that button. So you connect with a resistor the first terminal of the button to the negative terminal and set it to 400 ohms. Then connect the anode to the positve terminal.
 Then if you run the simultion and press the button it should work.
 Next is the potentiometer, it takes in postive current and will resist it depending on how you turn it. The wiper is the output and the terminals are the imput
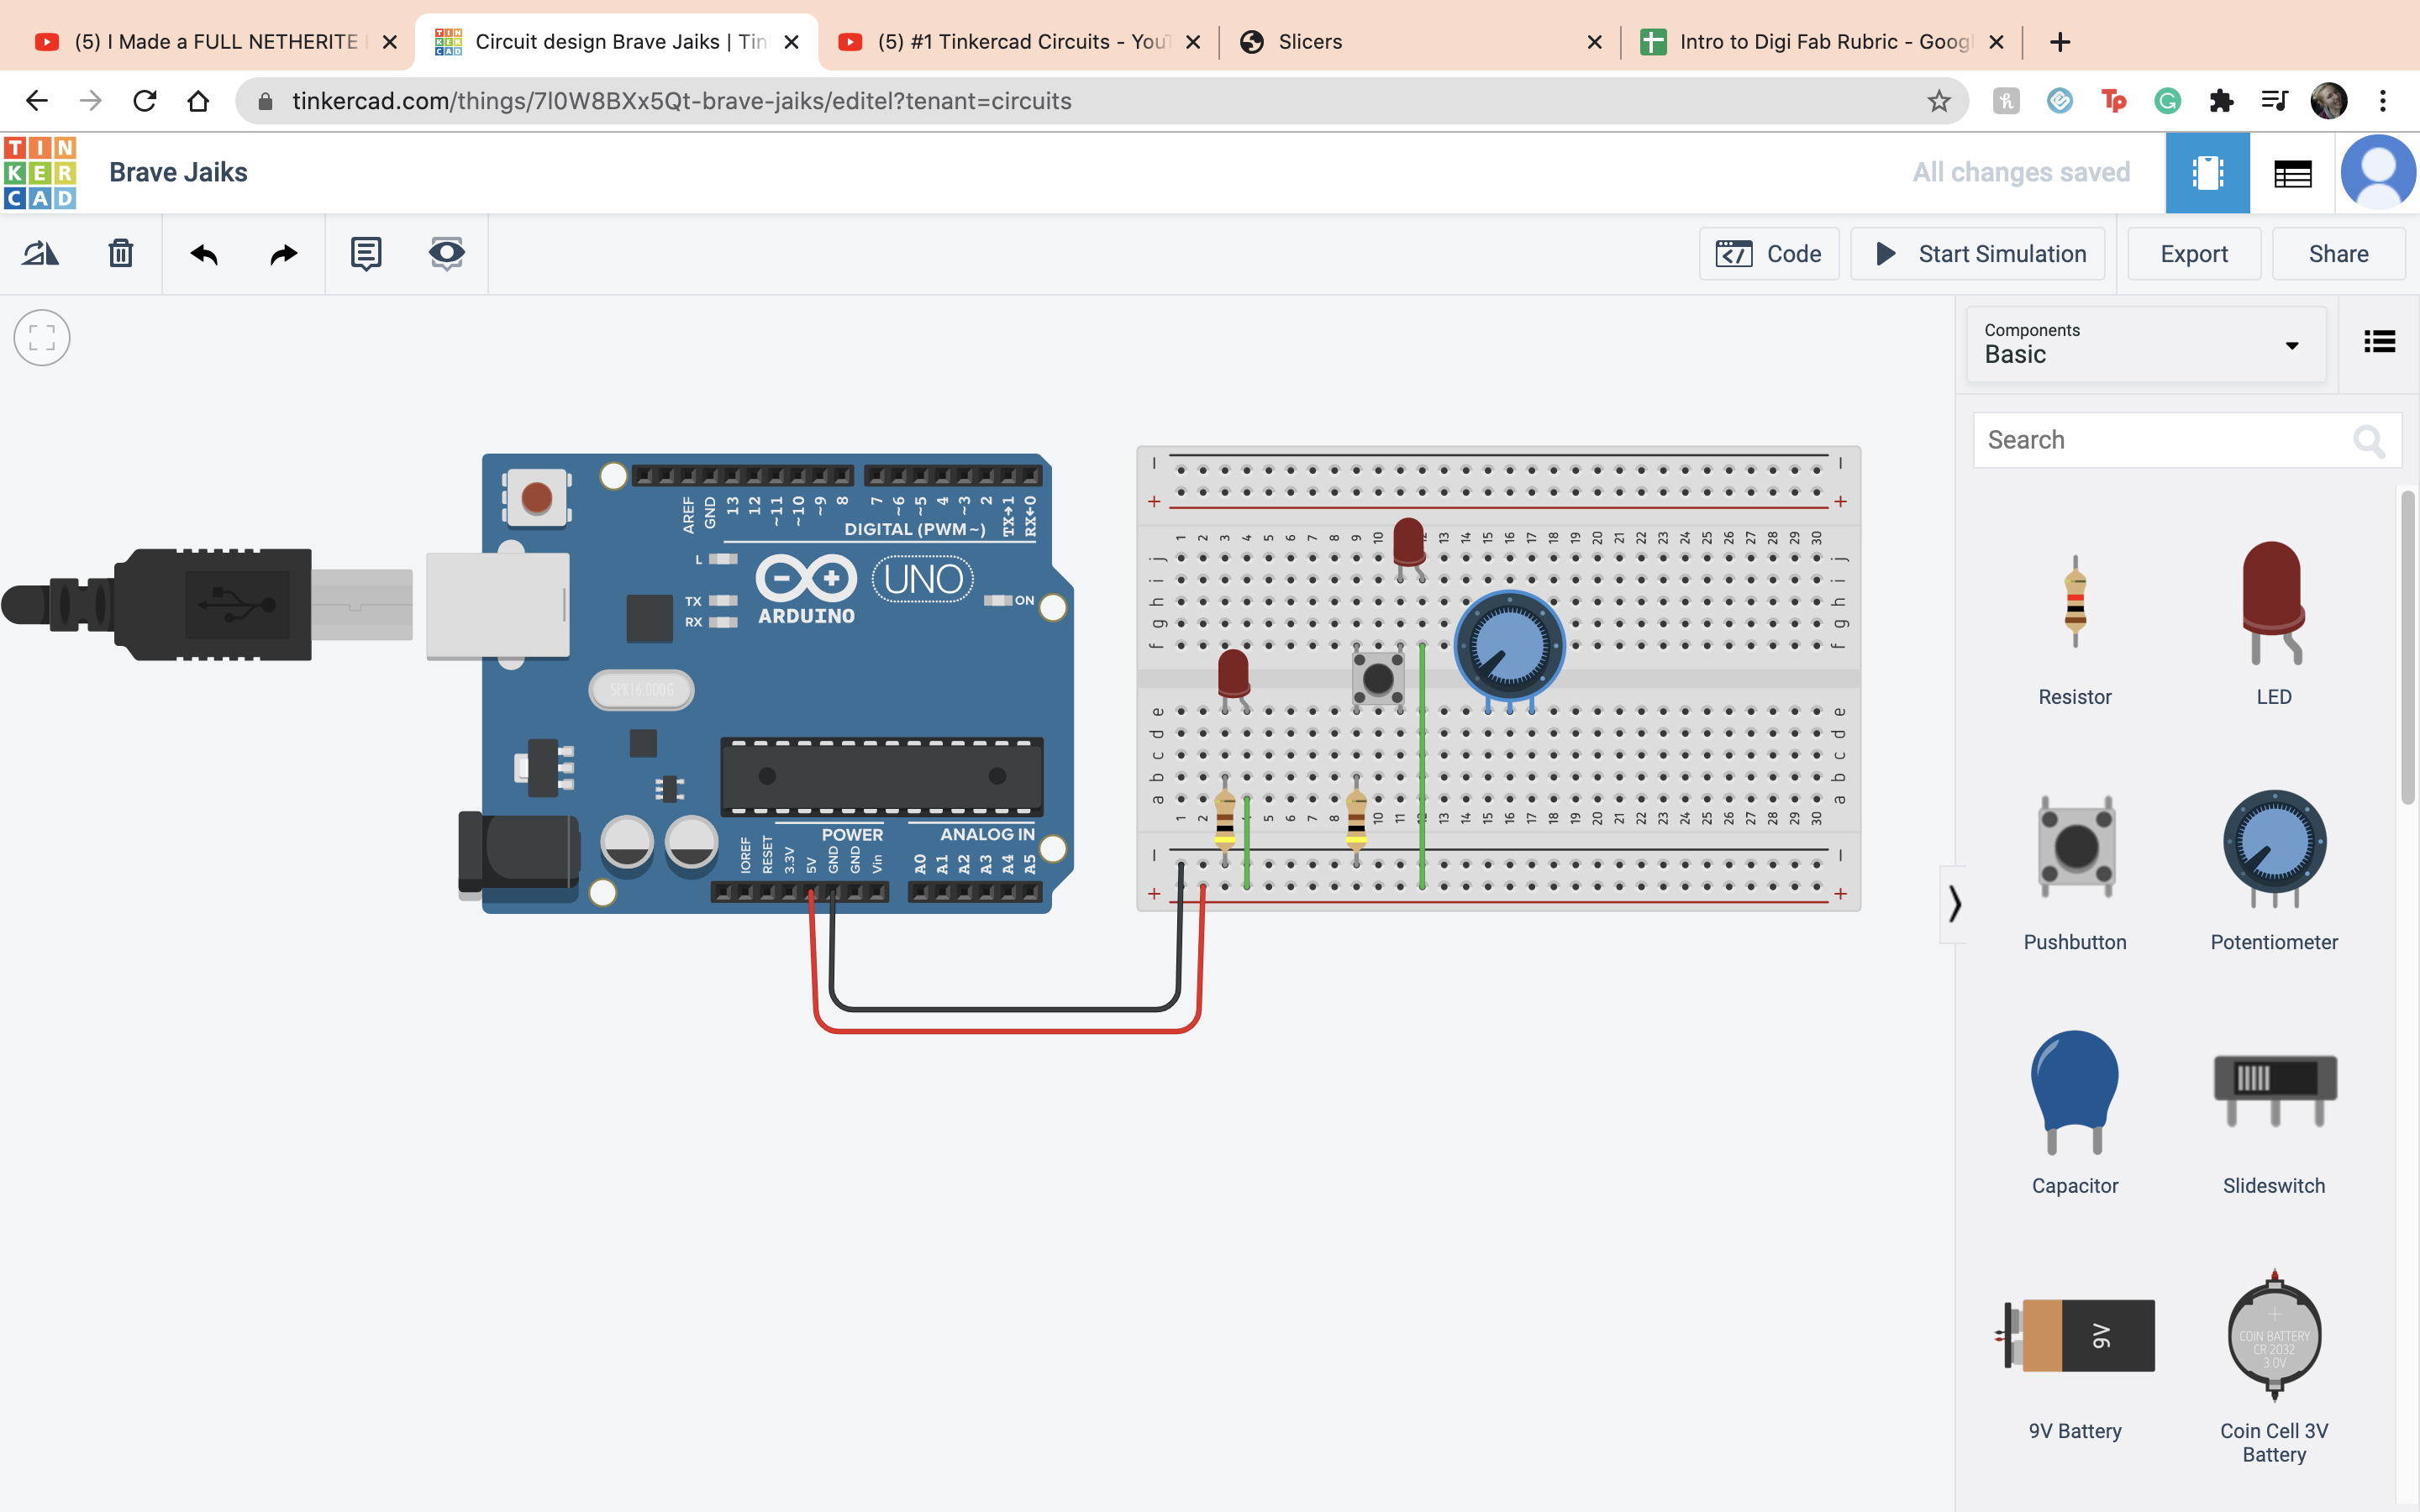 Then I connected the Wiper to the anode of a LED and then Terminal 1 to positive terminal and terminal 2 to a negative terminal and the cathode to the negative terminal.
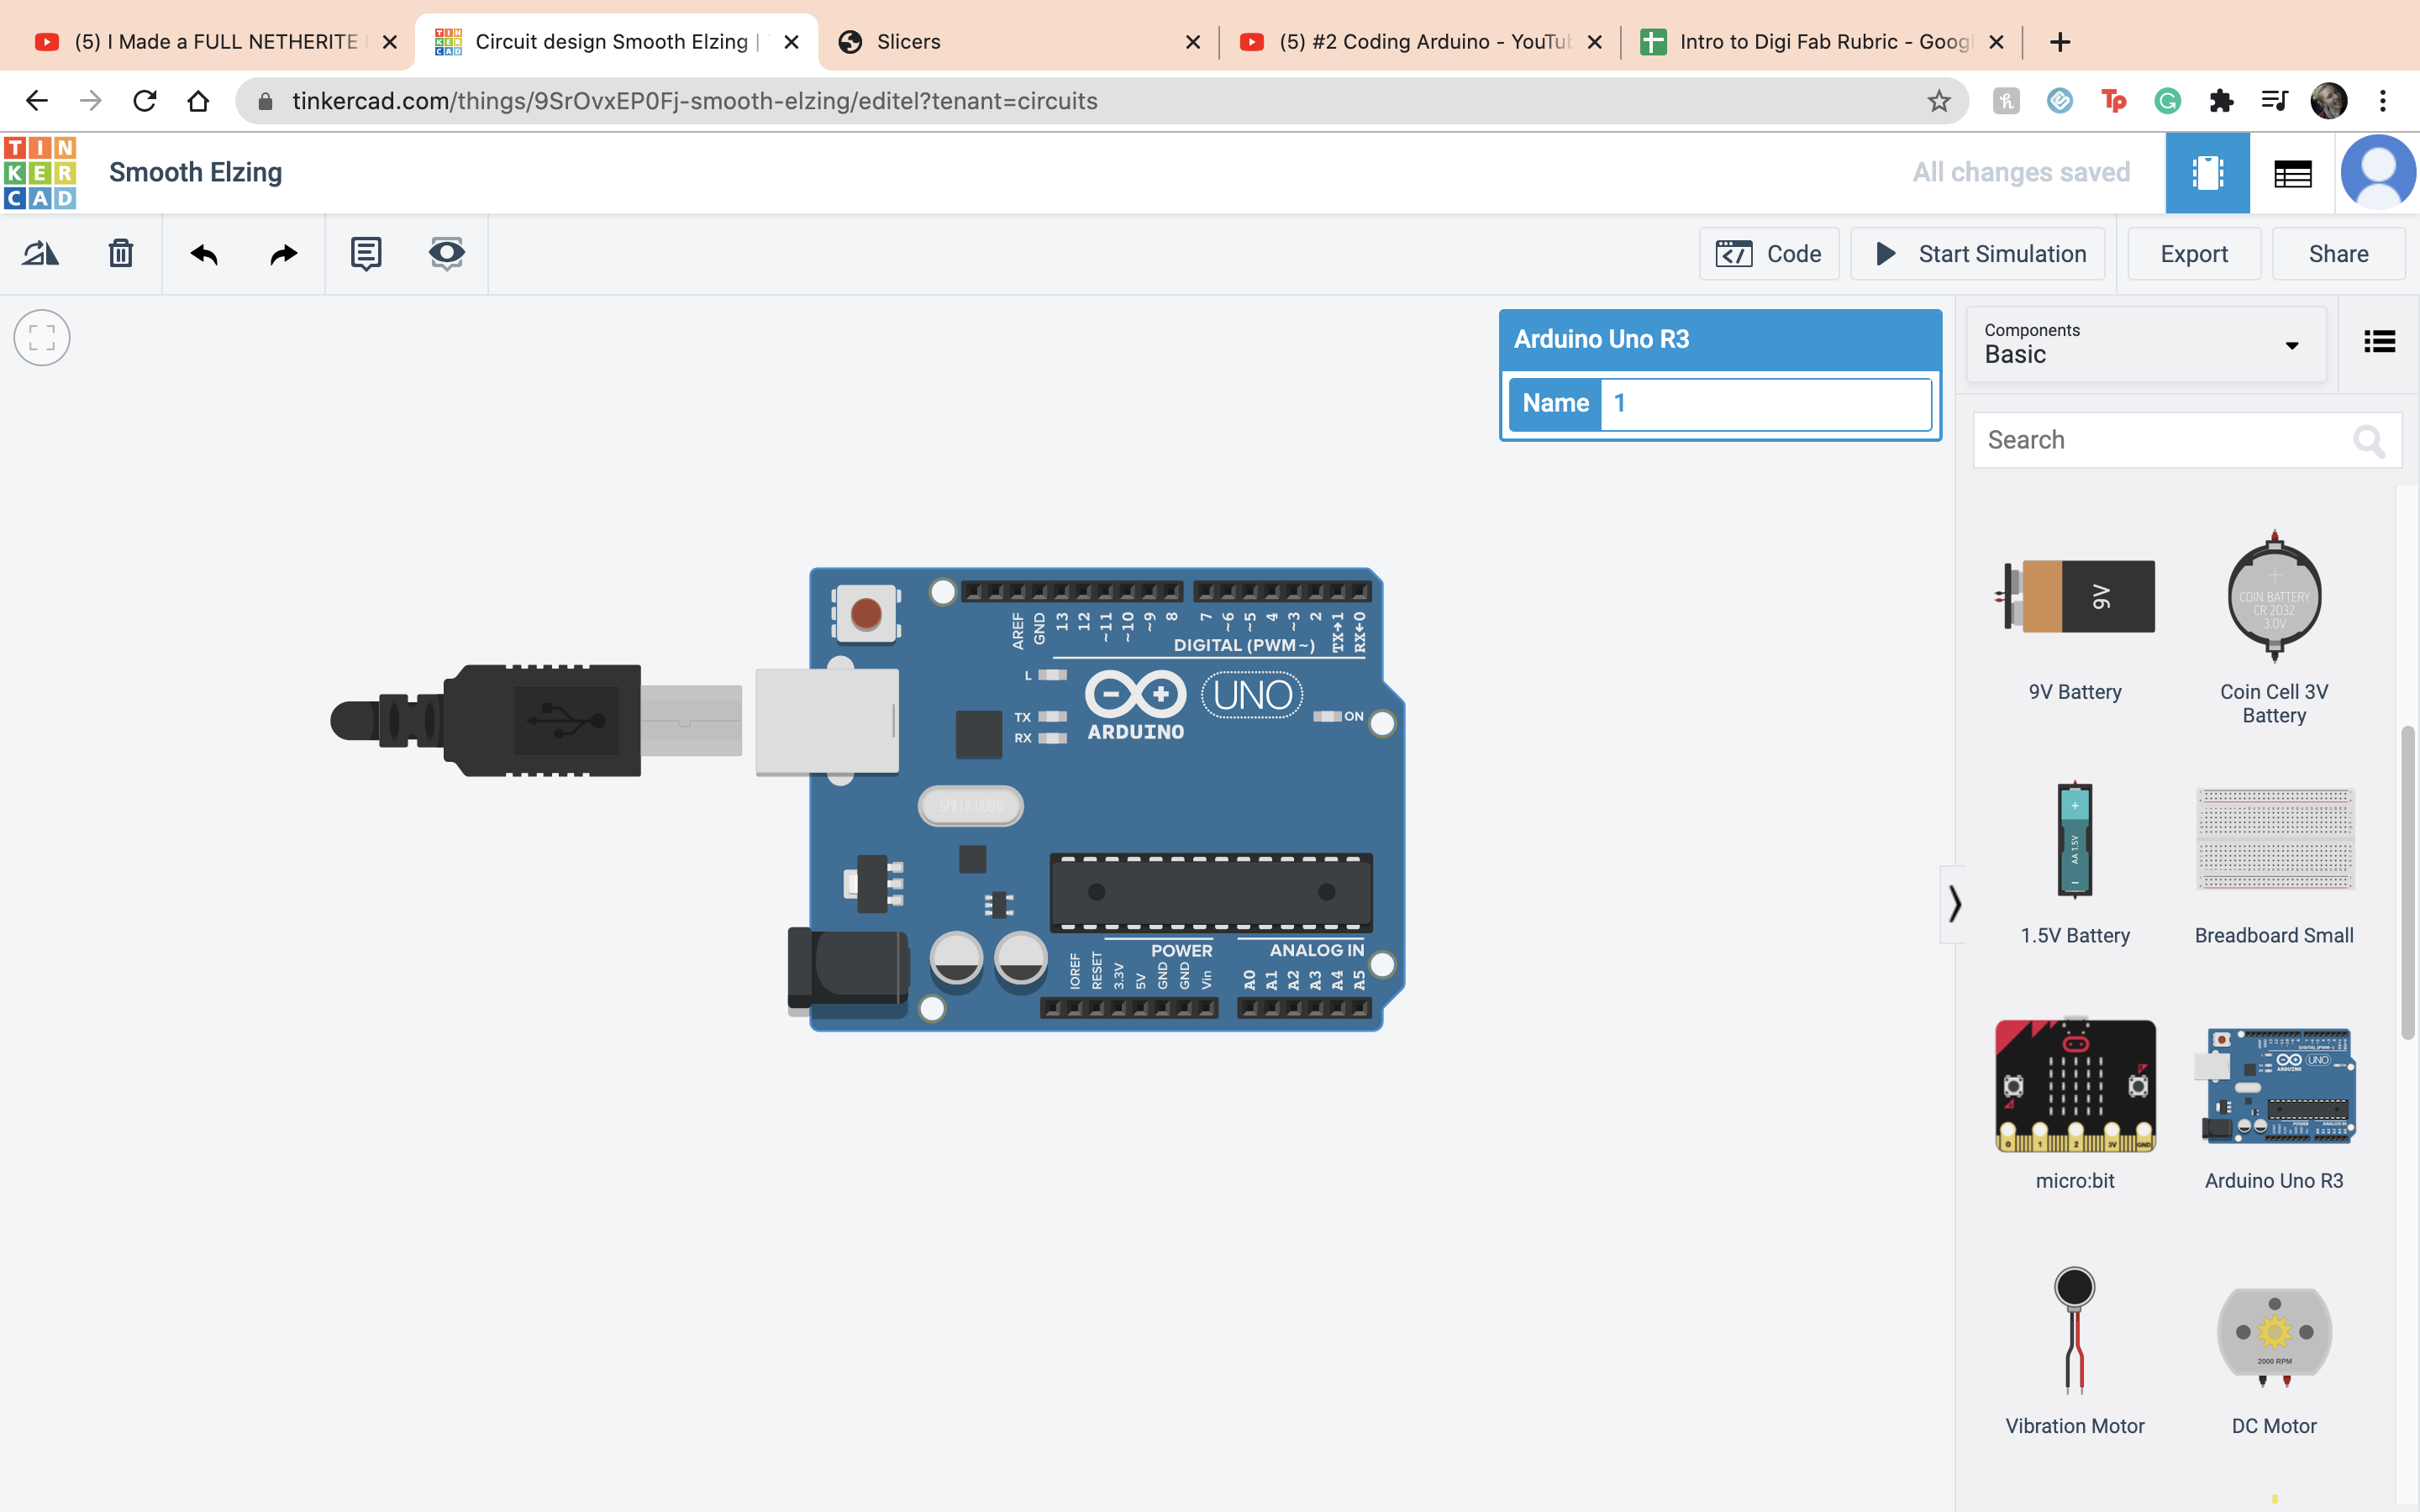
 That was the end of Video 1 so now onto Video 2. So the first thing I did was put down the ardino.
The only coding knowlage I know is playing around with stratch making really bad pokemon, total drama shows with my sister when I was 8 so as you can tell, I am a master at coding. JK I have no idea what I am doing. So first thing is first, delete everything.
That was the end of Video 1 so now onto Video 2. So the first thing I did was put down the ardino.
The only coding knowlage I know is playing around with stratch making really bad pokemon, total drama shows with my sister when I was 8 so as you can tell, I am a master at coding. JK I have no idea what I am doing. So first thing is first, delete everything.
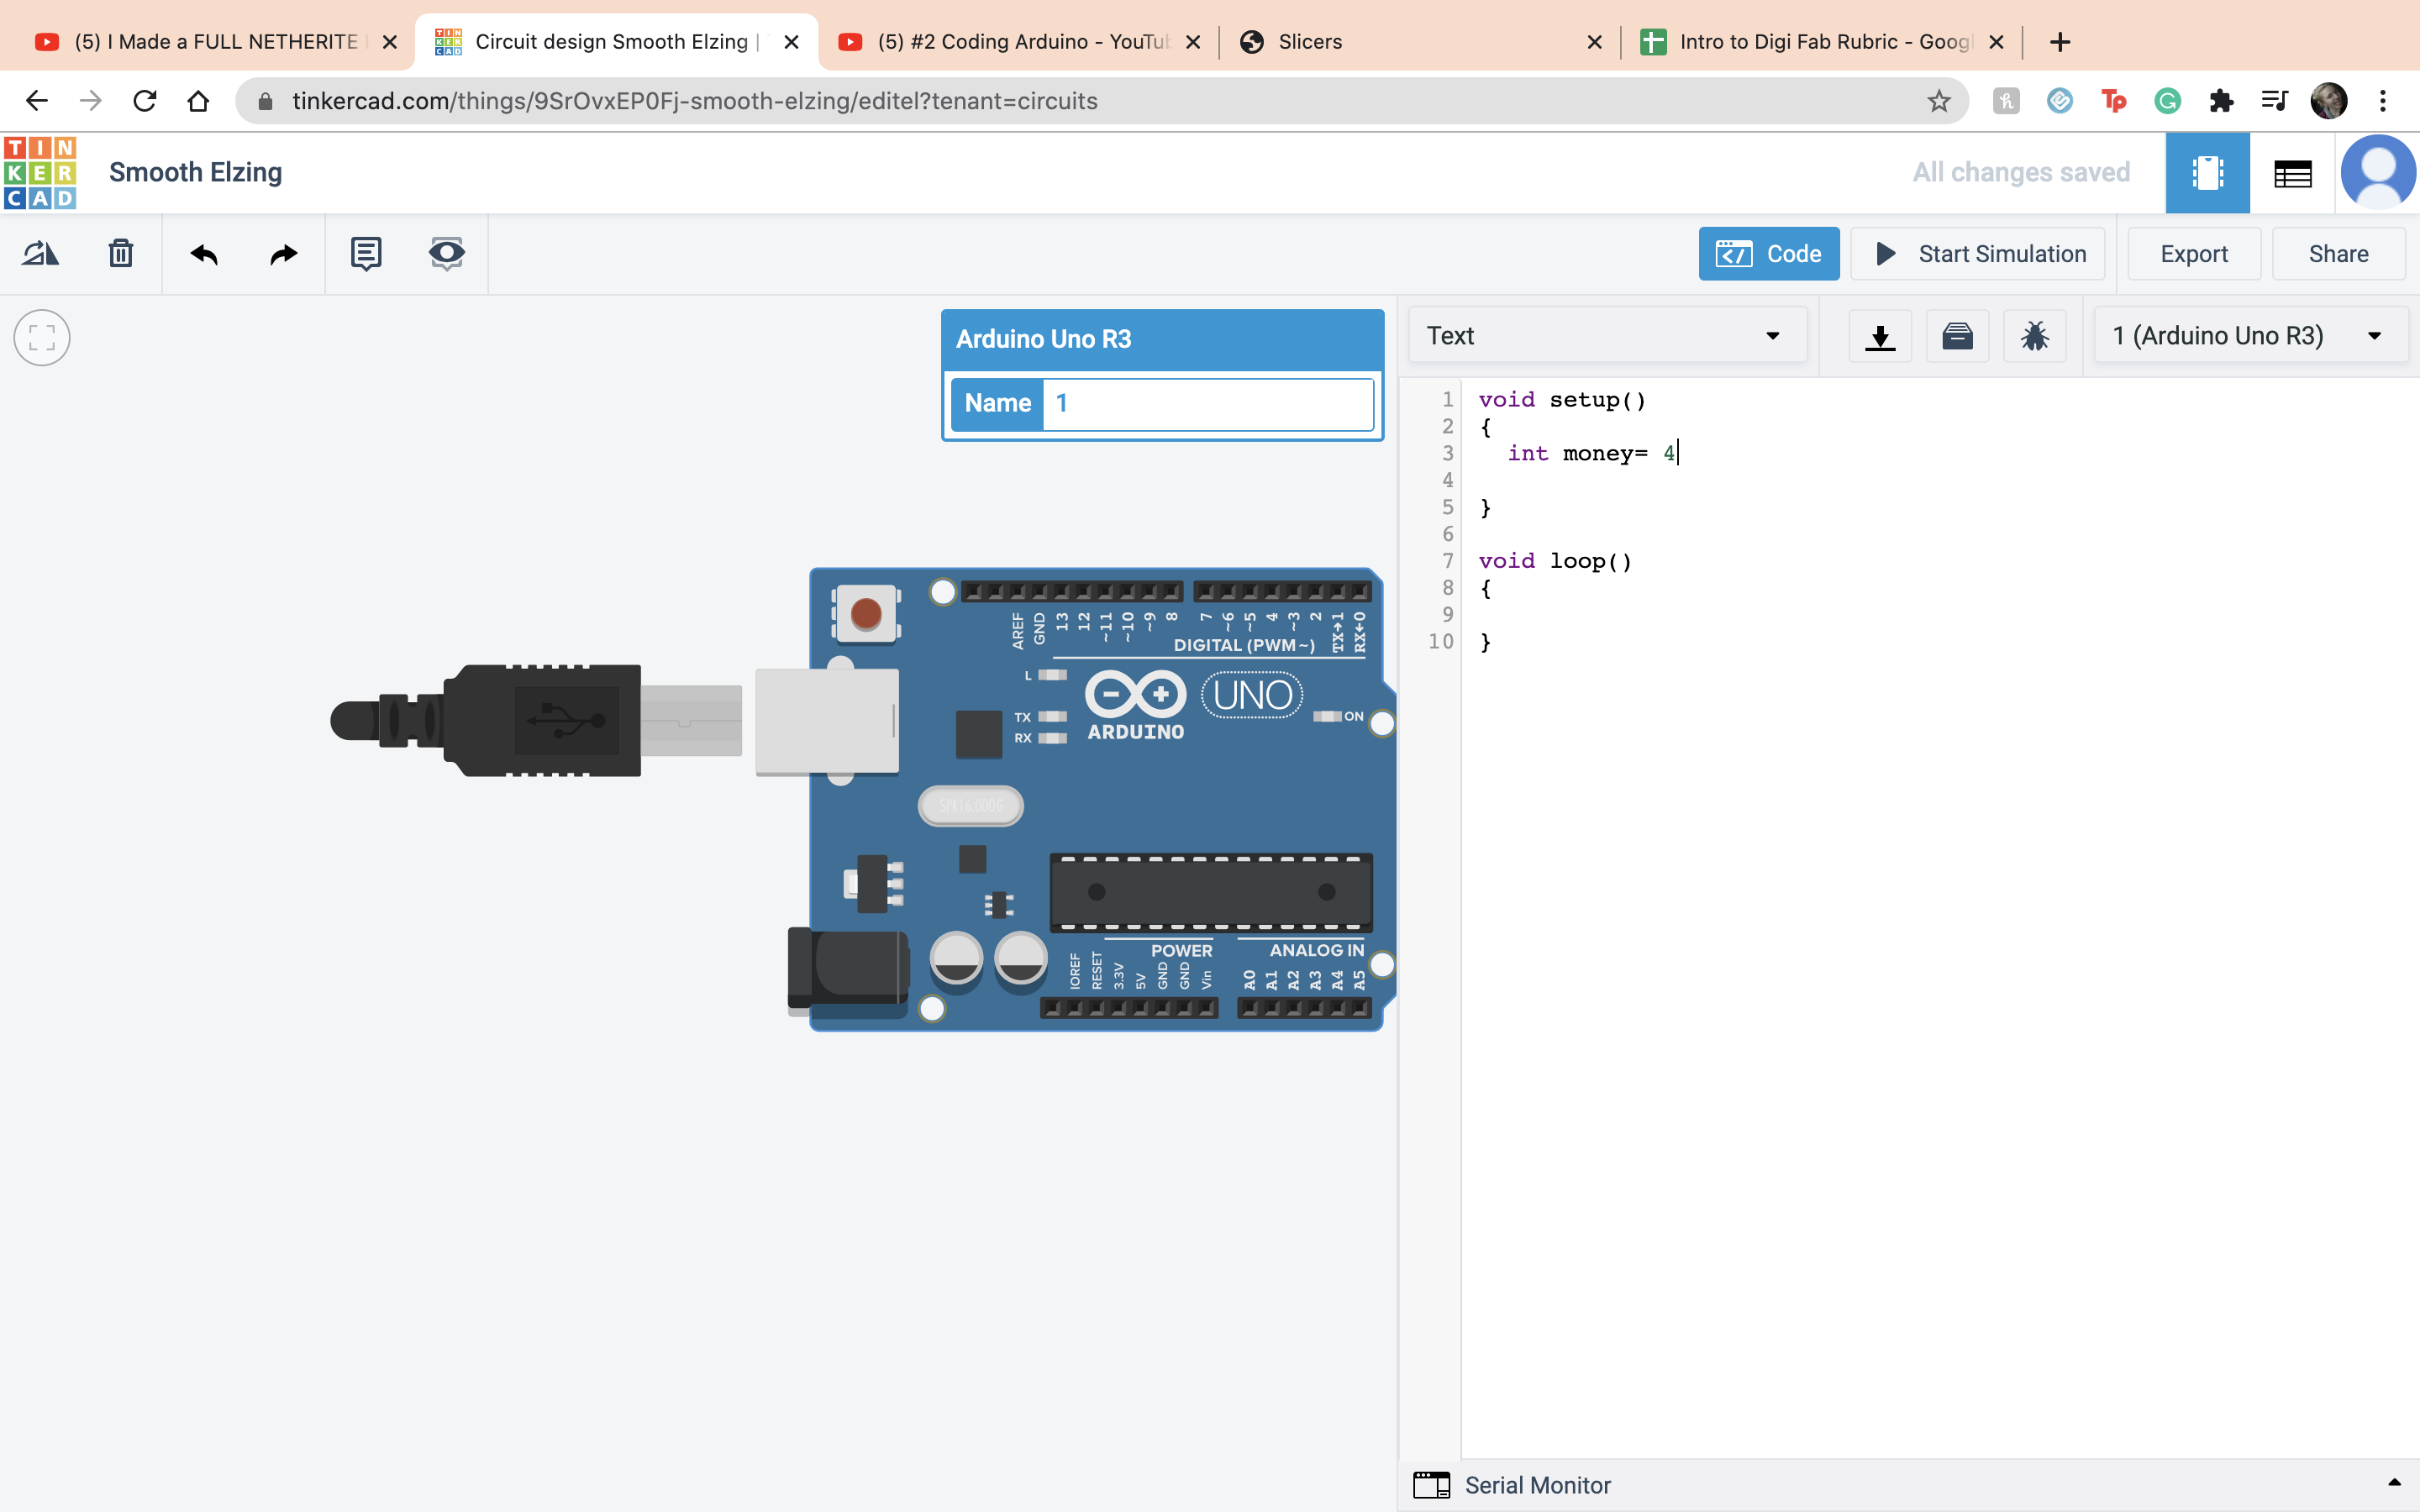
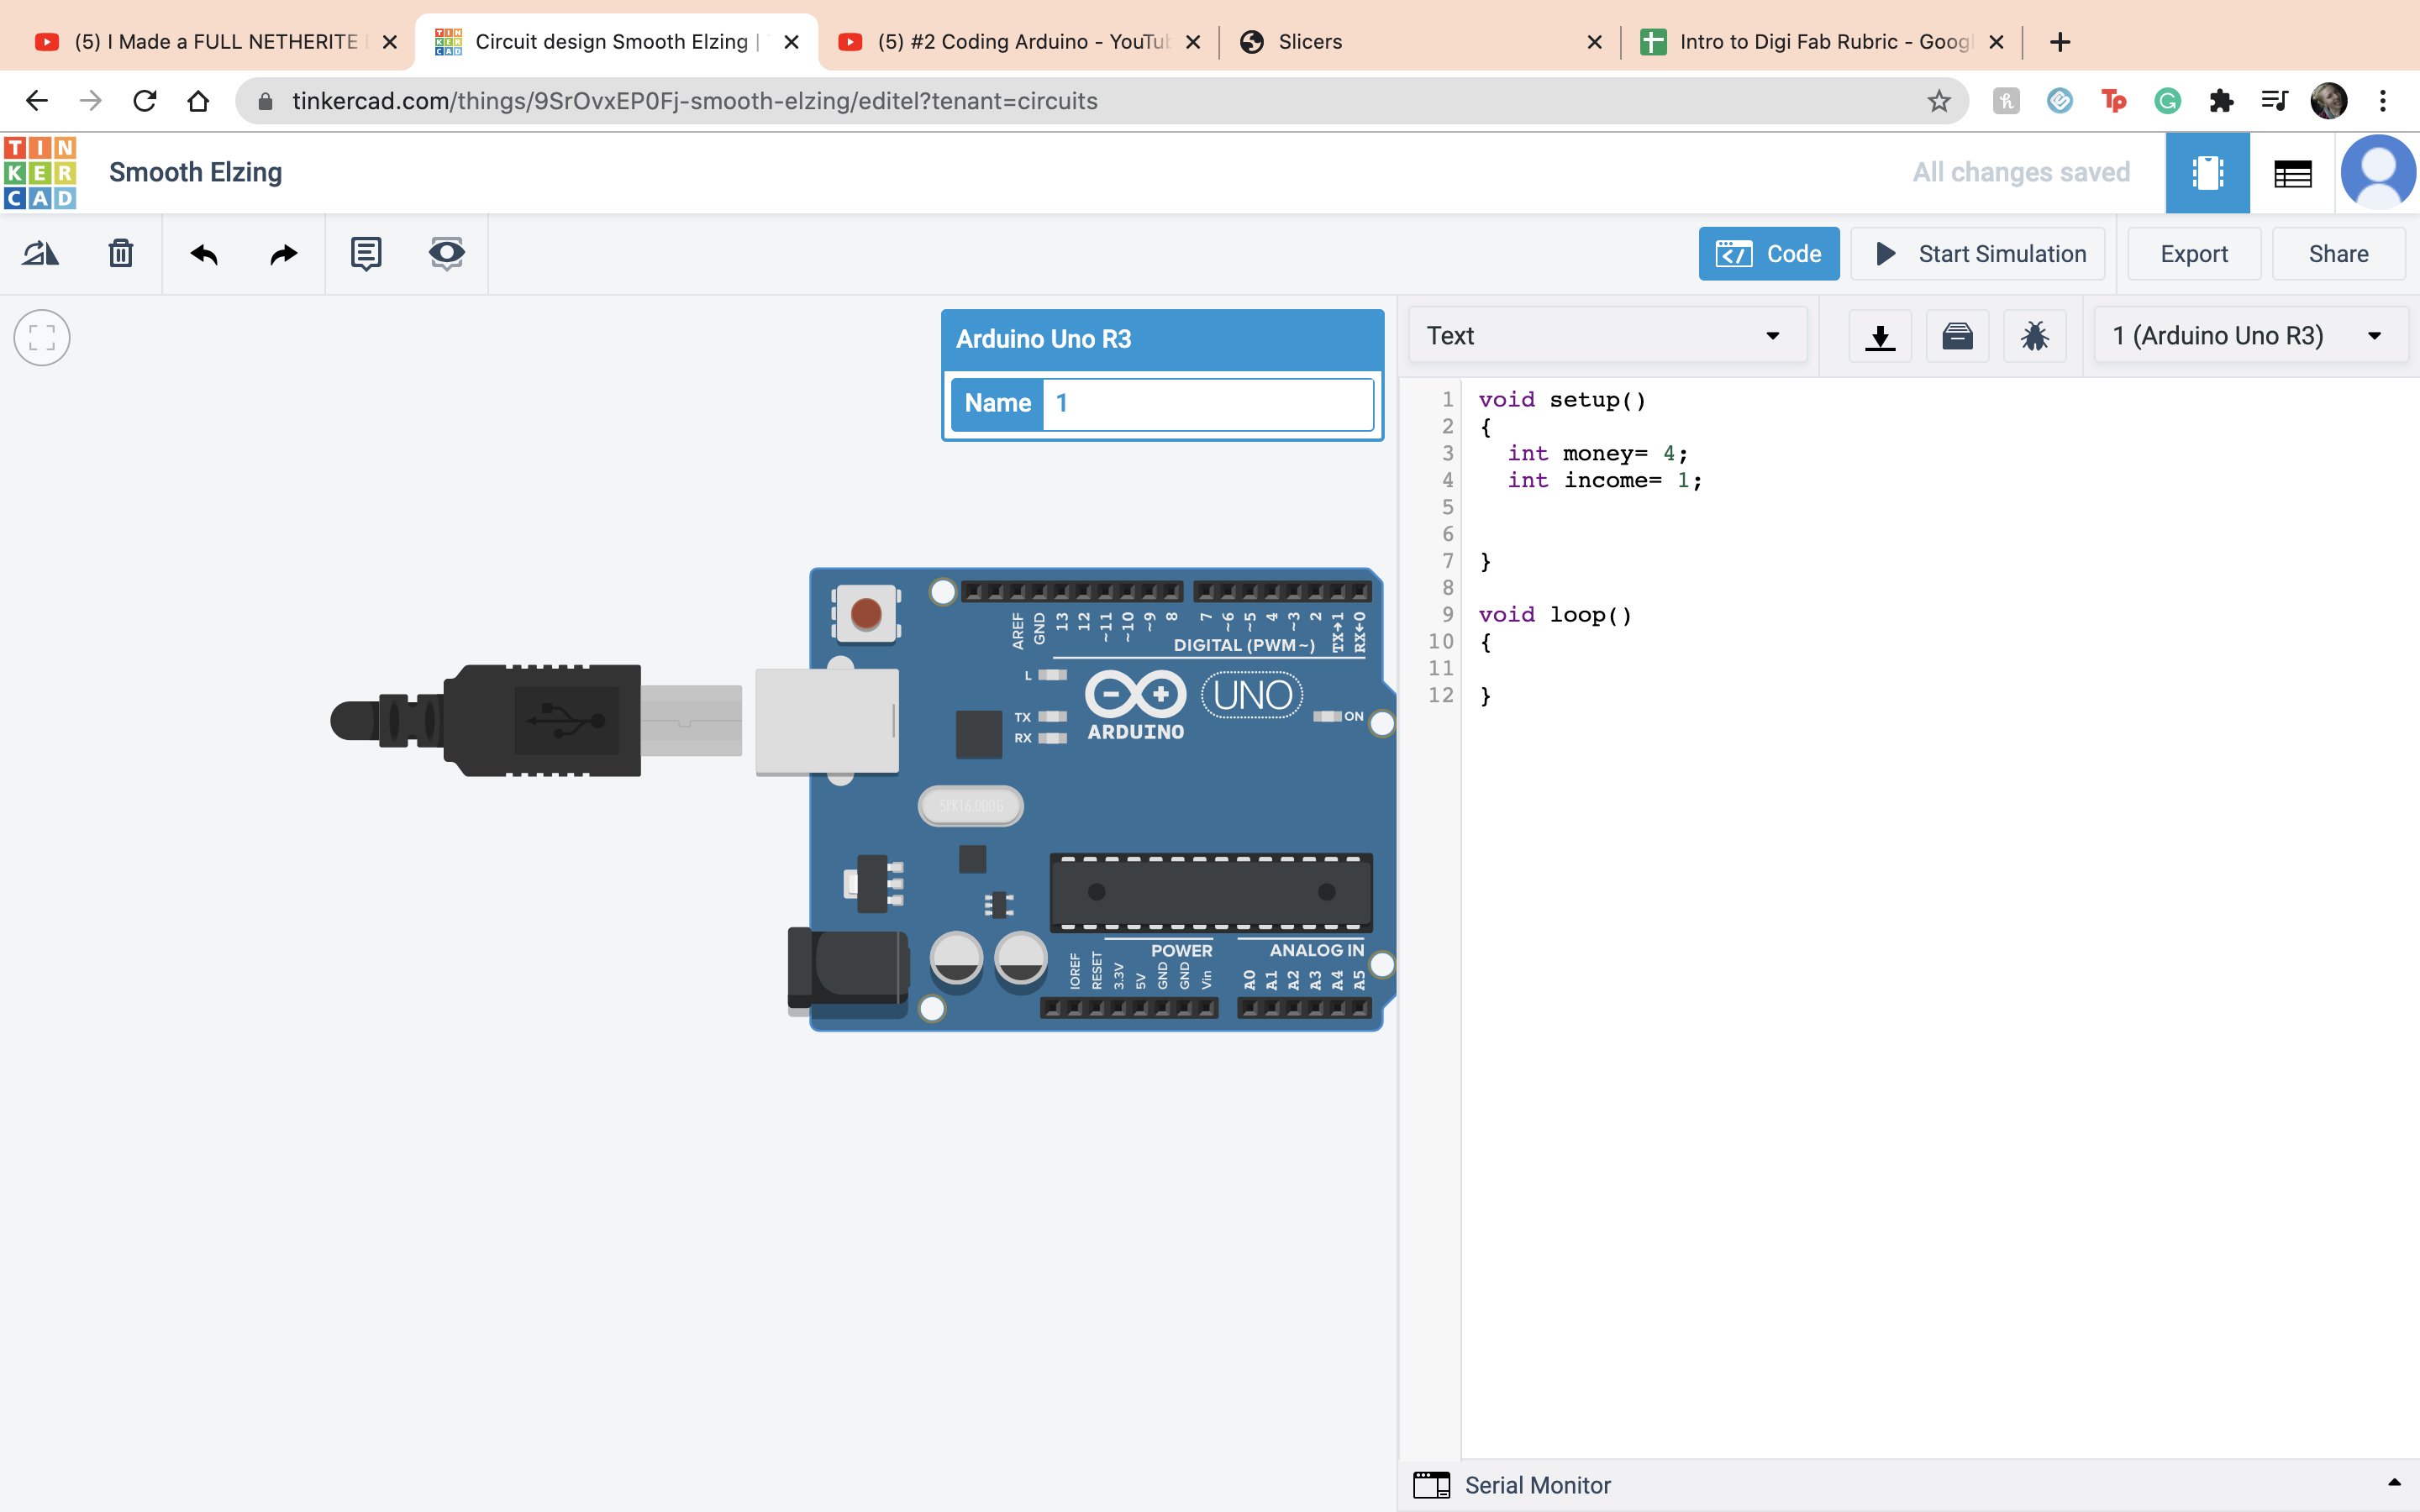
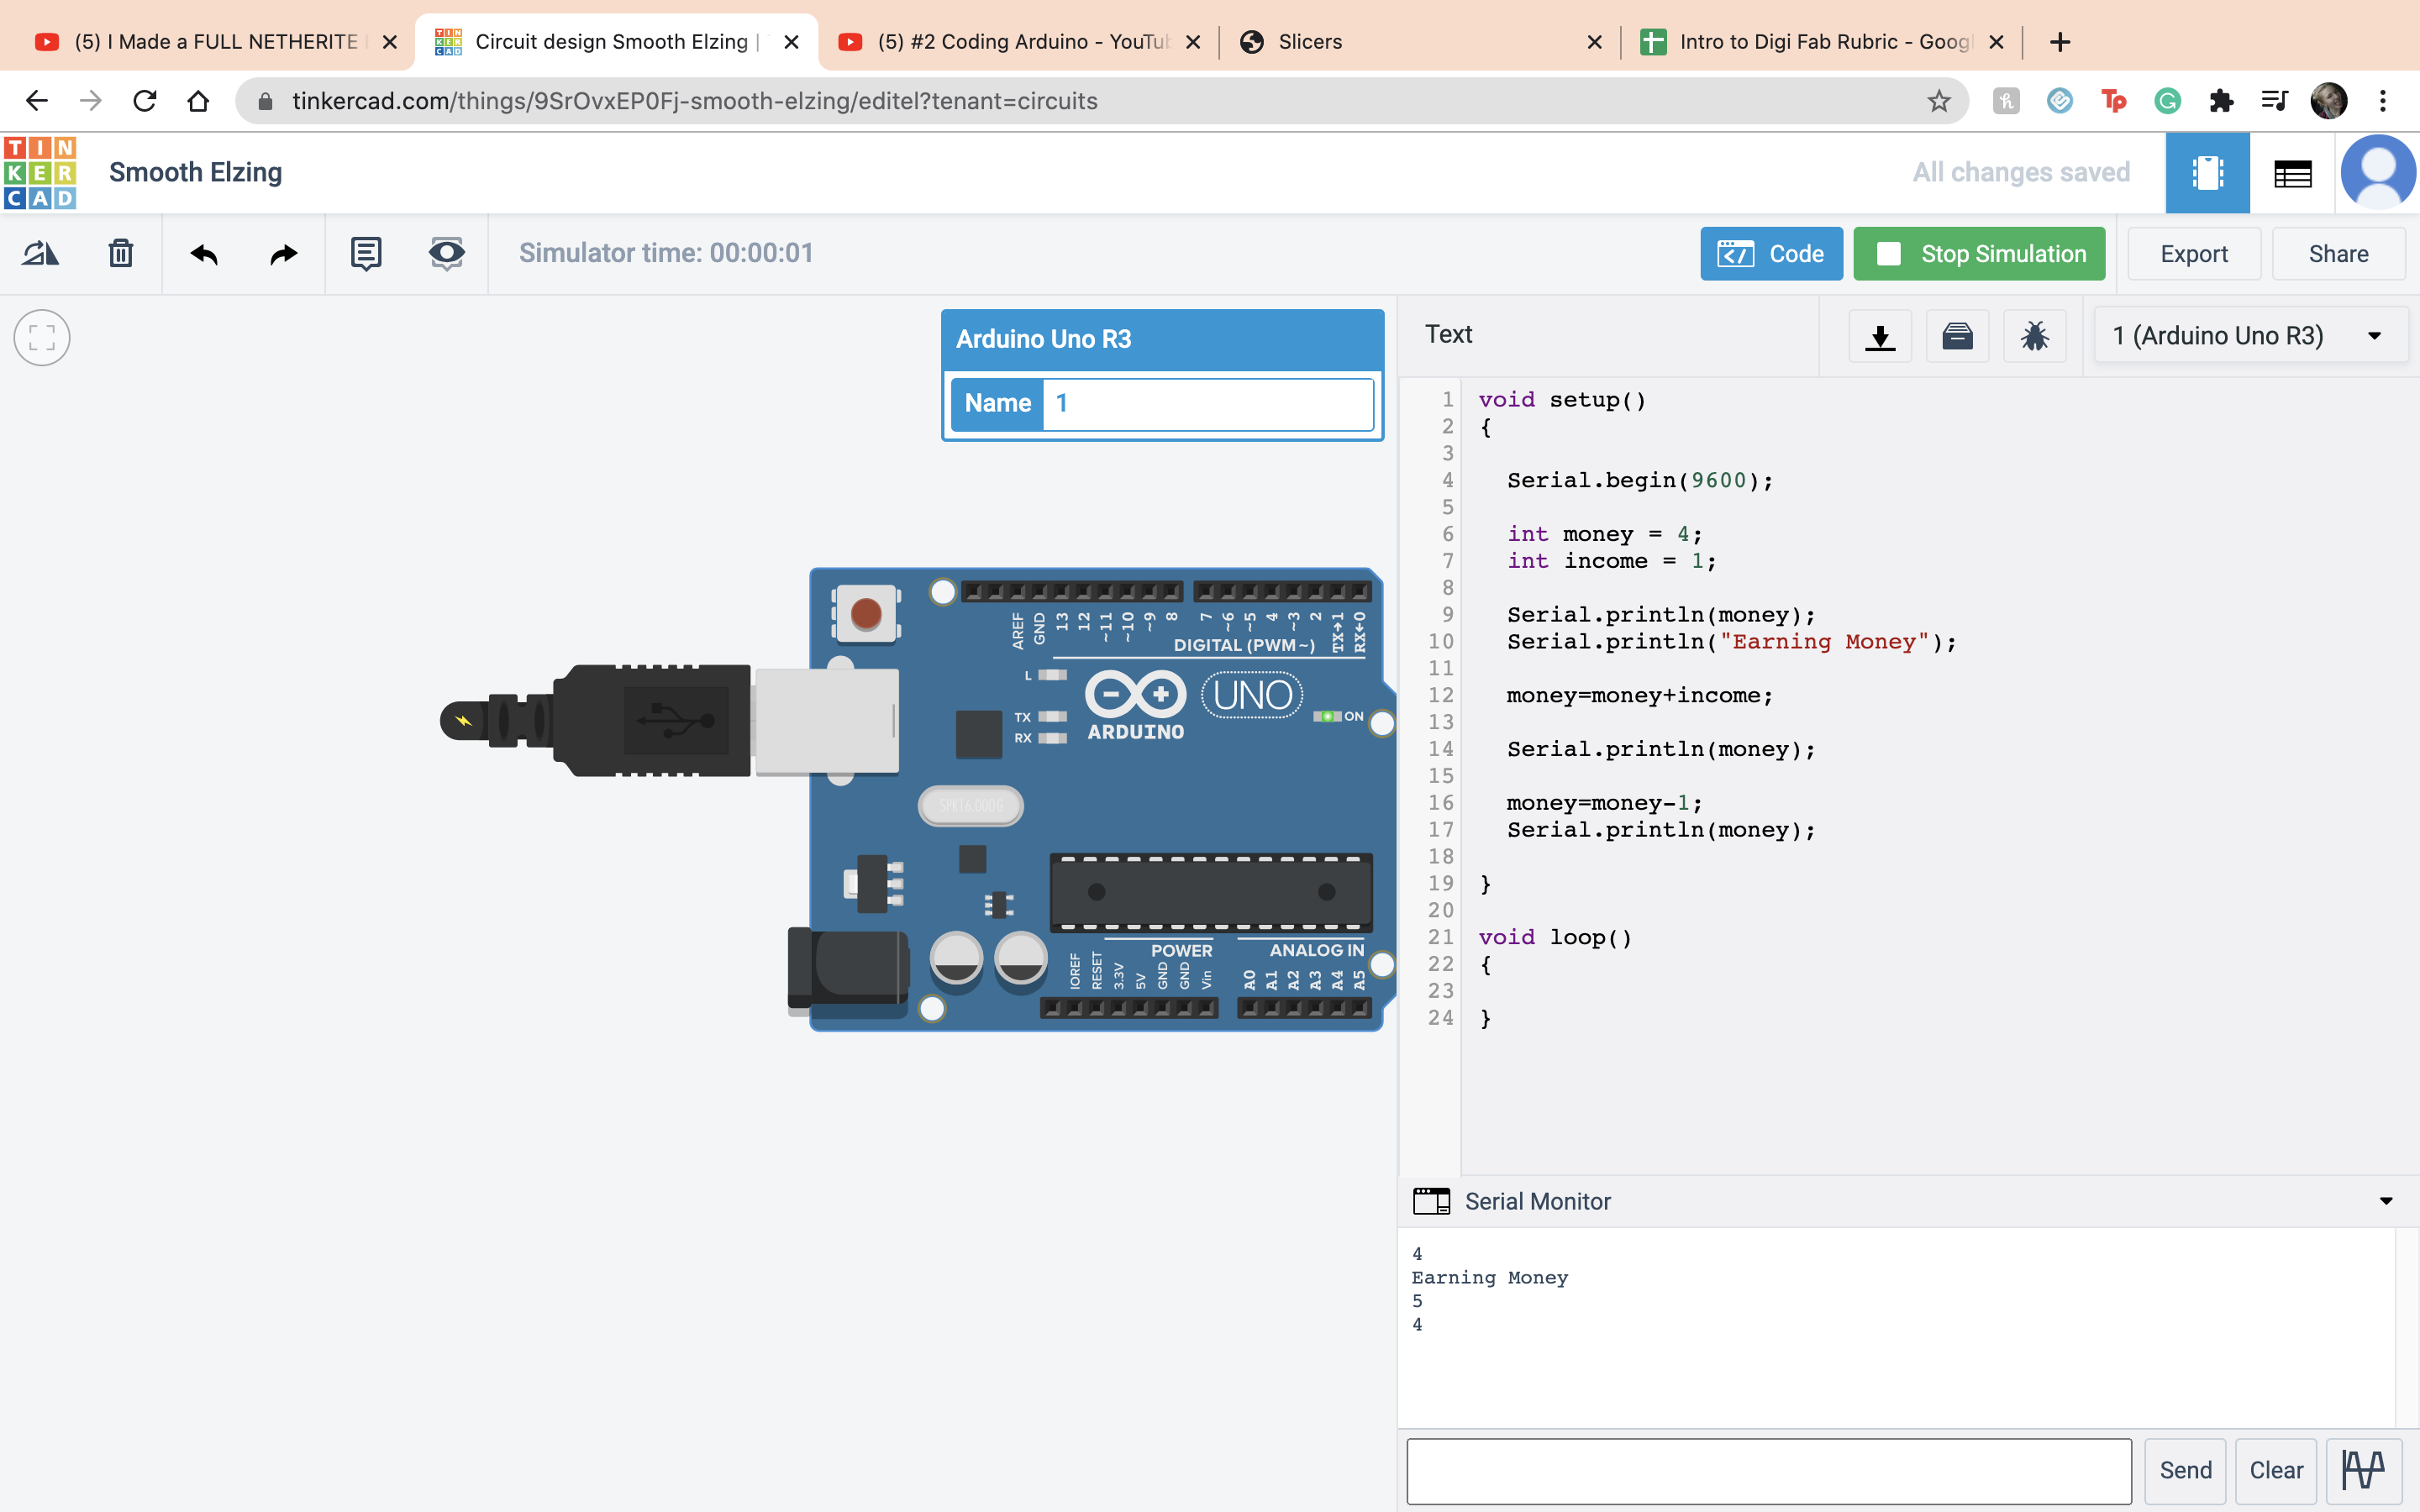
 The setup side is for a one time thing while the loop side is for repeating things. First we looked at the void setup, it is basically a box that holds infromation and can either be constant or not constant. Then what you have to do is declare what type of number is going in, in this case a integer, the name of it, and the amount
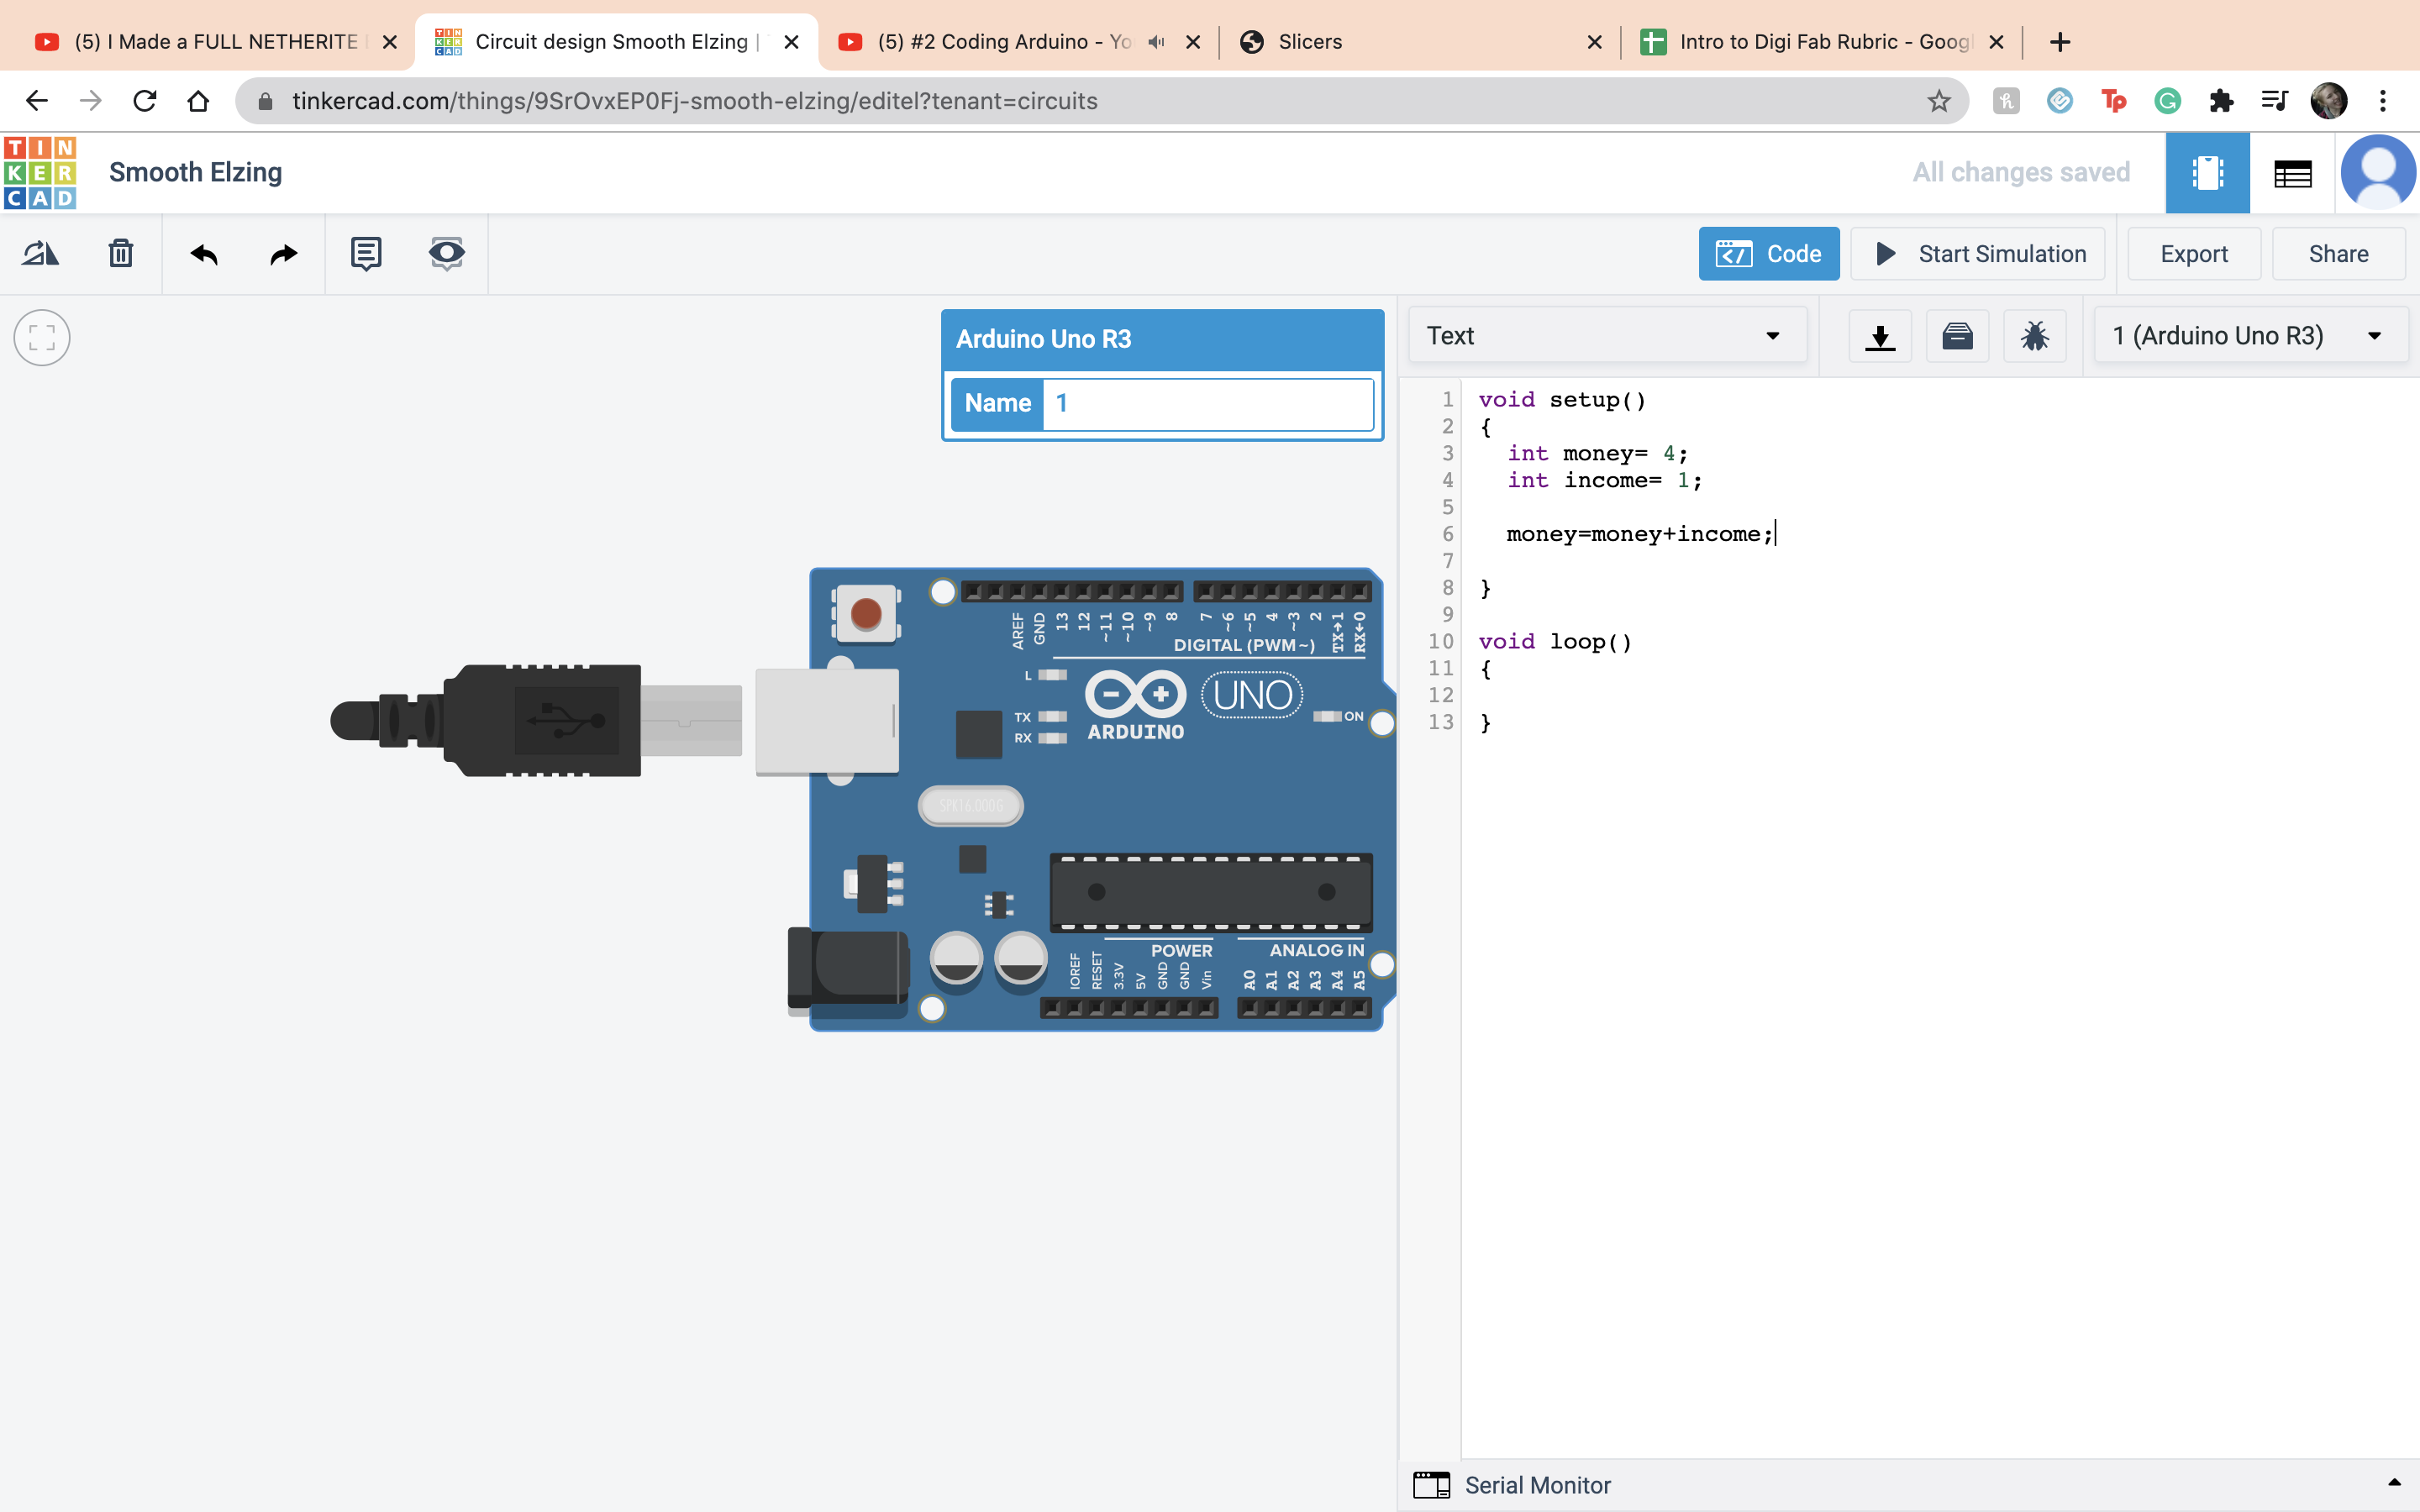
 I did the same thing with the variable income
 You can add them together like so.
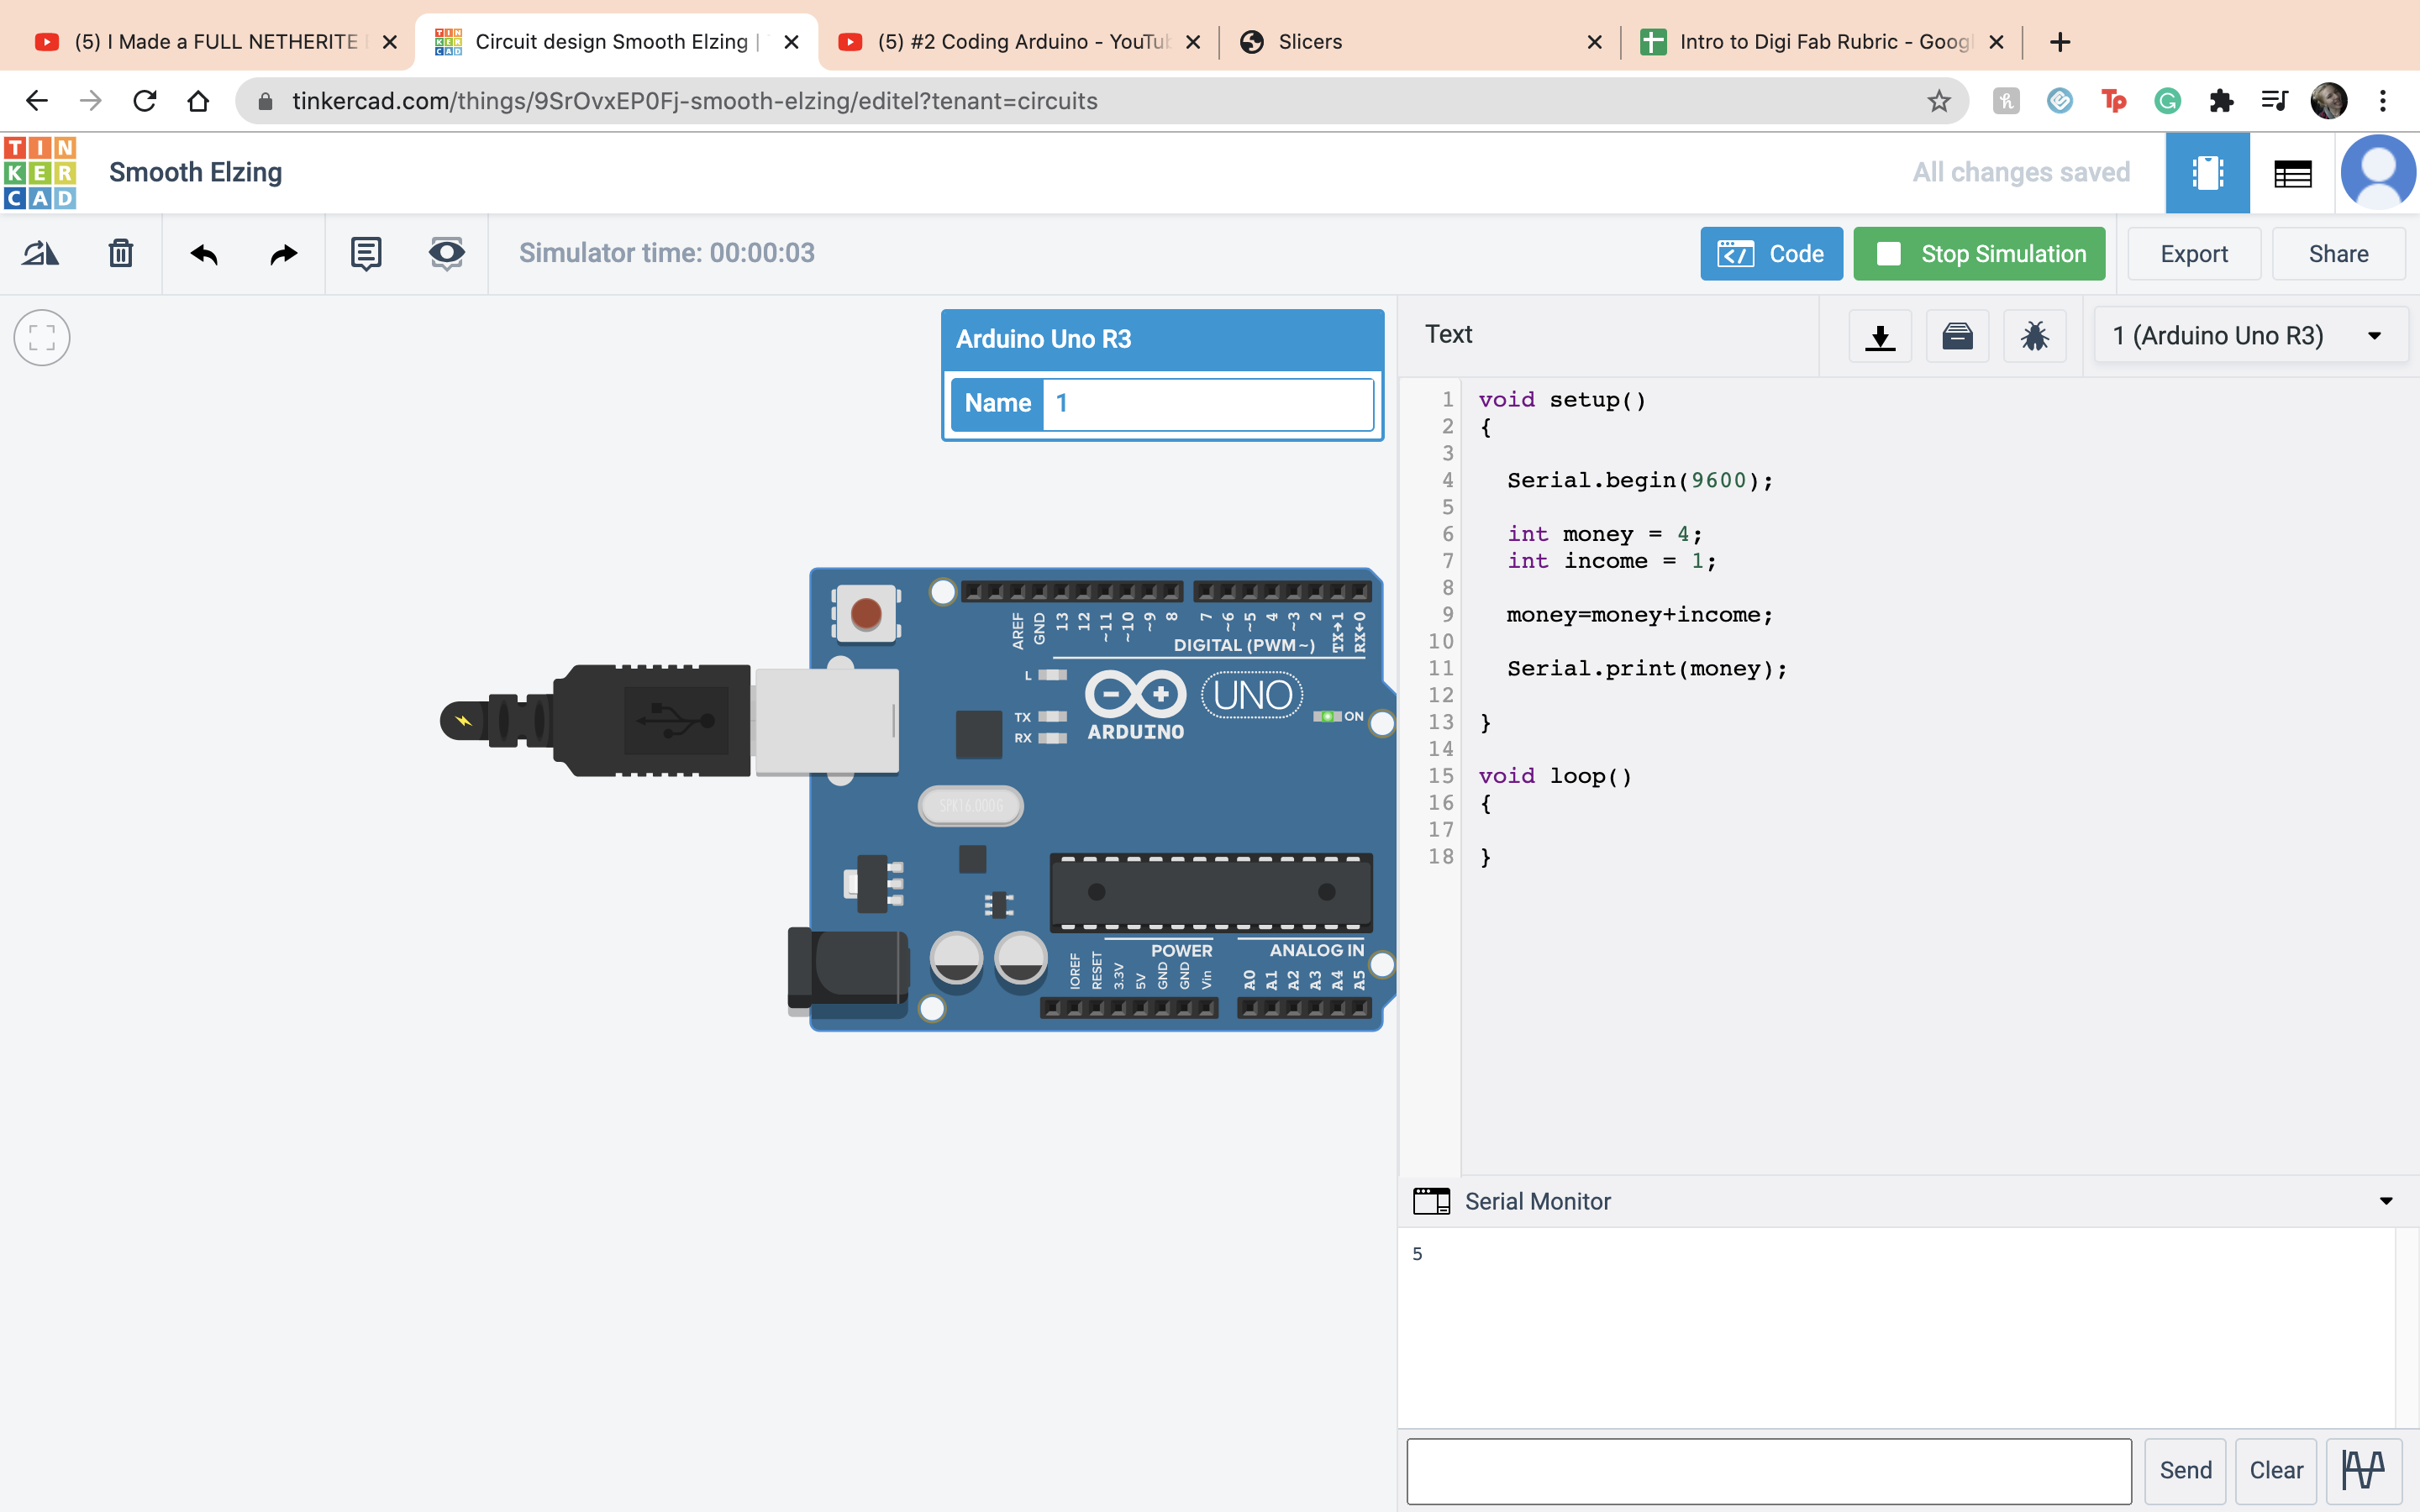
 Now we had the issue of seeing it so we set up a Serial connection. It basically allowed us to see our work with Serial begin and Serial print
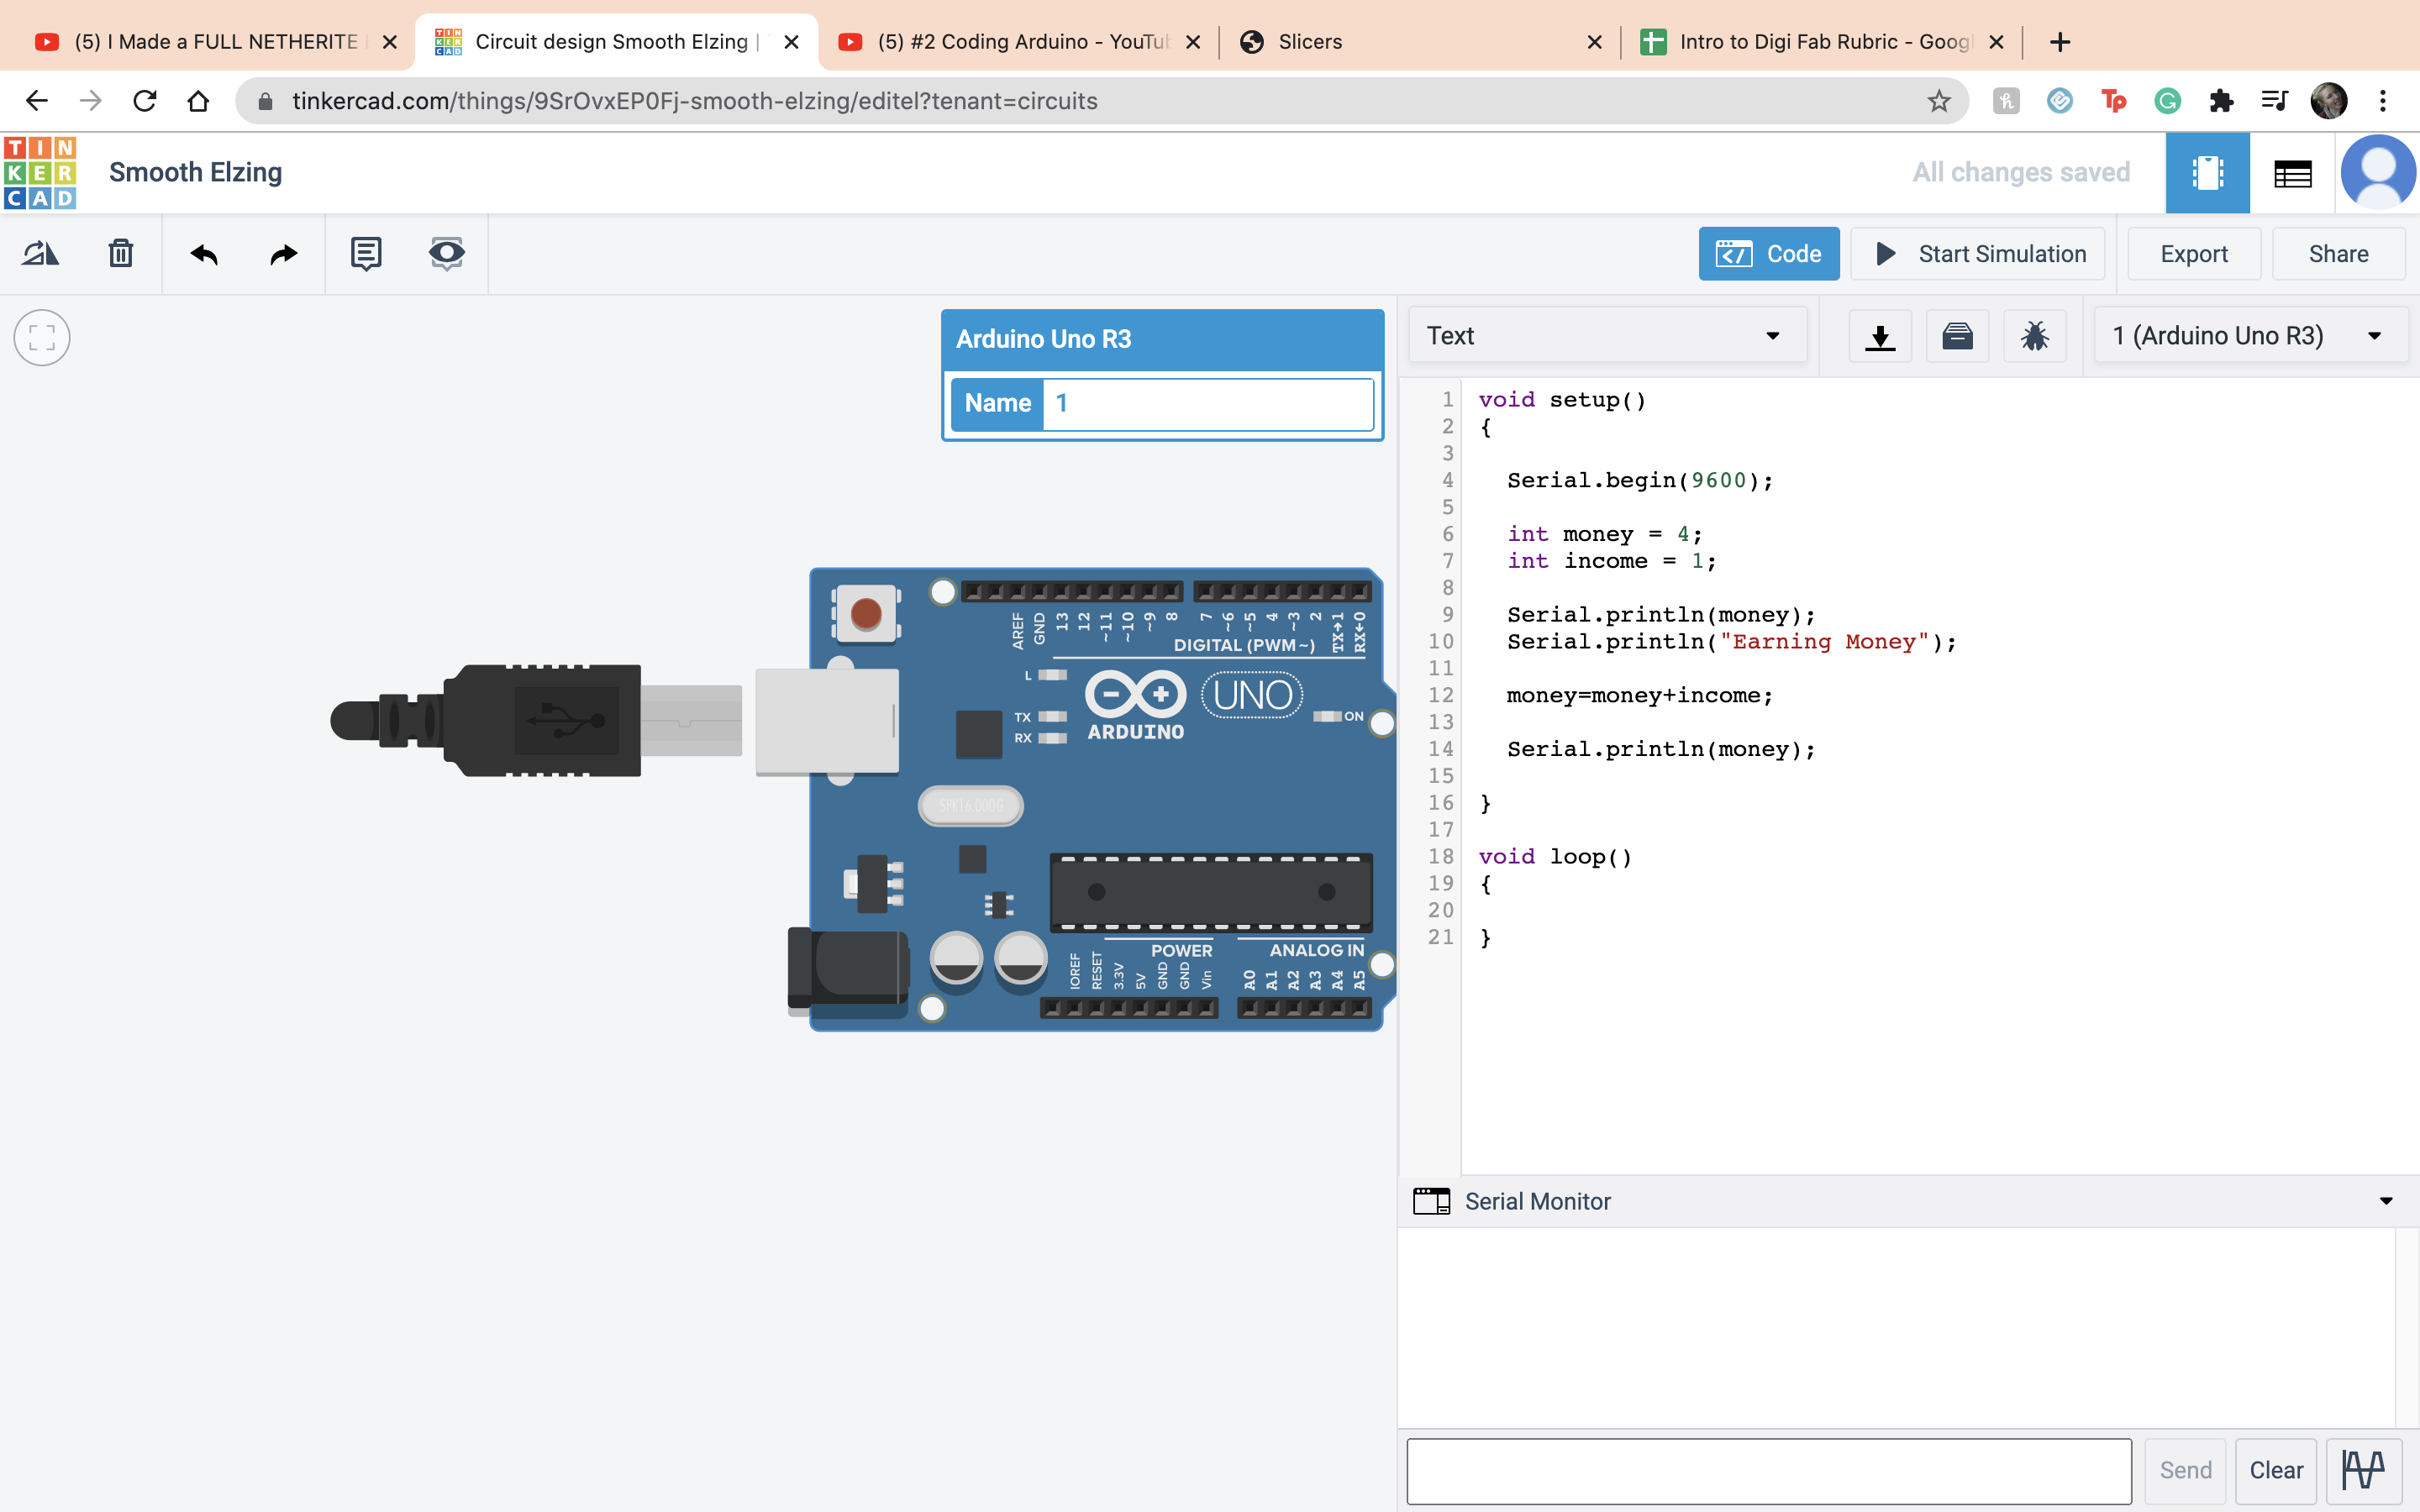
 Next we added another line of text that shows the money before the equation and a word and then after the equation using the Serial.print. the Serial.prinln just makes it go onto another line and makes it look better.
 Now just showing a few other operations it can do, in order, you can lose money.
 Multiplication
 Divison
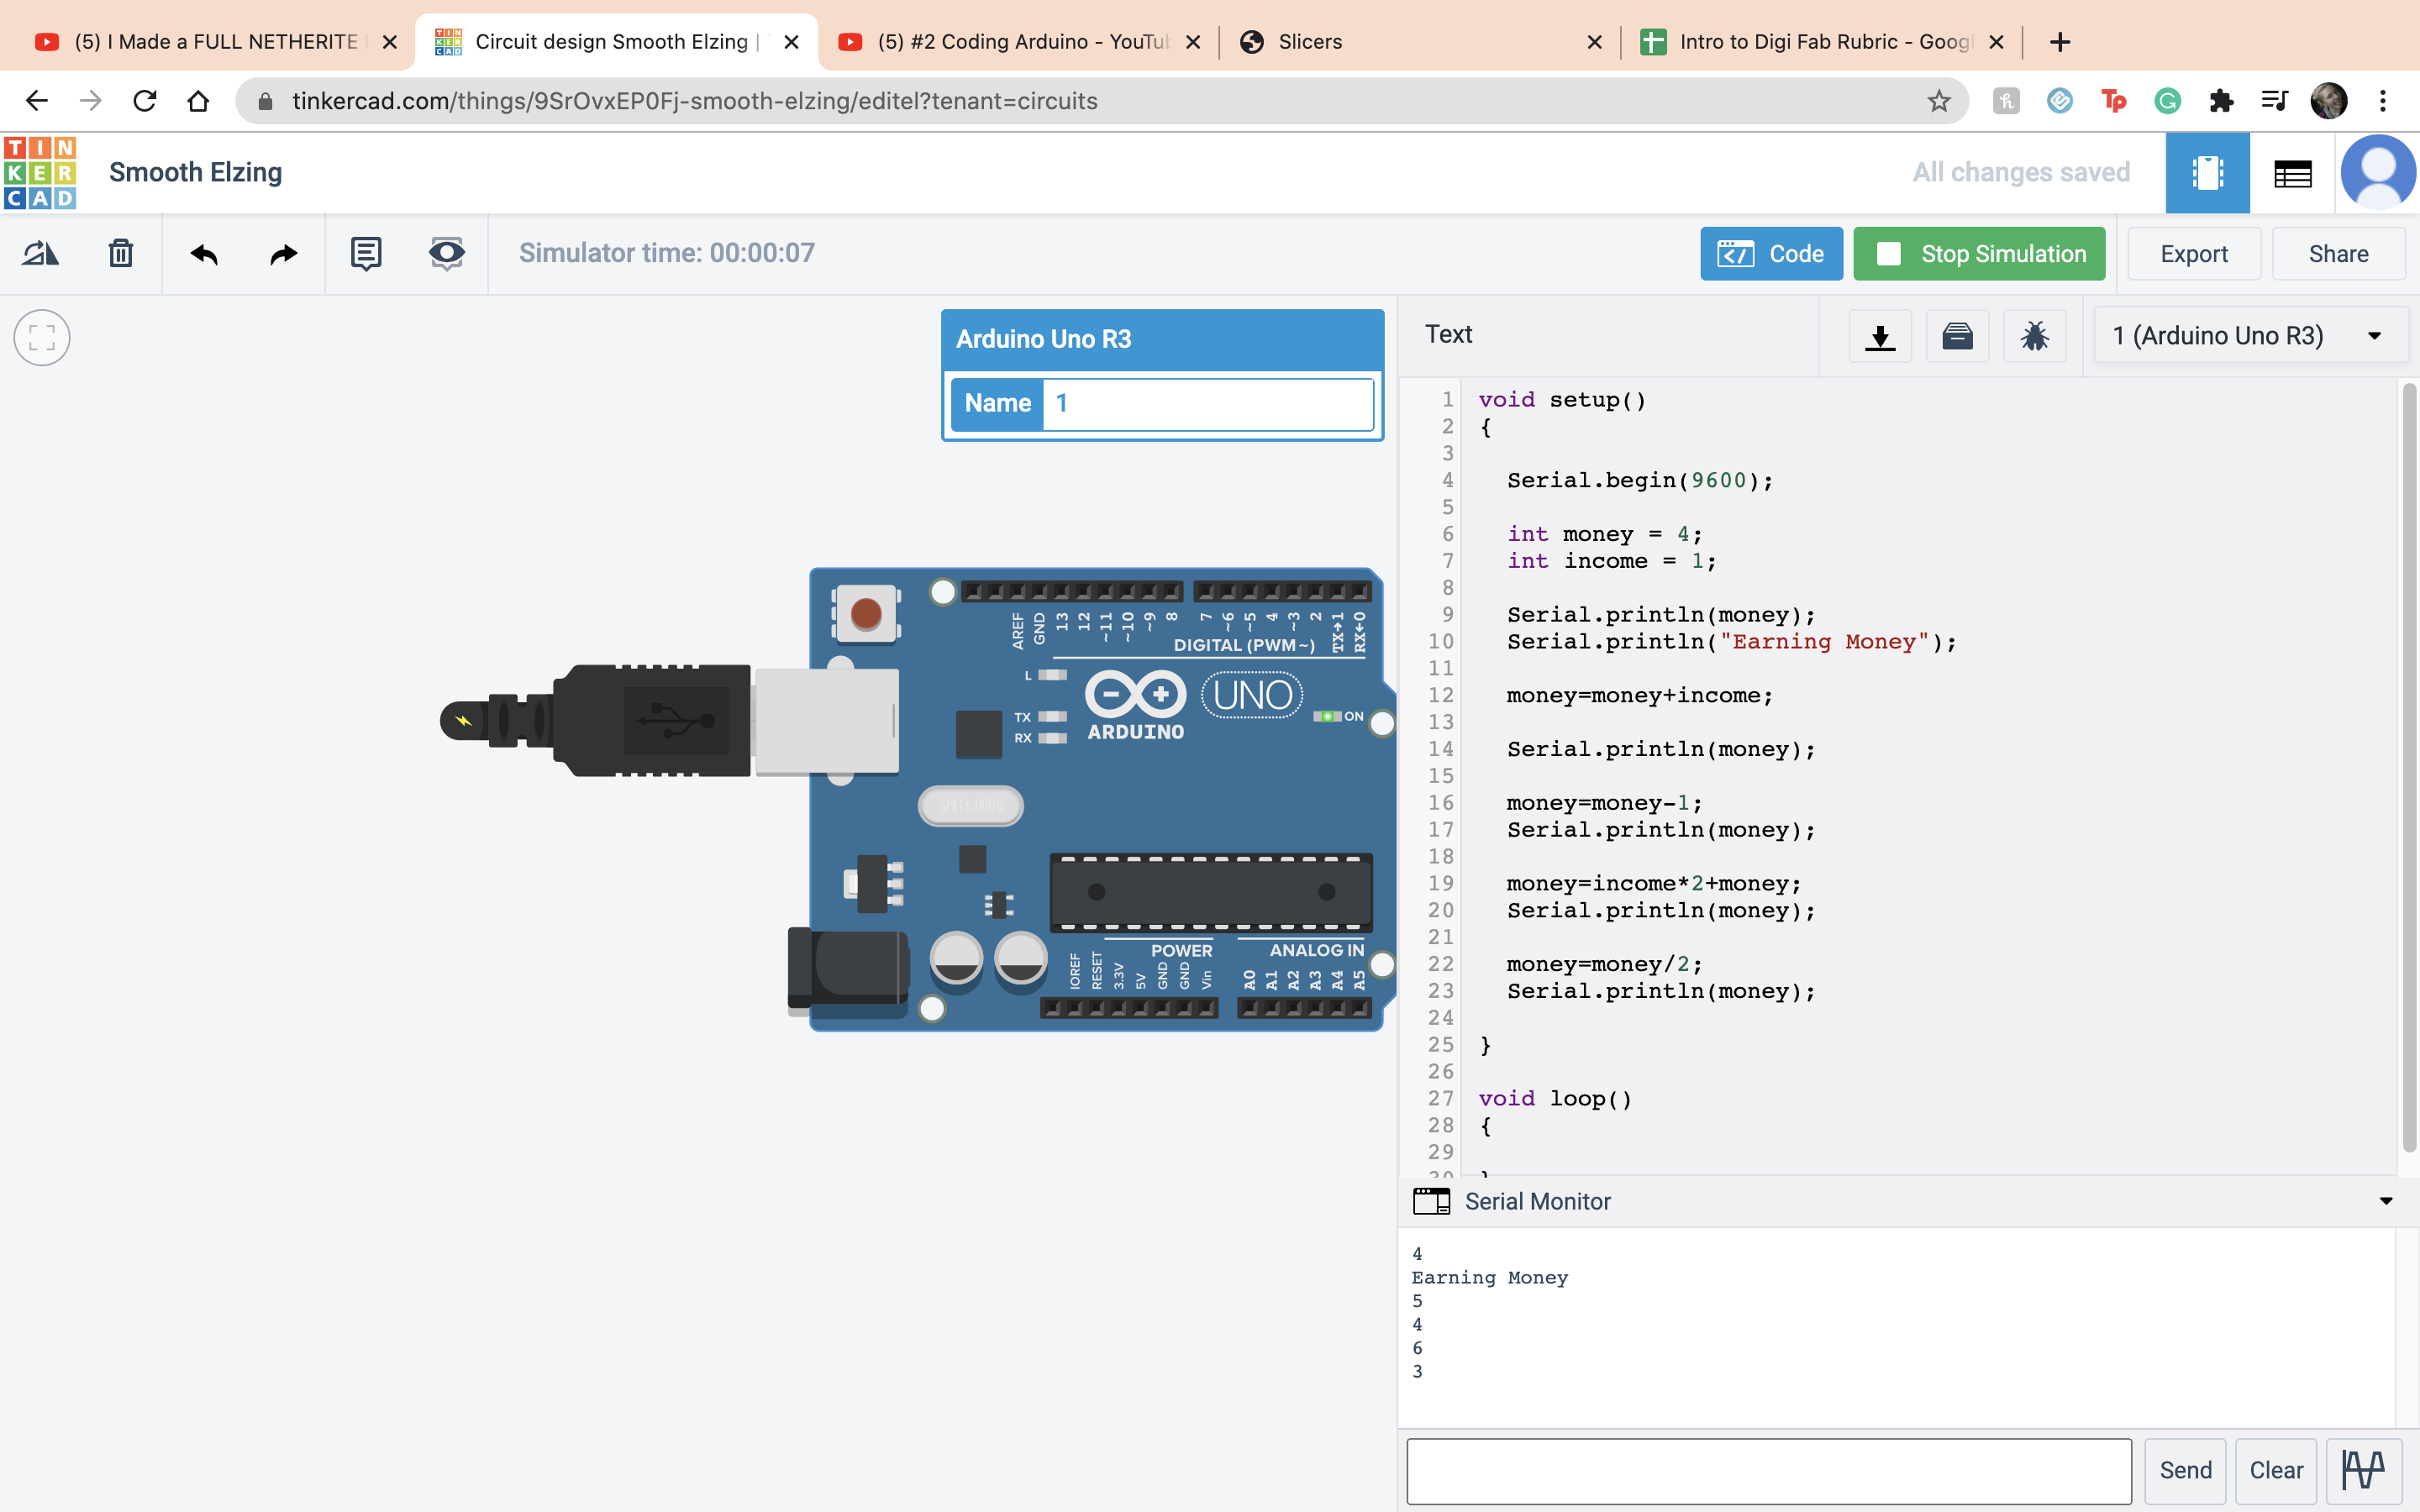 Modulo operation, the left over from the divison
 If and else statment, if the variable equals what it is supposed to, do this, if it doesnt, do this other thing. In this case money did = 4 so it printed out rich.
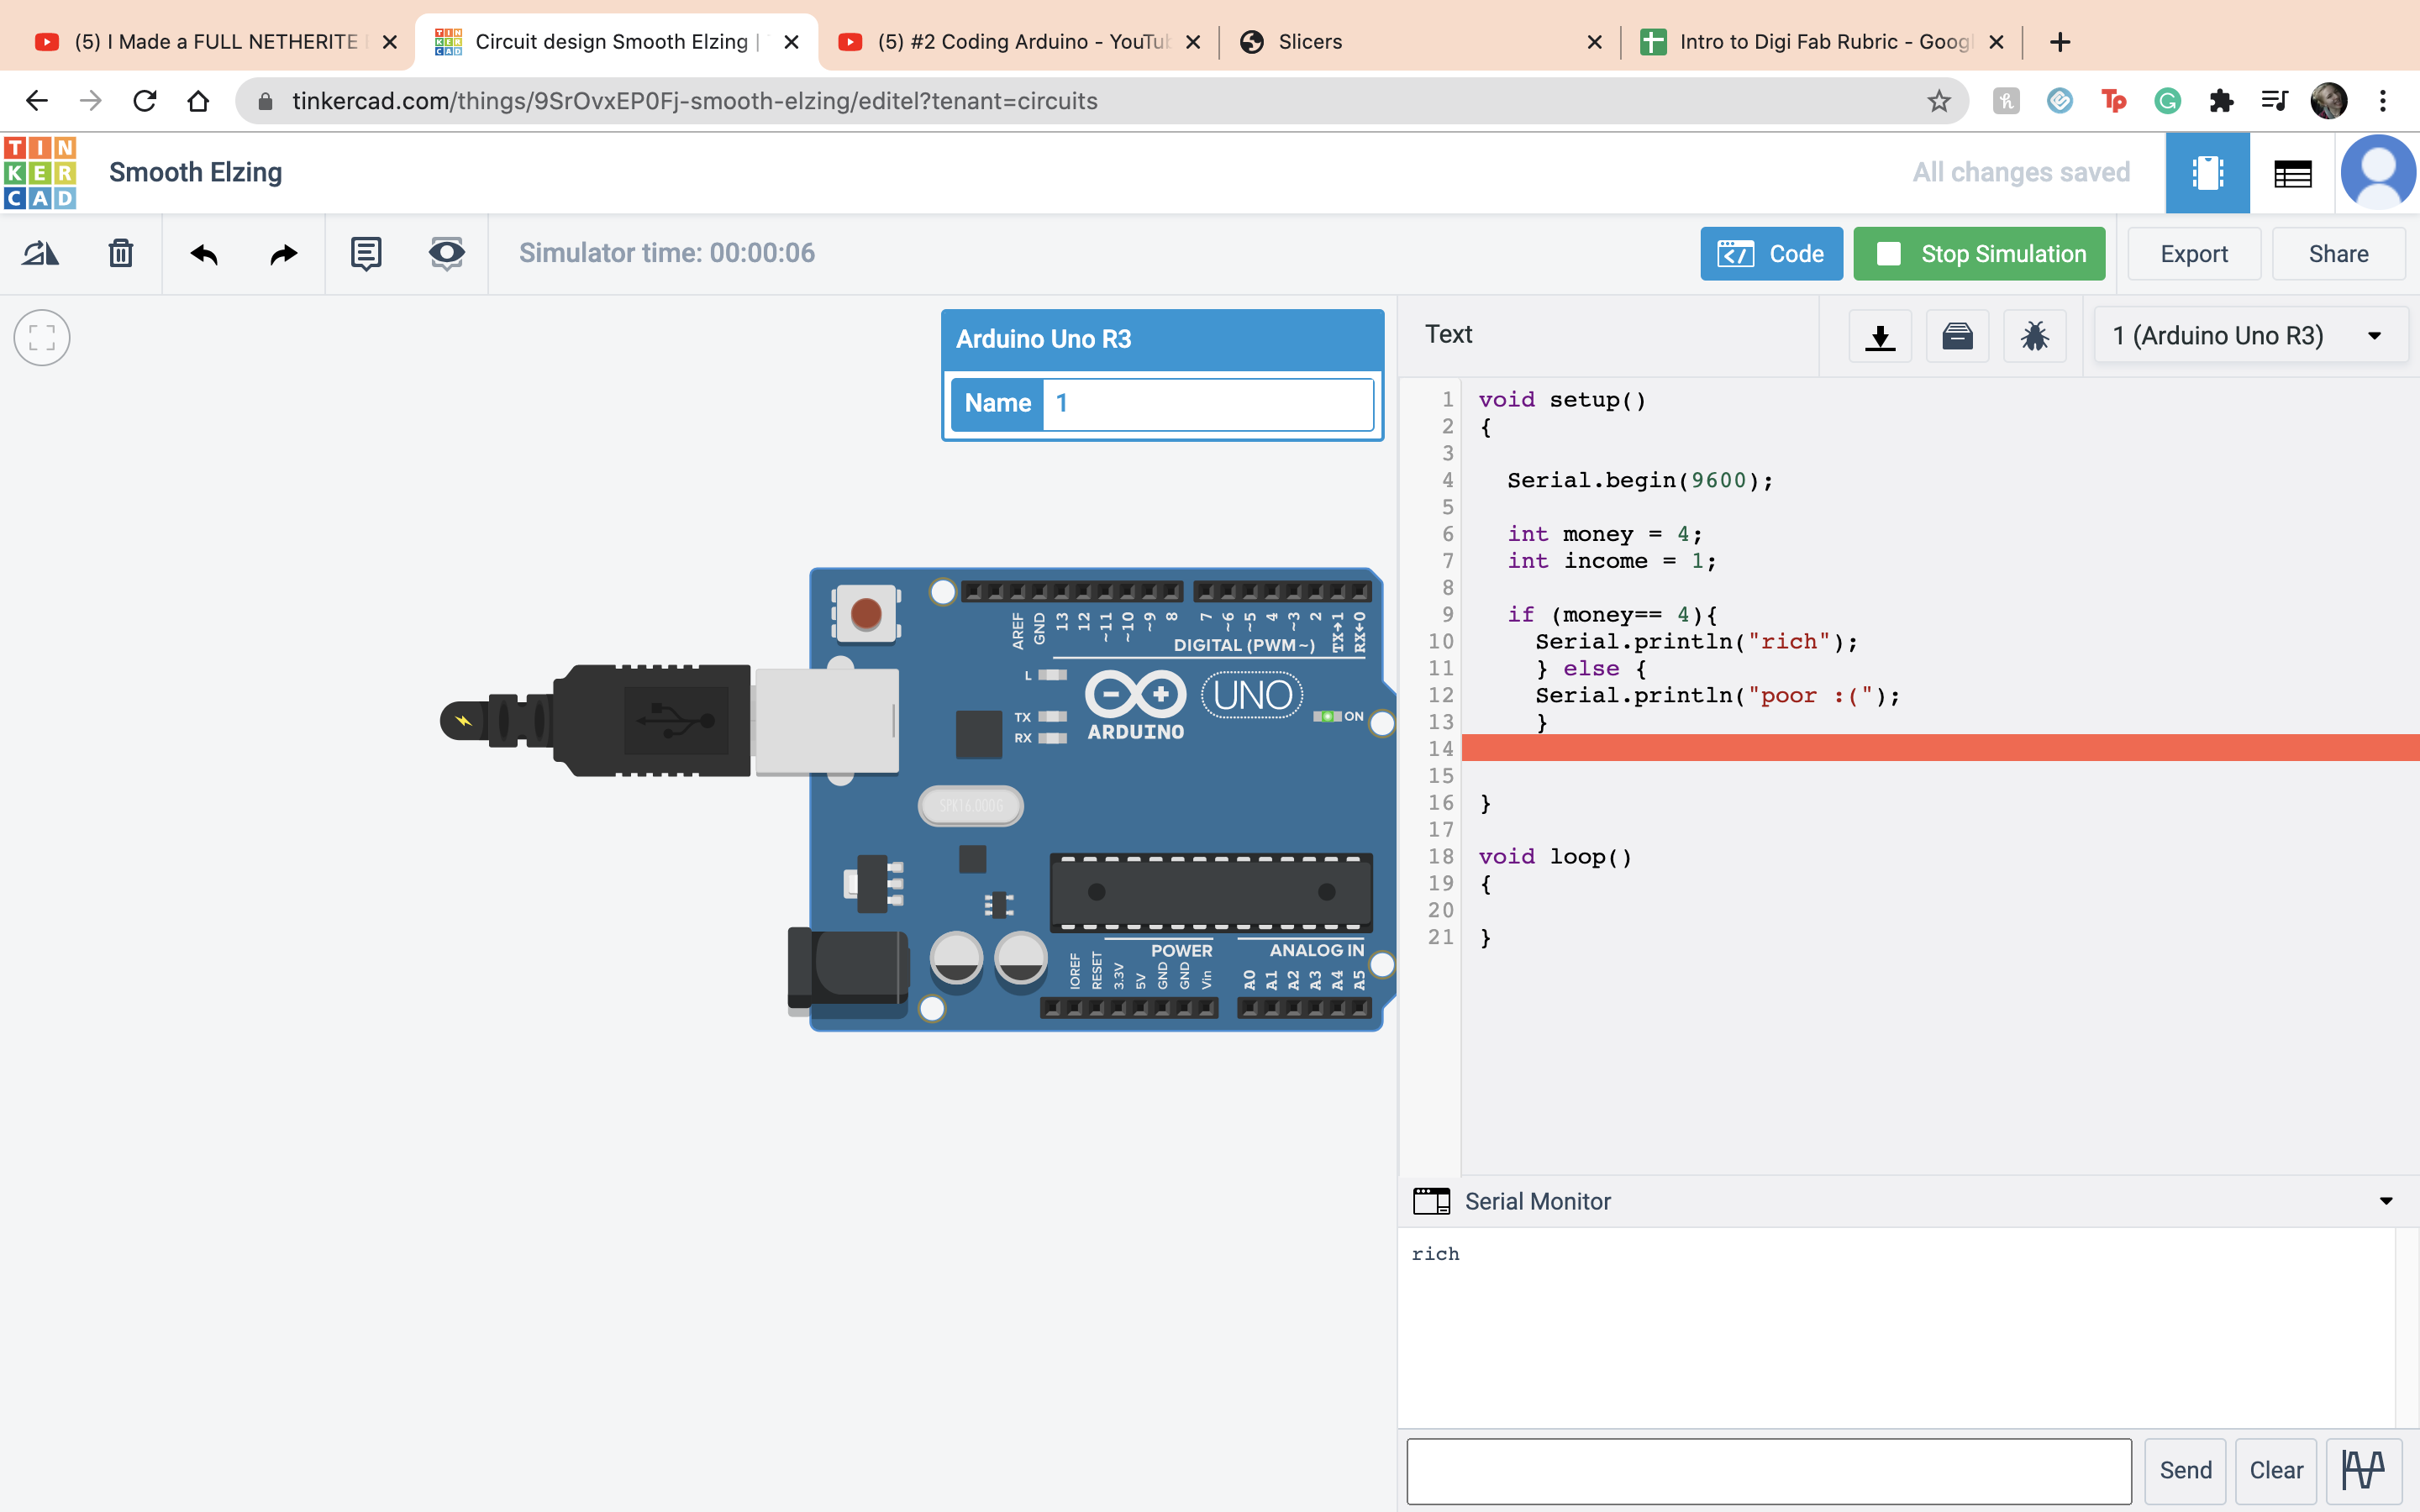 In this case money did not = 4 so it printed out Poor :(
 That was the end of the second video, onto video 3. Now we are combining everything... oh joy. The first thing I did was set up the board and the ardino.
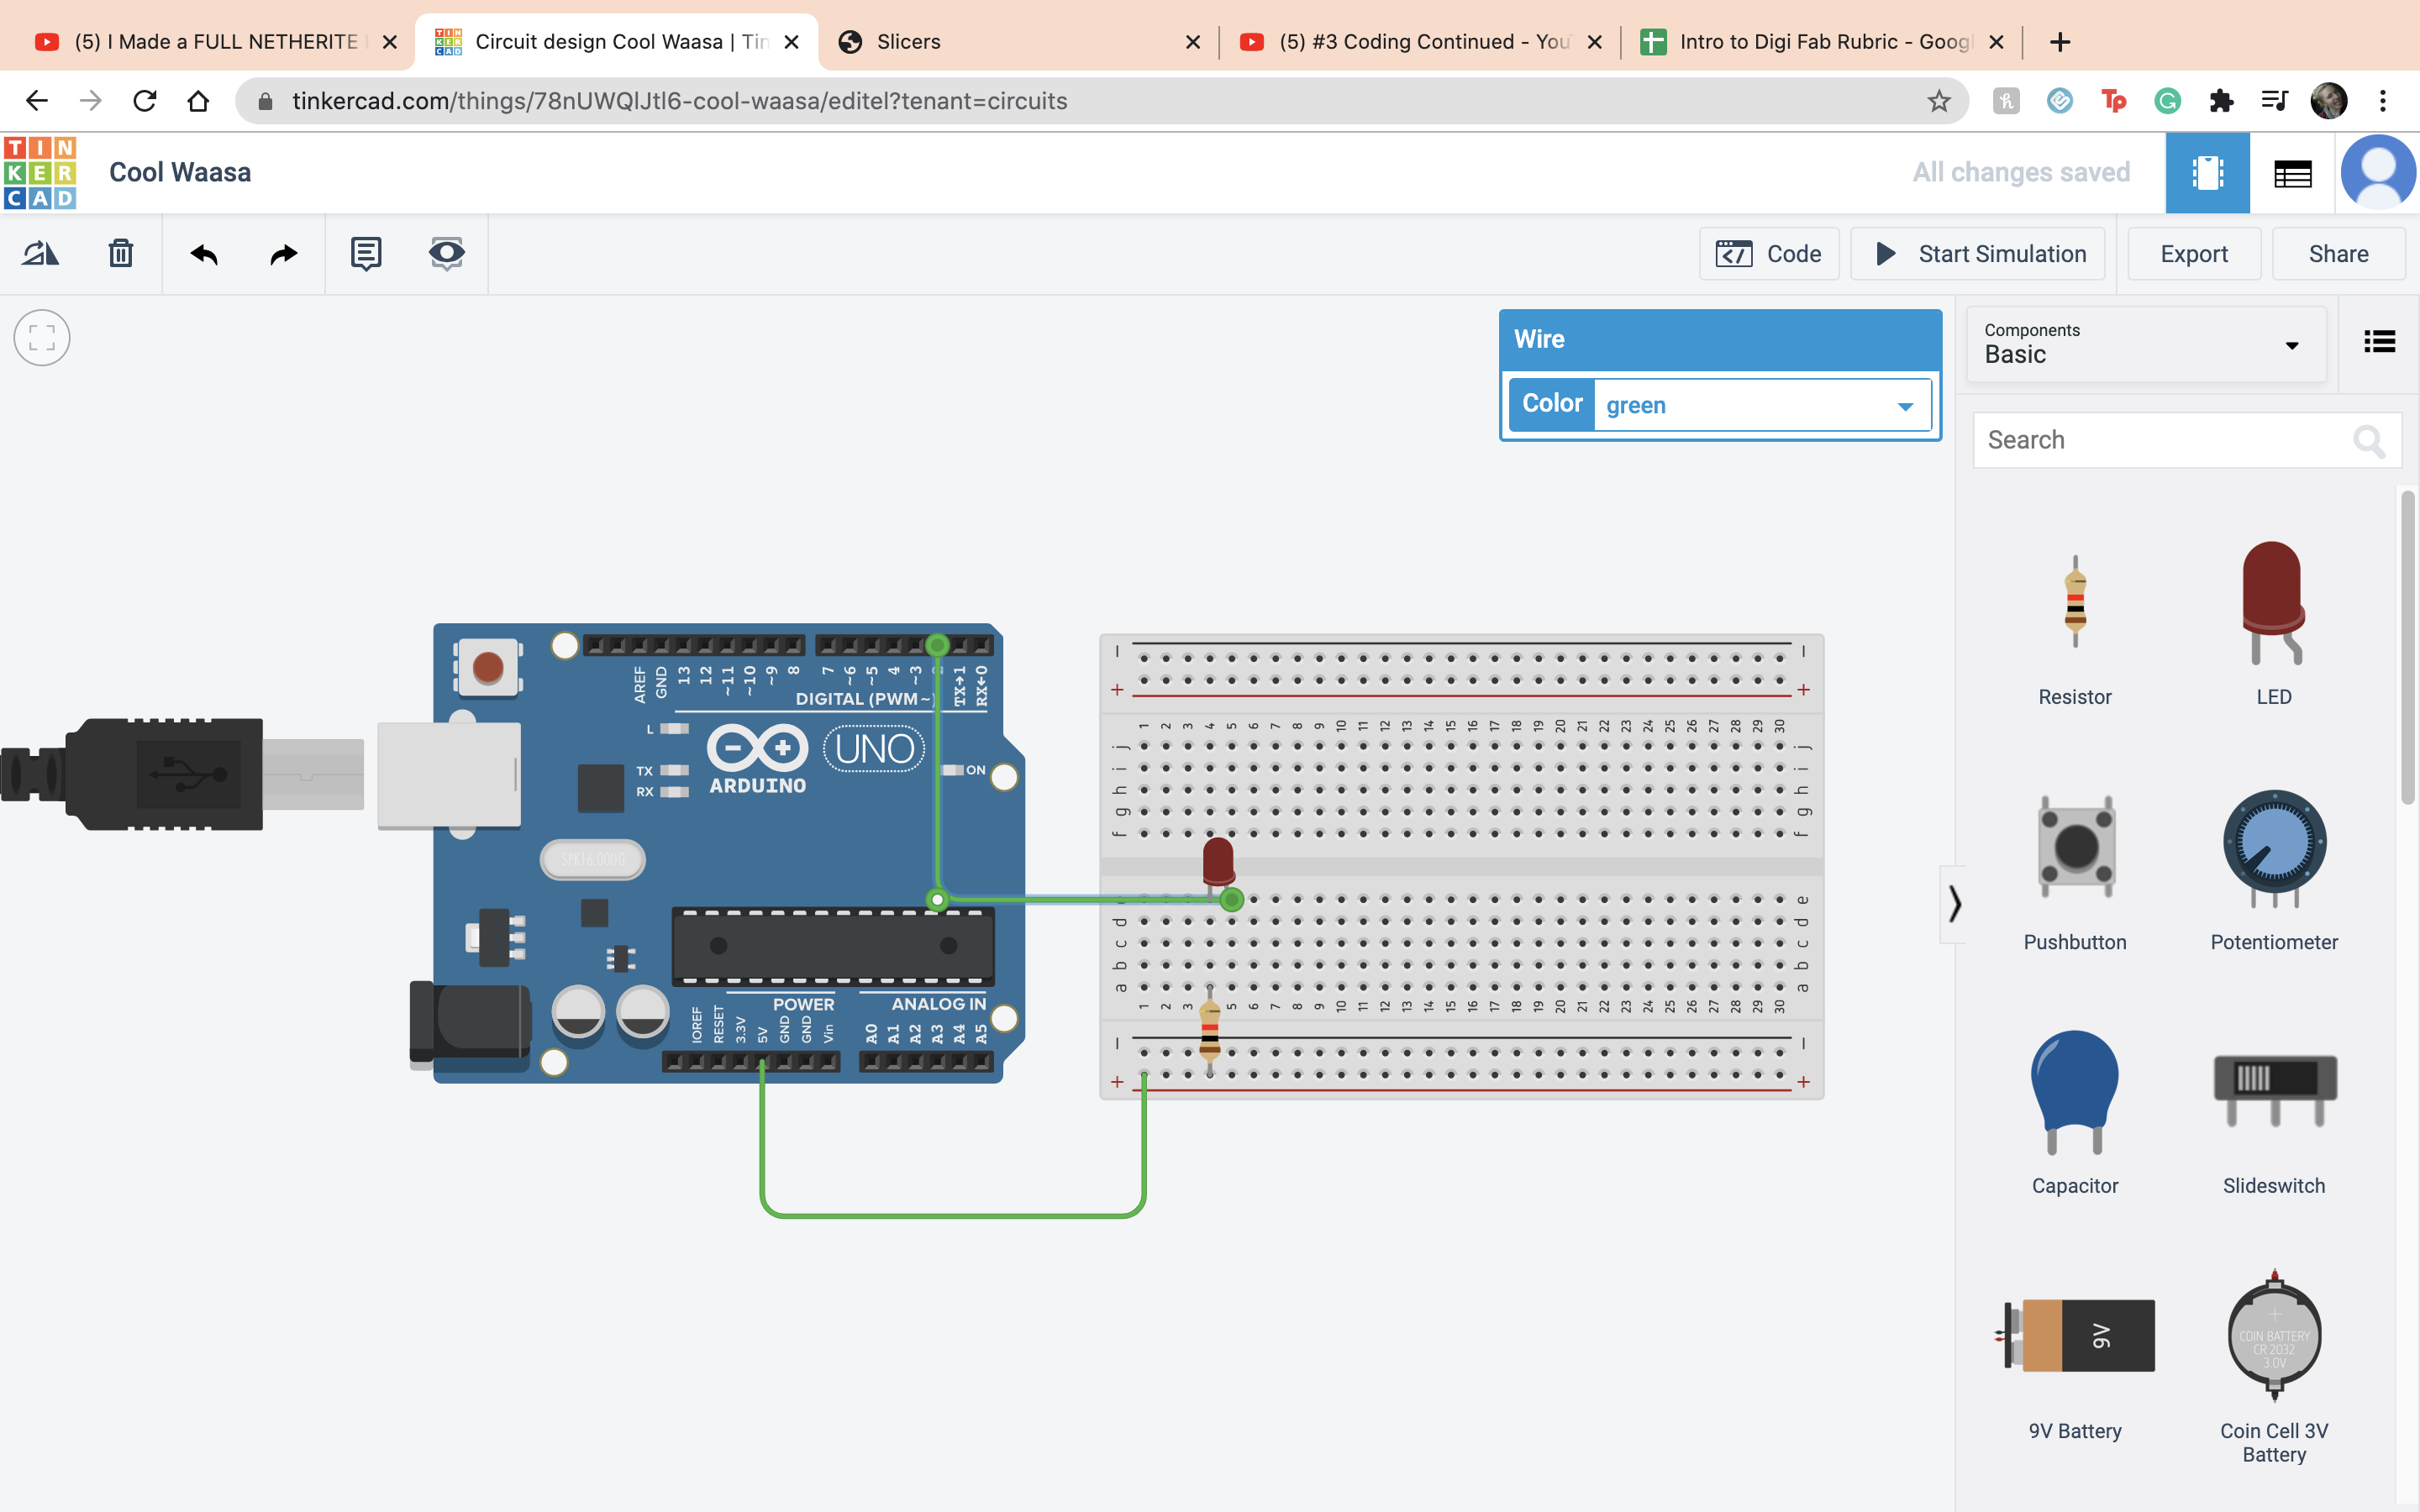
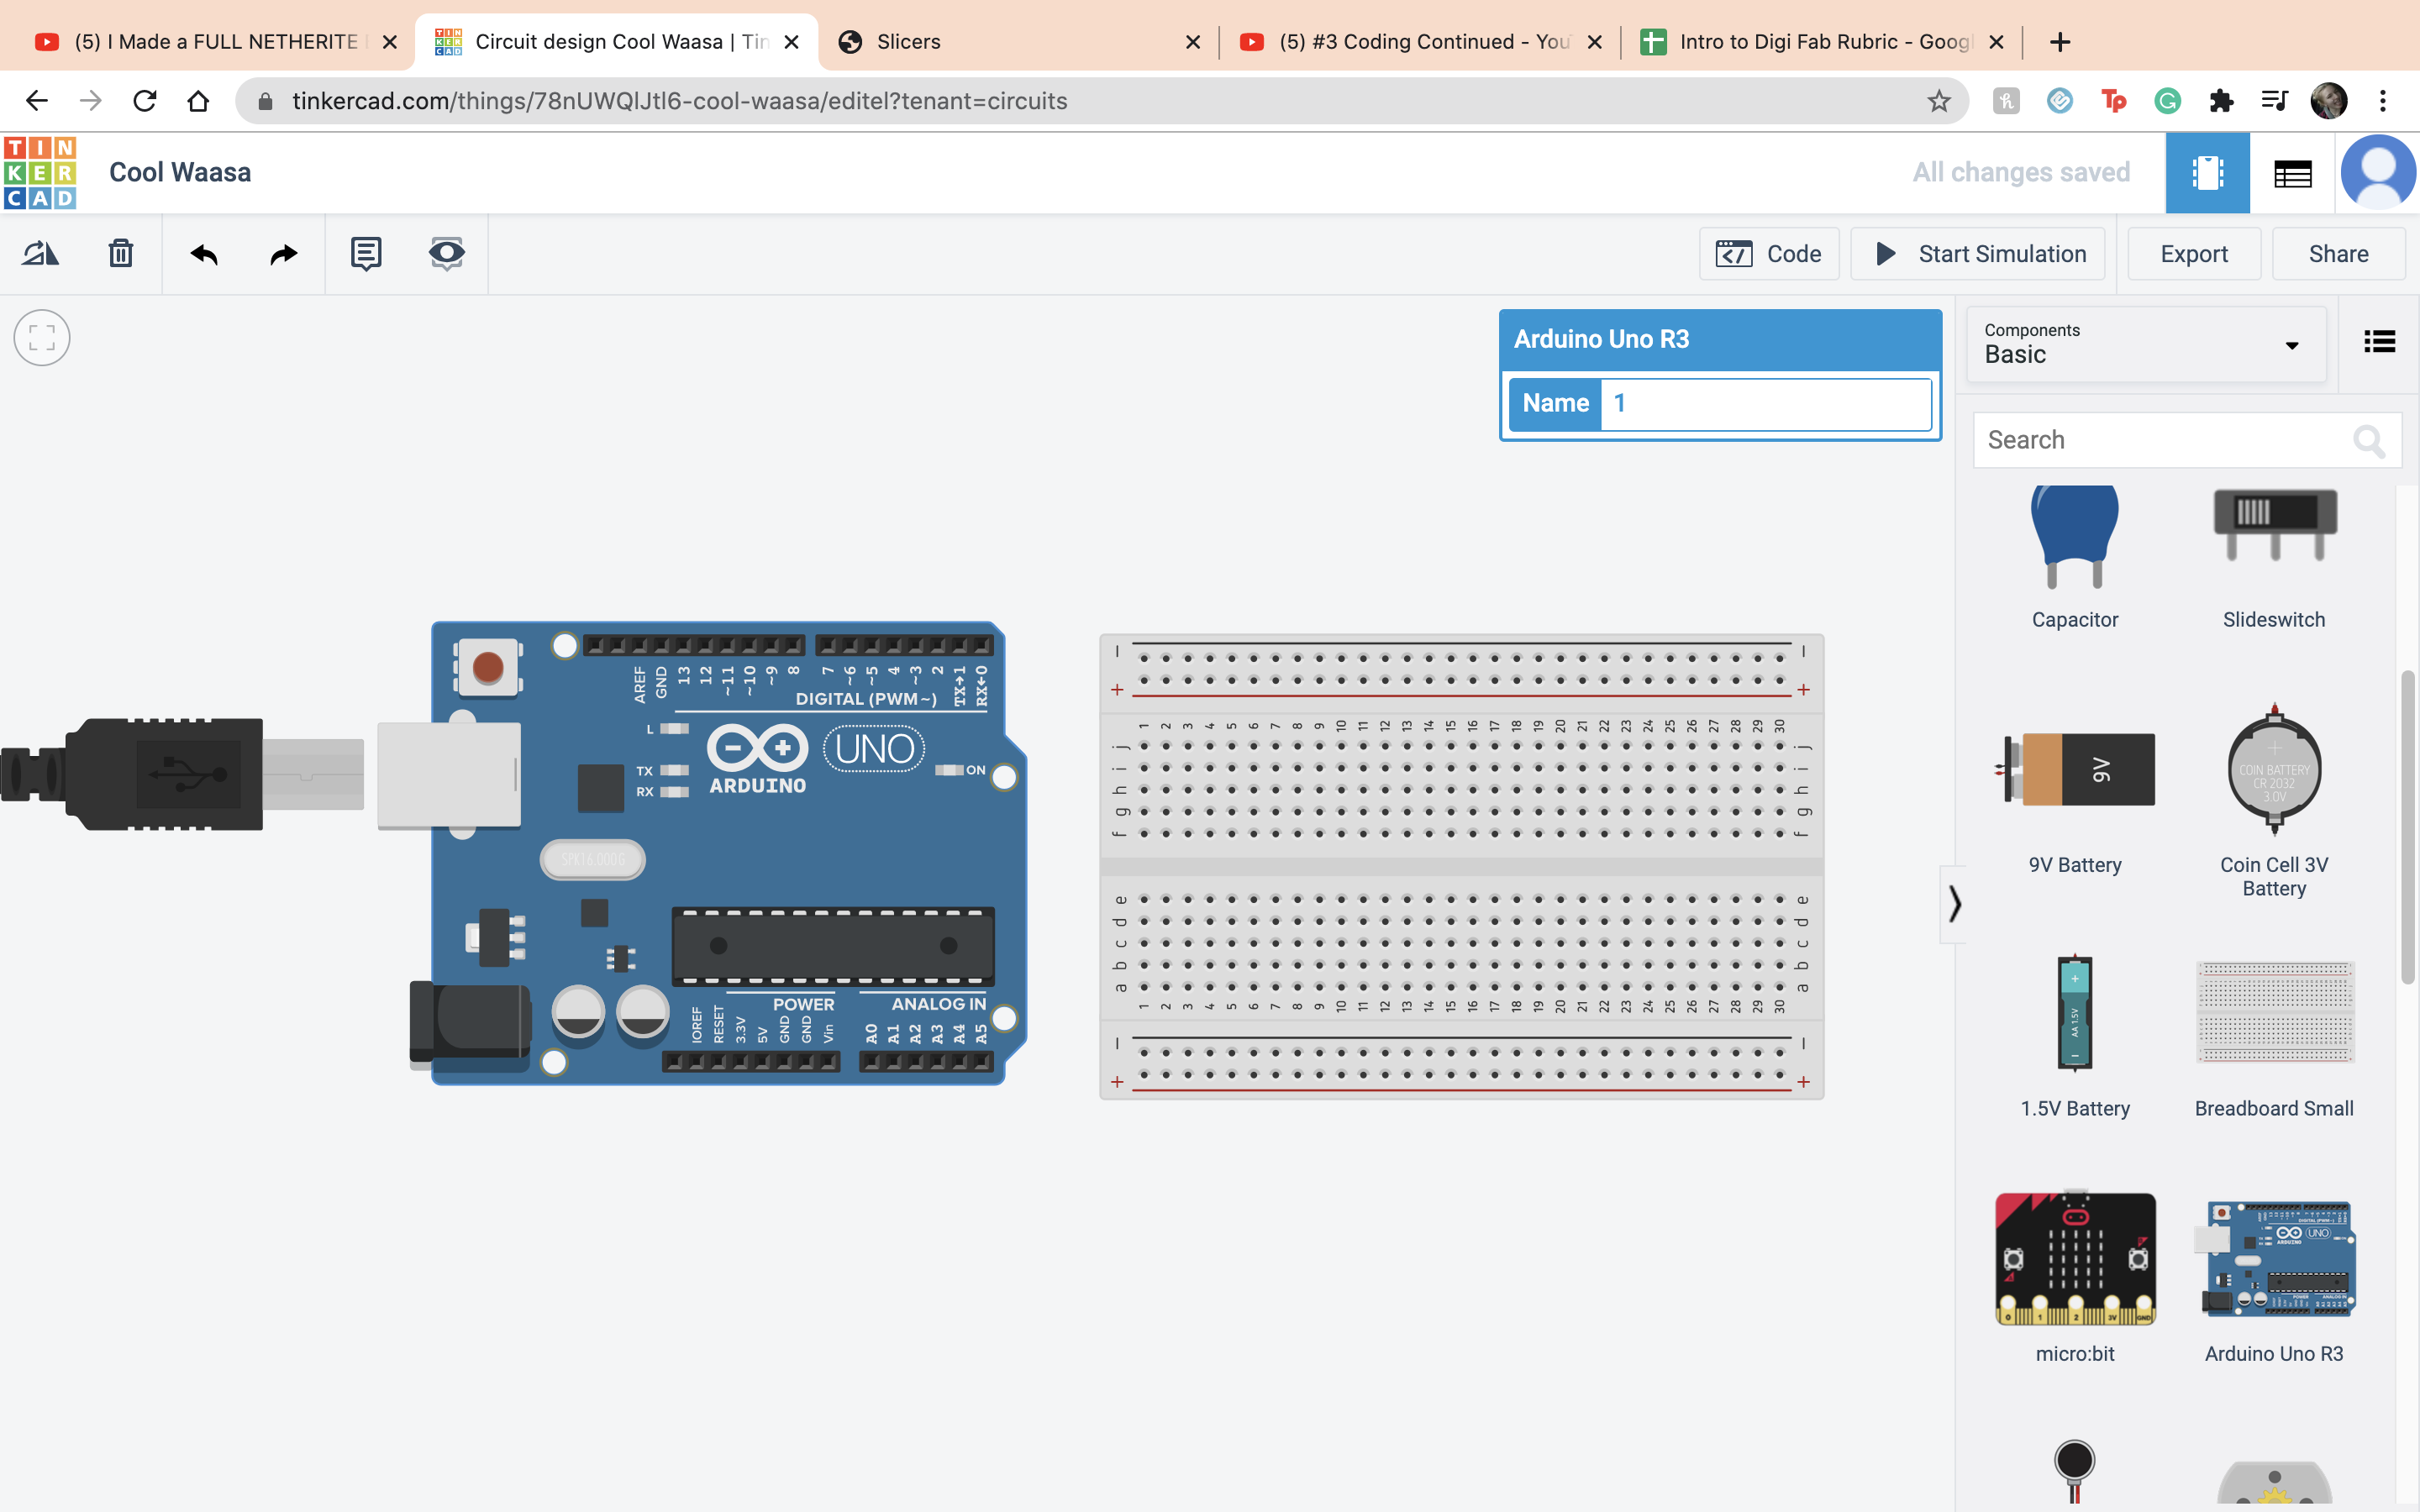 First we set up the LED as before, but this time brought the anode to terminal 2 on the ardino.
 Then we went into the coding made a global constant, LED=2, and replaced all the 13s with LED.
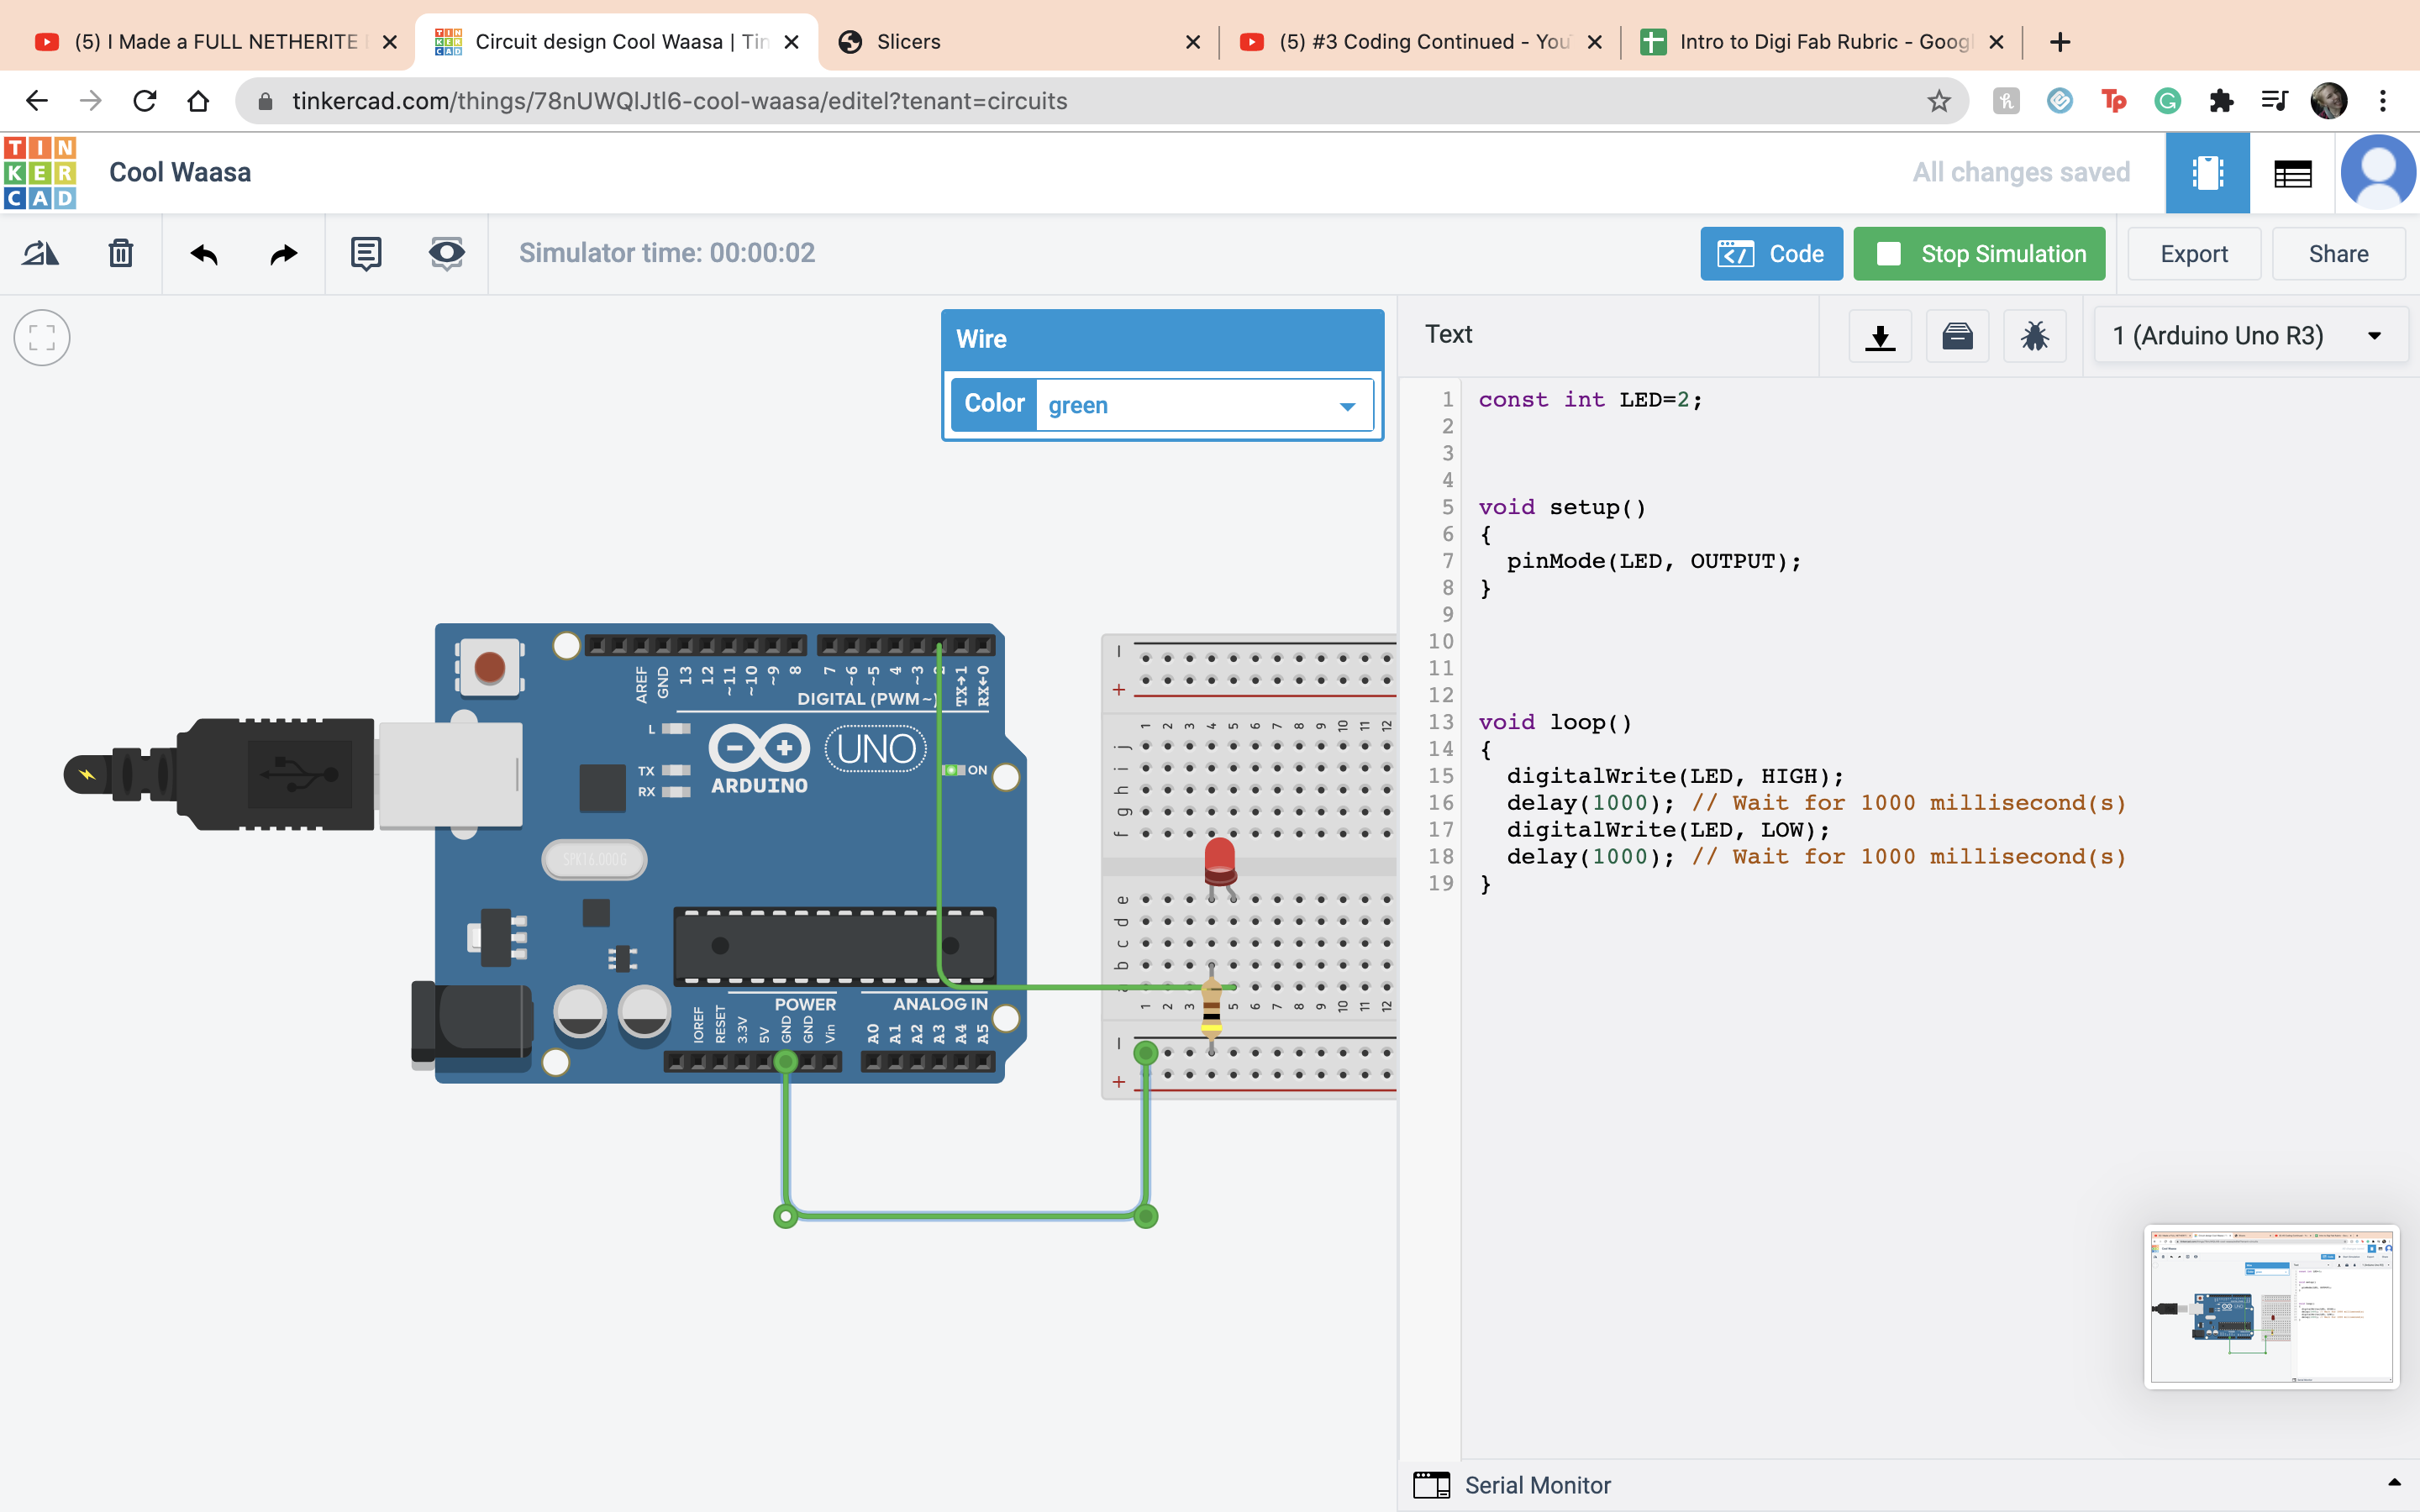
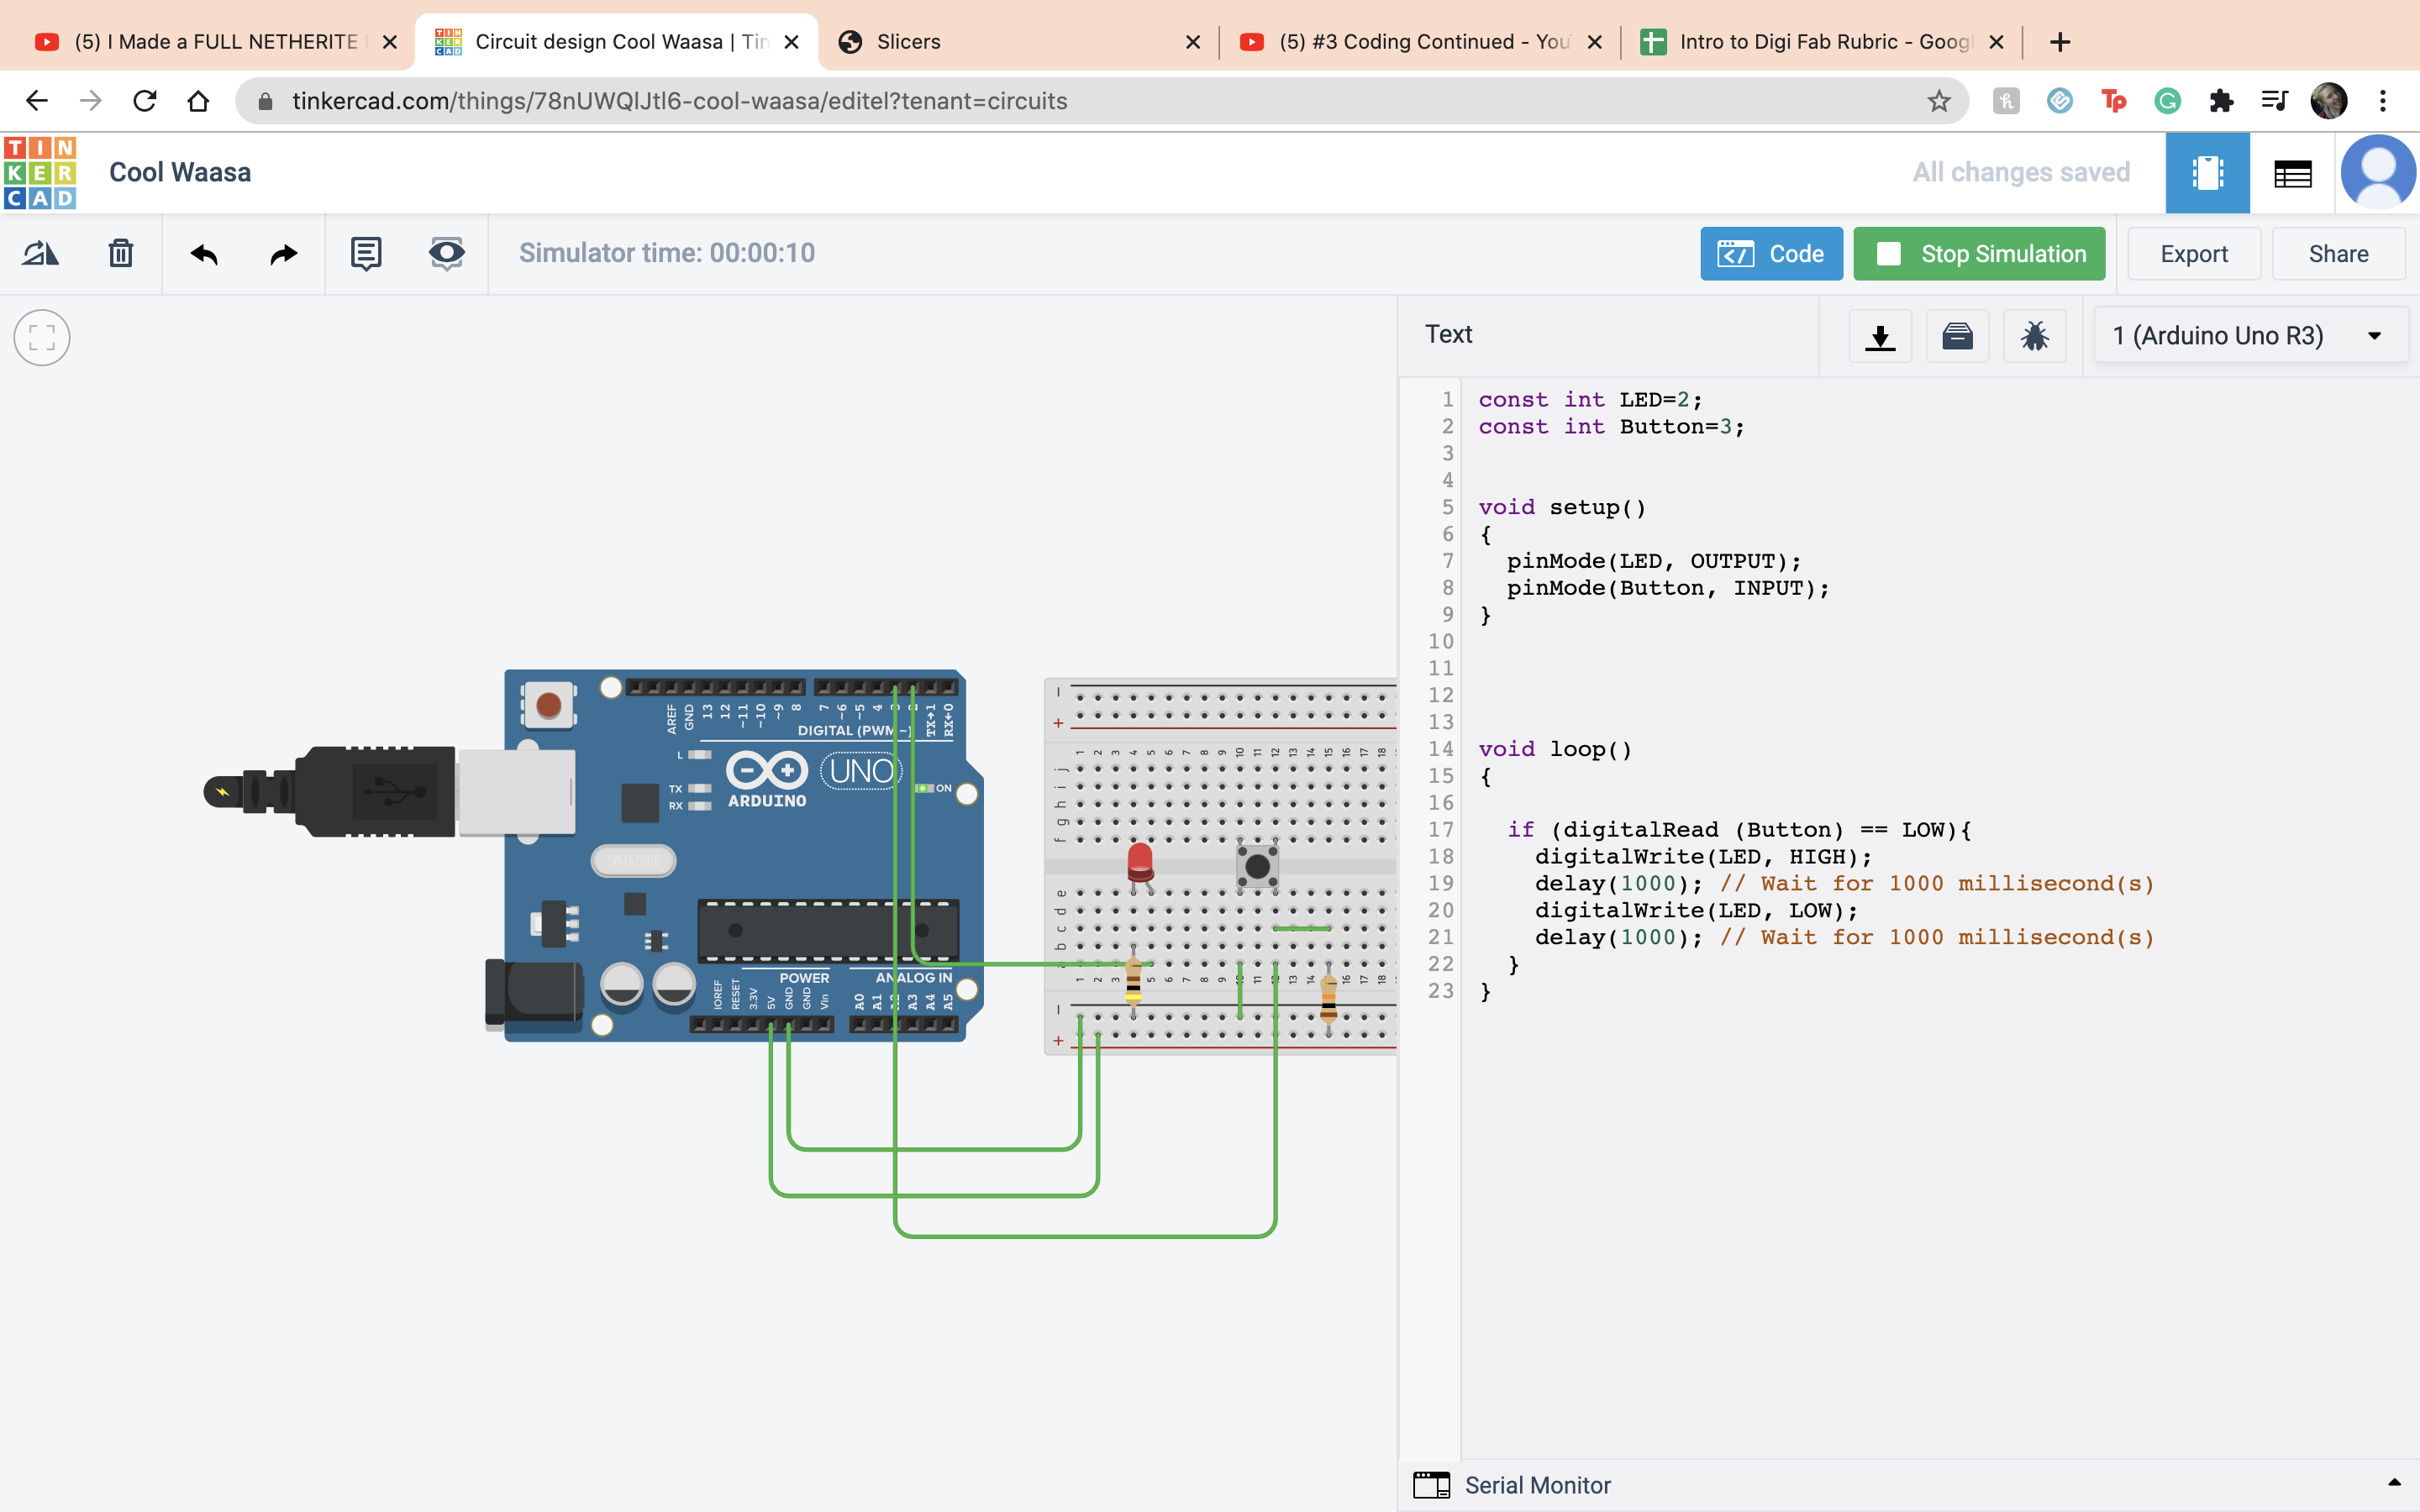
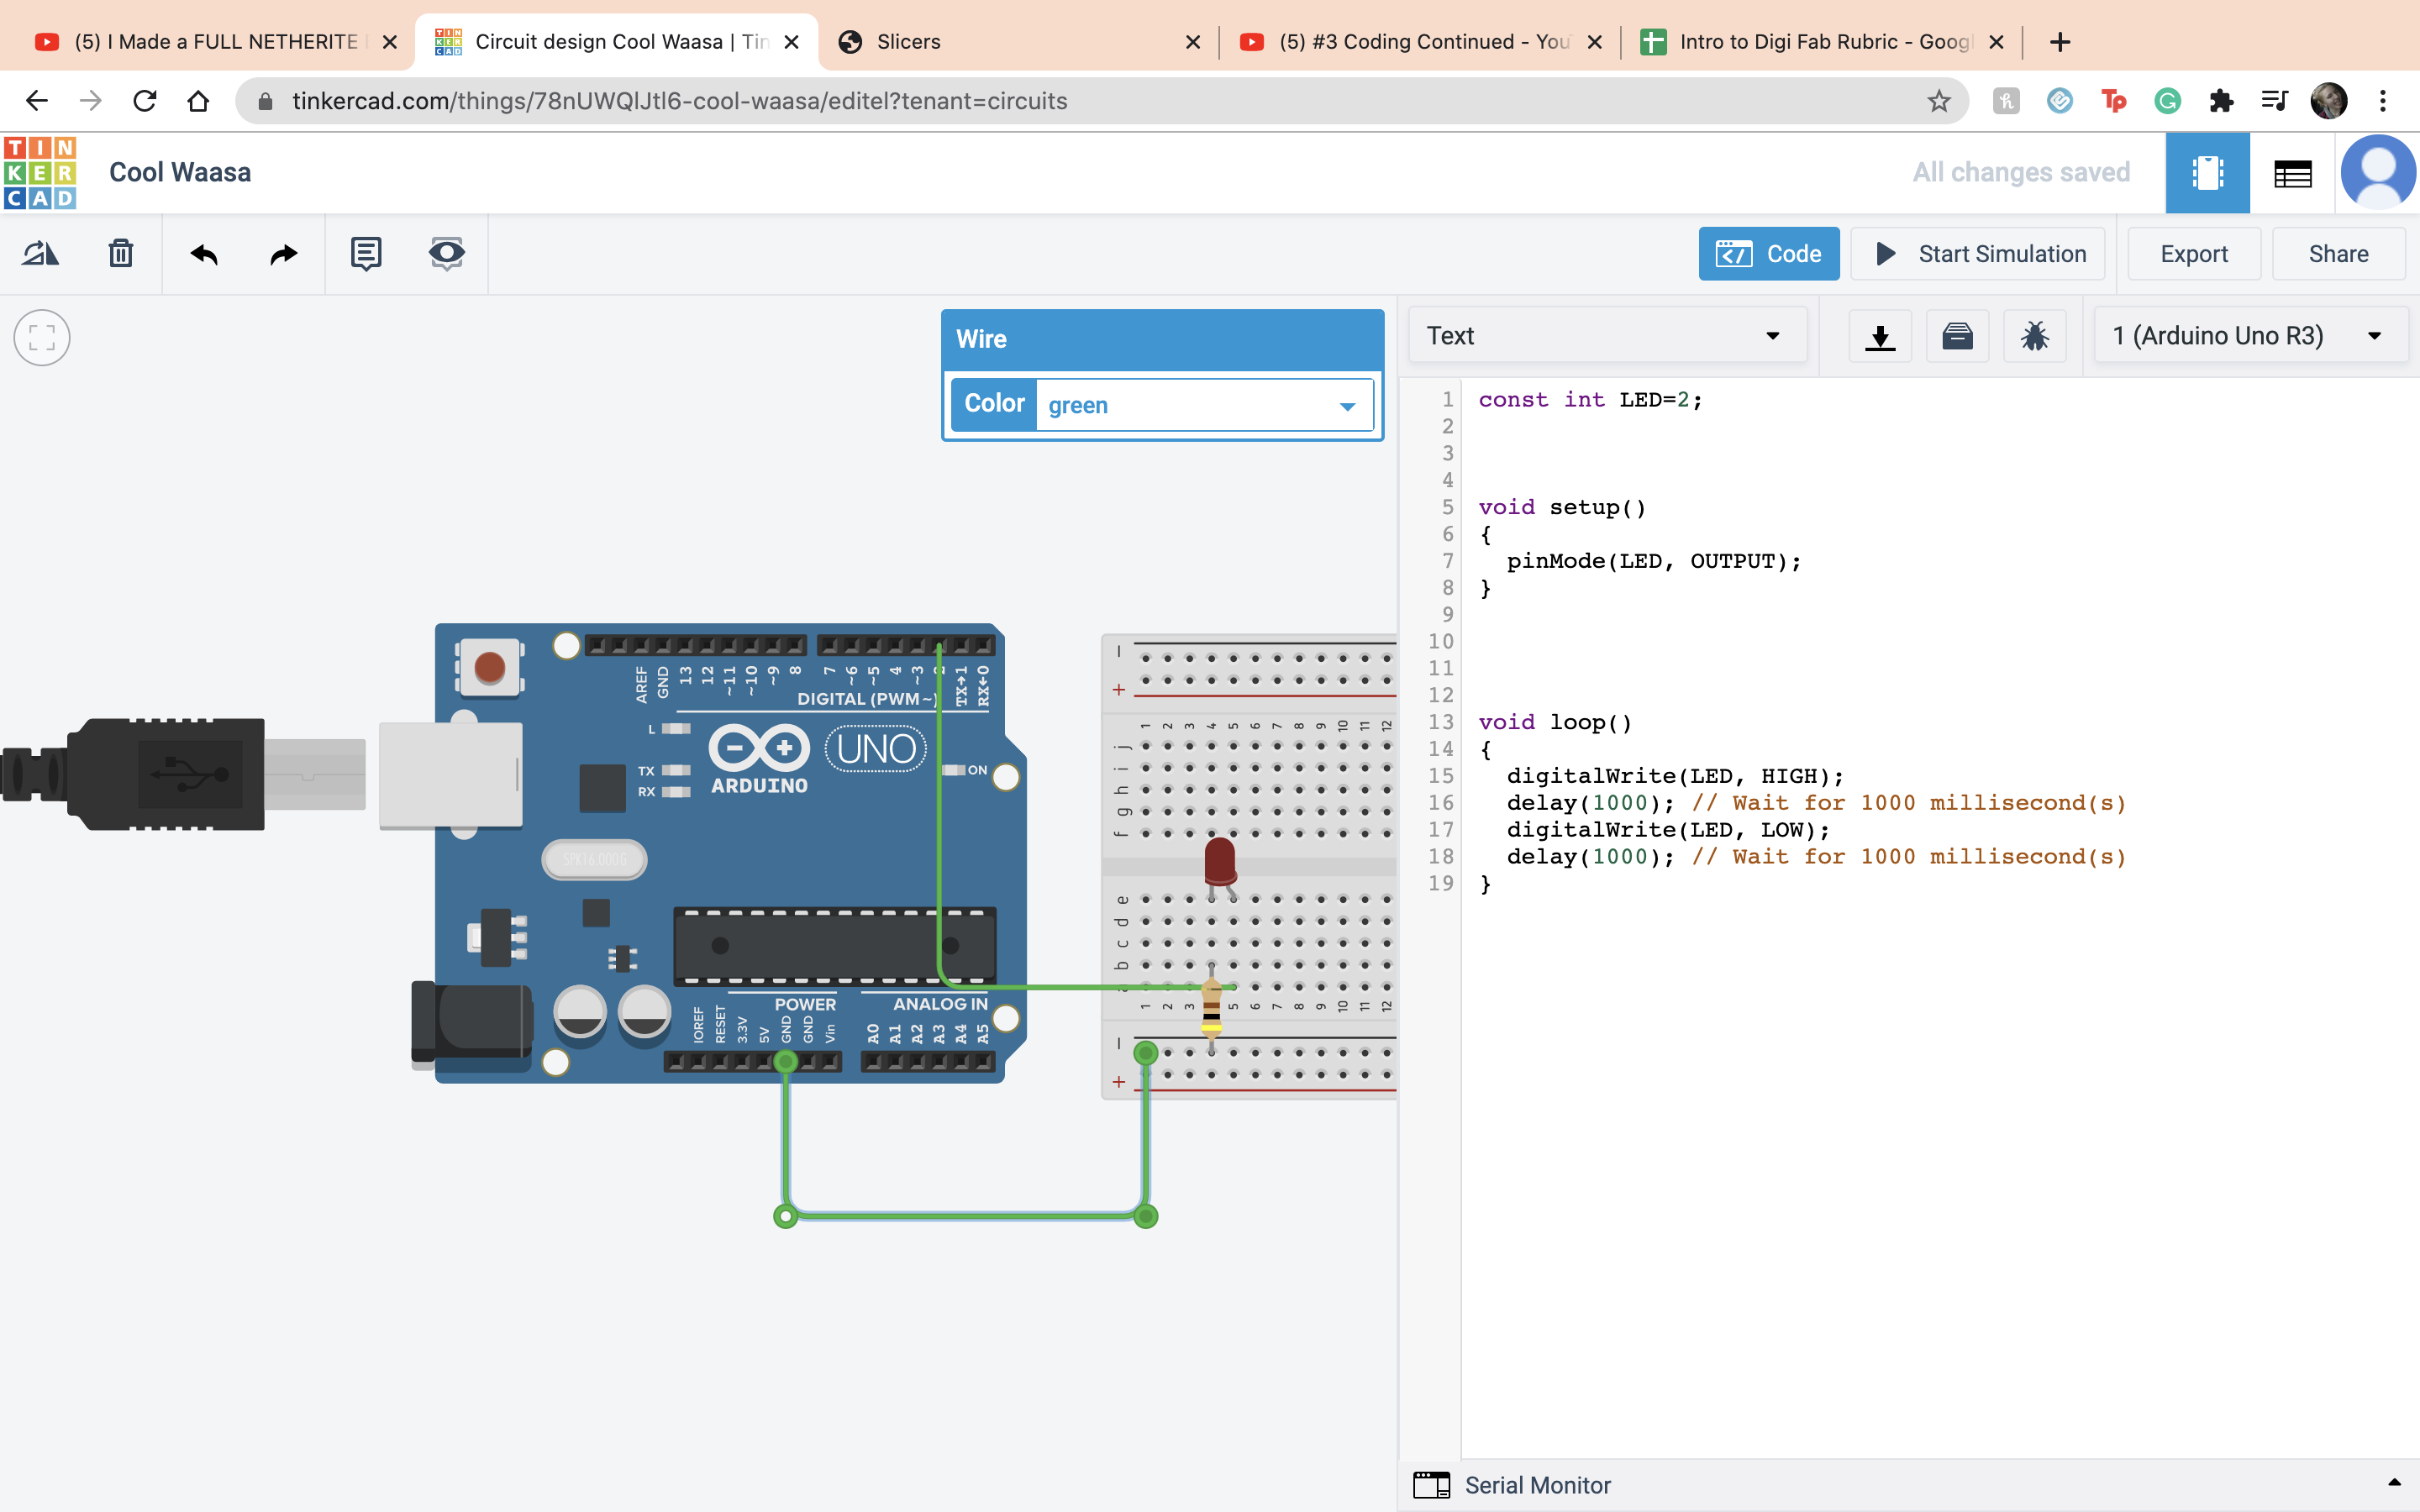 When you start the simulation the LED will blink.
 Now going back to the button connect terminal 1 to ground and terminal 2 to ardino 3.
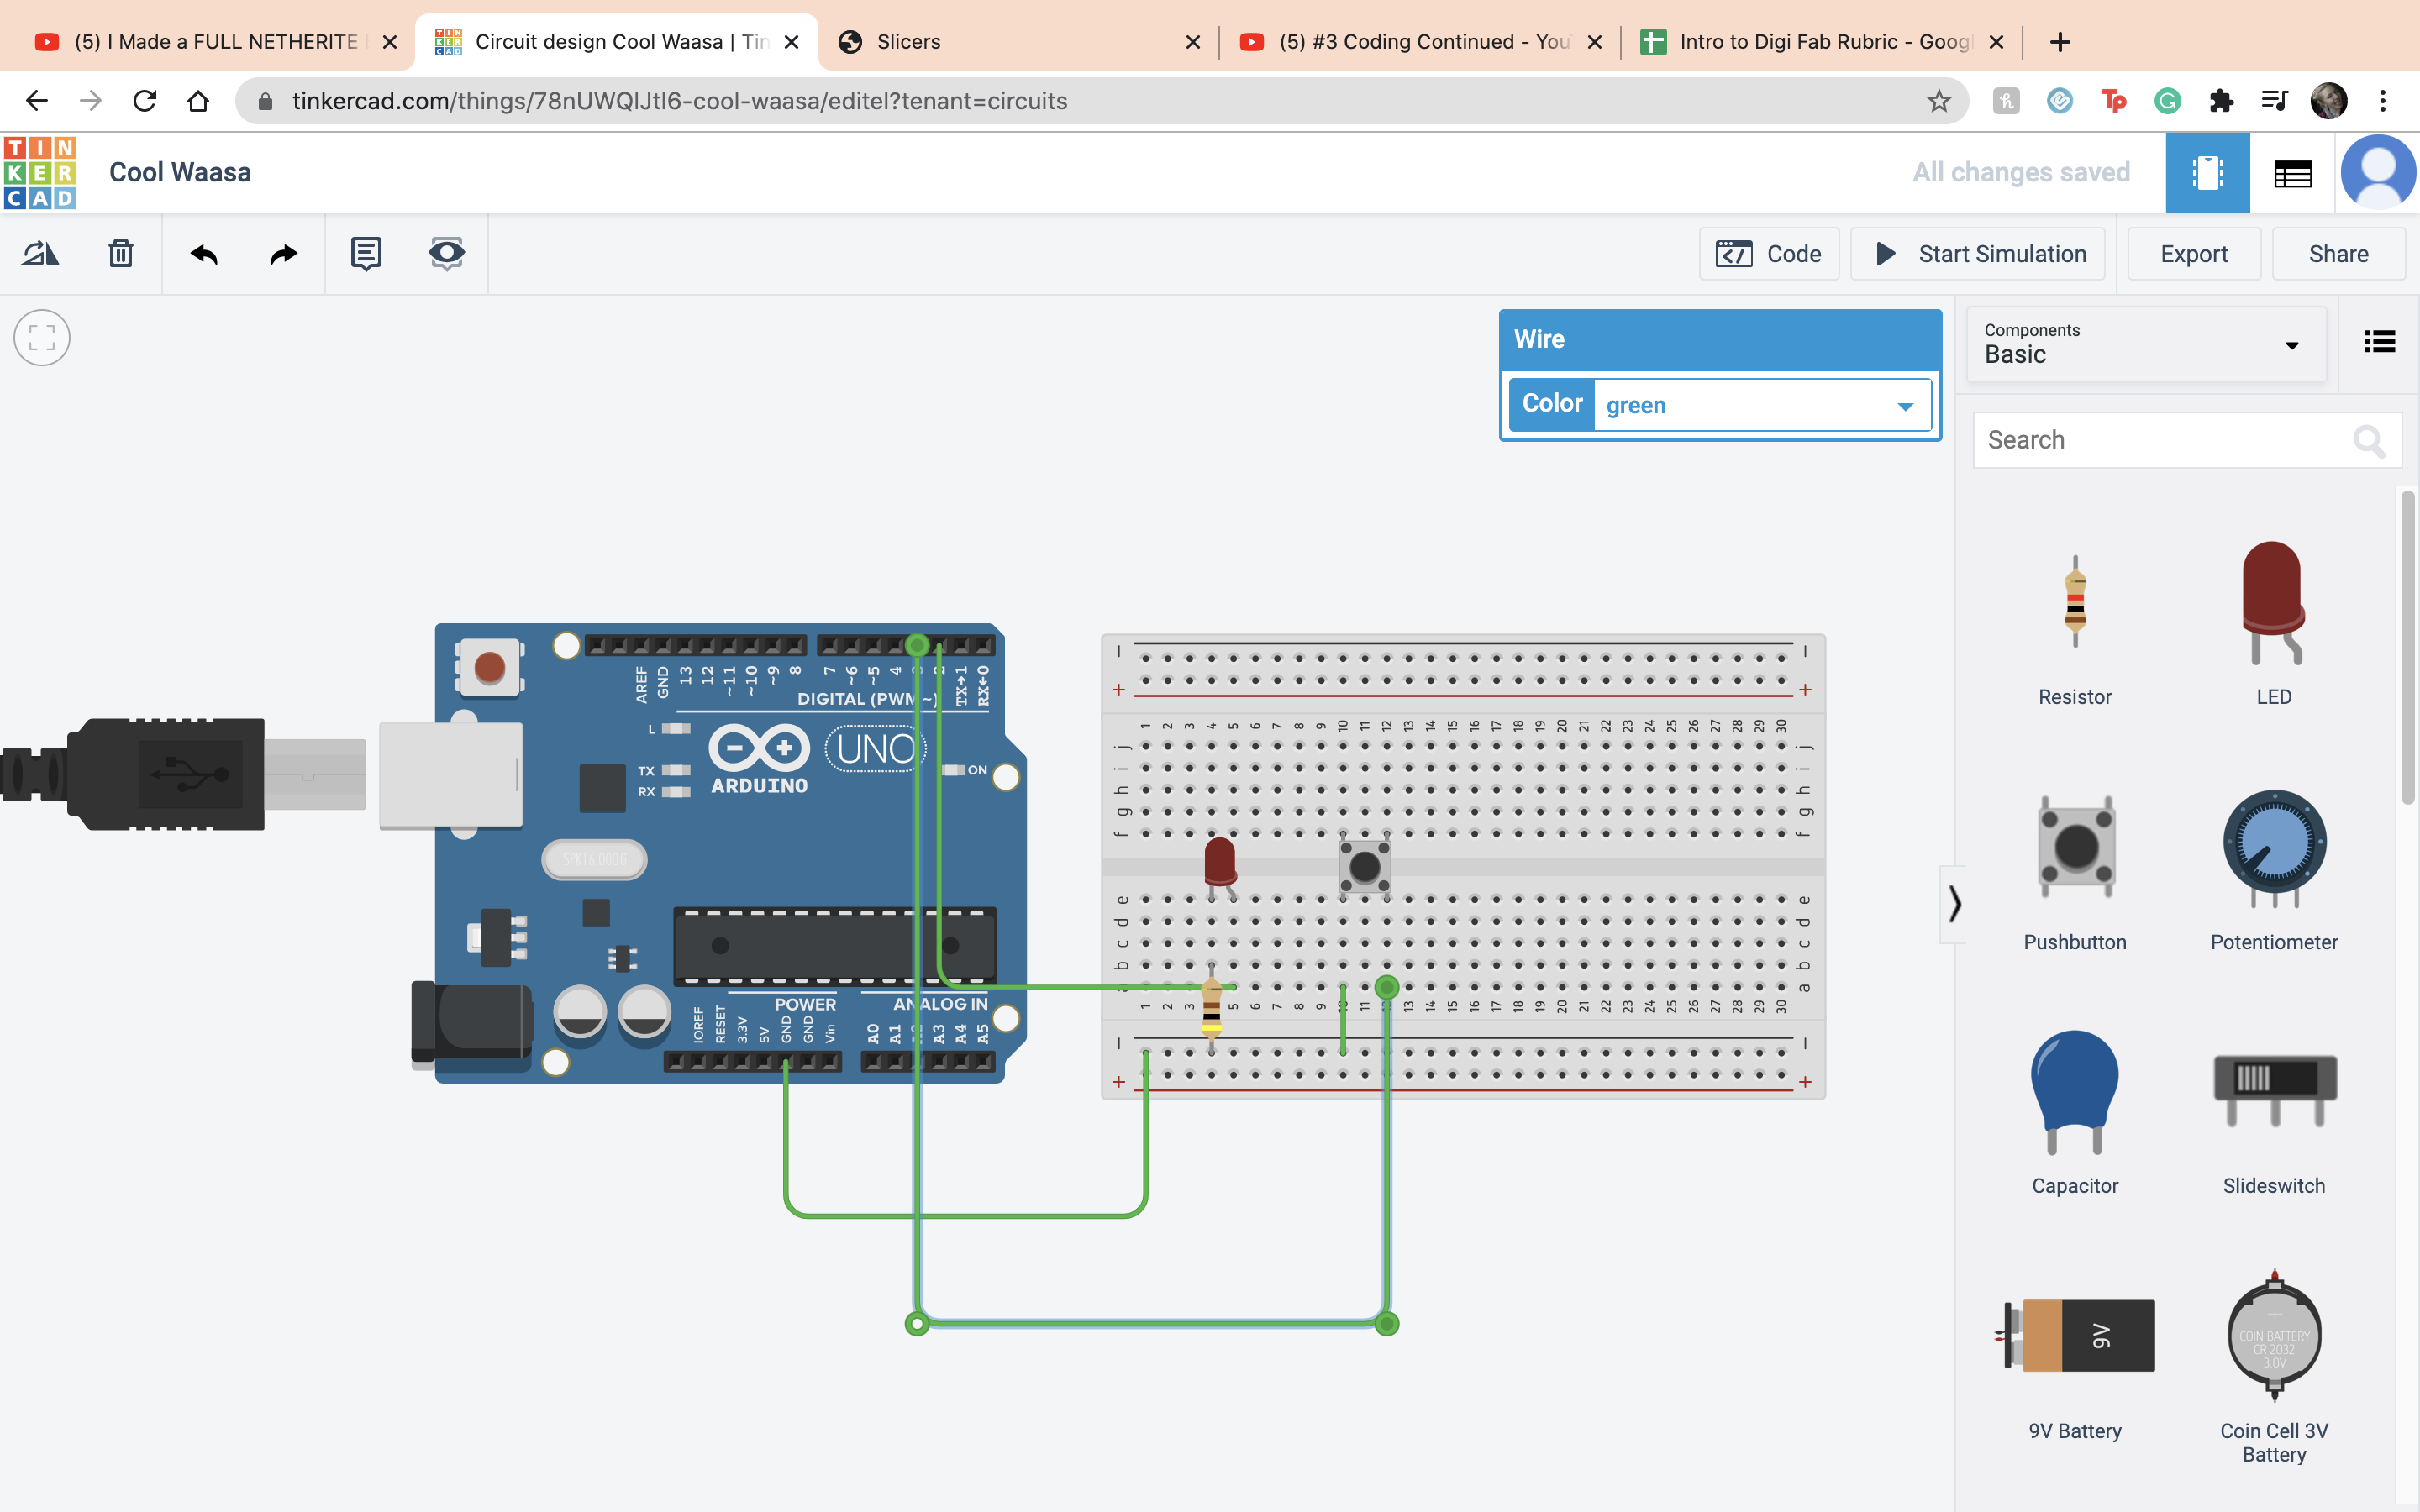 Then also connect terminal 2 to positive and 5V to positive.
 We do this so when the button is pressed the power gets turned off. But it will short circuit so we have to add a pull up or pull down resistor and set it to 10 kilo ohms.
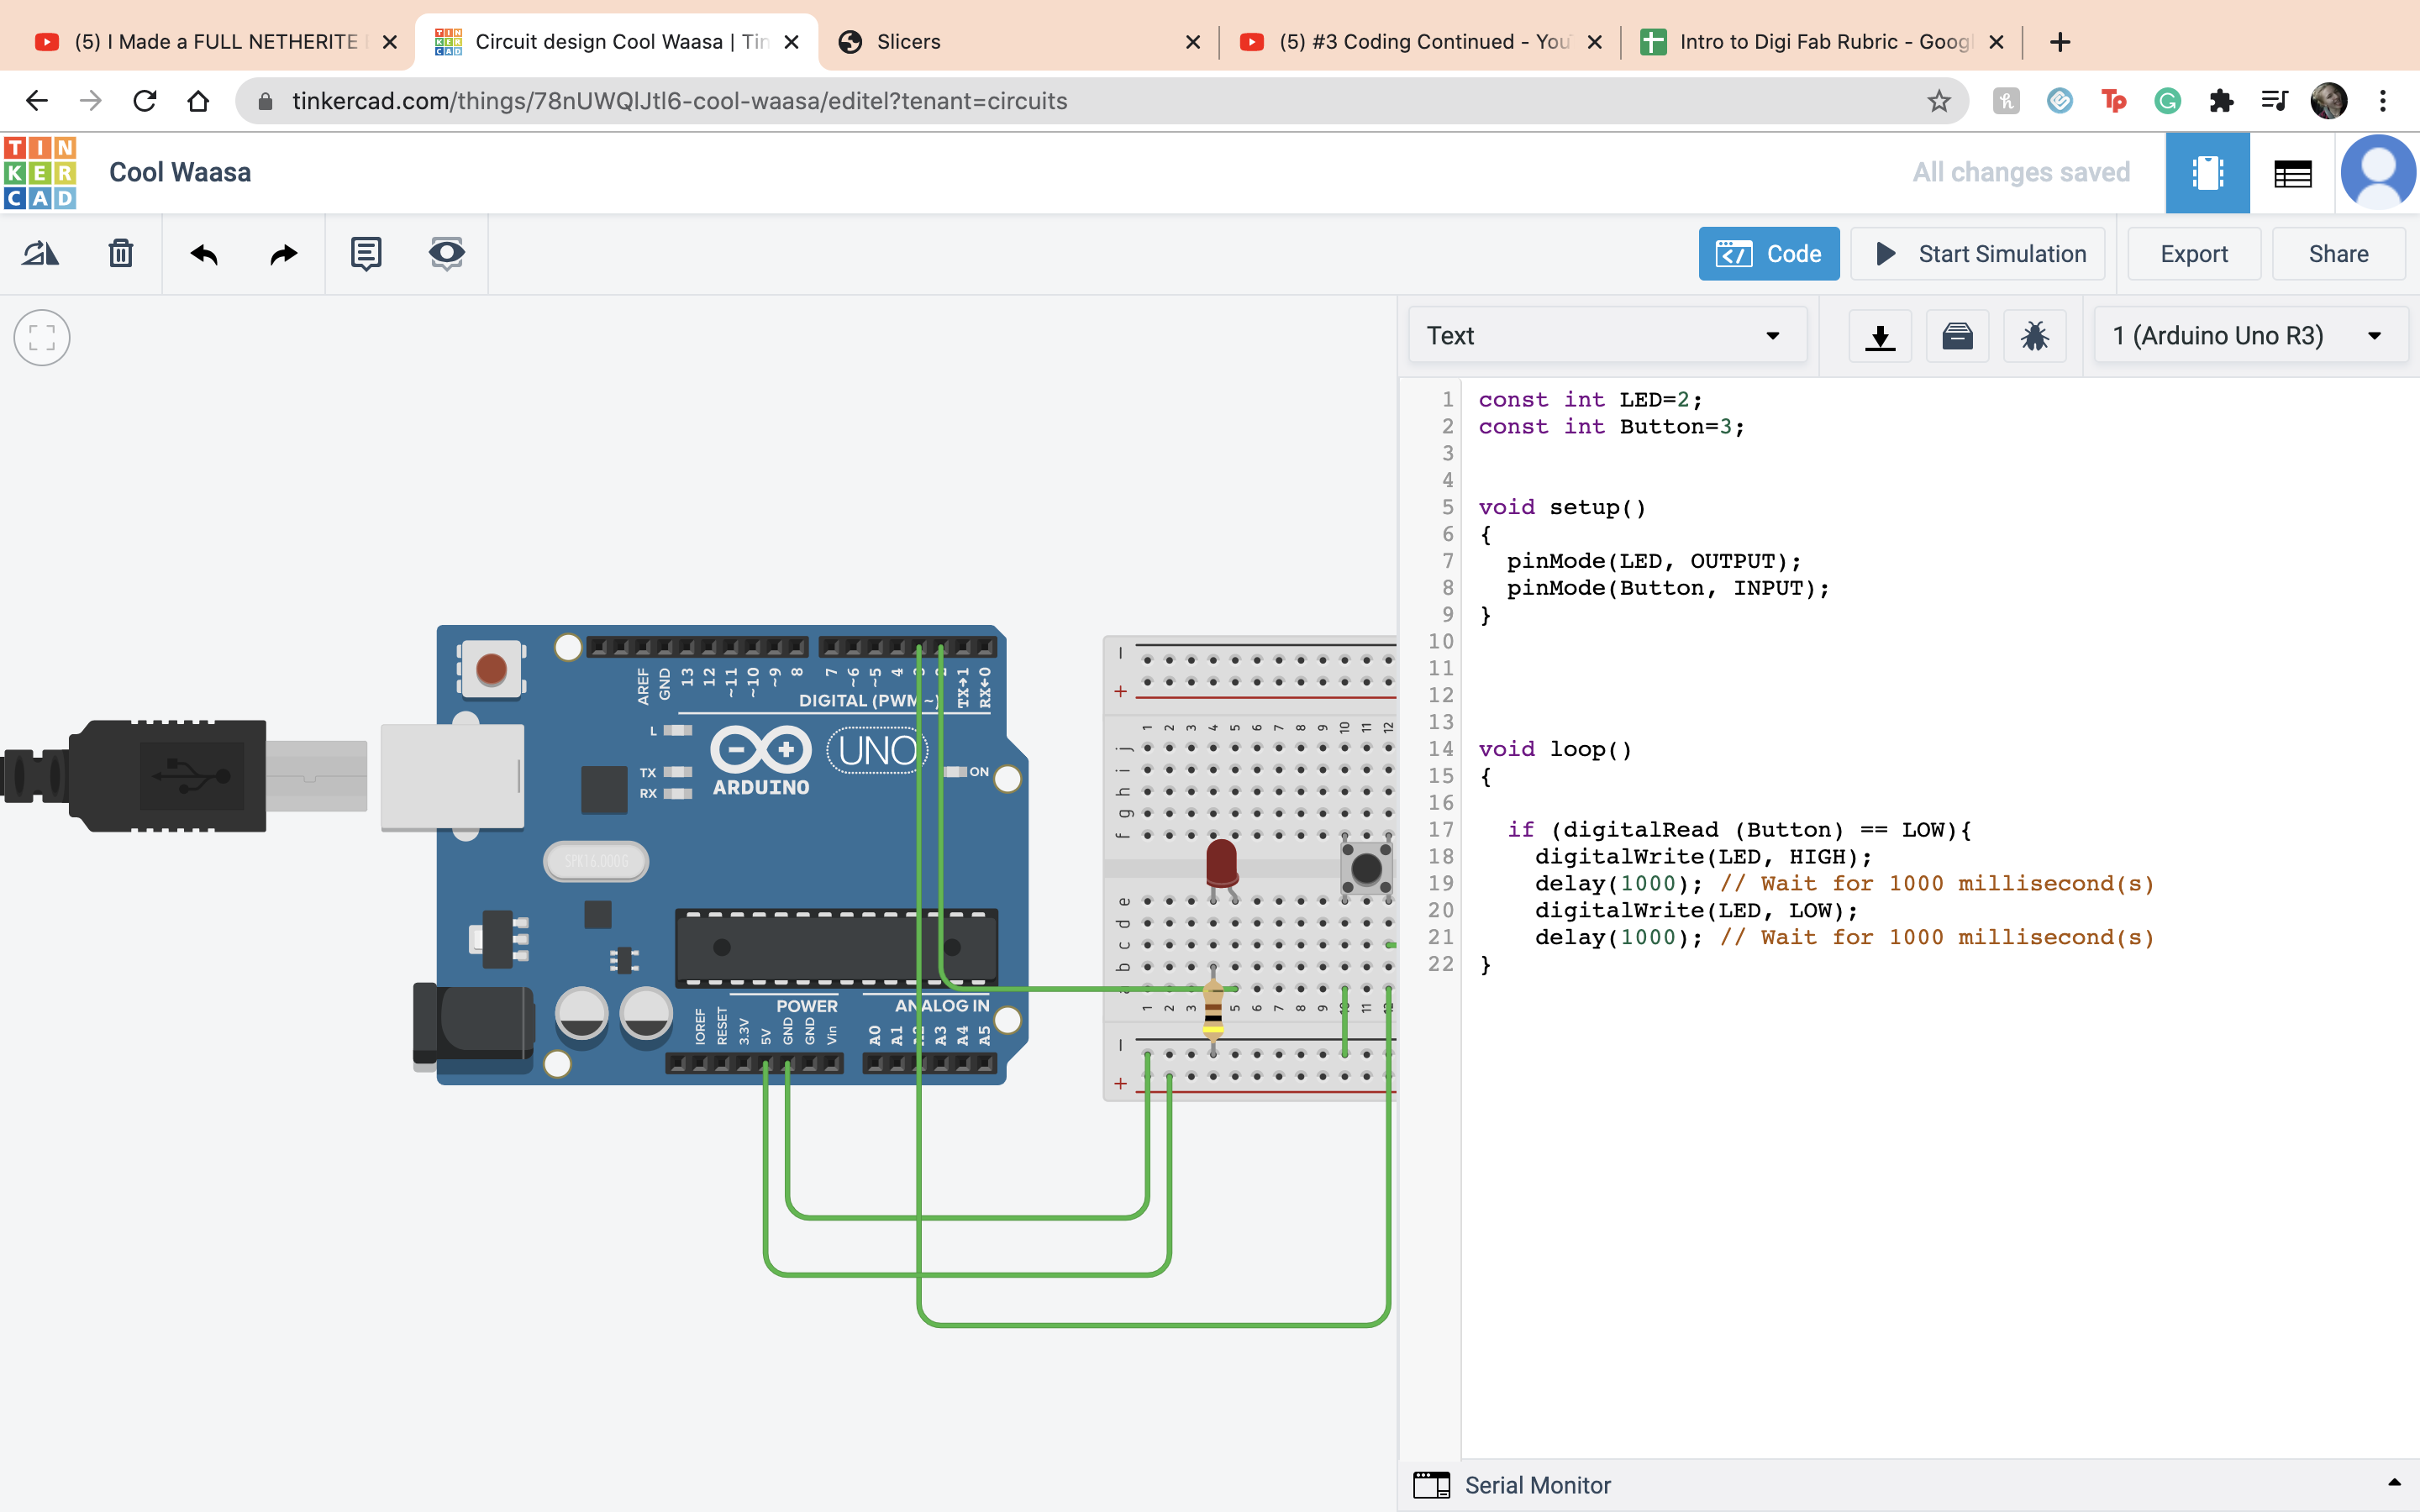 Now it is time to code the button. First we created a variable Button. Next we created a if statment and a new function digitalRead, and set that so when the button is low the LED will blink.
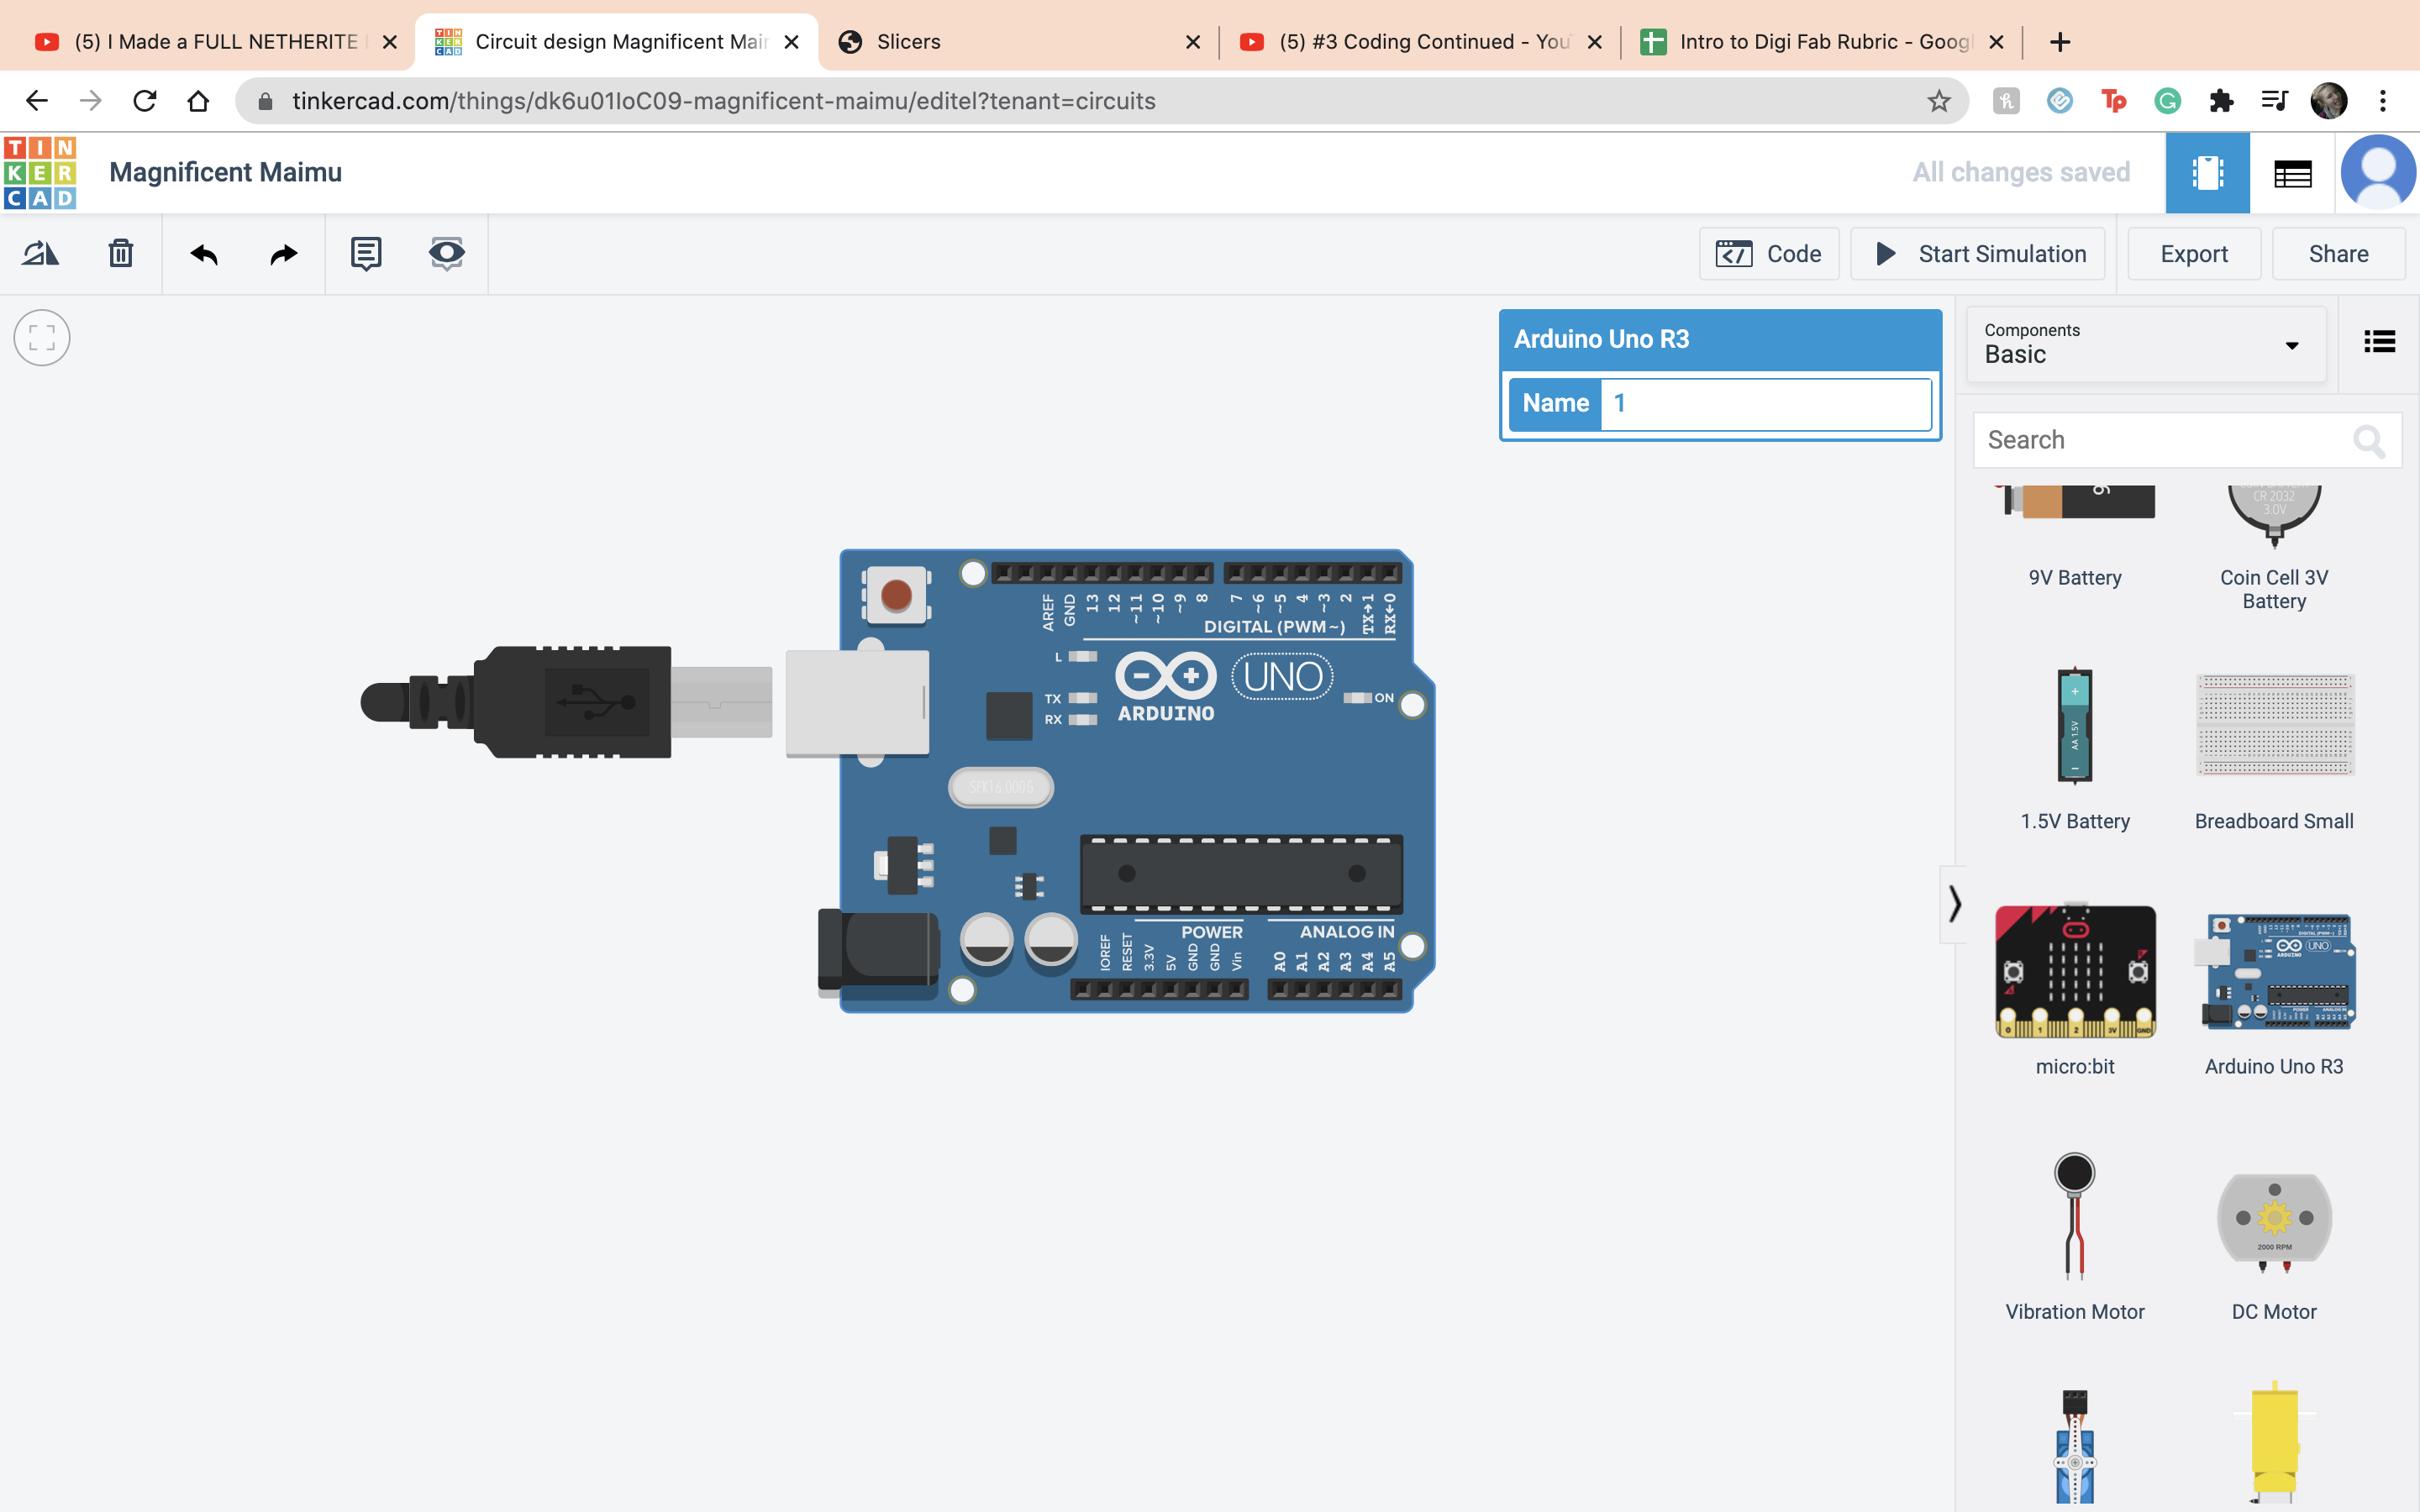
 Now it is off to try and do things on my own. The first assigment is coding. So obviously the first thing I did was lay down my ardino.
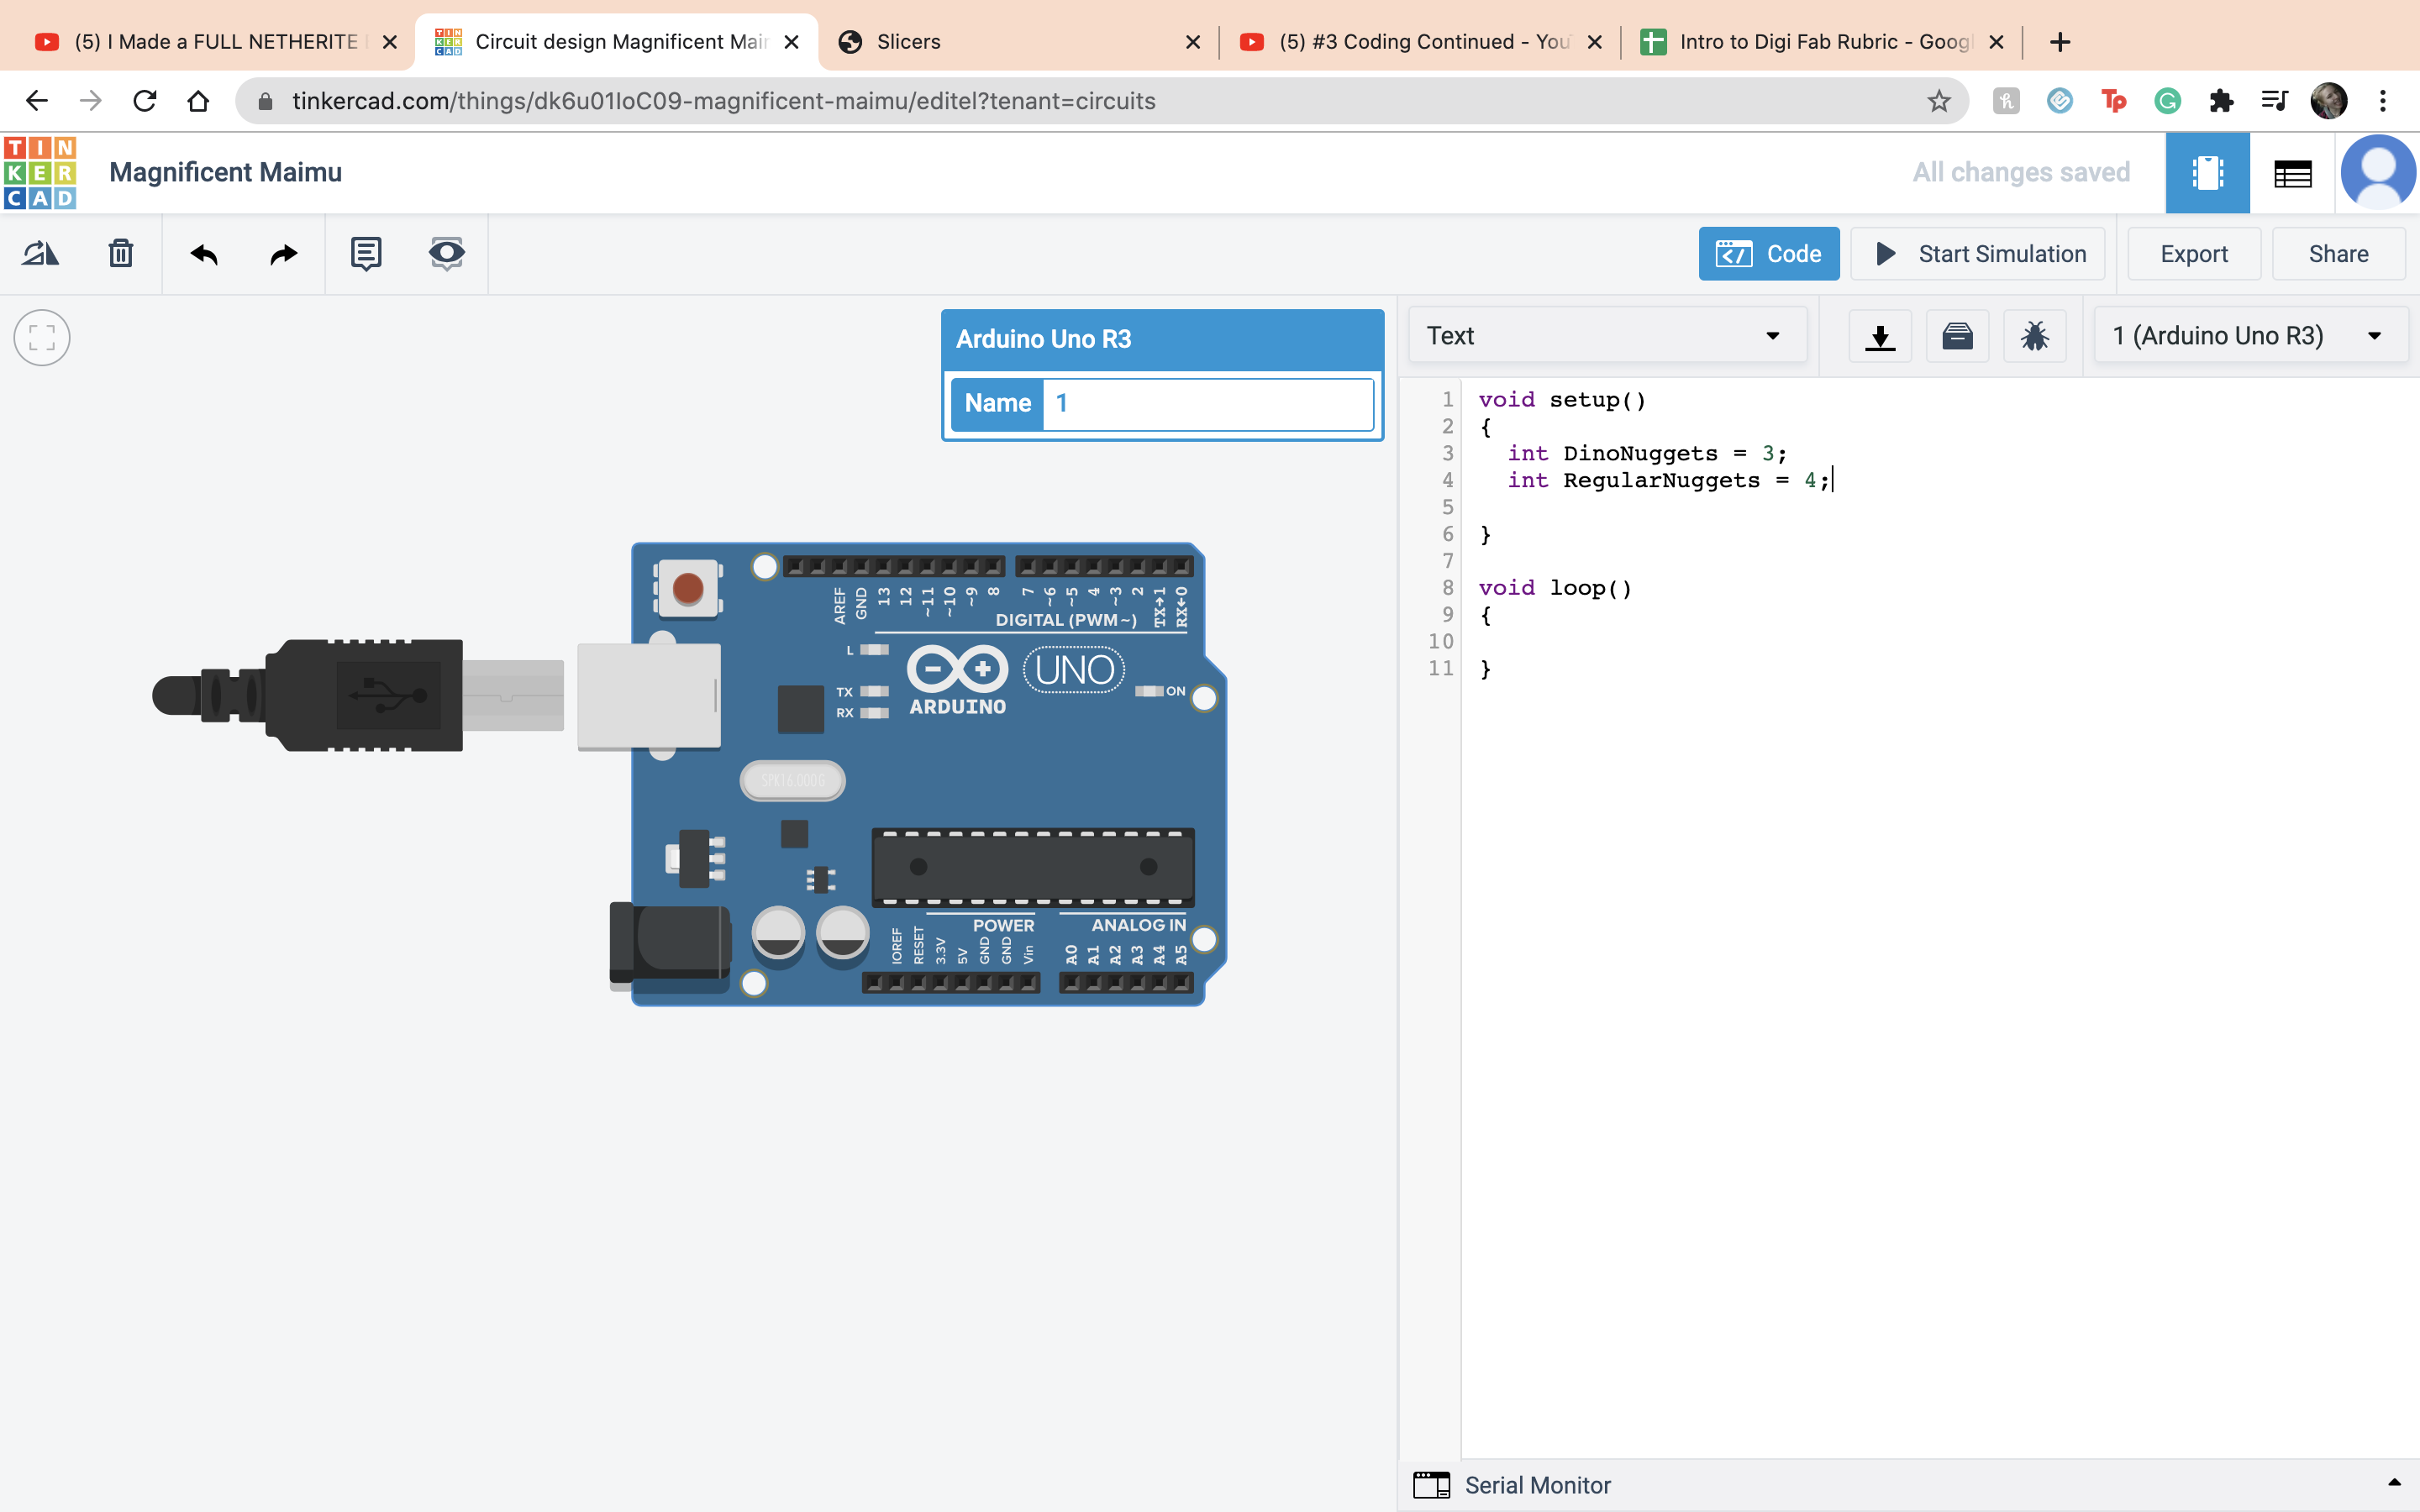
 I set up my integers, DinoNuggets and RegularNuggets, can you tell I was hungry while making this? I set DinoNuggets to 3 and RegularNuggests to 4, very upset I had more RegularNuggets than DinoNuggets but I brought this appon myself.
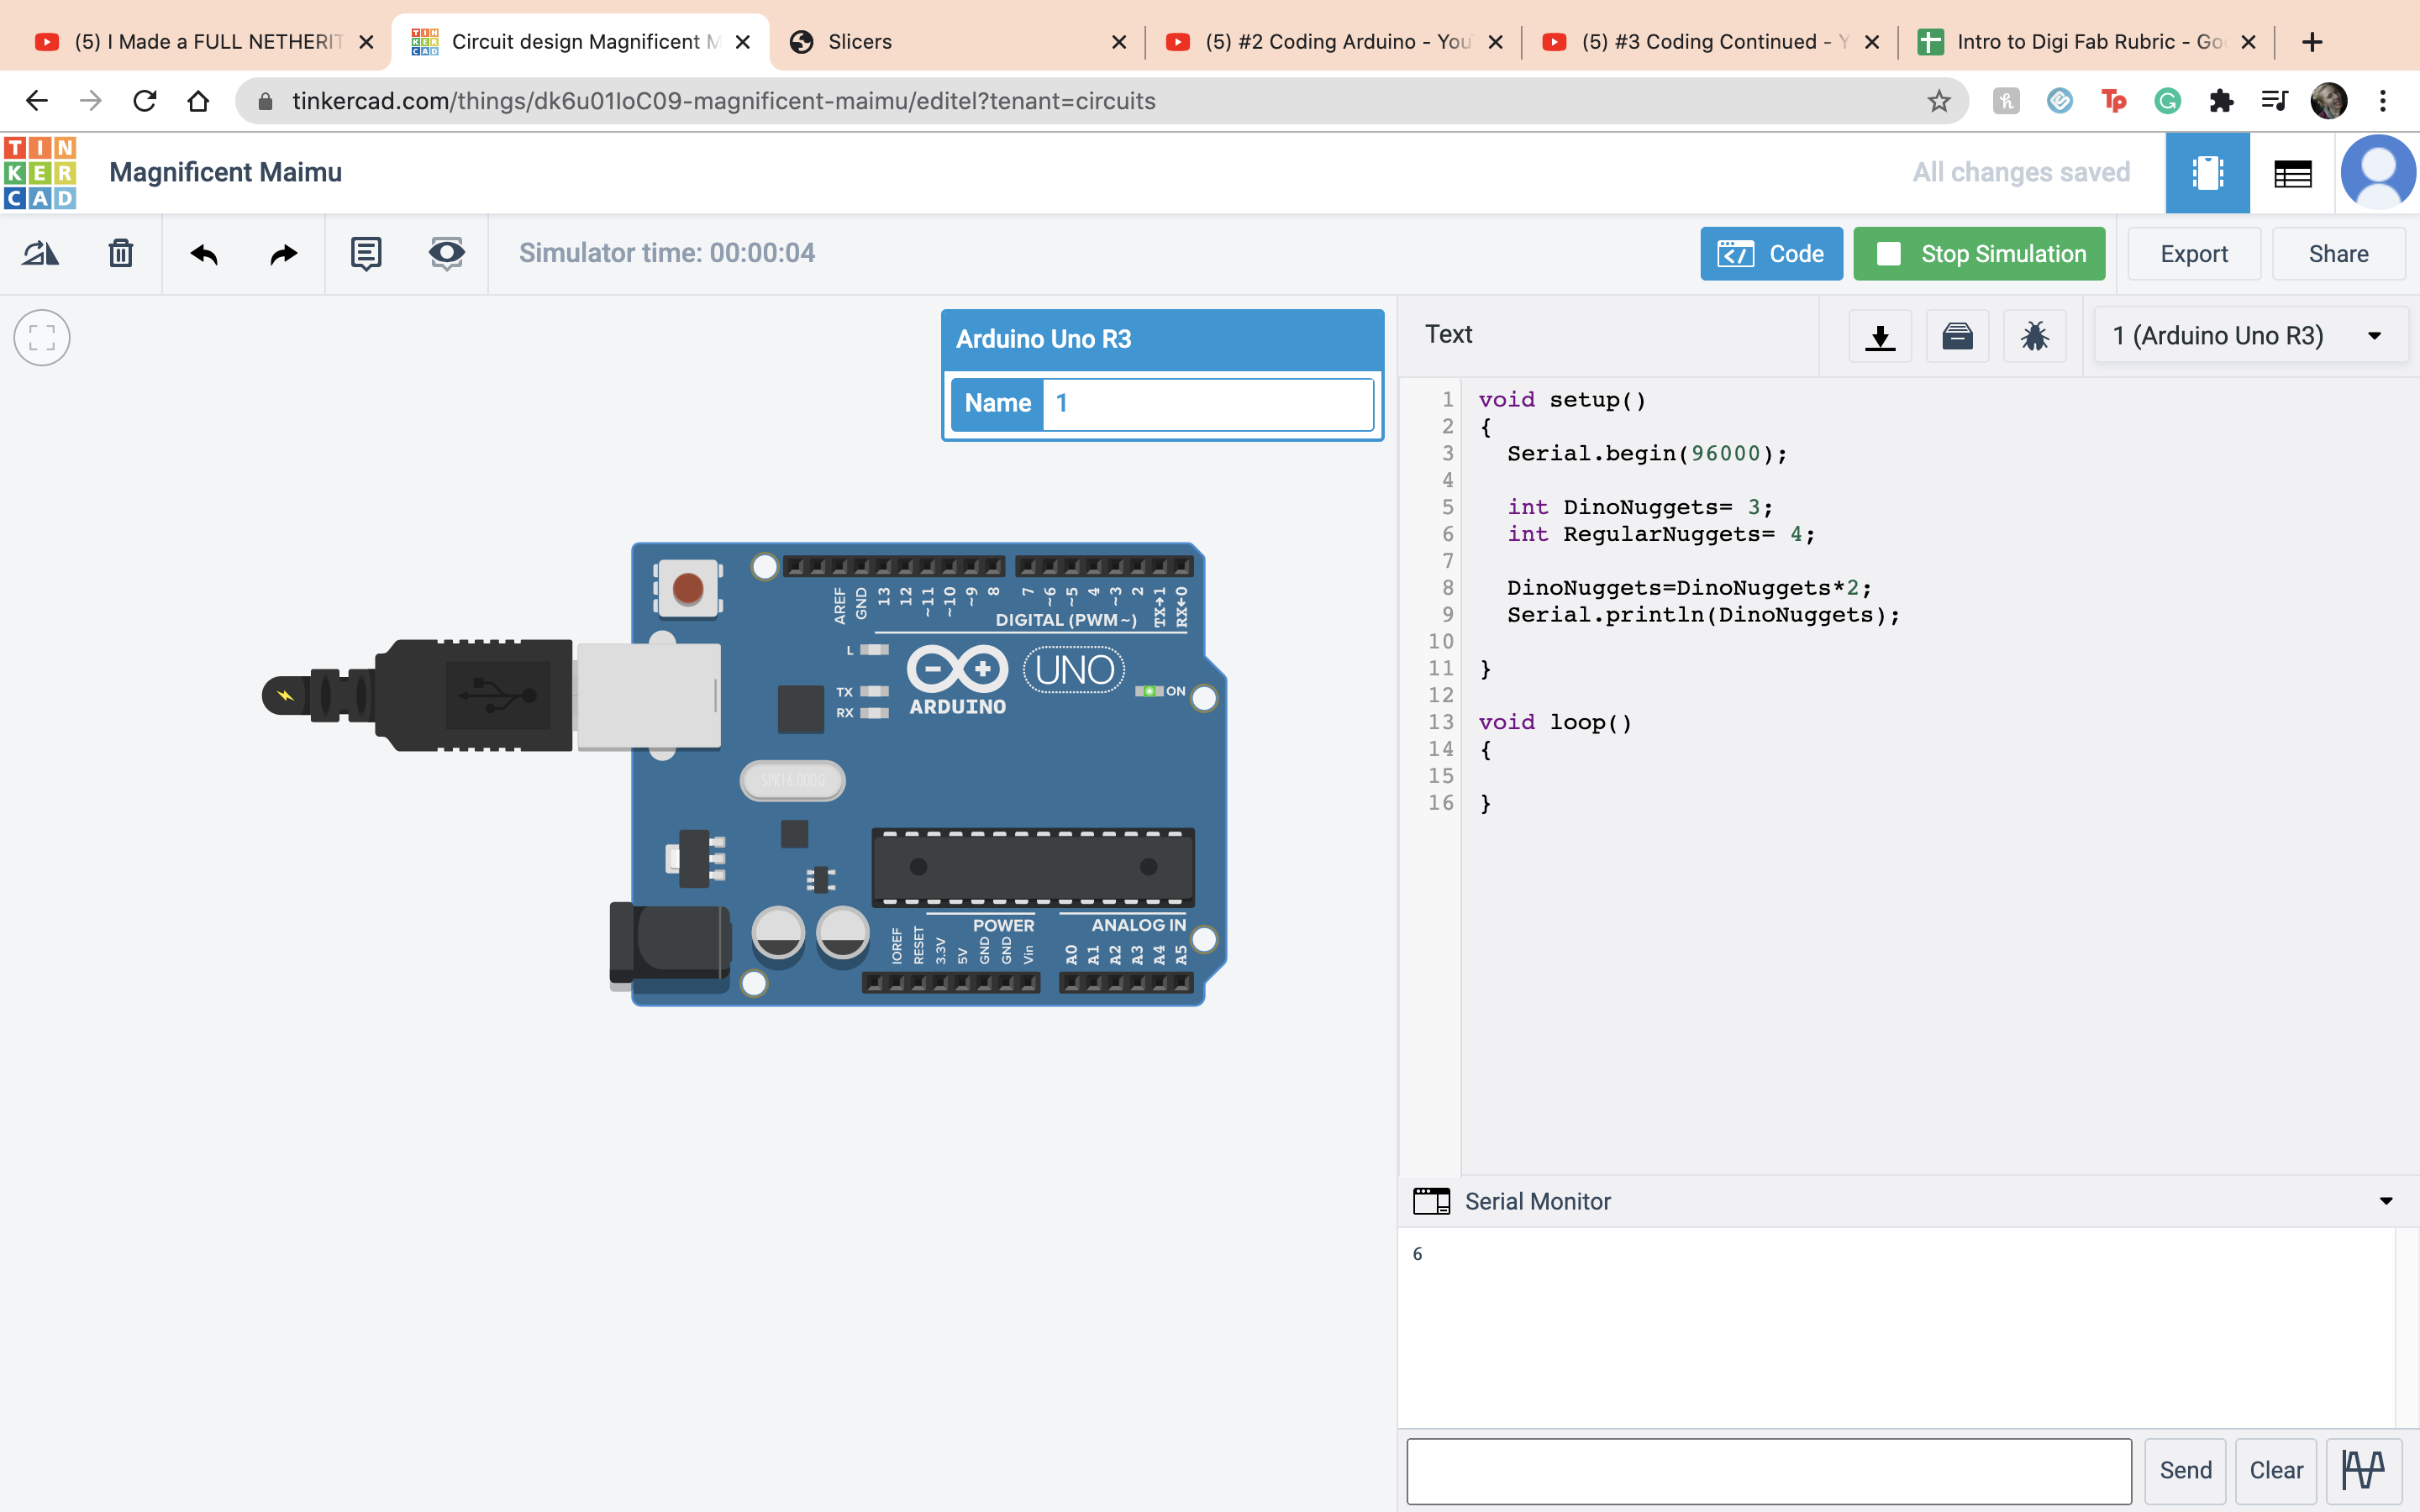
 Then I put in Serial.begin to make sure everything shows. Then I did multiplication by coding DinoNuggets*2. Then under that do the command Serial.println(DinoNuggets)
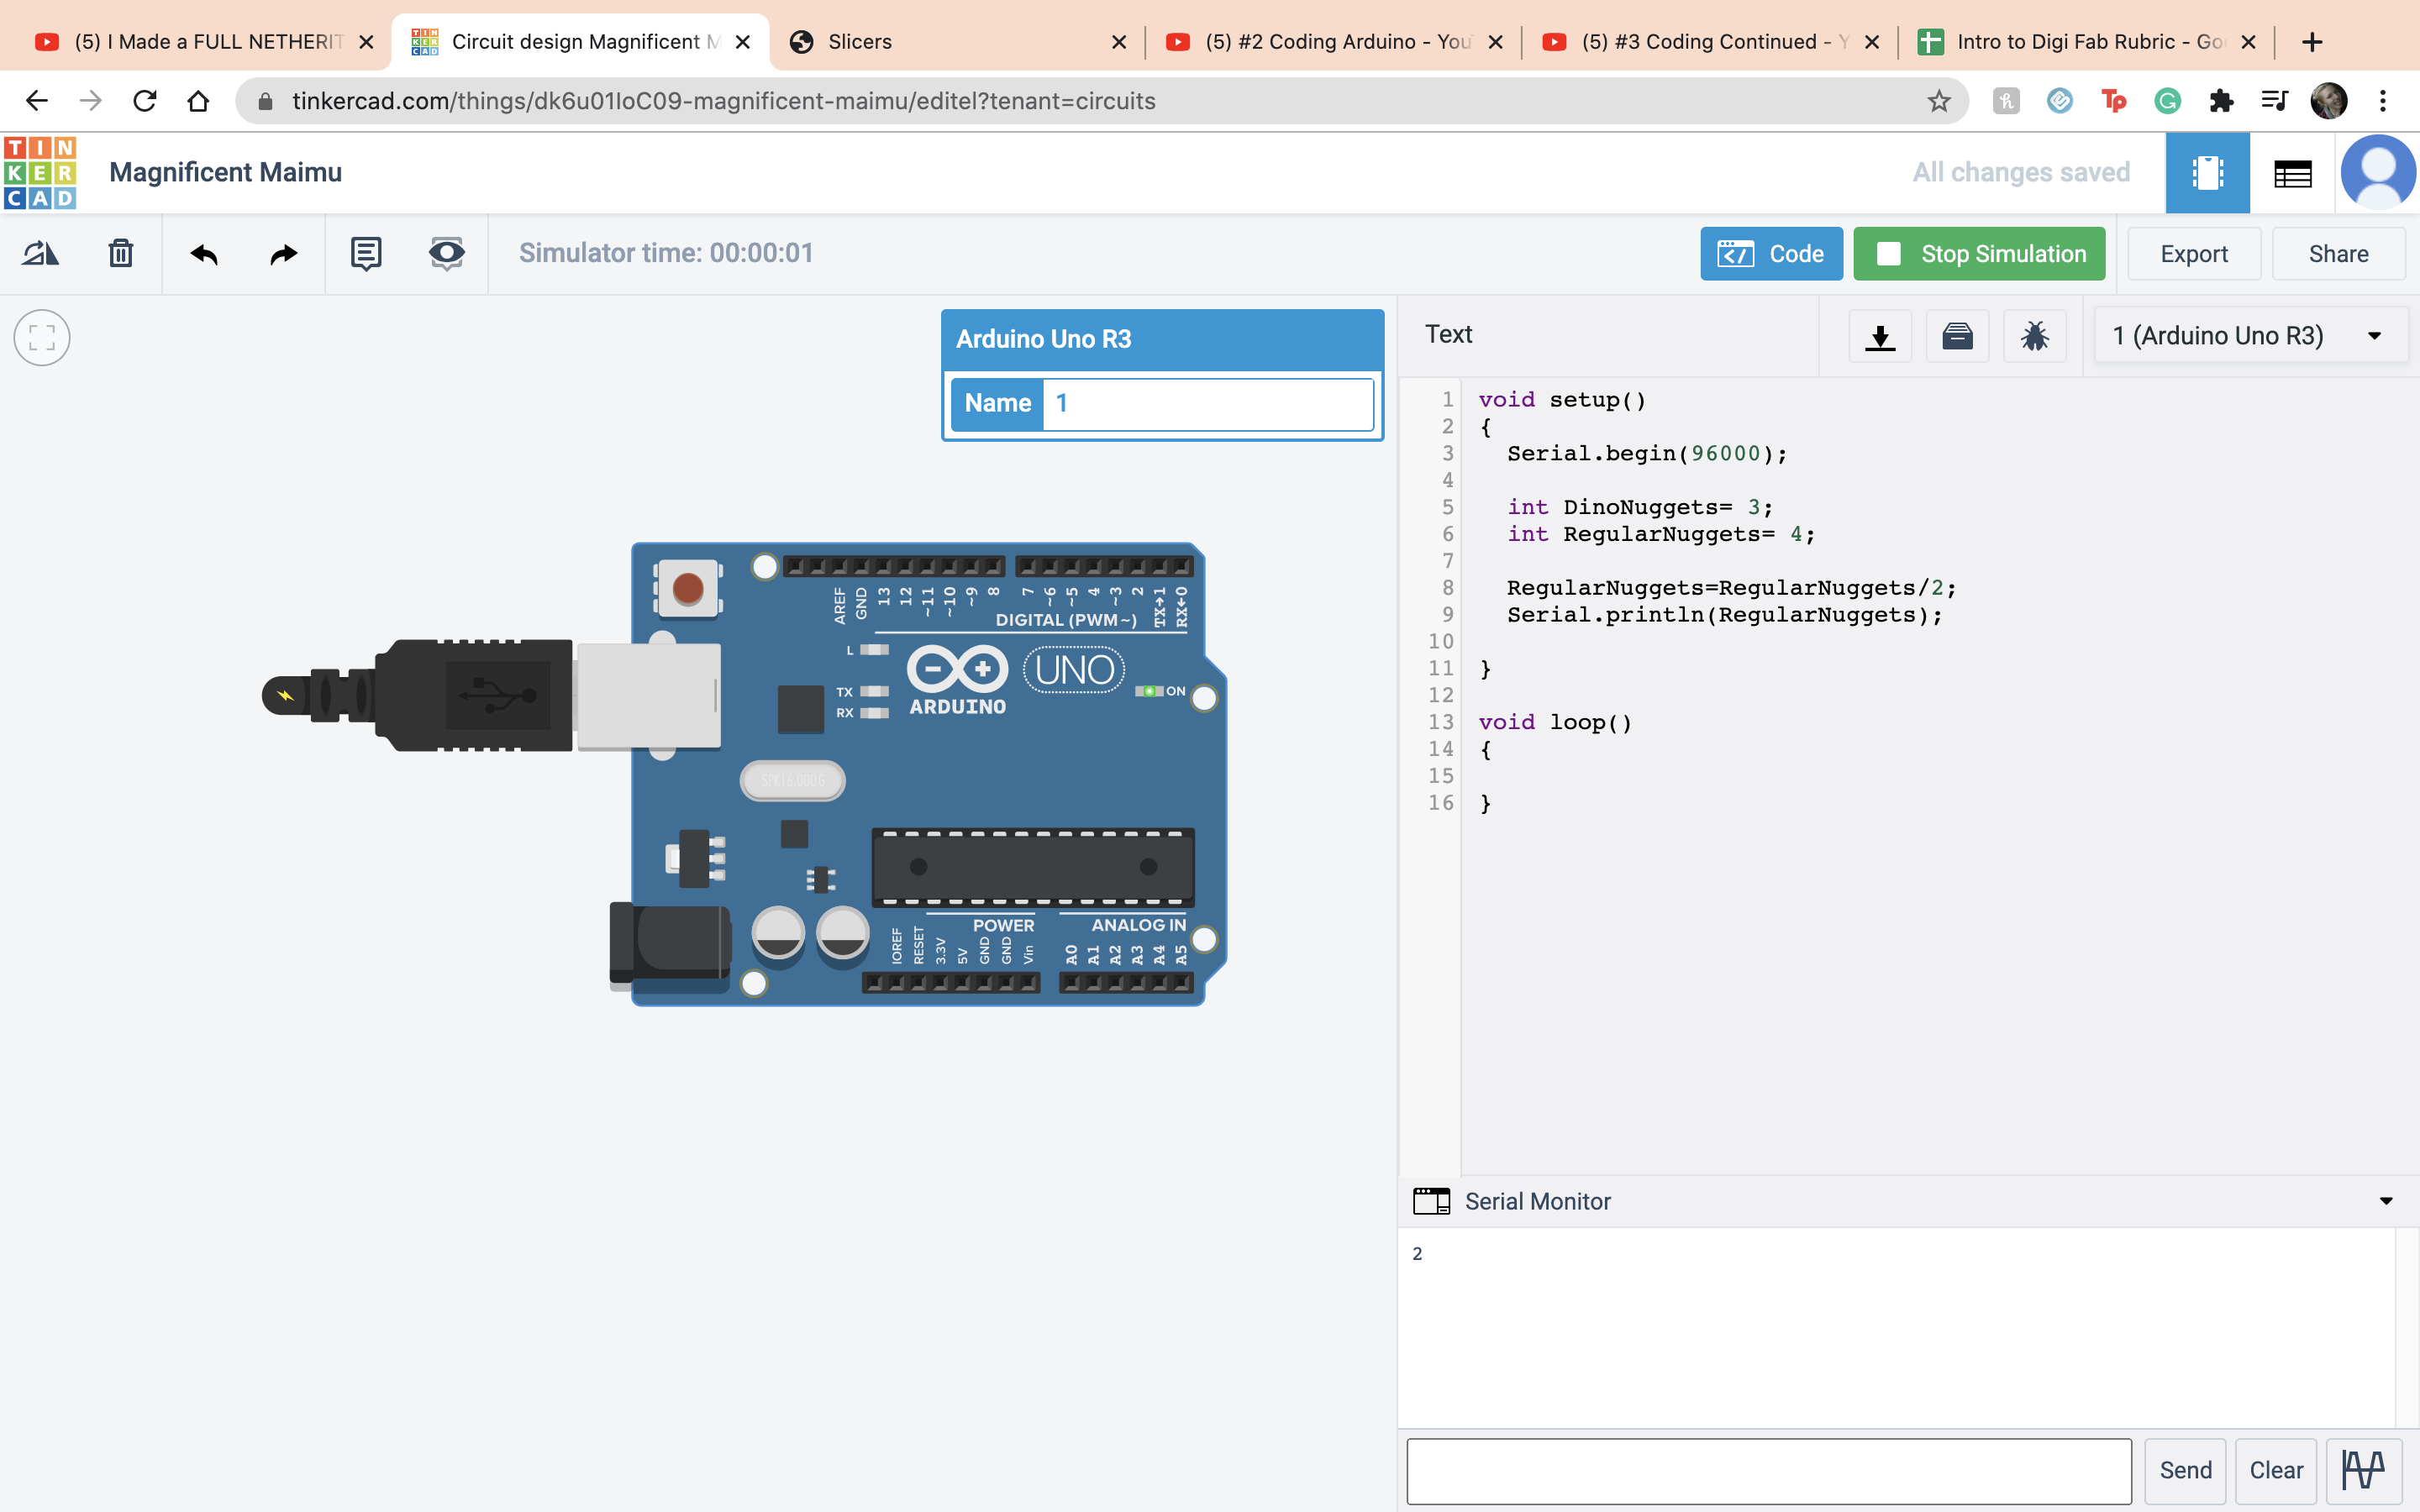
 Then for division I did the same thing but instead of DinoNuggets I did my RegularNuggets. I did ReuglarNuggets/2.
 Now onto the modulo opperation. That is what gives you the remains after divsion. So I did RegularNuggets/DinoNuggets and it give me the value 1 because the remains are 1.
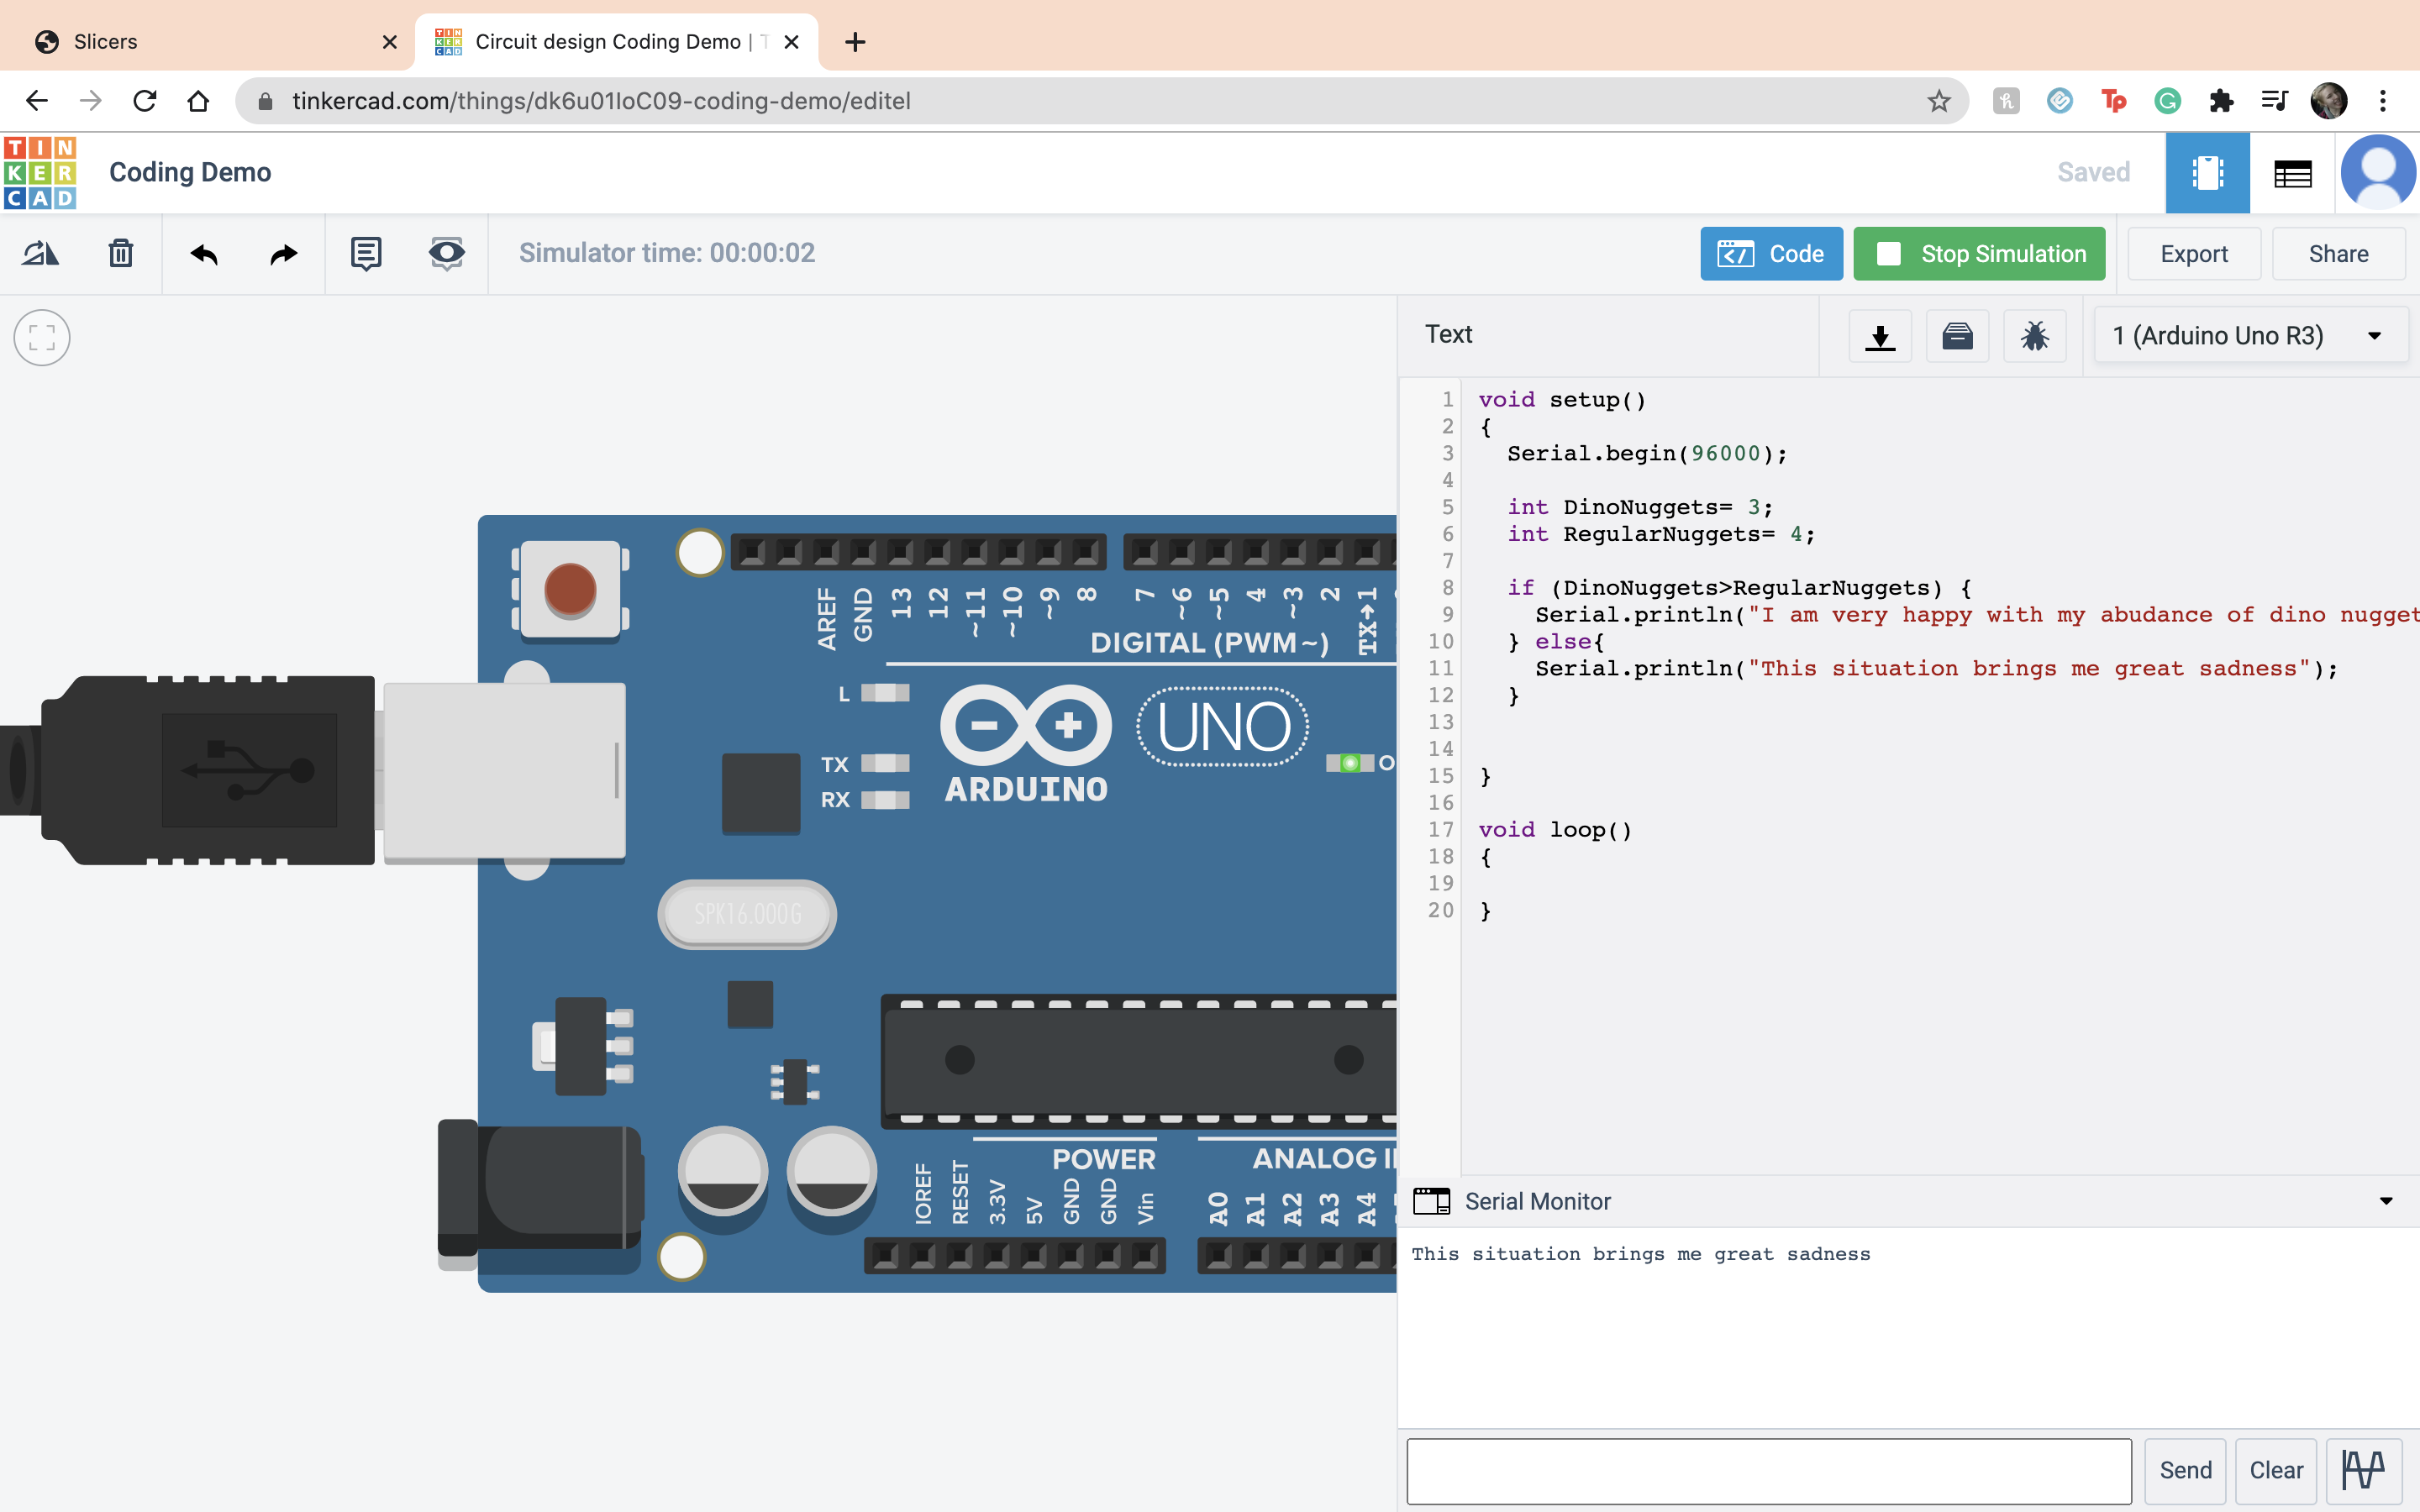
 Next for my if else opperation I set it as if I have more dino nuggets than regular nuggets it makes me happy but if I dont then it makes me sad. In this case I did not have more dino nuggets.
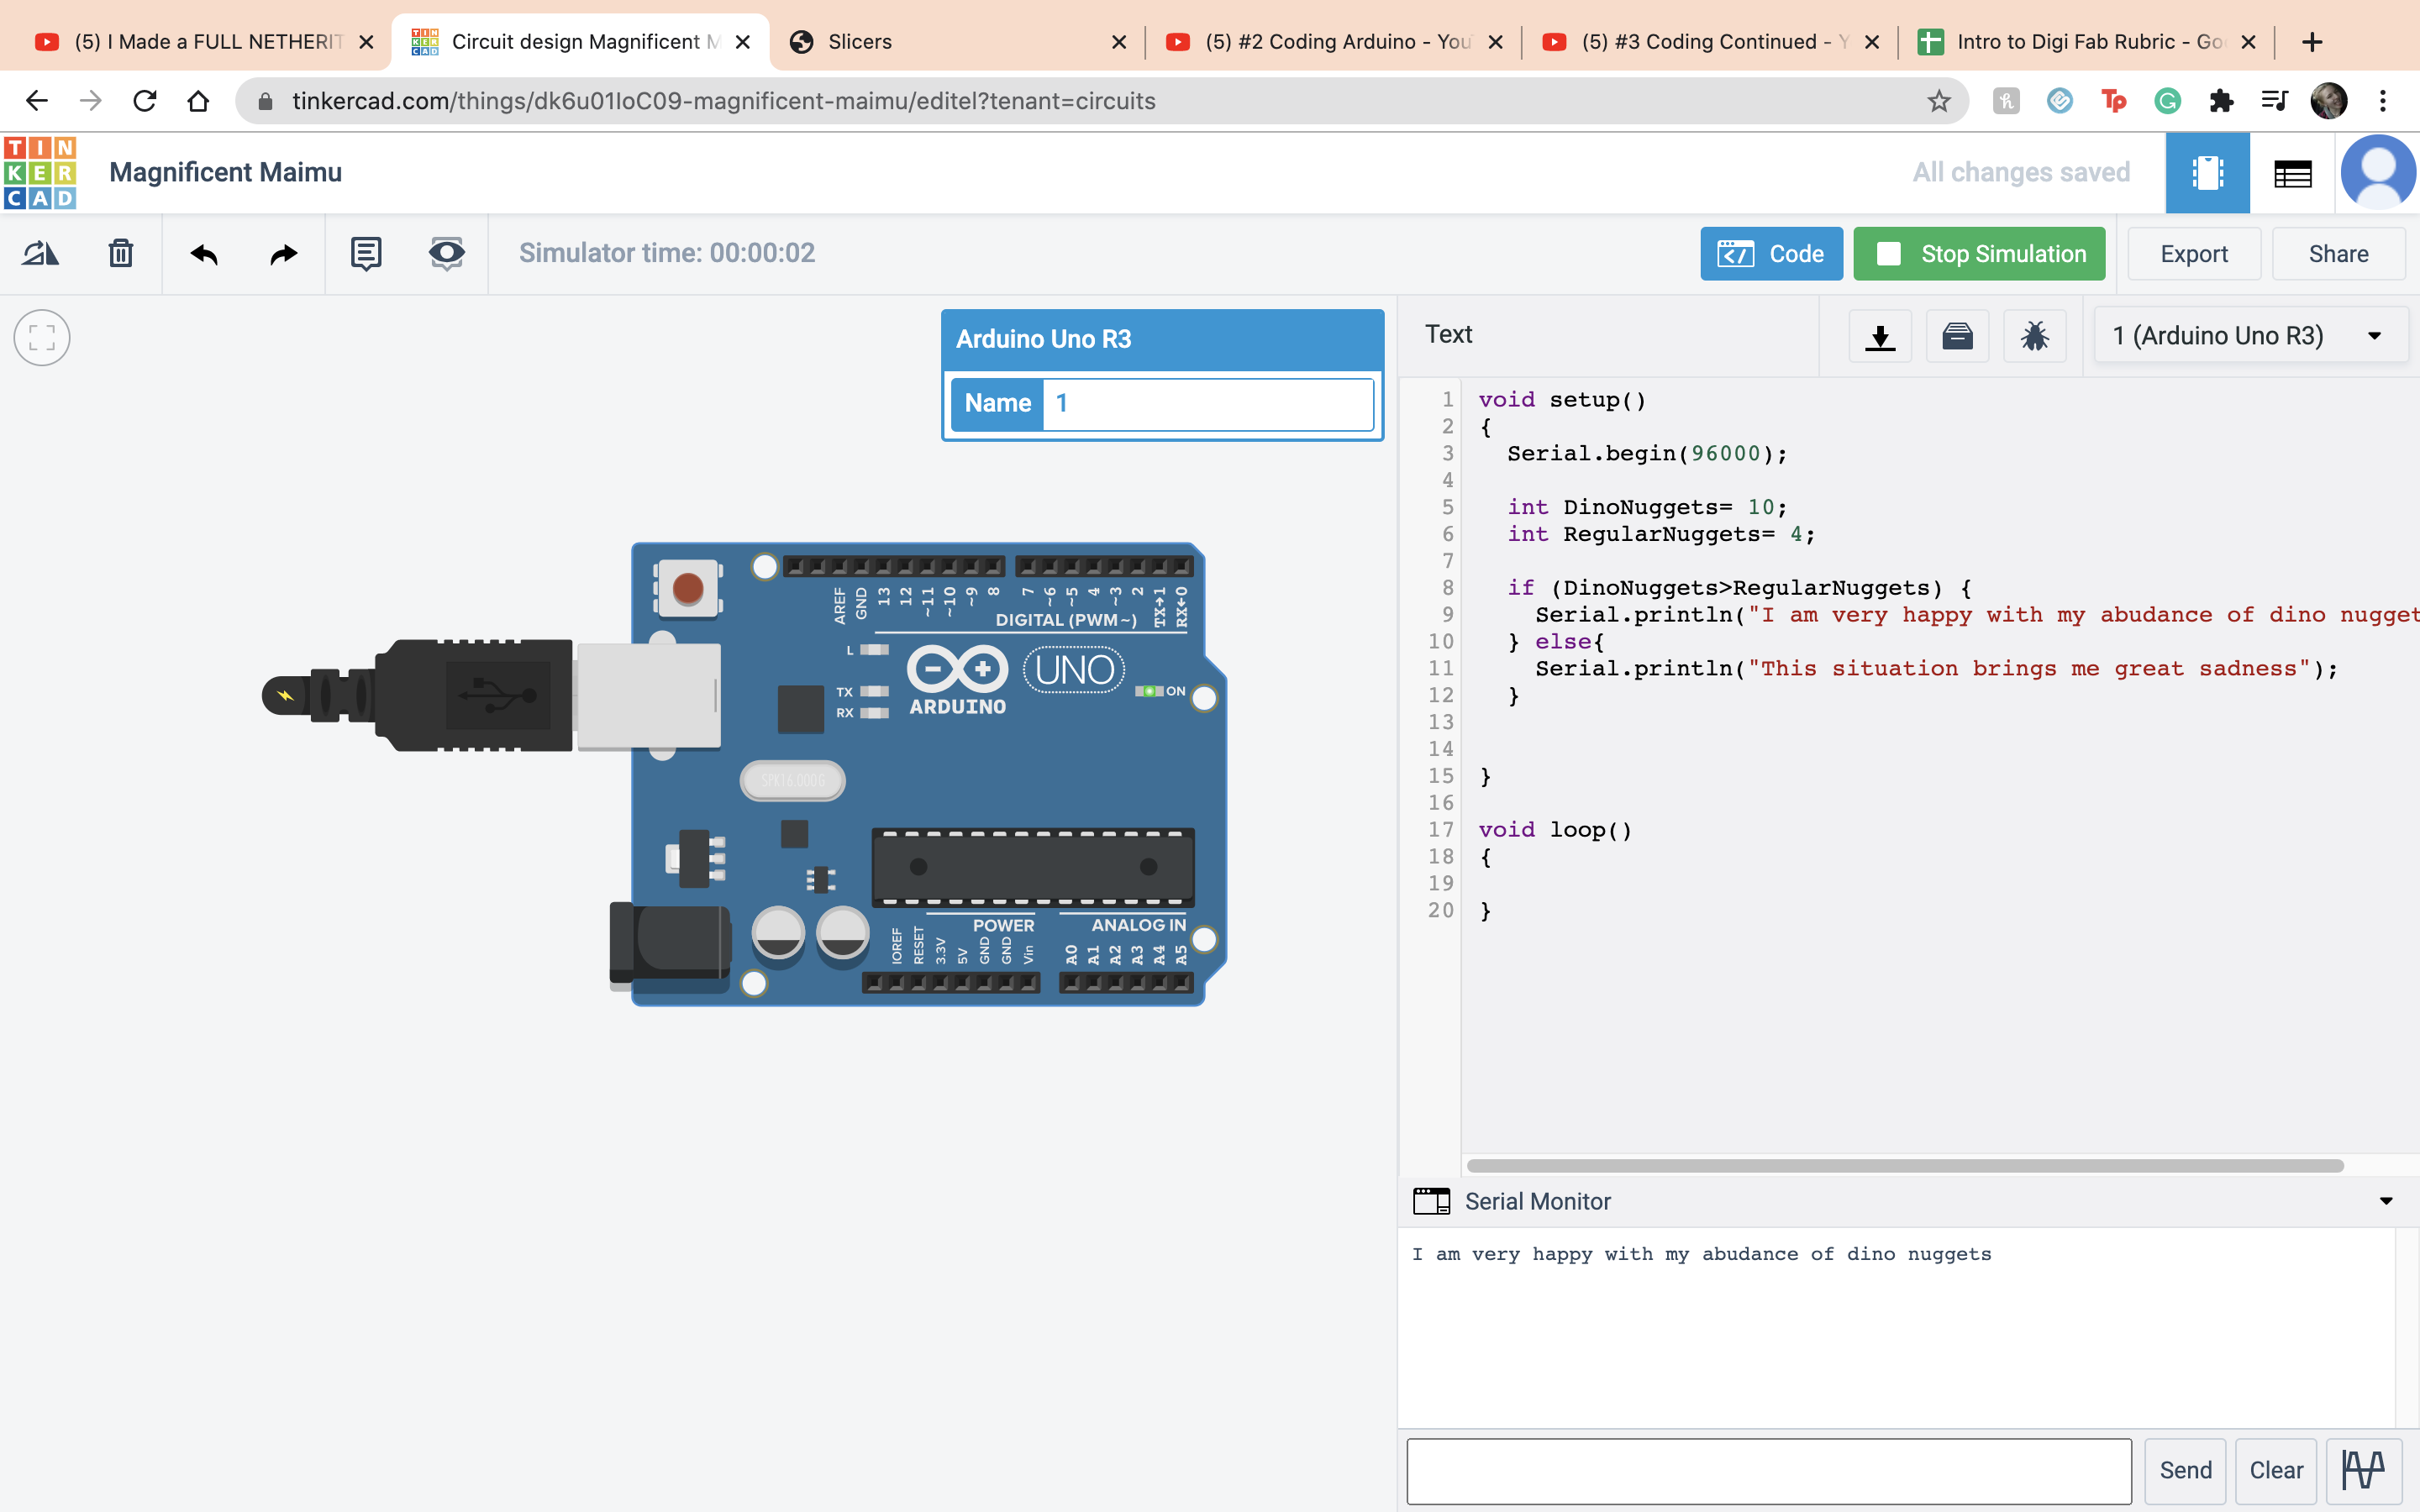
 But in this case I did have more dino nuggets :)
 The next assigment is when you push the button the LED's light up in a sequence. So like always the frist thing I do is bring out the ardino and the board.
 Next I set up the negative and positive terminals on the ardino to the board.
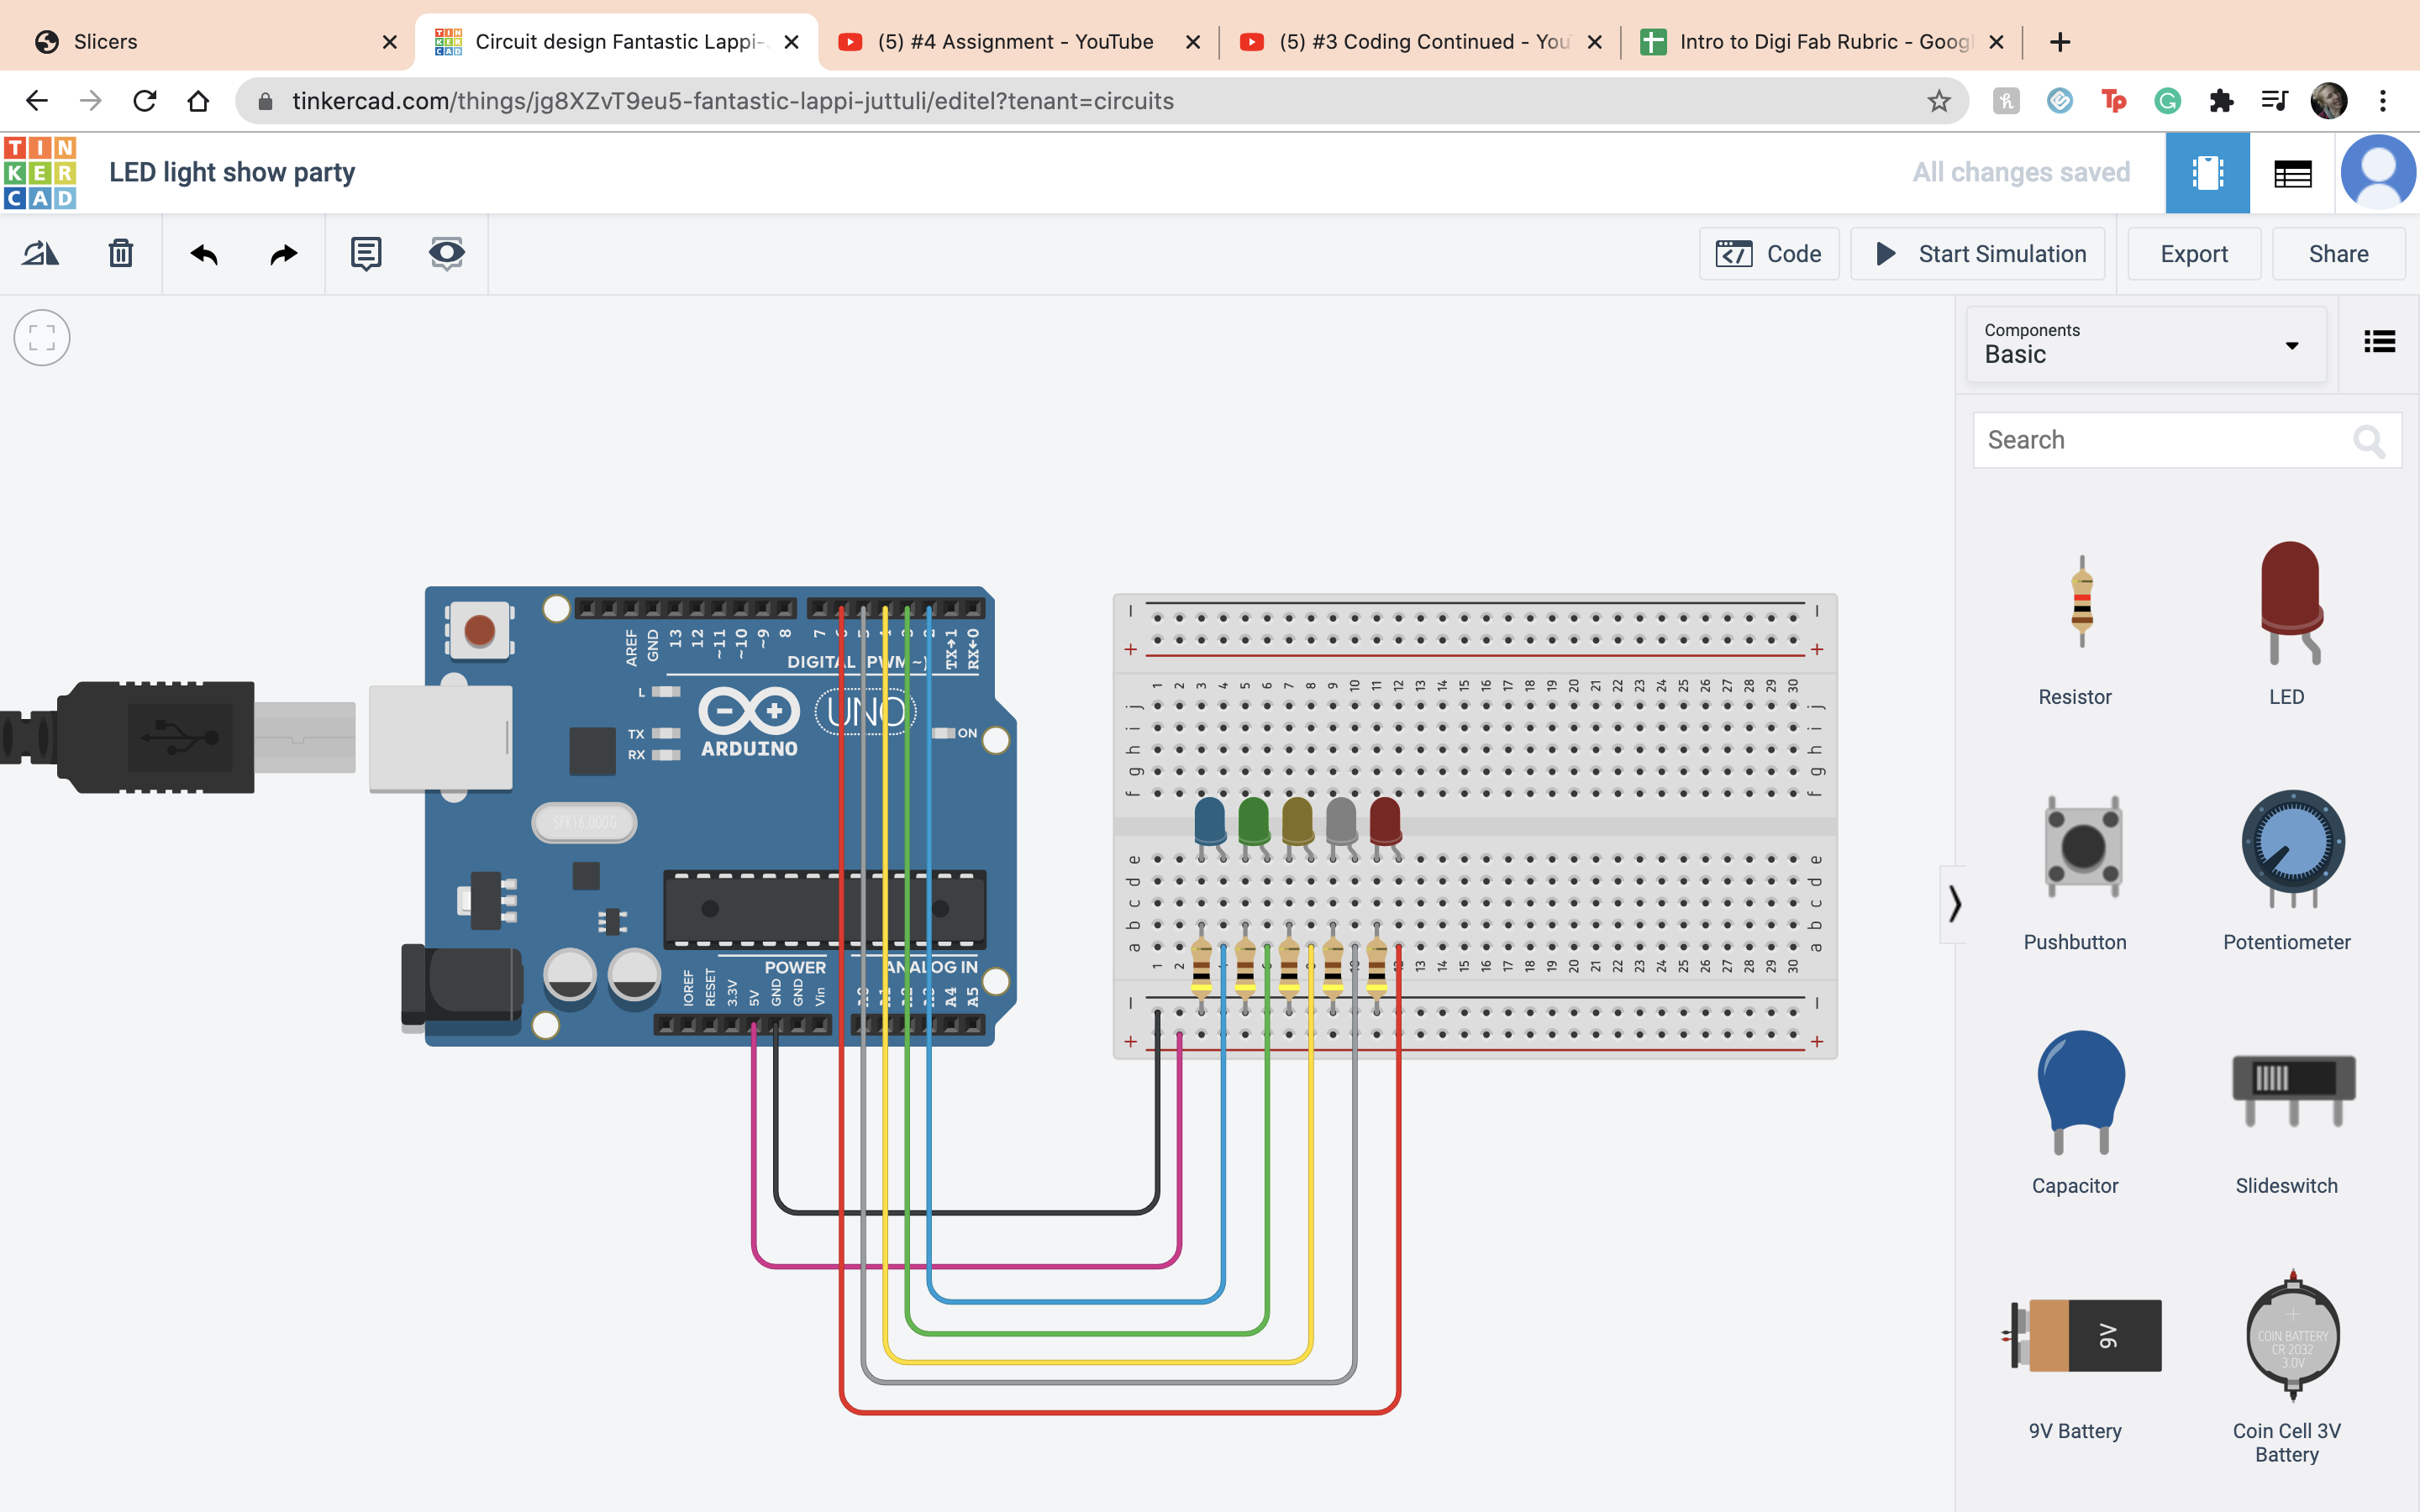
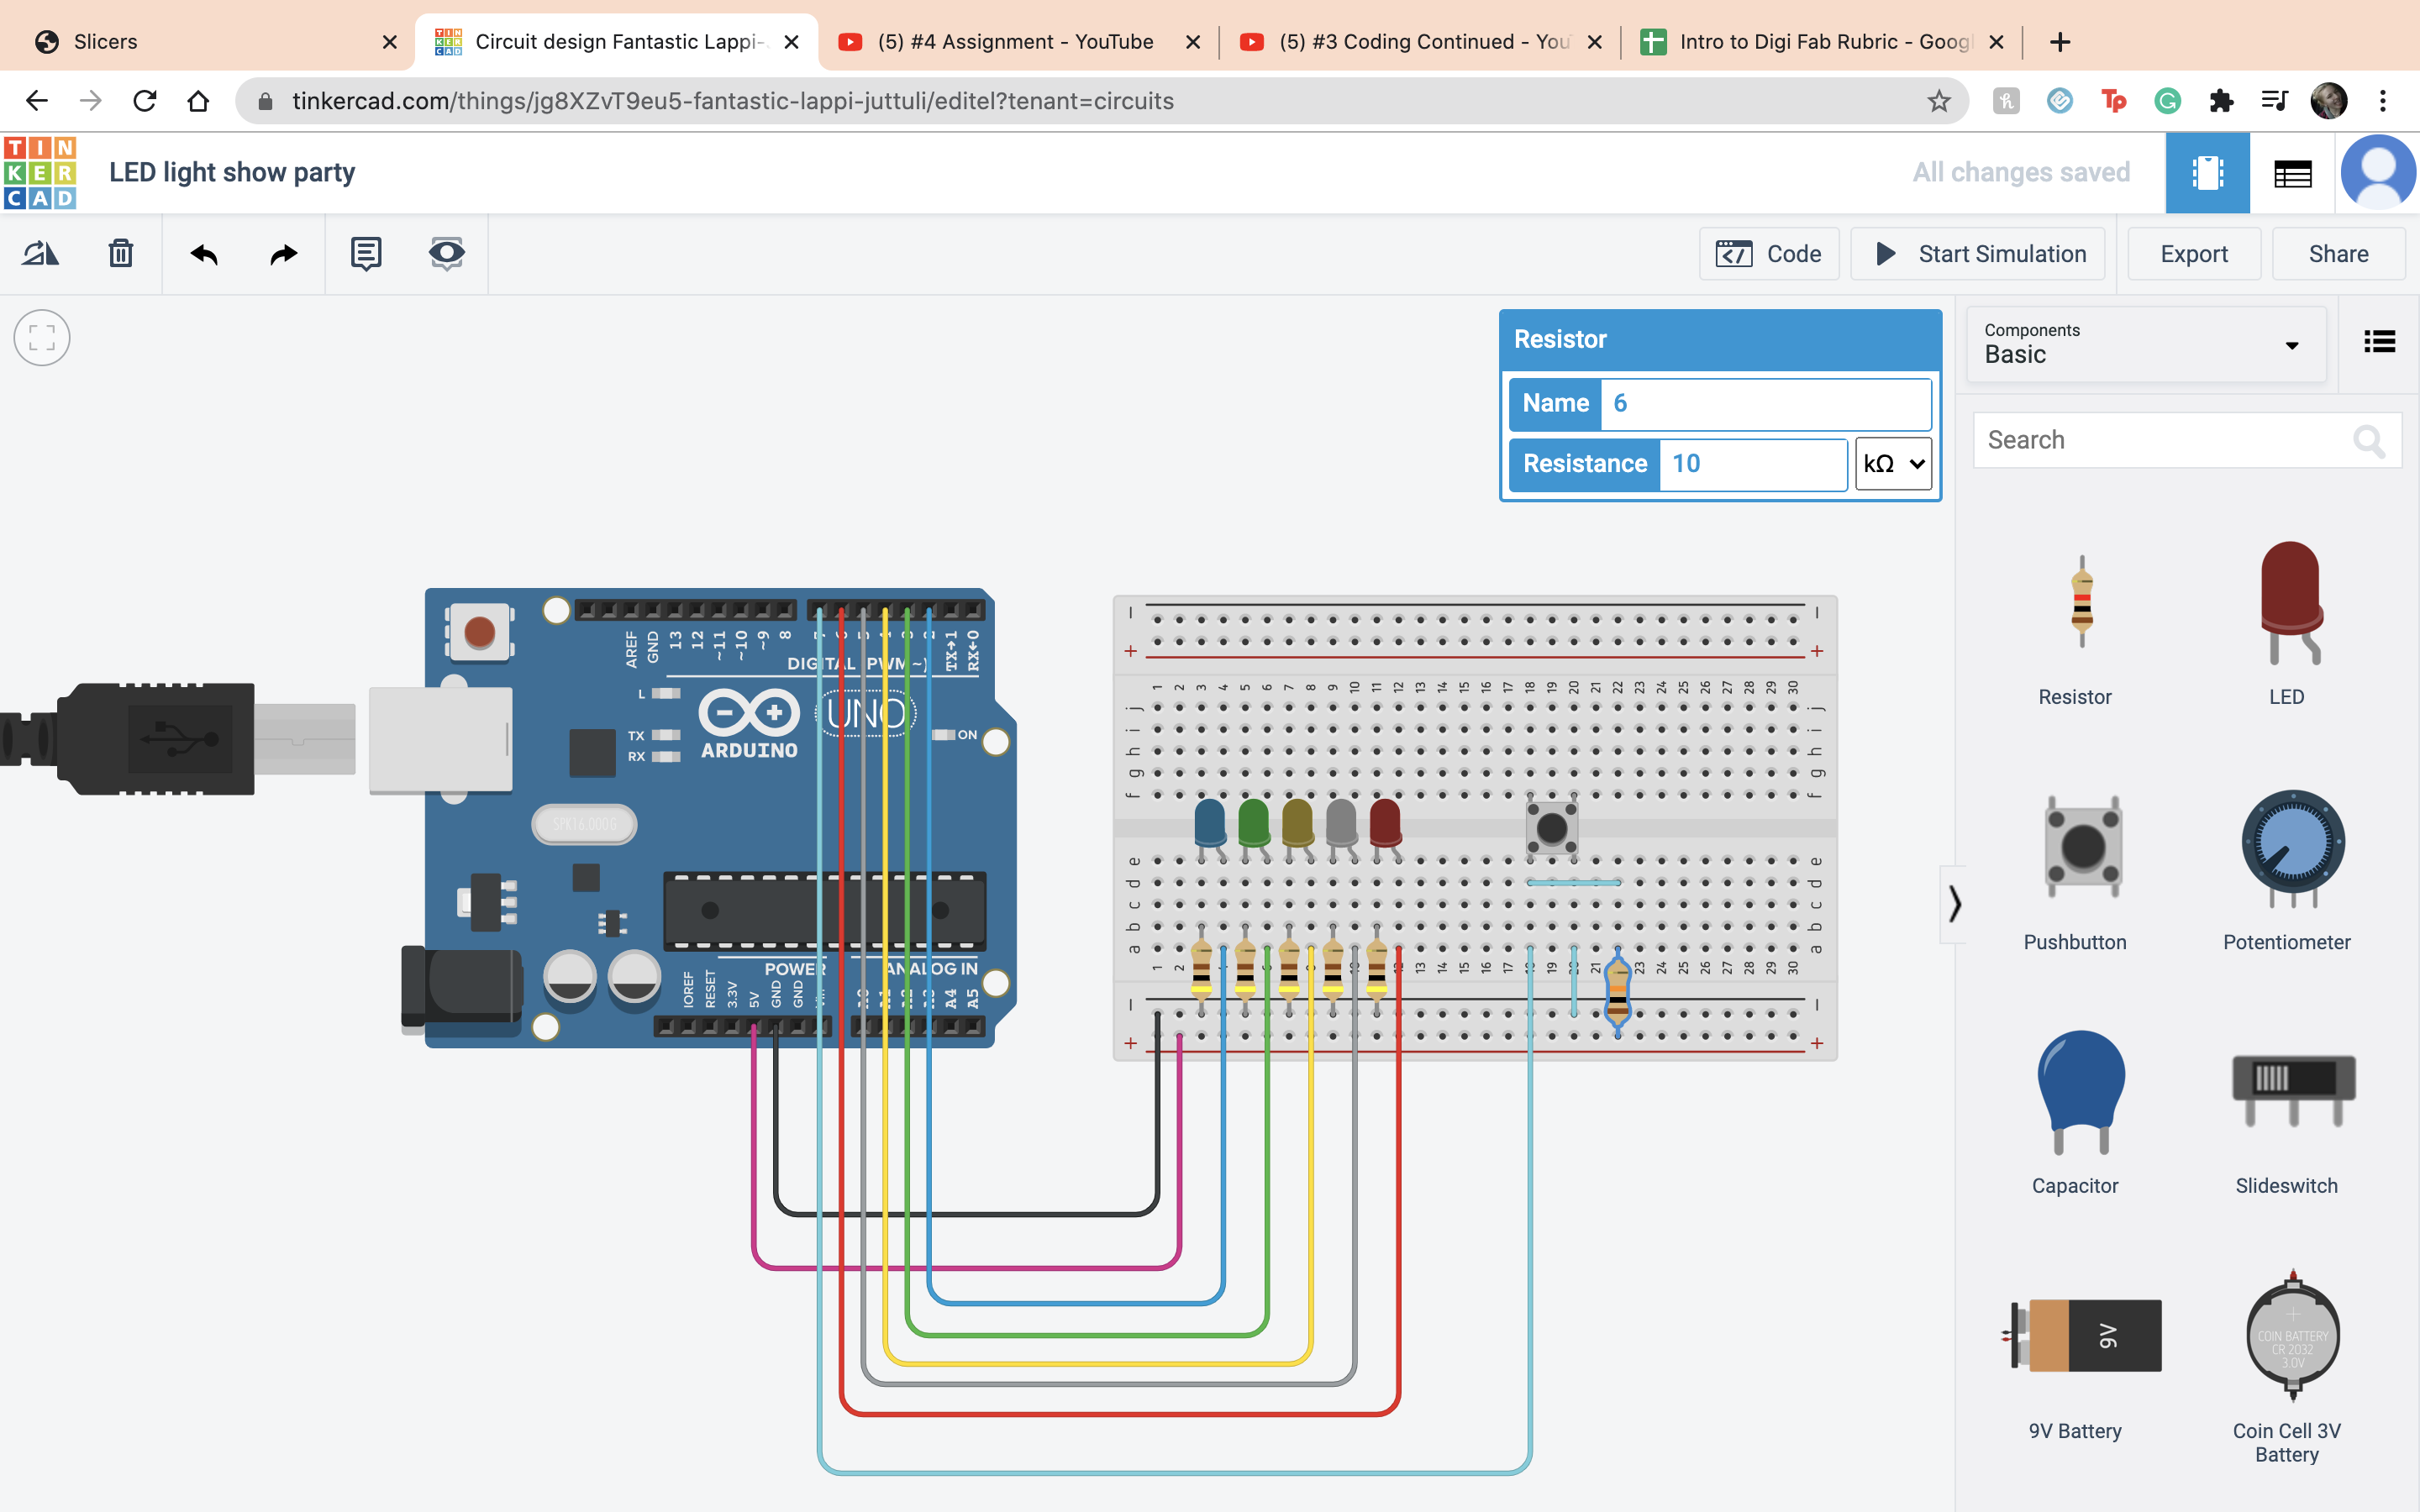
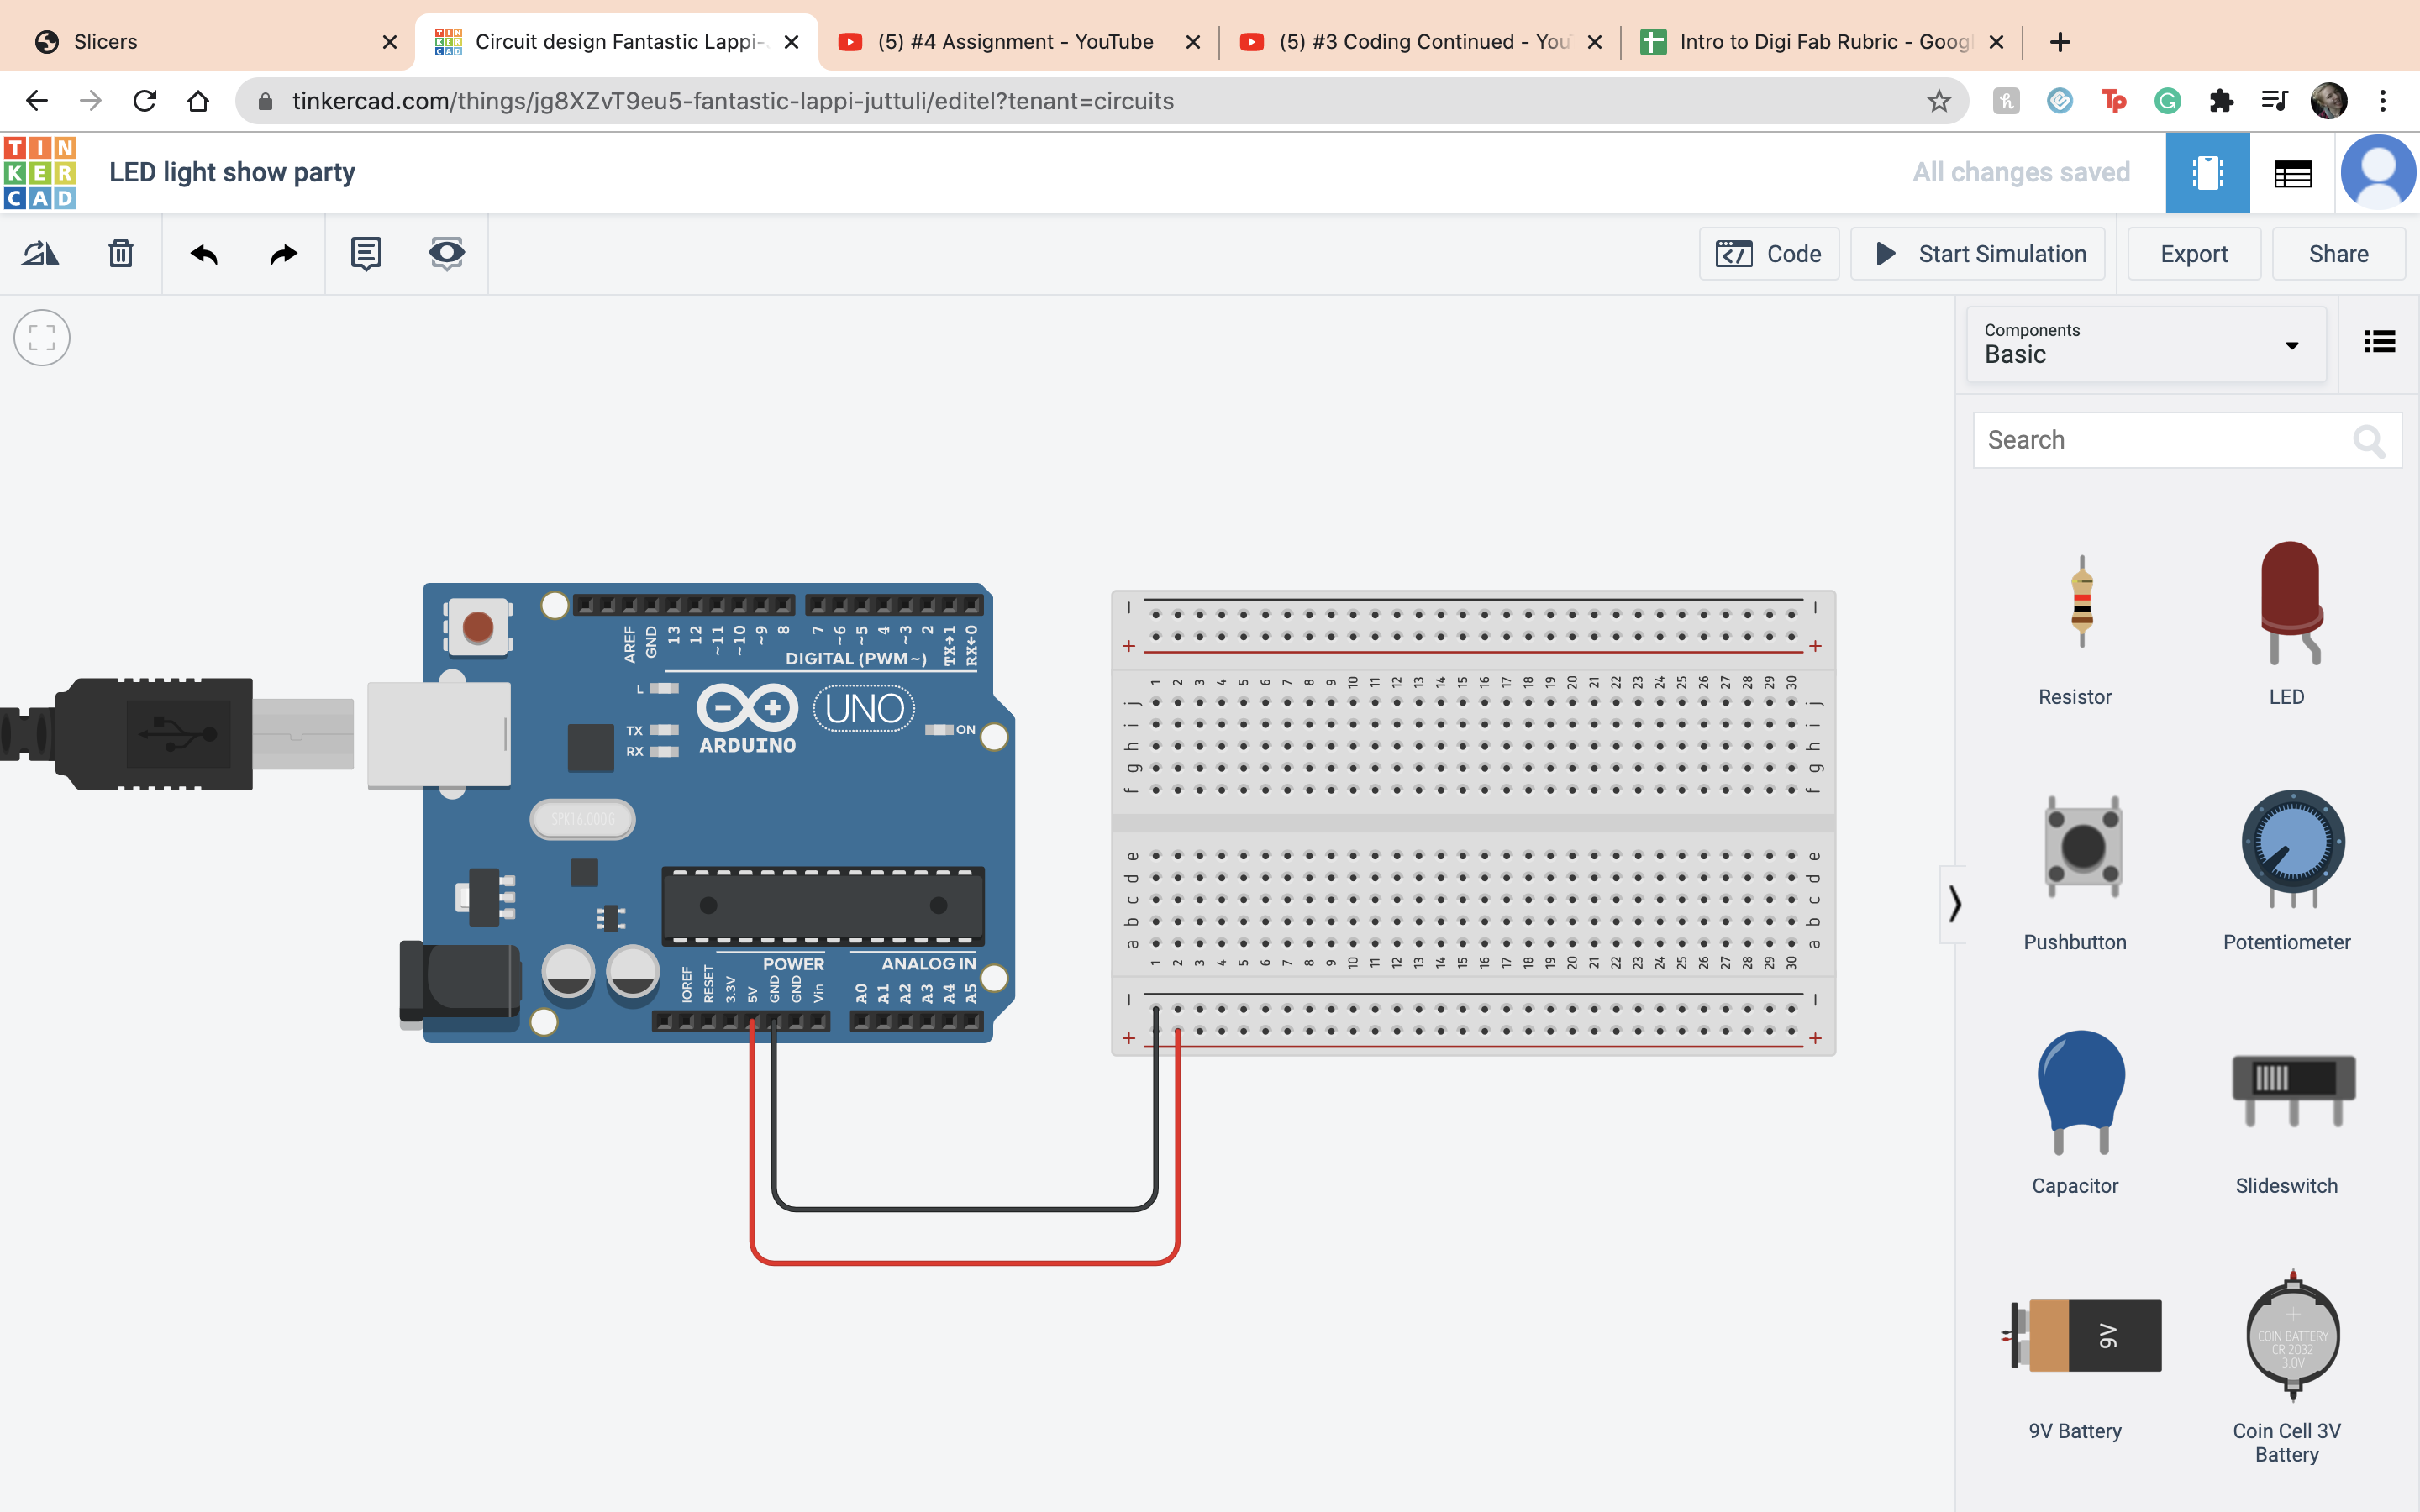 Then I set up my LEDs and put in the resistor for each one setting it at 400 ohms.
 The next thing I did was set up my LEDs to the ardino so I am able to code them.
 Then I set up variables for each LED
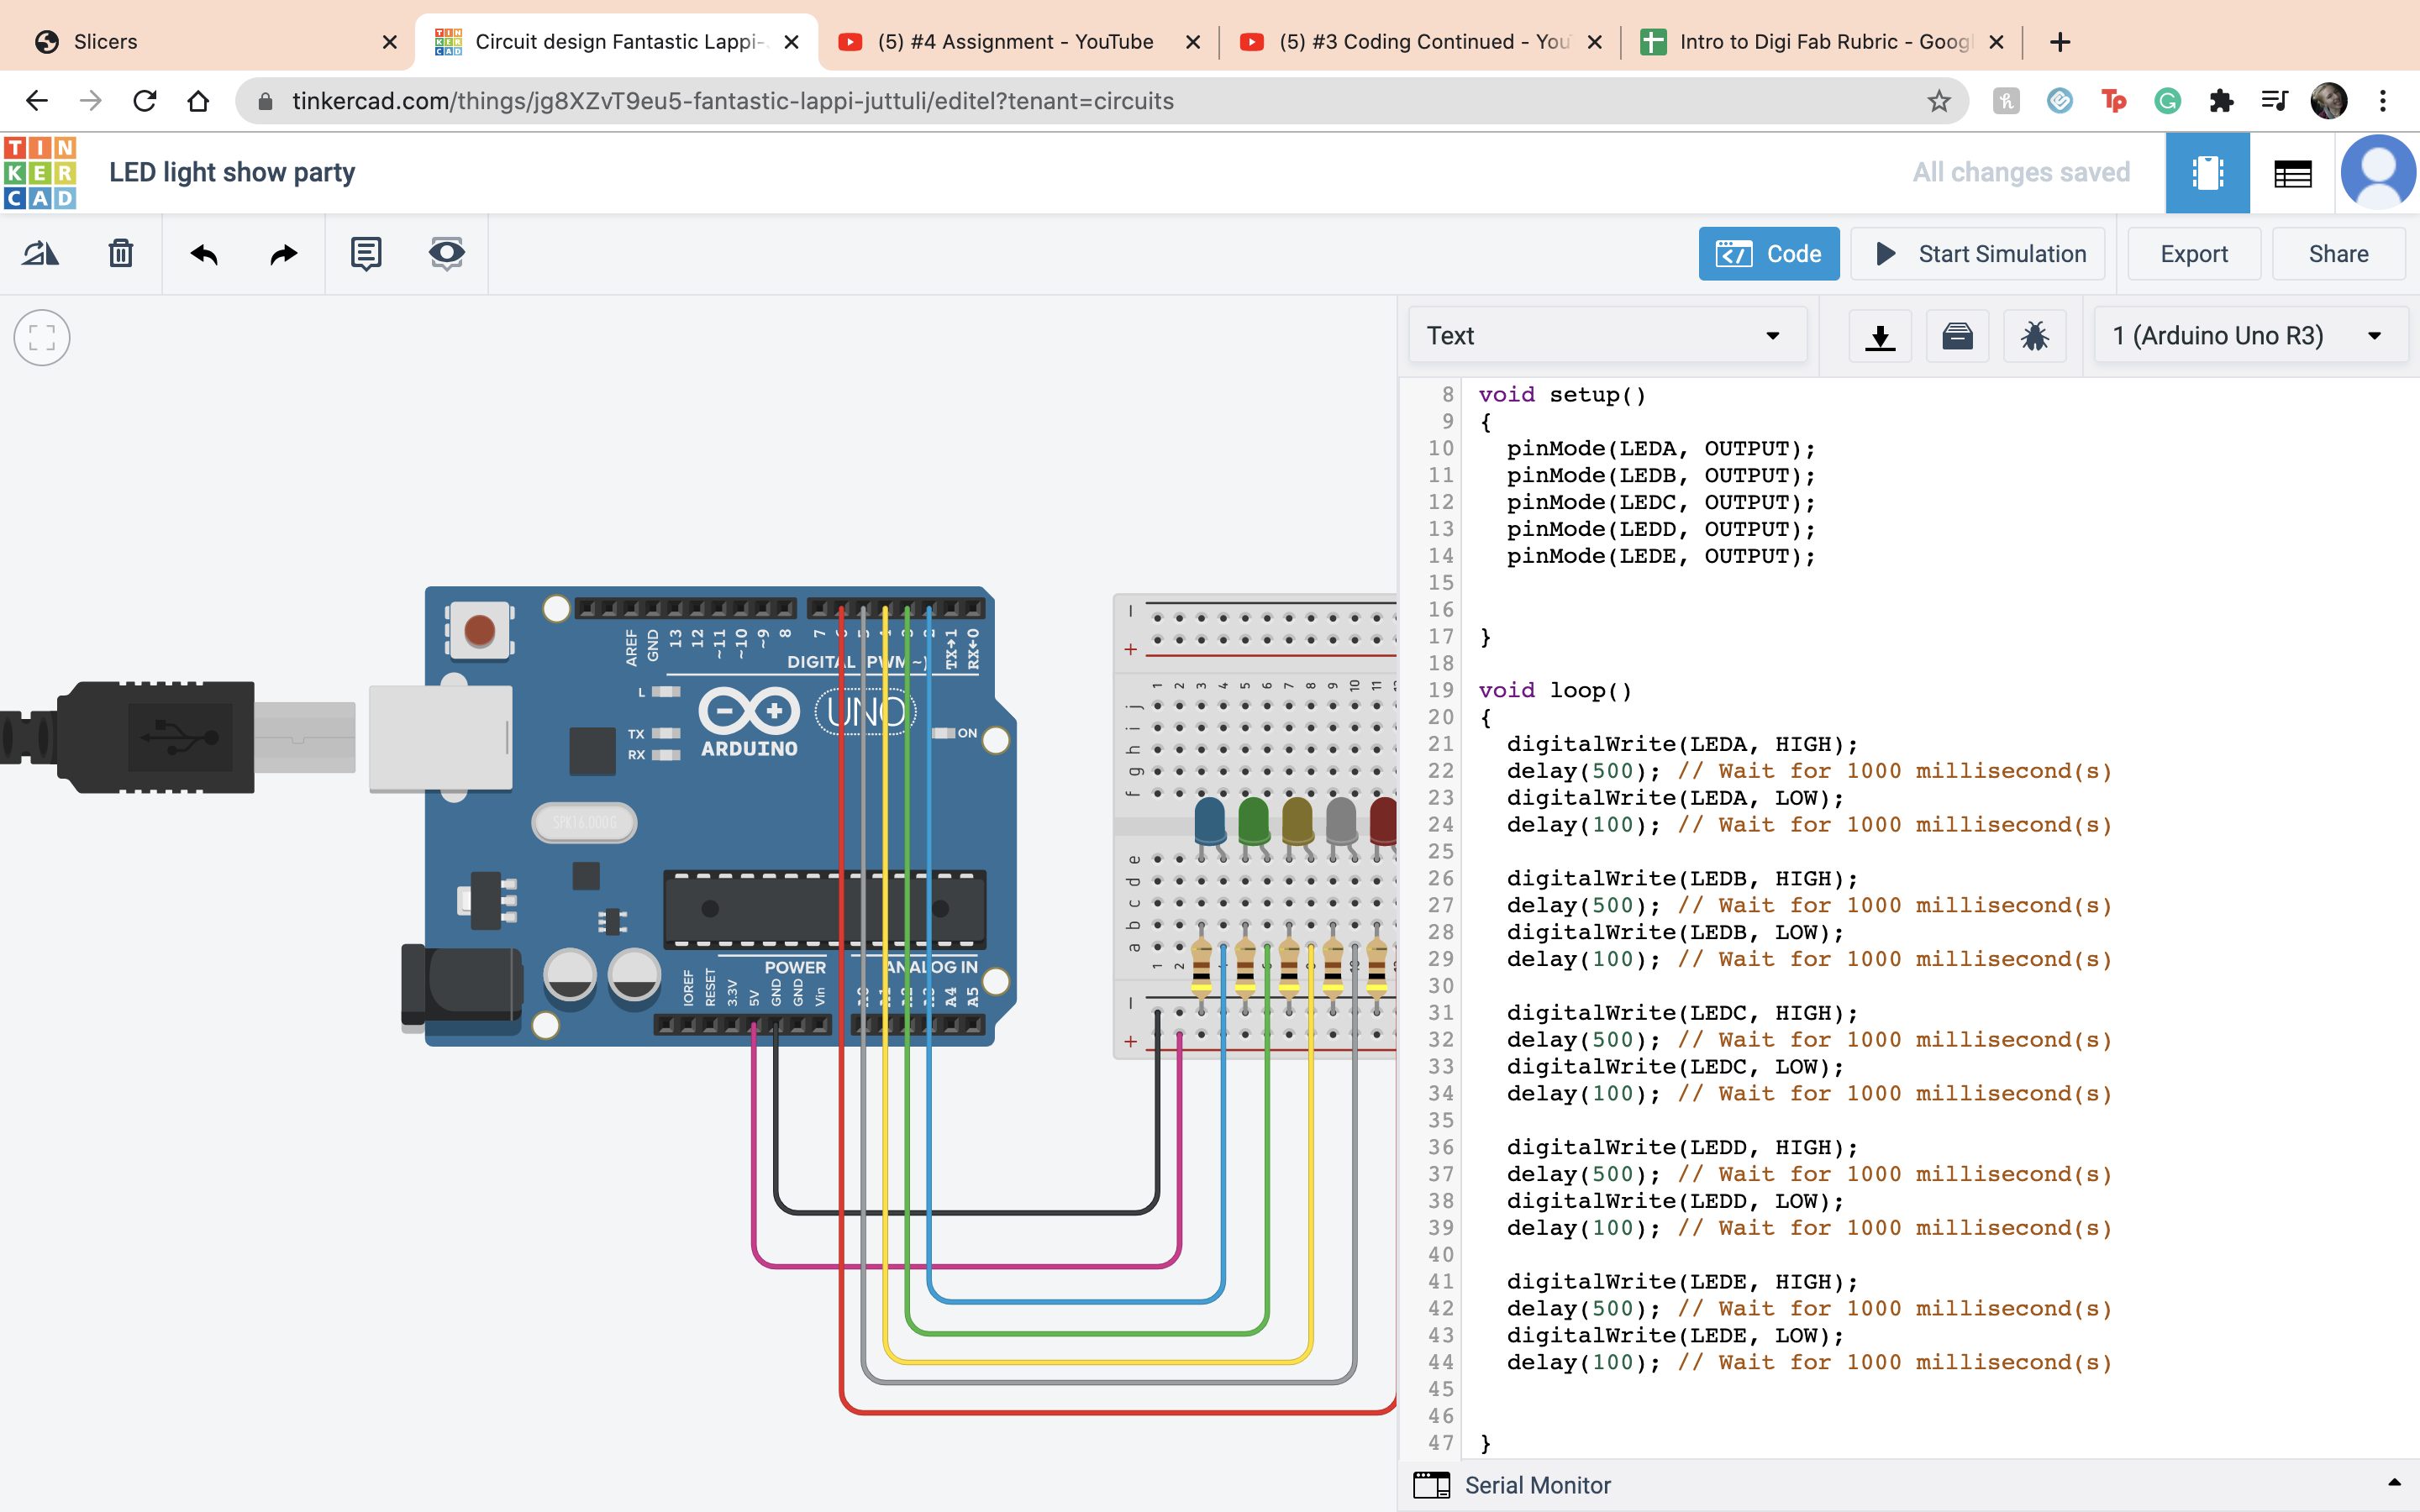
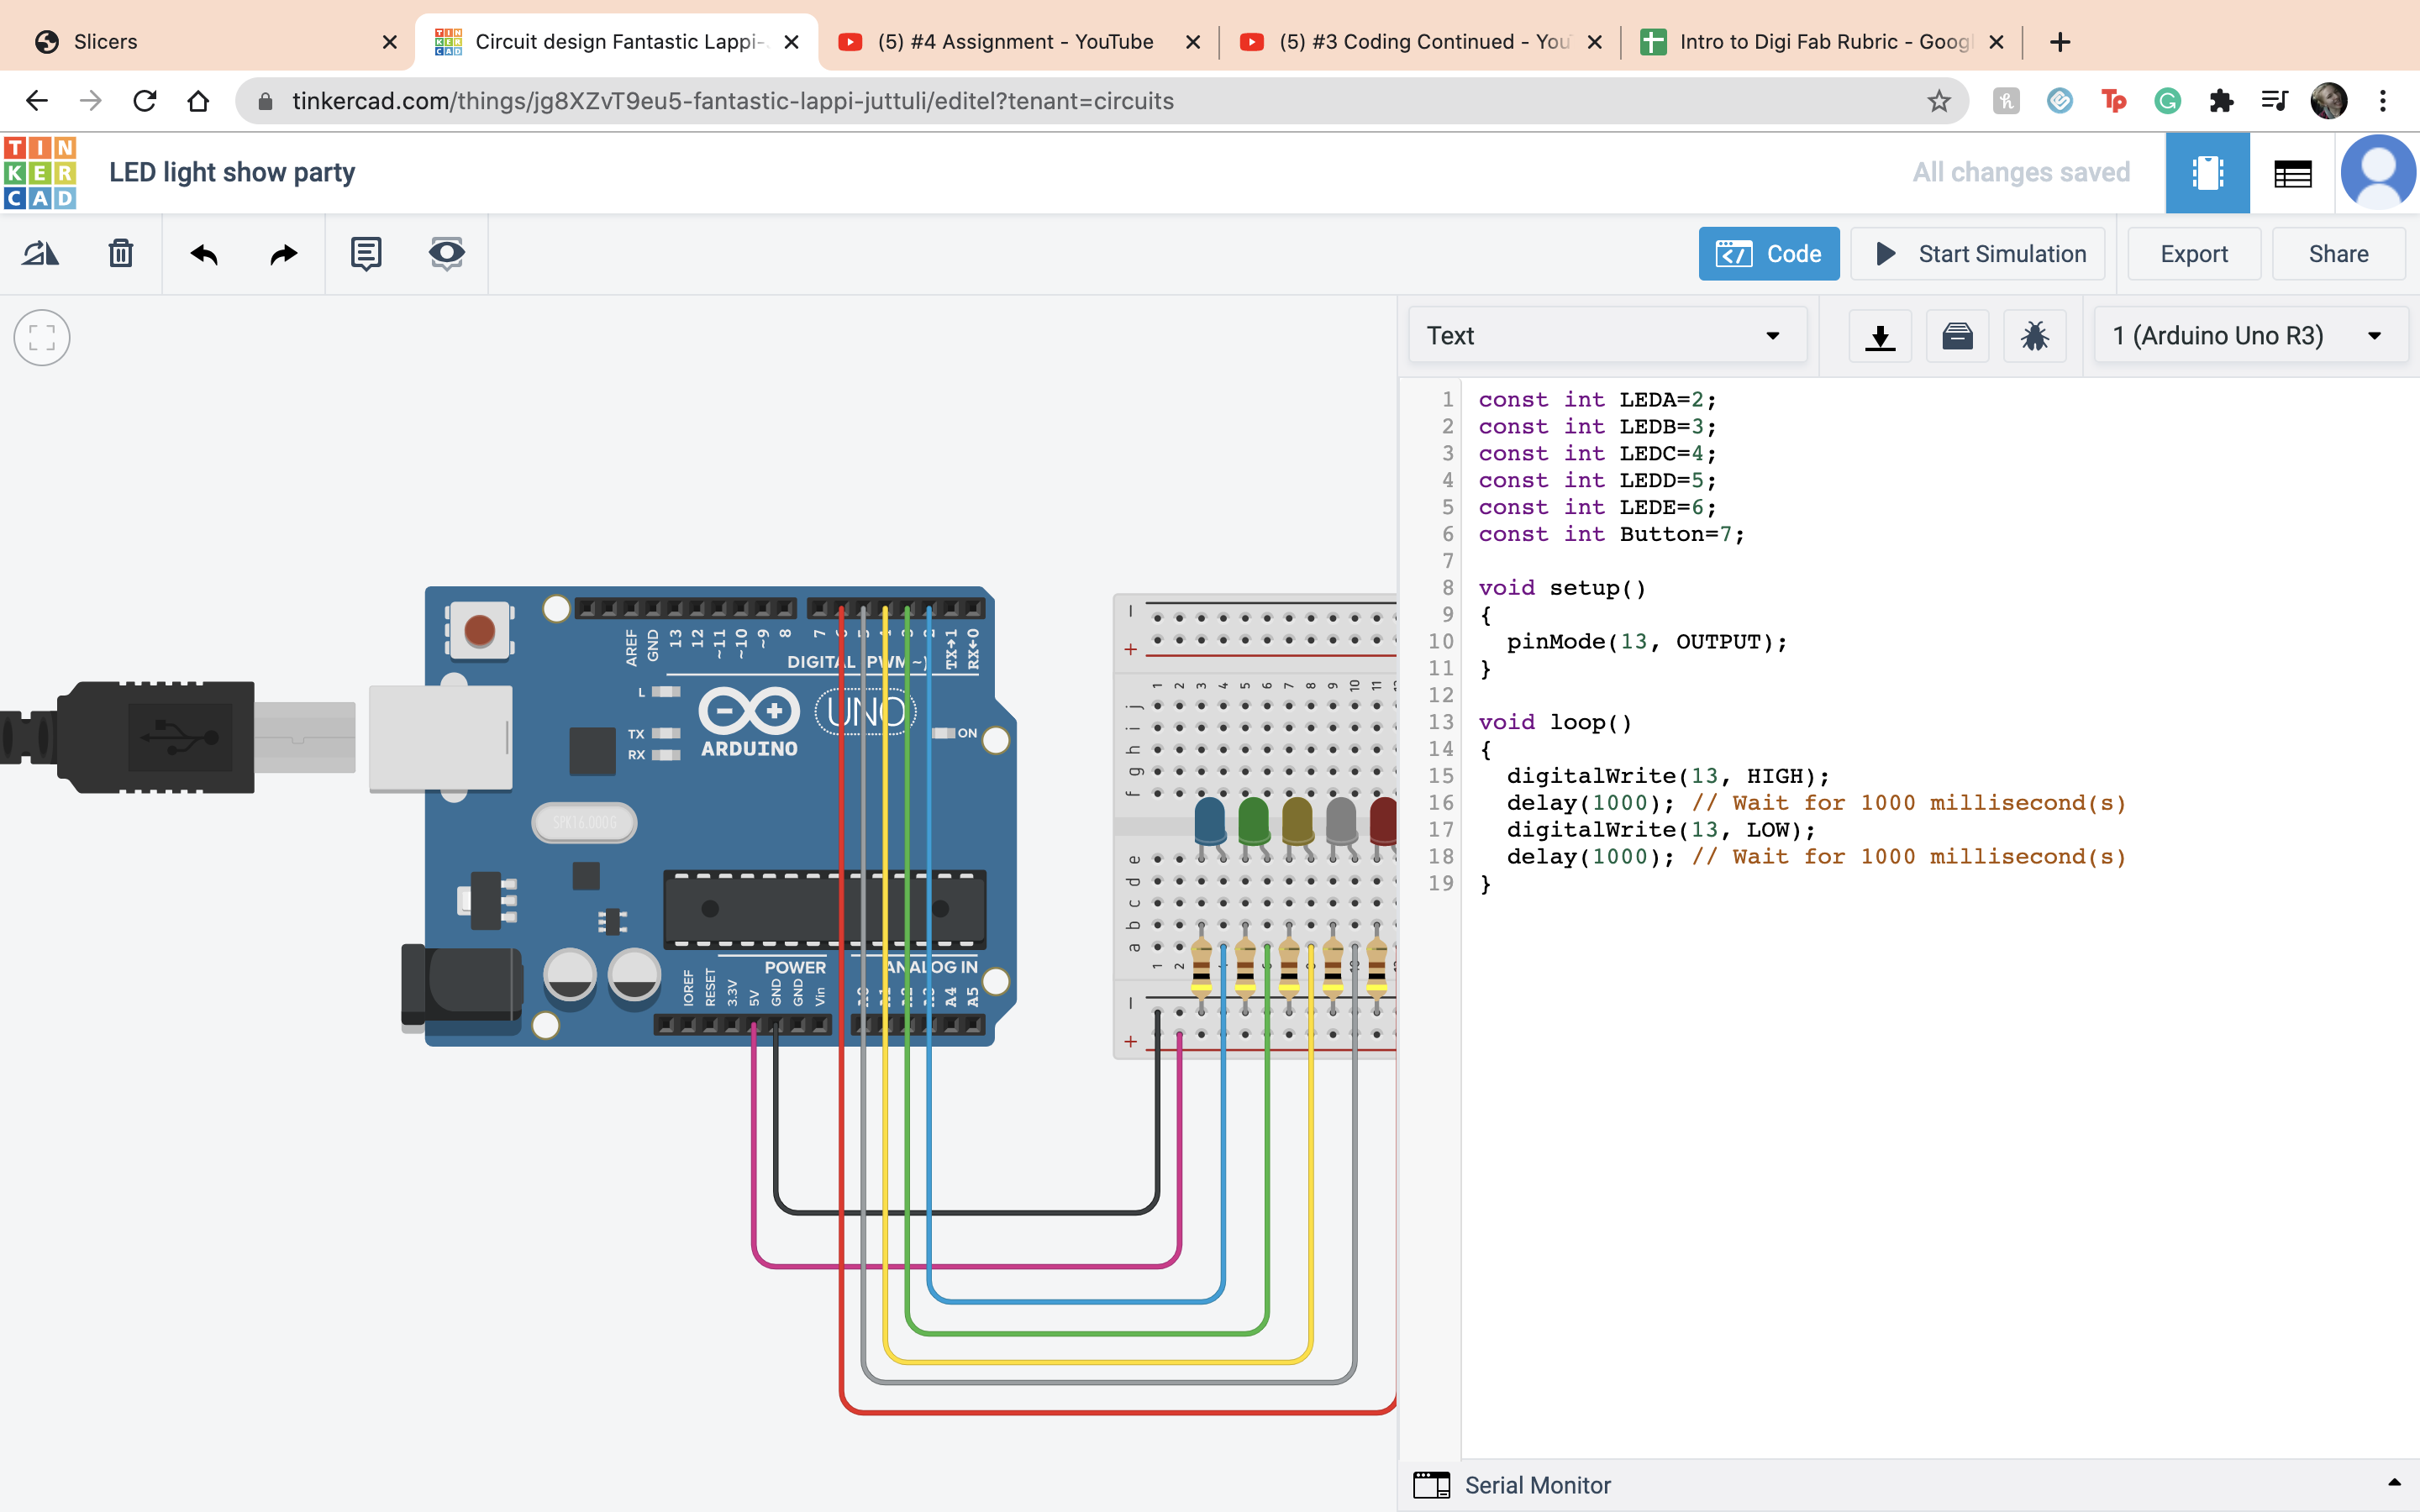 Next I set up my code, I set the pinmode to output for all of the pins. Then for the Loop section I have it as the LED hold its on position for 500 milliseconds and have it off for 1000 milliseconds. I did that for each LED.
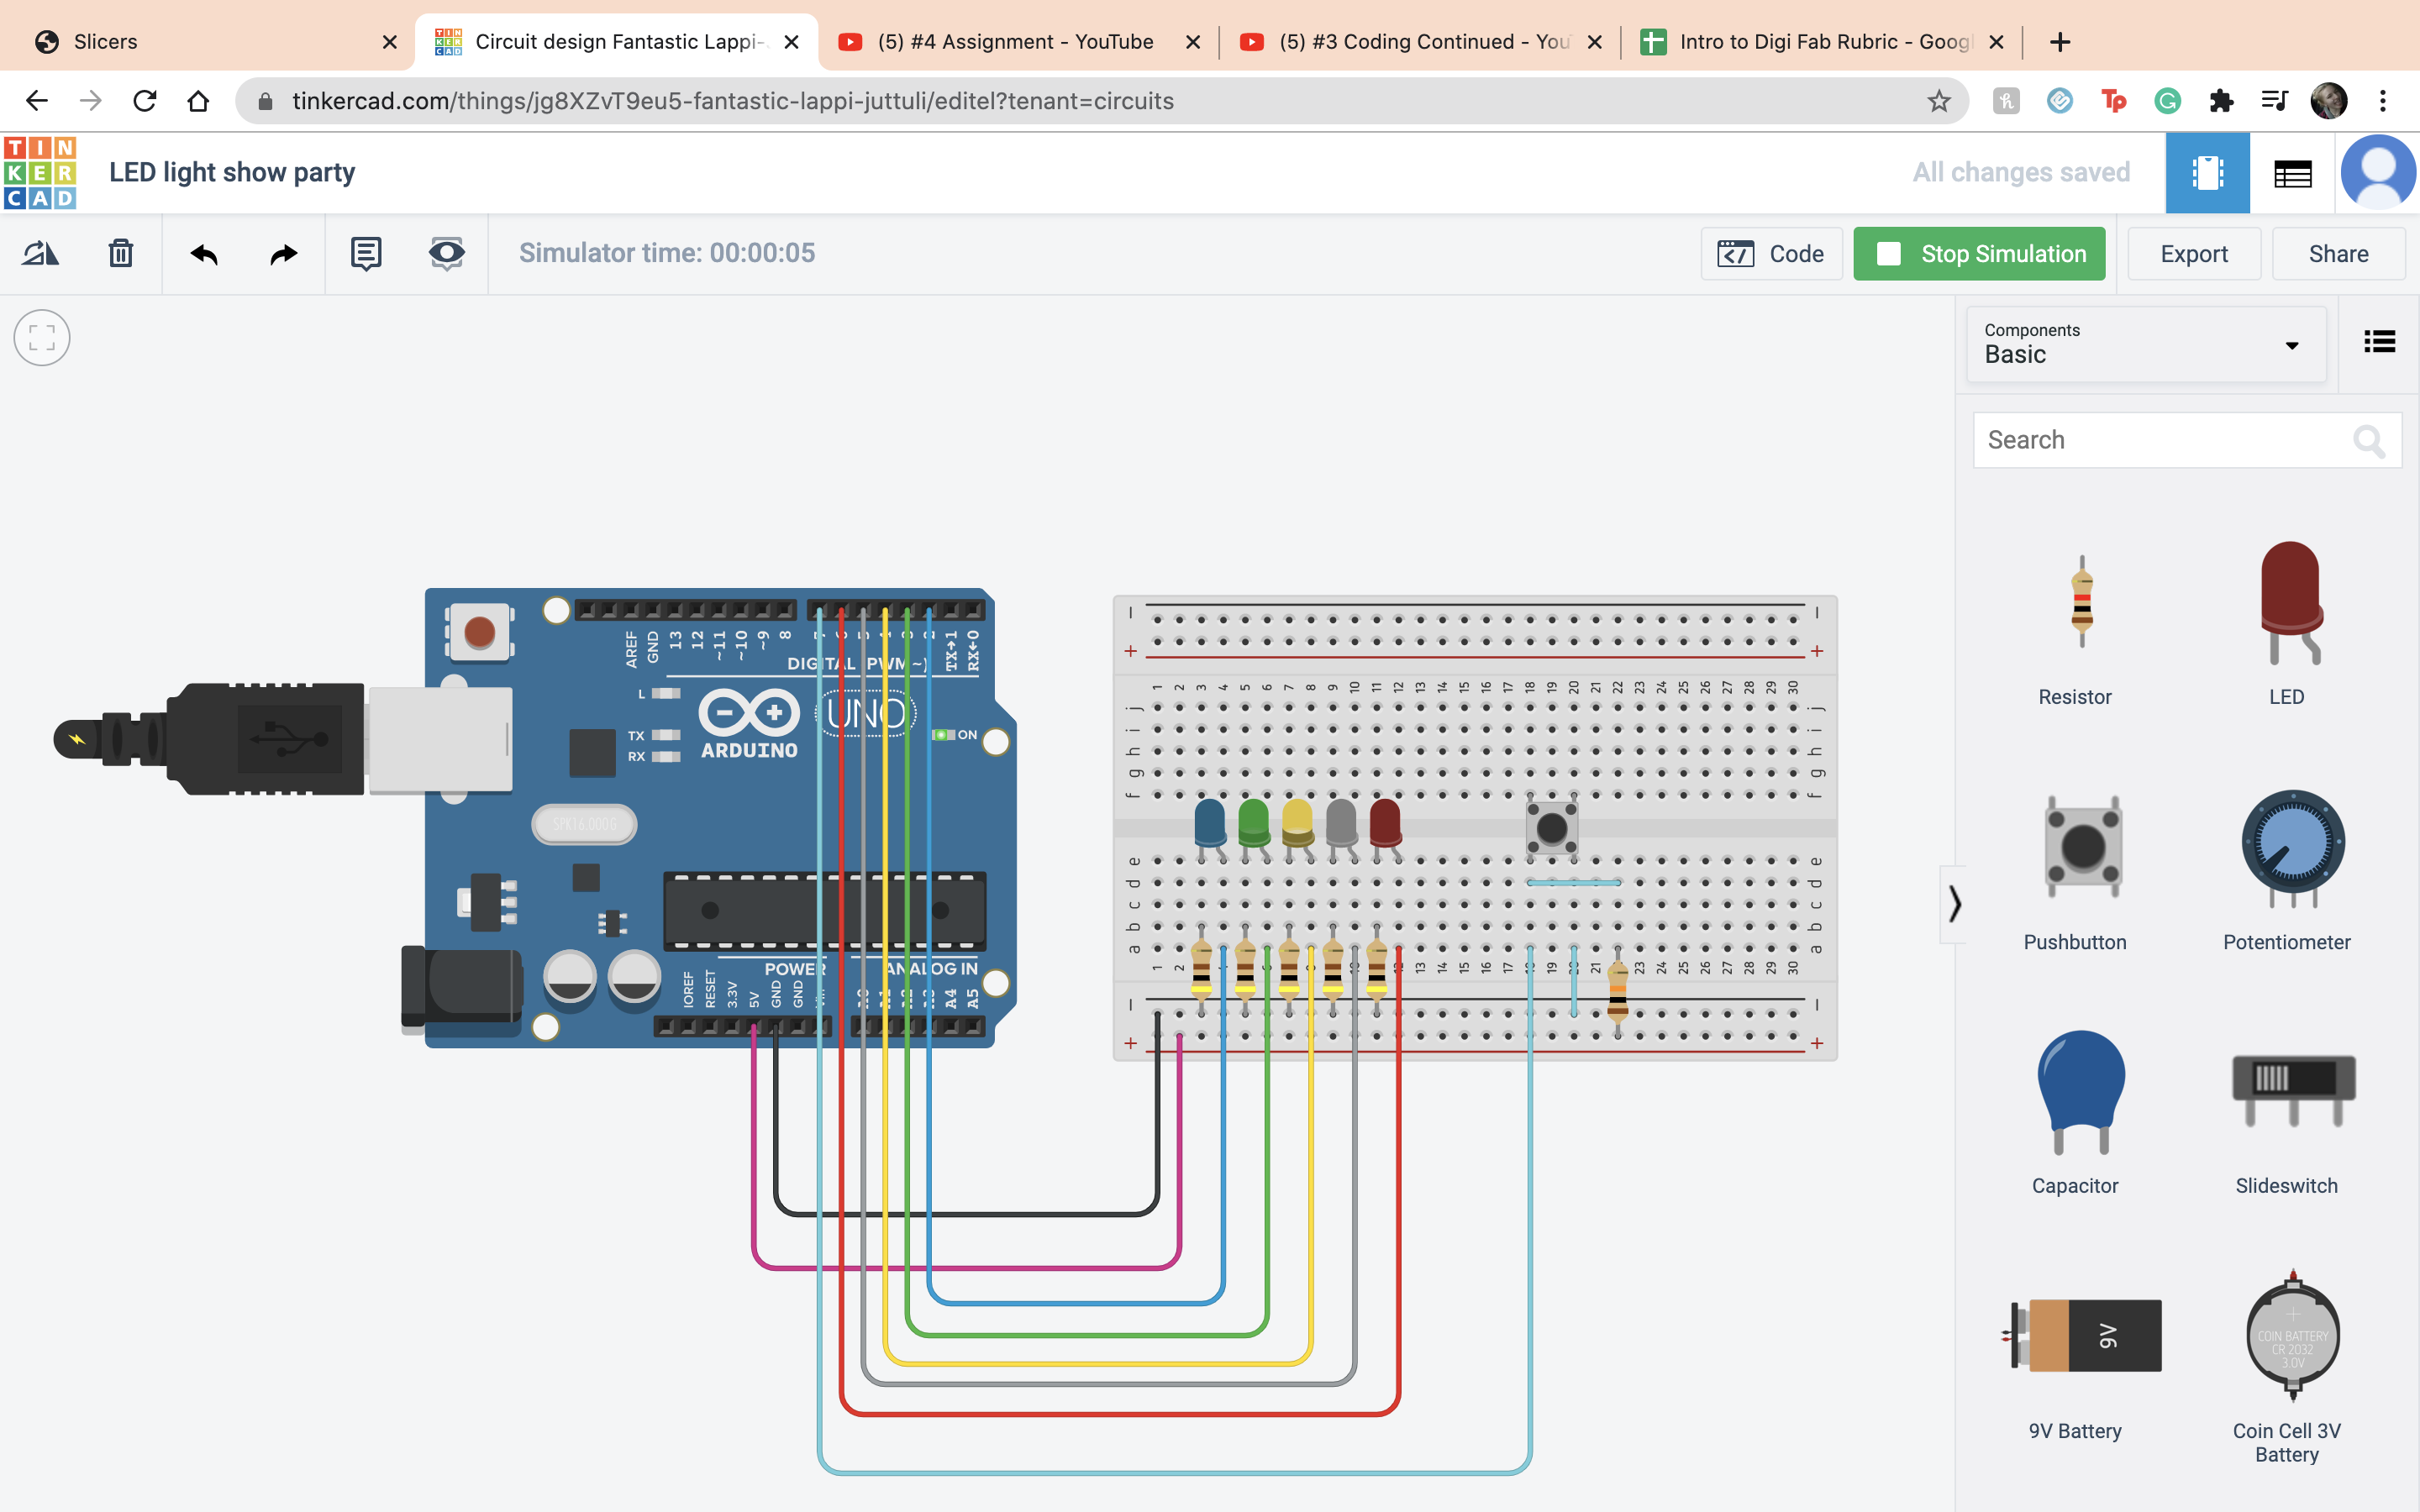
 After that I set up my button. So I connected terminal 1 to ardino 7 I connect terminal 2 to the negative terminal, and made a resister for terminal 1, and set that to 10 kilohms. I ran it to make sure that it works.
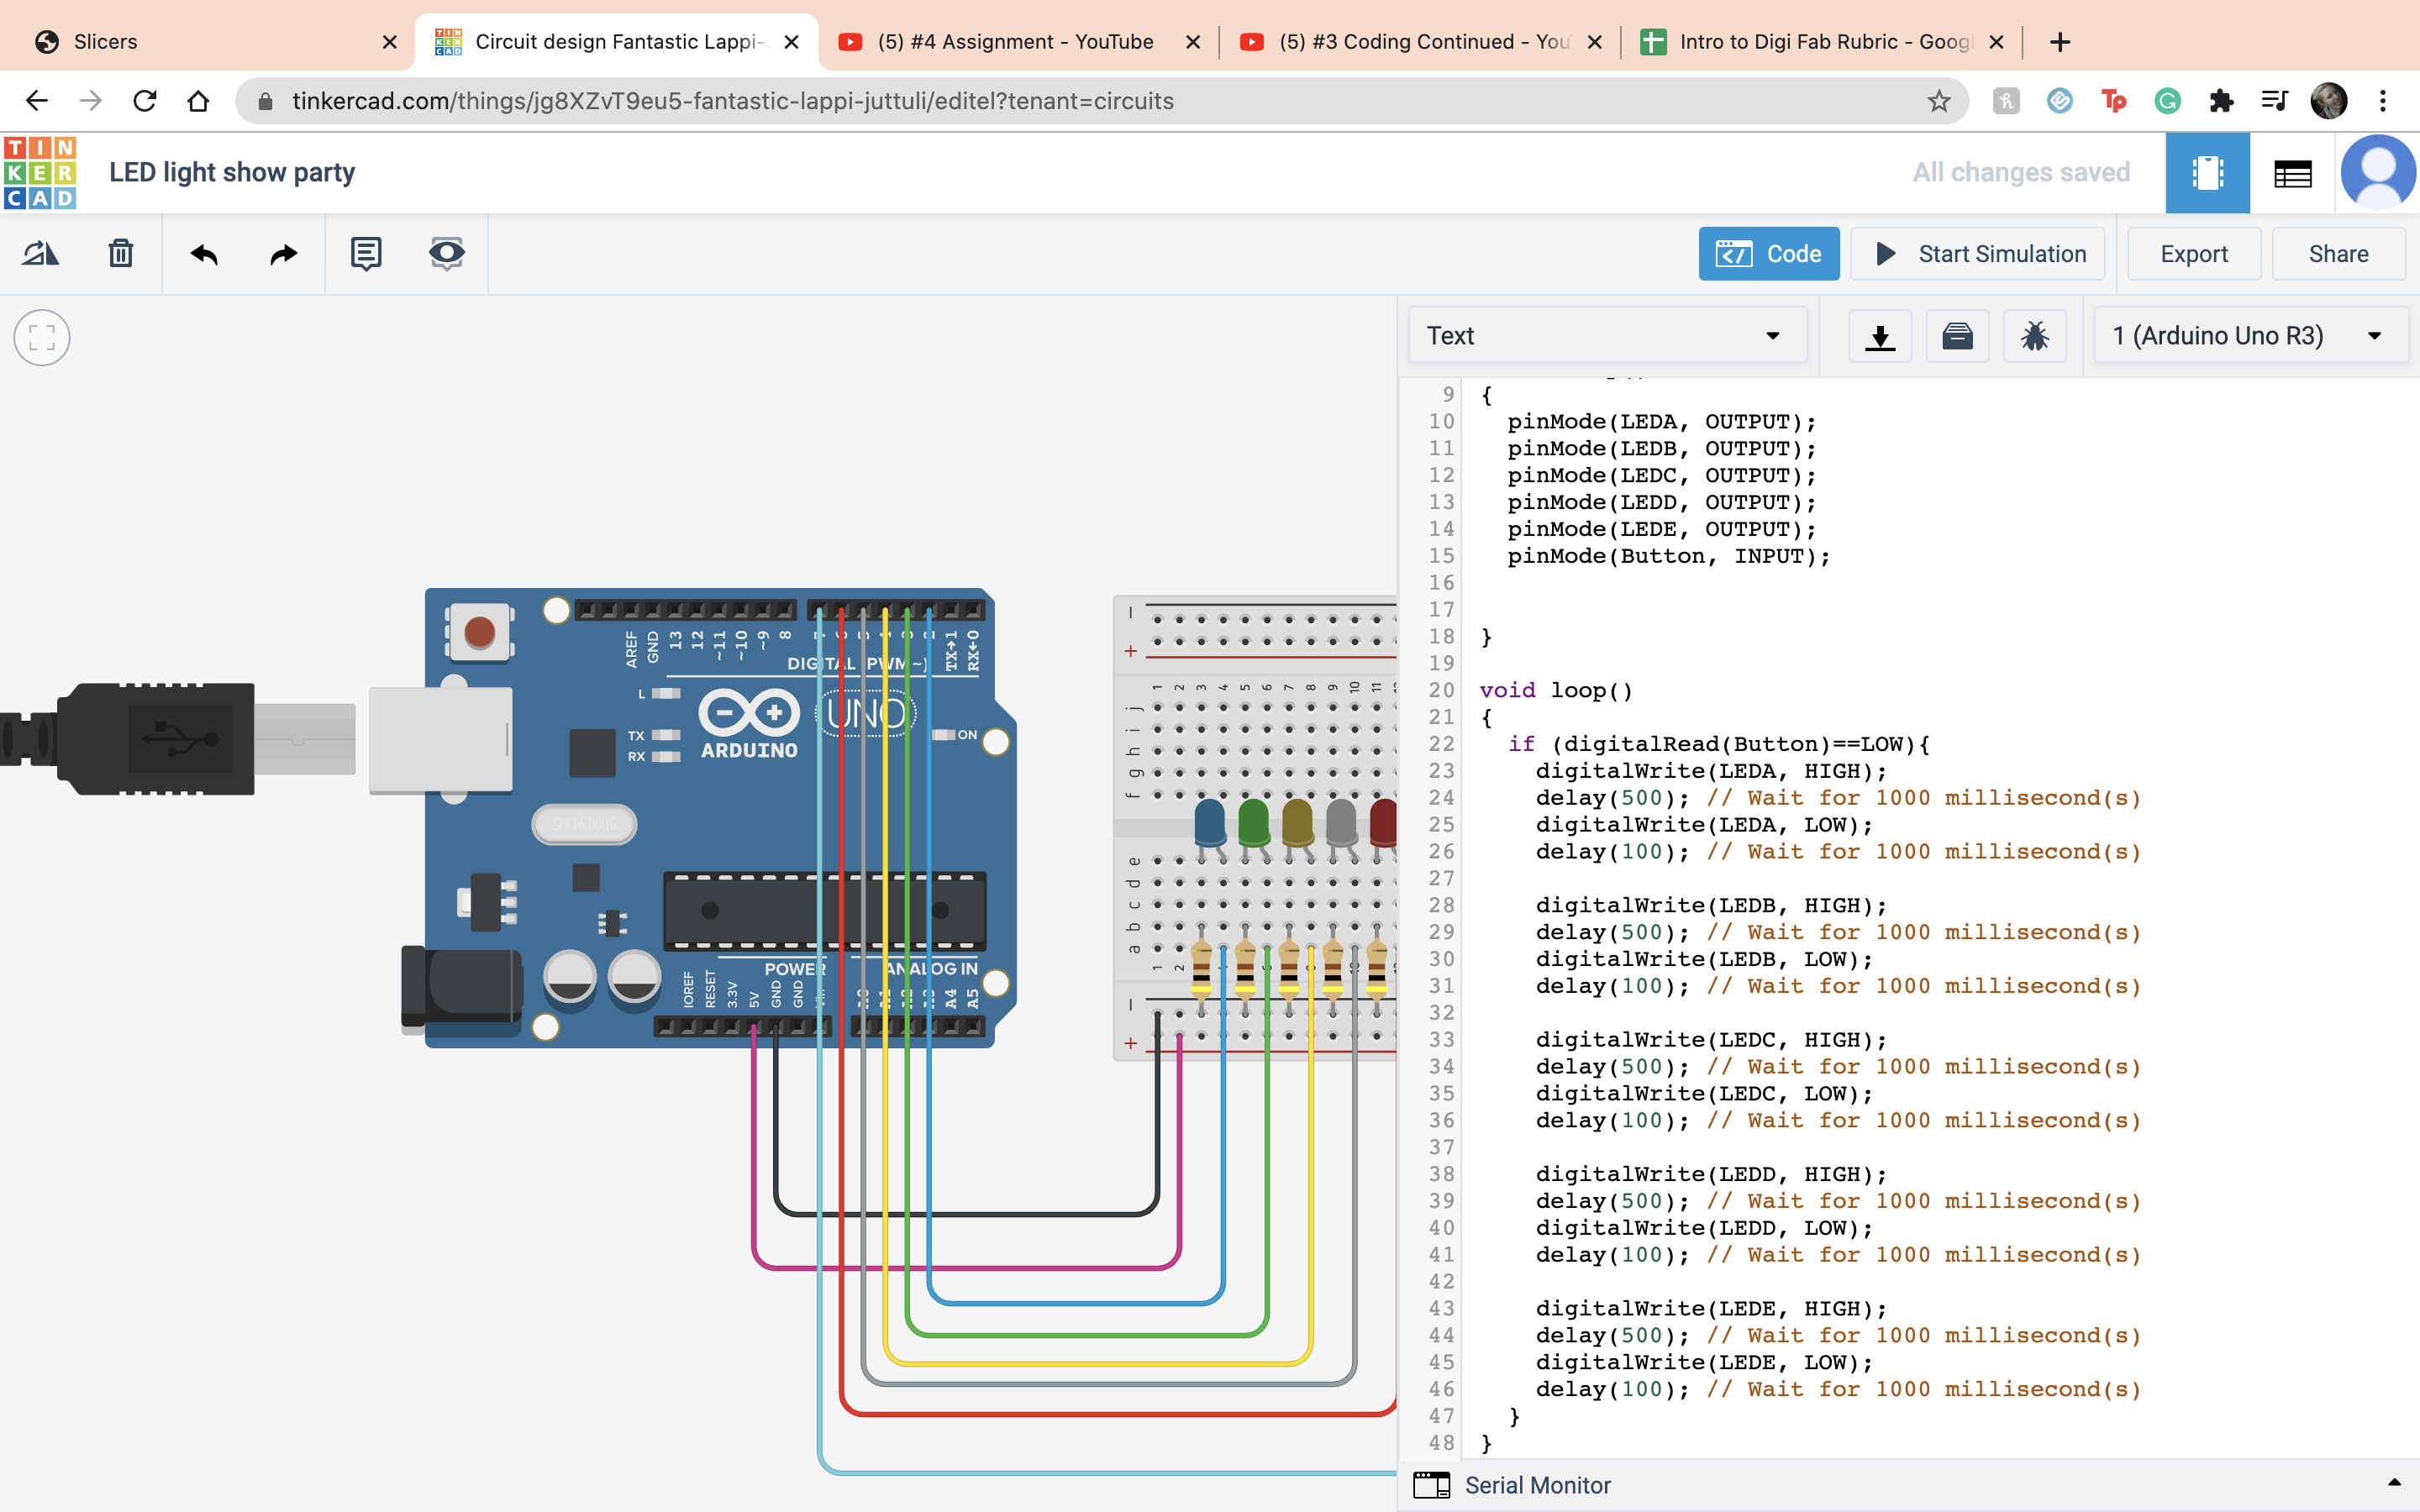
 Next I connected the button to the code. So under the set up the pinmode in the set up area for the button. Then I did a if function to make if if the button level is low then have them blink and turn on.
 It worked!
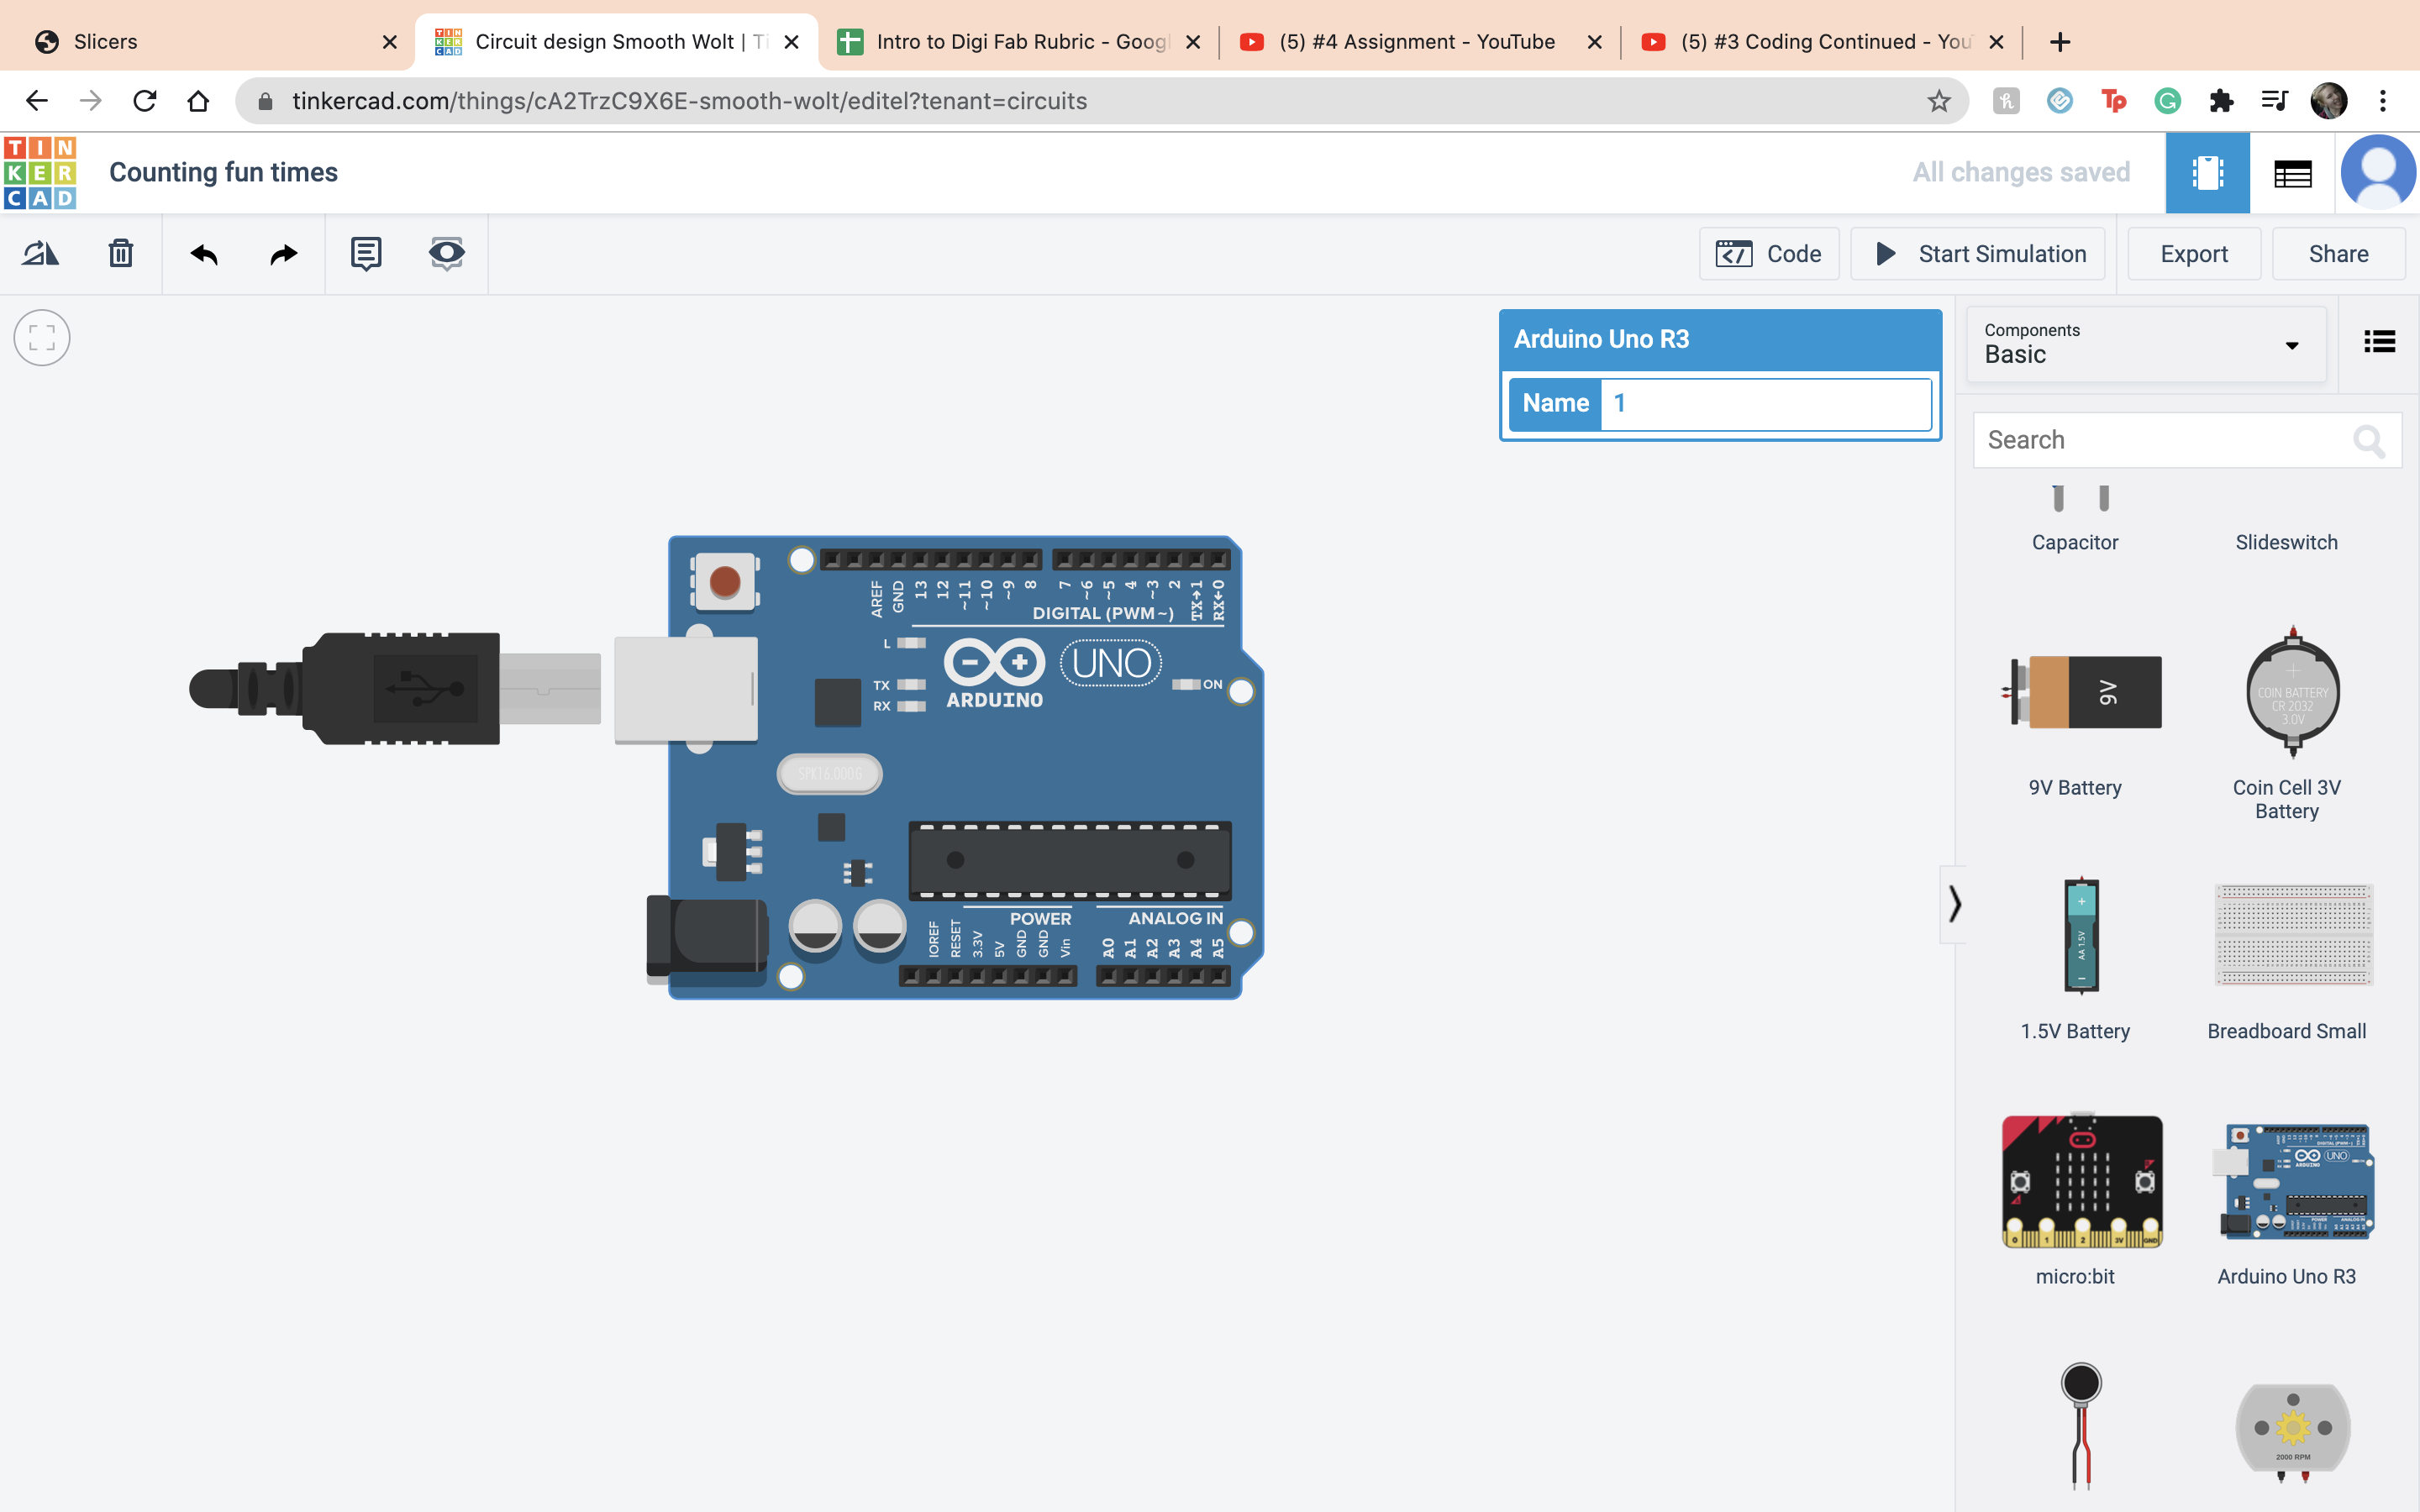
 The next assigment is to count but every 5 it says your name. So the first thing I did like always is open a new project and set dow my ardino.
 The first thing I did was make a variable outside any of the set ups, count =1. Then during the set up section I started the Serial. Then during the loop section I did the function count=count+1 then Serial.println(count) so the numbers start counting up. Than I ran it to make sure that it worked.
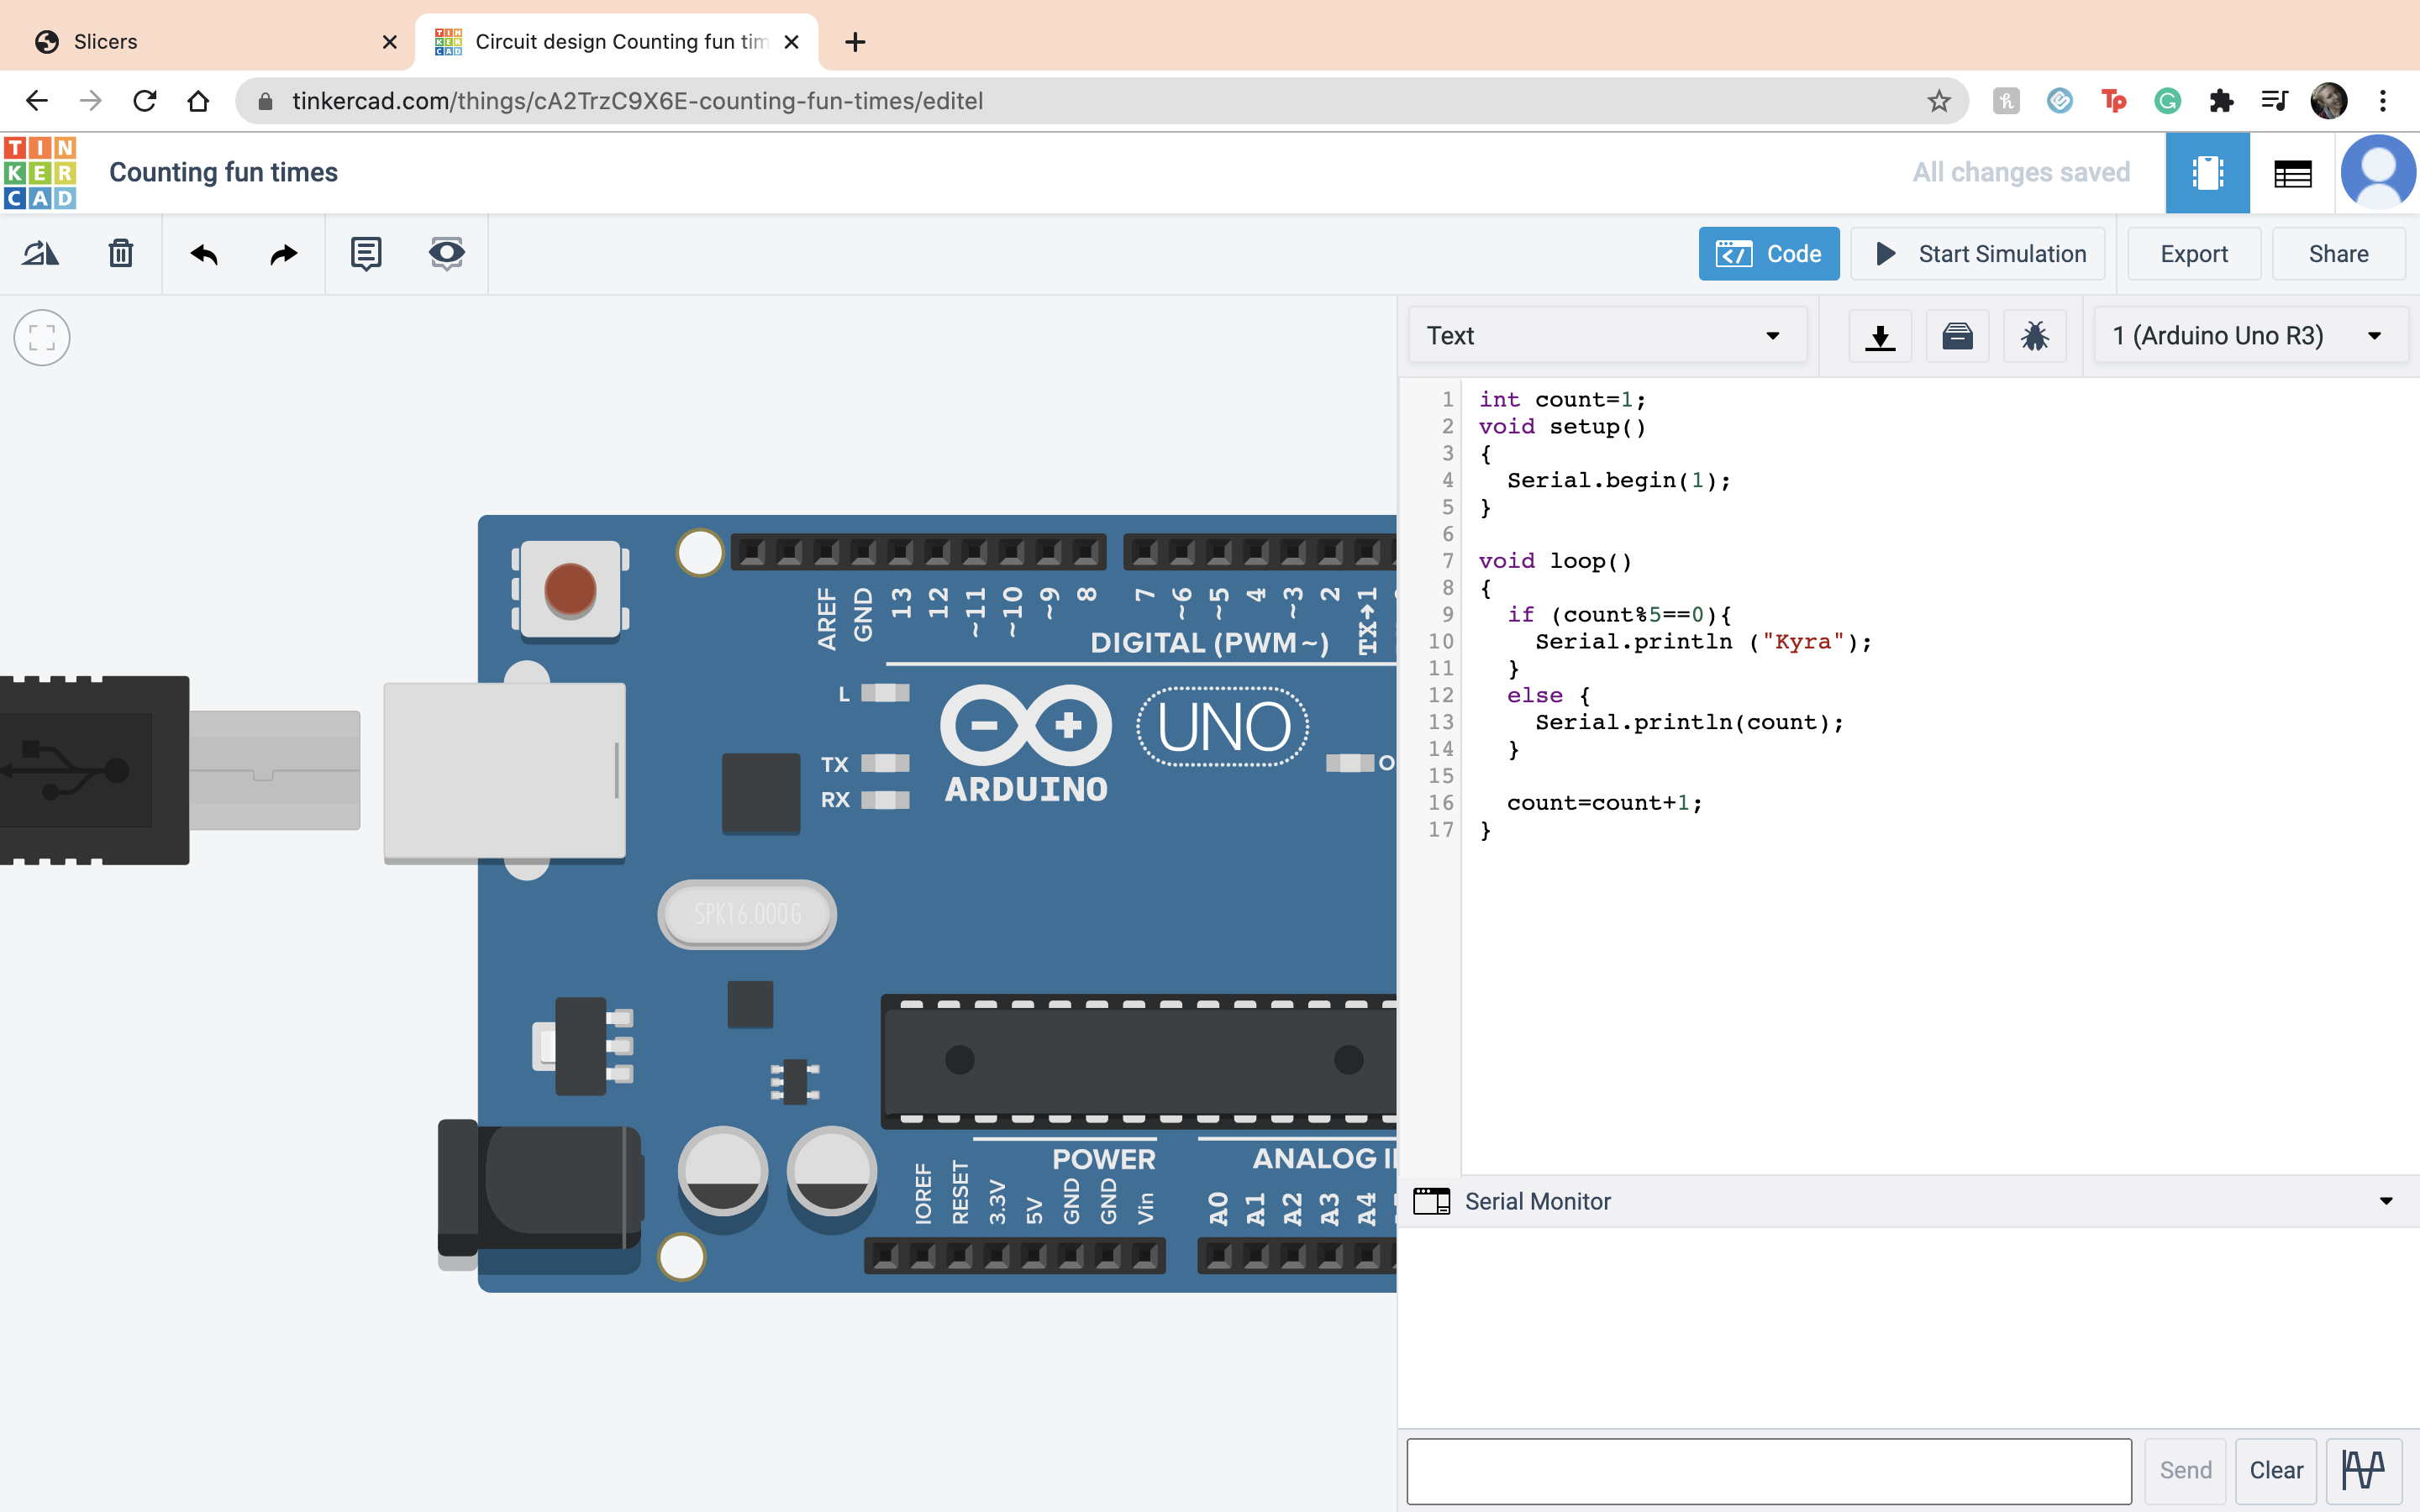
 So the saying my name part of the project I set it as when the number divided by 5 has a left over of 0 it would print my name. This is so whenver it is a multiple of 5 it will type out my name and not the number. I used a if else statment and the else was showing the count. Then outside the statment I did the regular equation of count +1.
 Then I ran it to make sure that it worked and it did.
 Files for this week
Then I connected the 5 volts to the positive terminal
Then I connected the ground to the negative terminal
Next it is time to set up the LED, which stands for Light-emitting diode. The difference between a LED and a regular light is that the current flow in one direction.
The current has to run from the anode to the cathode. so I connected the anode to the positve terminal and the cathode to the negative terminal
If you start the simulation the LED is overloaded so now we have to fix that.
So you would have to put in a resistor and I set it to 400 ohms. In real life you would have to do math but I am very happy we dont have to do that here.
Next we add a button, it works by connecting together the first terminal and the second terminal.
Then we add a LED to that button. So you connect with a resistor the first terminal of the button to the negative terminal and set it to 400 ohms. Then connect the anode to the positve terminal.
Then if you run the simultion and press the button it should work.
Next is the potentiometer, it takes in postive current and will resist it depending on how you turn it. The wiper is the output and the terminals are the imput
Then I connected the Wiper to the anode of a LED and then Terminal 1 to positive terminal and terminal 2 to a negative terminal and the cathode to the negative terminal.
That was the end of Video 1 so now onto Video 2. So the first thing I did was put down the ardino.
The only coding knowlage I know is playing around with stratch making really bad pokemon, total drama shows with my sister when I was 8 so as you can tell, I am a master at coding. JK I have no idea what I am doing. So first thing is first, delete everything.
The setup side is for a one time thing while the loop side is for repeating things. First we looked at the void setup, it is basically a box that holds infromation and can either be constant or not constant. Then what you have to do is declare what type of number is going in, in this case a integer, the name of it, and the amount
I did the same thing with the variable income
You can add them together like so.
Now we had the issue of seeing it so we set up a Serial connection. It basically allowed us to see our work with Serial begin and Serial print
Next we added another line of text that shows the money before the equation and a word and then after the equation using the Serial.print. the Serial.prinln just makes it go onto another line and makes it look better.
Now just showing a few other operations it can do, in order, you can lose money.
Multiplication
Divison
Modulo operation, the left over from the divison
If and else statment, if the variable equals what it is supposed to, do this, if it doesnt, do this other thing. In this case money did = 4 so it printed out rich.
In this case money did not = 4 so it printed out Poor :(
That was the end of the second video, onto video 3. Now we are combining everything... oh joy. The first thing I did was set up the board and the ardino.
First we set up the LED as before, but this time brought the anode to terminal 2 on the ardino.
Then we went into the coding made a global constant, LED=2, and replaced all the 13s with LED.
When you start the simulation the LED will blink.
Now going back to the button connect terminal 1 to ground and terminal 2 to ardino 3.
Then also connect terminal 2 to positive and 5V to positive.
We do this so when the button is pressed the power gets turned off. But it will short circuit so we have to add a pull up or pull down resistor and set it to 10 kilo ohms.
Now it is time to code the button. First we created a variable Button. Next we created a if statment and a new function digitalRead, and set that so when the button is low the LED will blink.
Now it is off to try and do things on my own. The first assigment is coding. So obviously the first thing I did was lay down my ardino.
I set up my integers, DinoNuggets and RegularNuggets, can you tell I was hungry while making this? I set DinoNuggets to 3 and RegularNuggests to 4, very upset I had more RegularNuggets than DinoNuggets but I brought this appon myself.
Then I put in Serial.begin to make sure everything shows. Then I did multiplication by coding DinoNuggets*2. Then under that do the command Serial.println(DinoNuggets)
Then for division I did the same thing but instead of DinoNuggets I did my RegularNuggets. I did ReuglarNuggets/2.
Now onto the modulo opperation. That is what gives you the remains after divsion. So I did RegularNuggets/DinoNuggets and it give me the value 1 because the remains are 1.
Next for my if else opperation I set it as if I have more dino nuggets than regular nuggets it makes me happy but if I dont then it makes me sad. In this case I did not have more dino nuggets.
But in this case I did have more dino nuggets :)
The next assigment is when you push the button the LED's light up in a sequence. So like always the frist thing I do is bring out the ardino and the board.
Next I set up the negative and positive terminals on the ardino to the board.
Then I set up my LEDs and put in the resistor for each one setting it at 400 ohms.
The next thing I did was set up my LEDs to the ardino so I am able to code them.
Then I set up variables for each LED
Next I set up my code, I set the pinmode to output for all of the pins. Then for the Loop section I have it as the LED hold its on position for 500 milliseconds and have it off for 1000 milliseconds. I did that for each LED.
After that I set up my button. So I connected terminal 1 to ardino 7 I connect terminal 2 to the negative terminal, and made a resister for terminal 1, and set that to 10 kilohms. I ran it to make sure that it works.
Next I connected the button to the code. So under the set up the pinmode in the set up area for the button. Then I did a if function to make if if the button level is low then have them blink and turn on.
It worked!
The next assigment is to count but every 5 it says your name. So the first thing I did like always is open a new project and set dow my ardino.
The first thing I did was make a variable outside any of the set ups, count =1. Then during the set up section I started the Serial. Then during the loop section I did the function count=count+1 then Serial.println(count) so the numbers start counting up. Than I ran it to make sure that it worked.
So the saying my name part of the project I set it as when the number divided by 5 has a left over of 0 it would print my name. This is so whenver it is a multiple of 5 it will type out my name and not the number. I used a if else statment and the else was showing the count. Then outside the statment I did the regular equation of count +1.
Then I ran it to make sure that it worked and it did.
Files for this week