WEEK 5
This week even though I messed up a lot I kept it pretty good with the amount of screenshots I had, this week only 51.
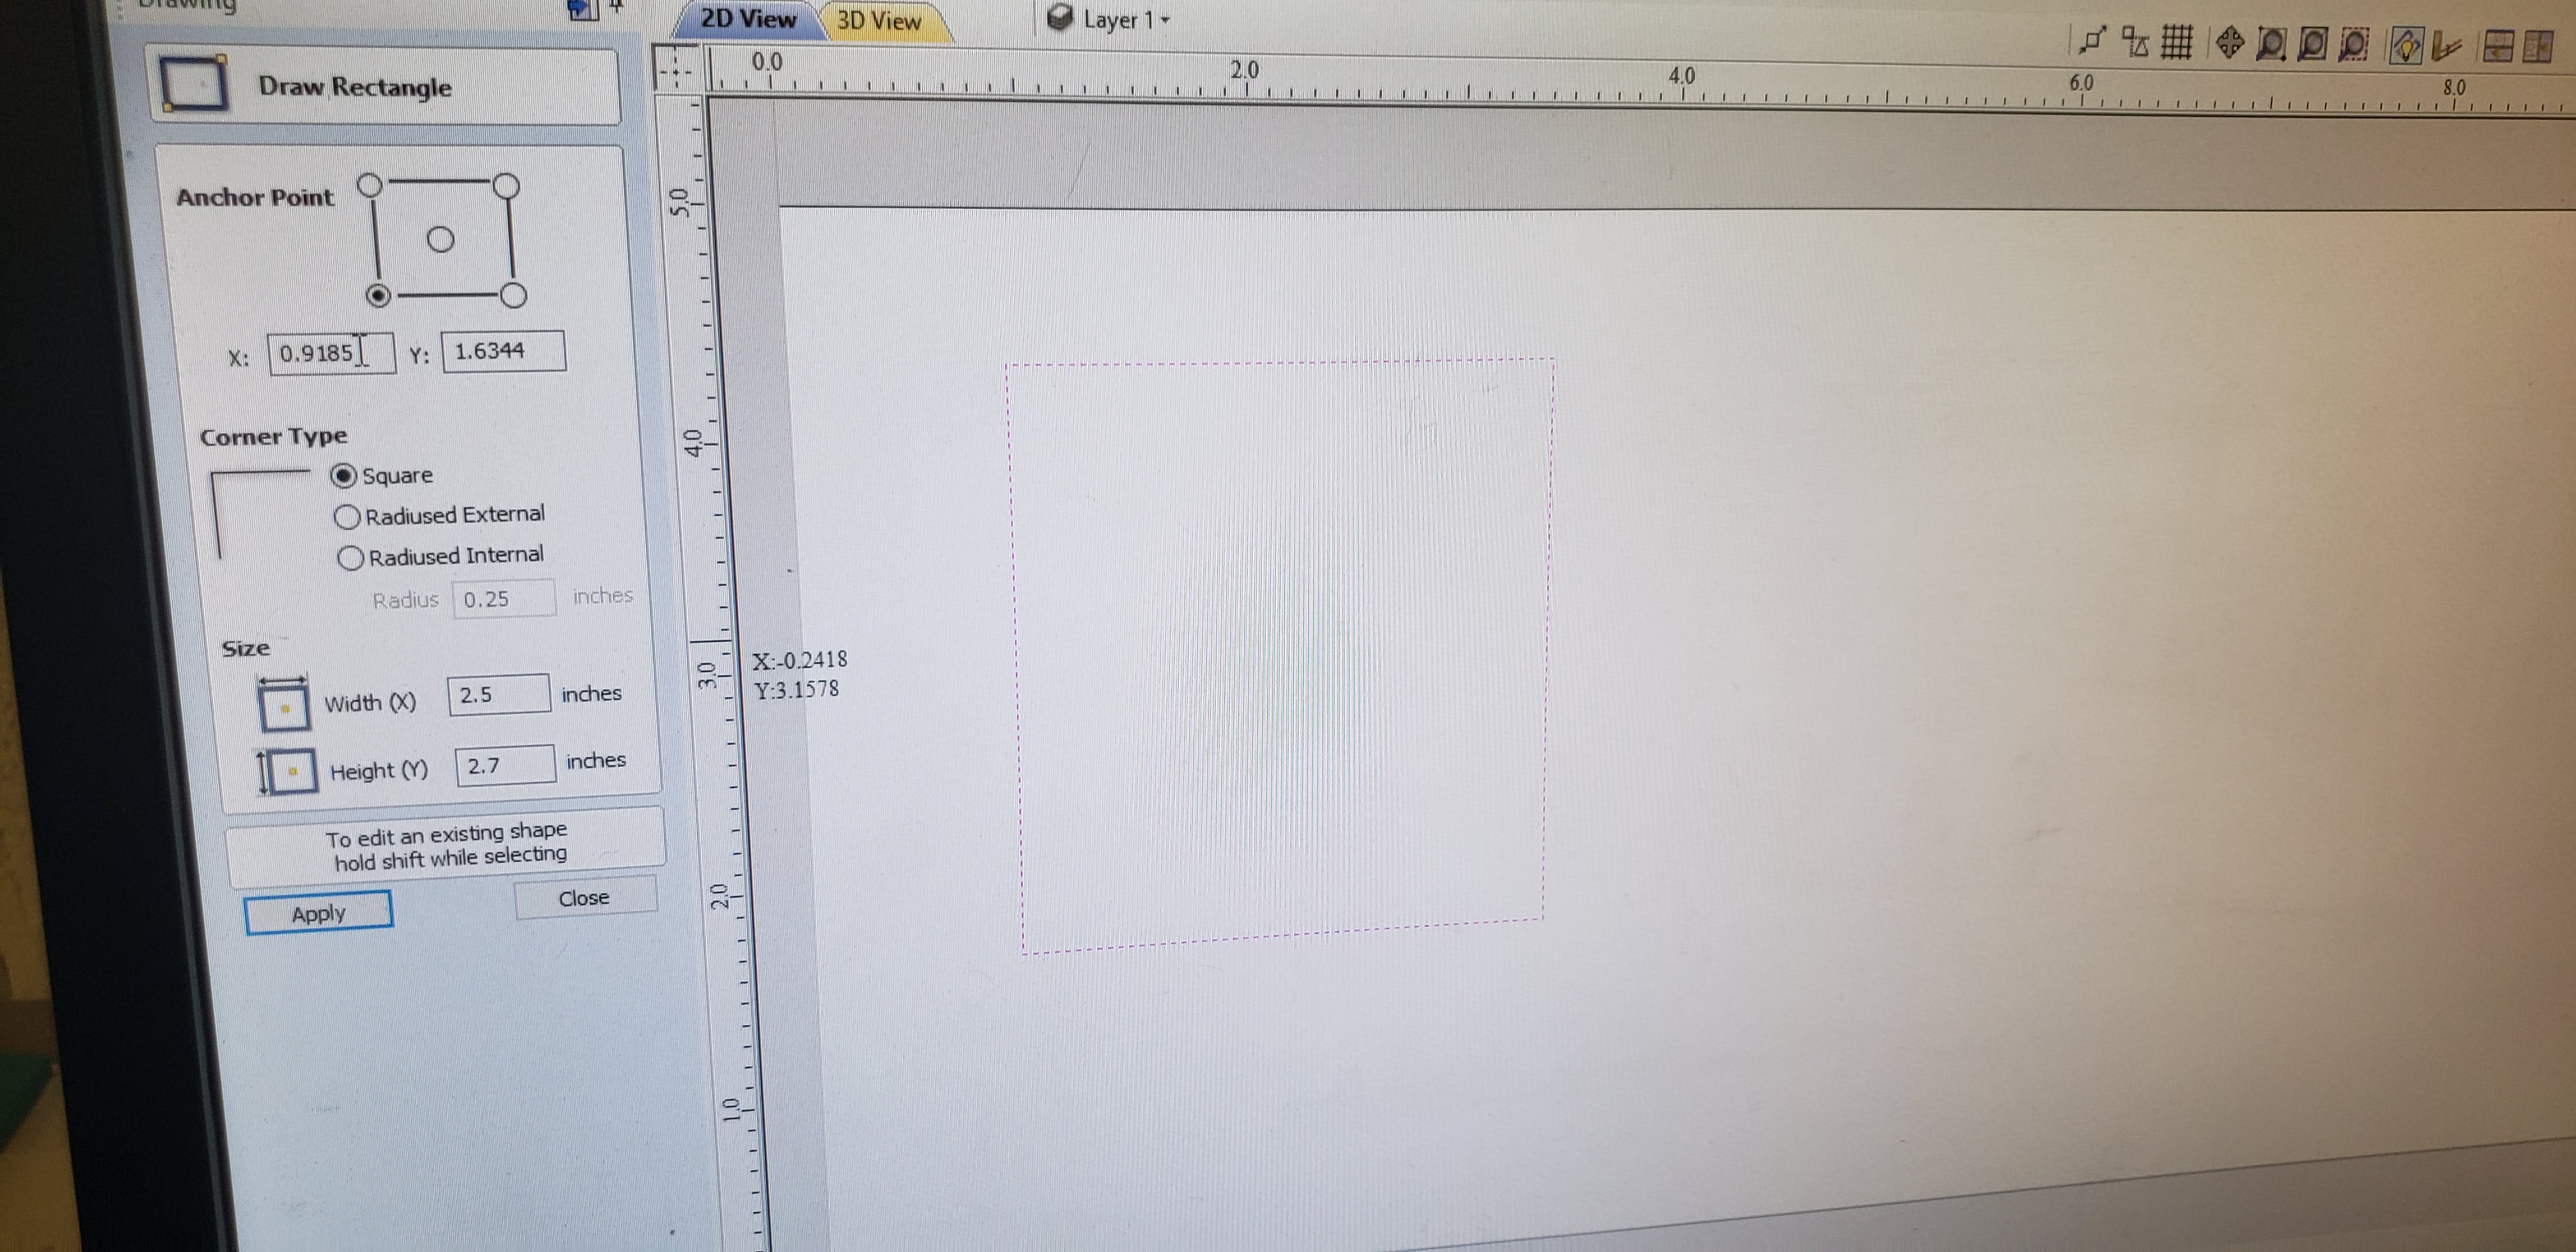
 So the first part of the assigment was to get trained on the Axiom which surpisingly wasnt all that complicated for basic training. As with any program the first step is to open a new project. Then we played around with some of the tools and drawing things but then we had to make a box
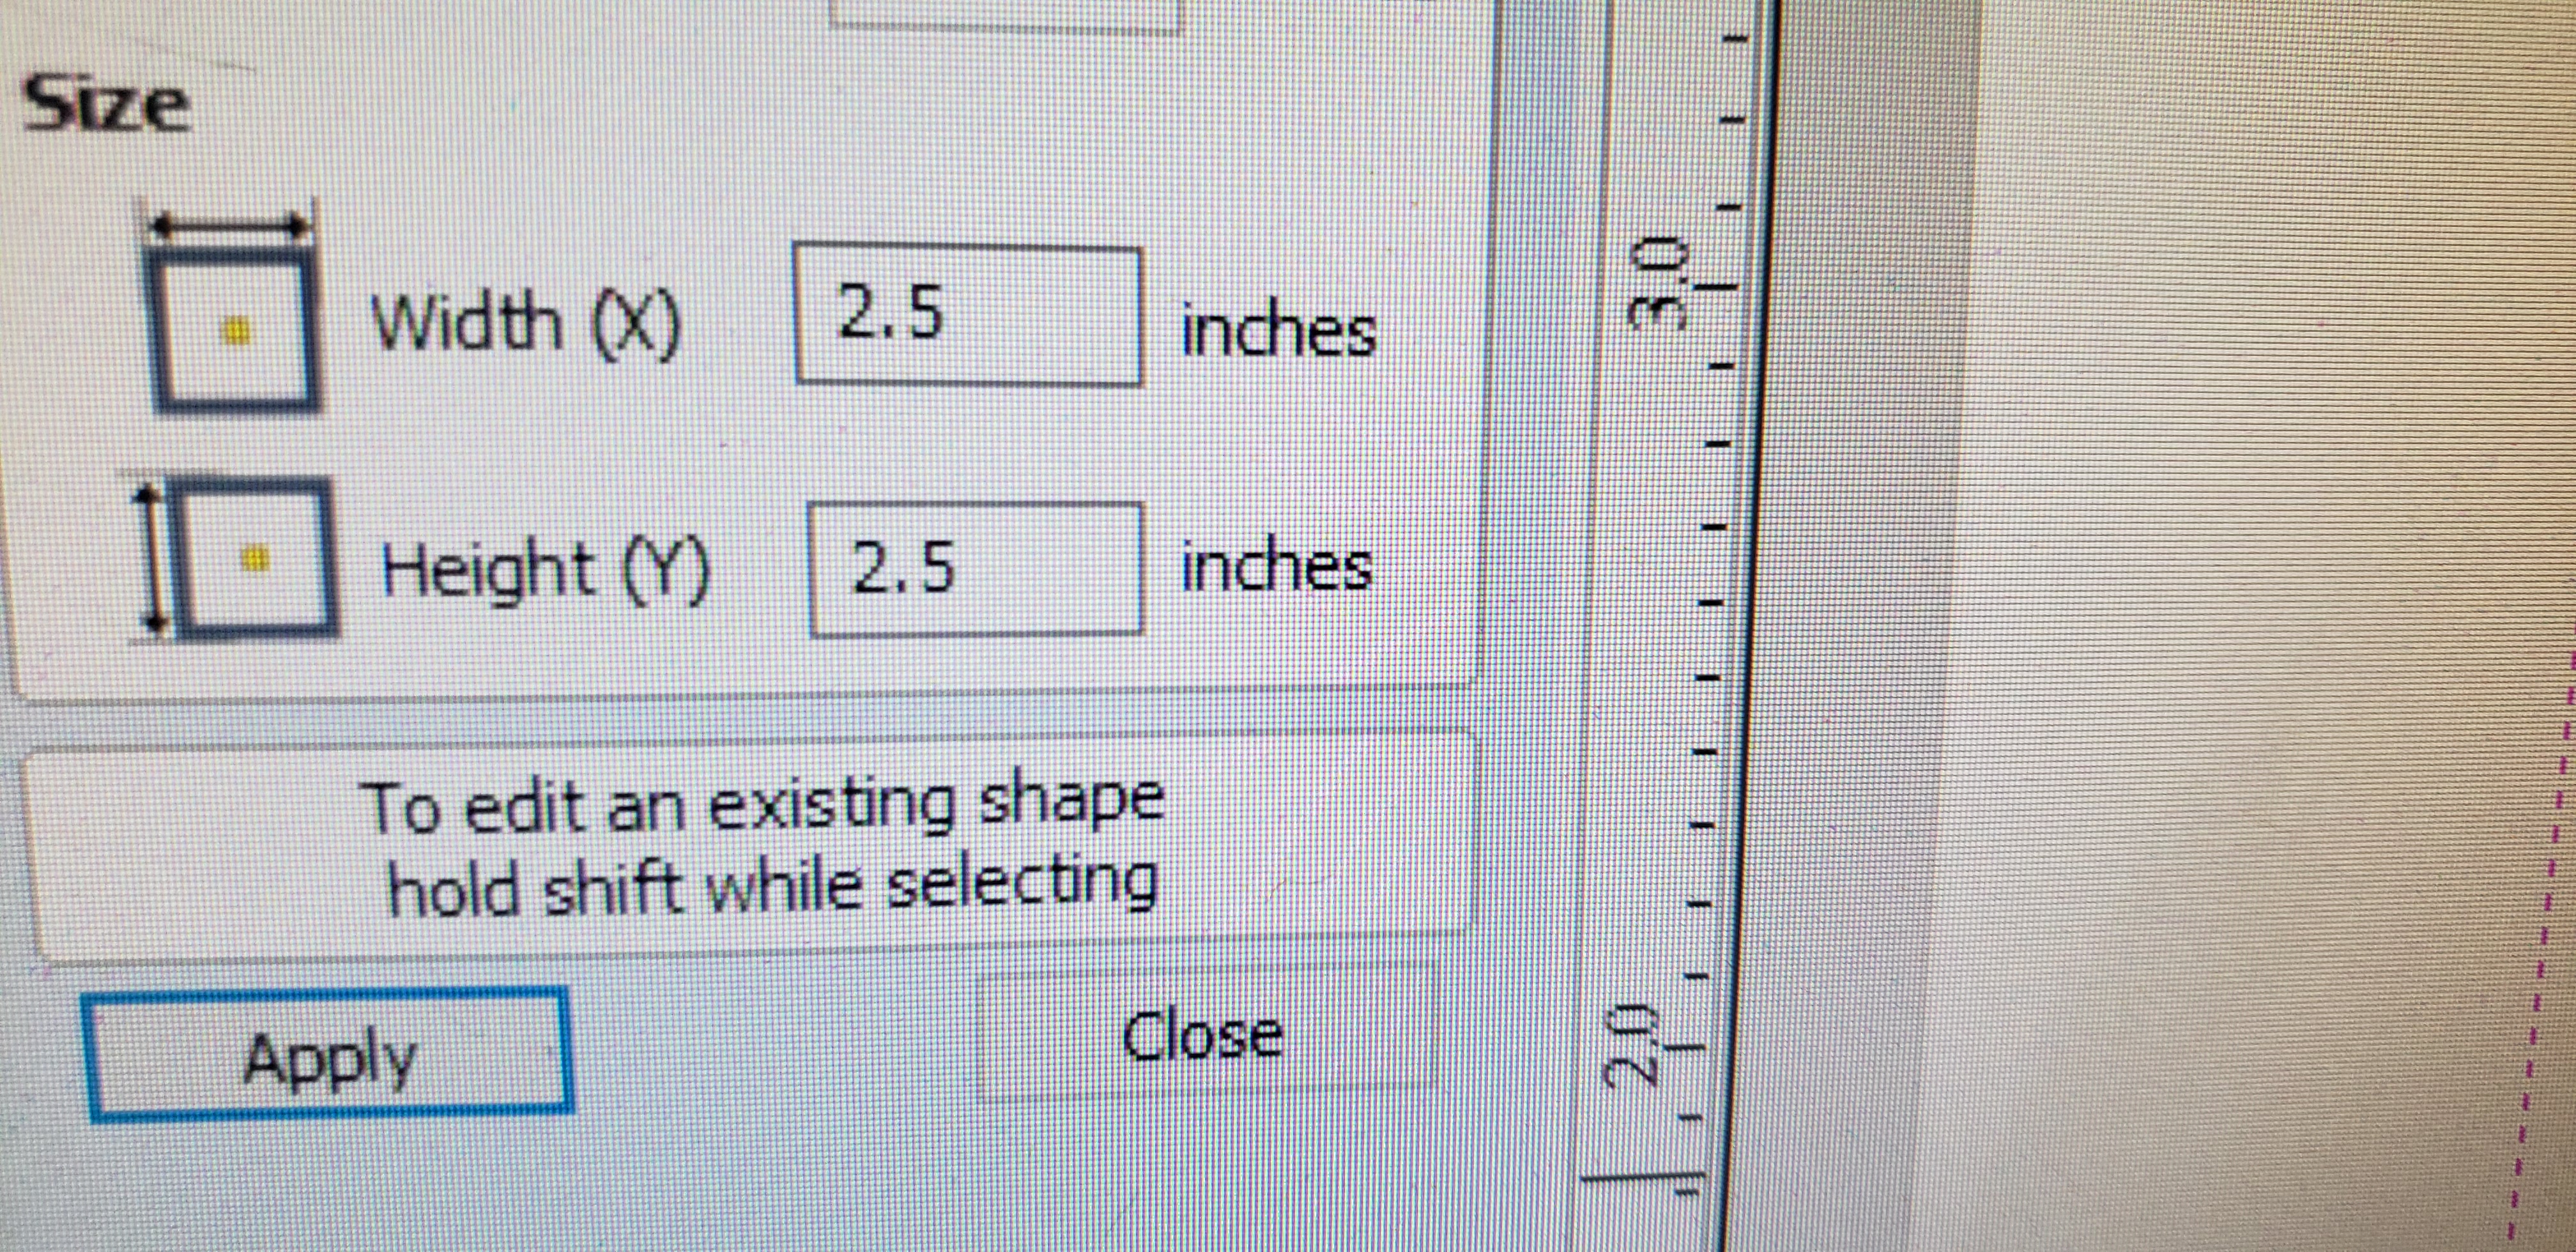
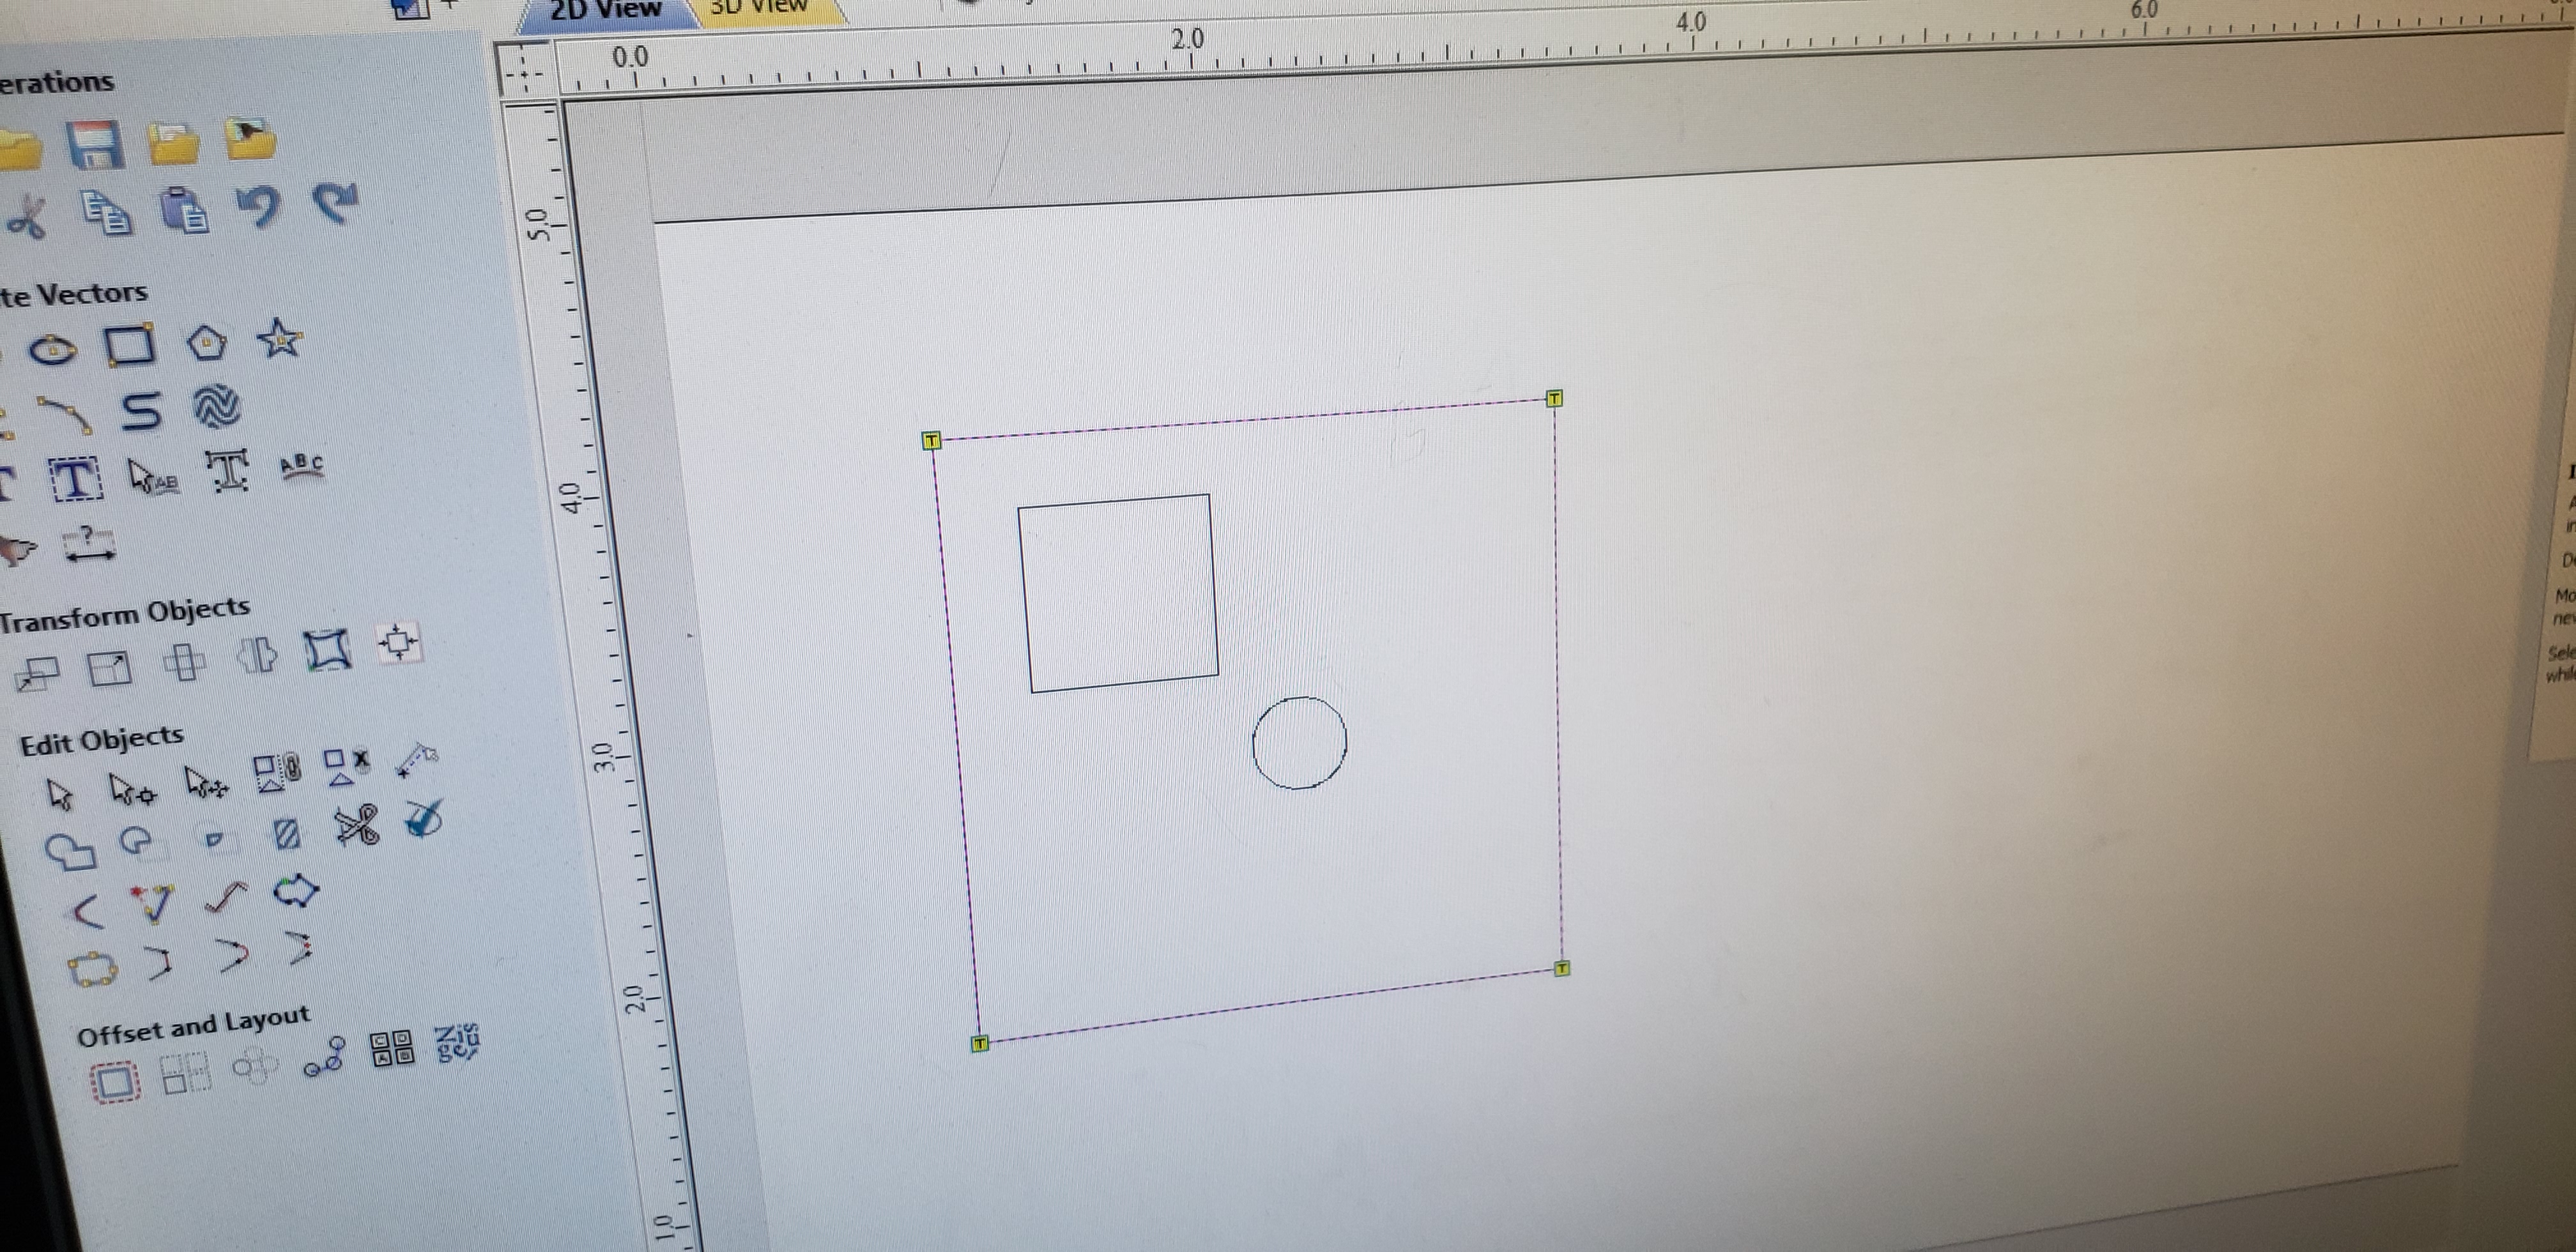
 Then we can set the size of the box over on the side to make it the size we want. Then I drew the rest of my shapes, a cirlce and a star, and once they were the correct size and place it was time to add the paths.
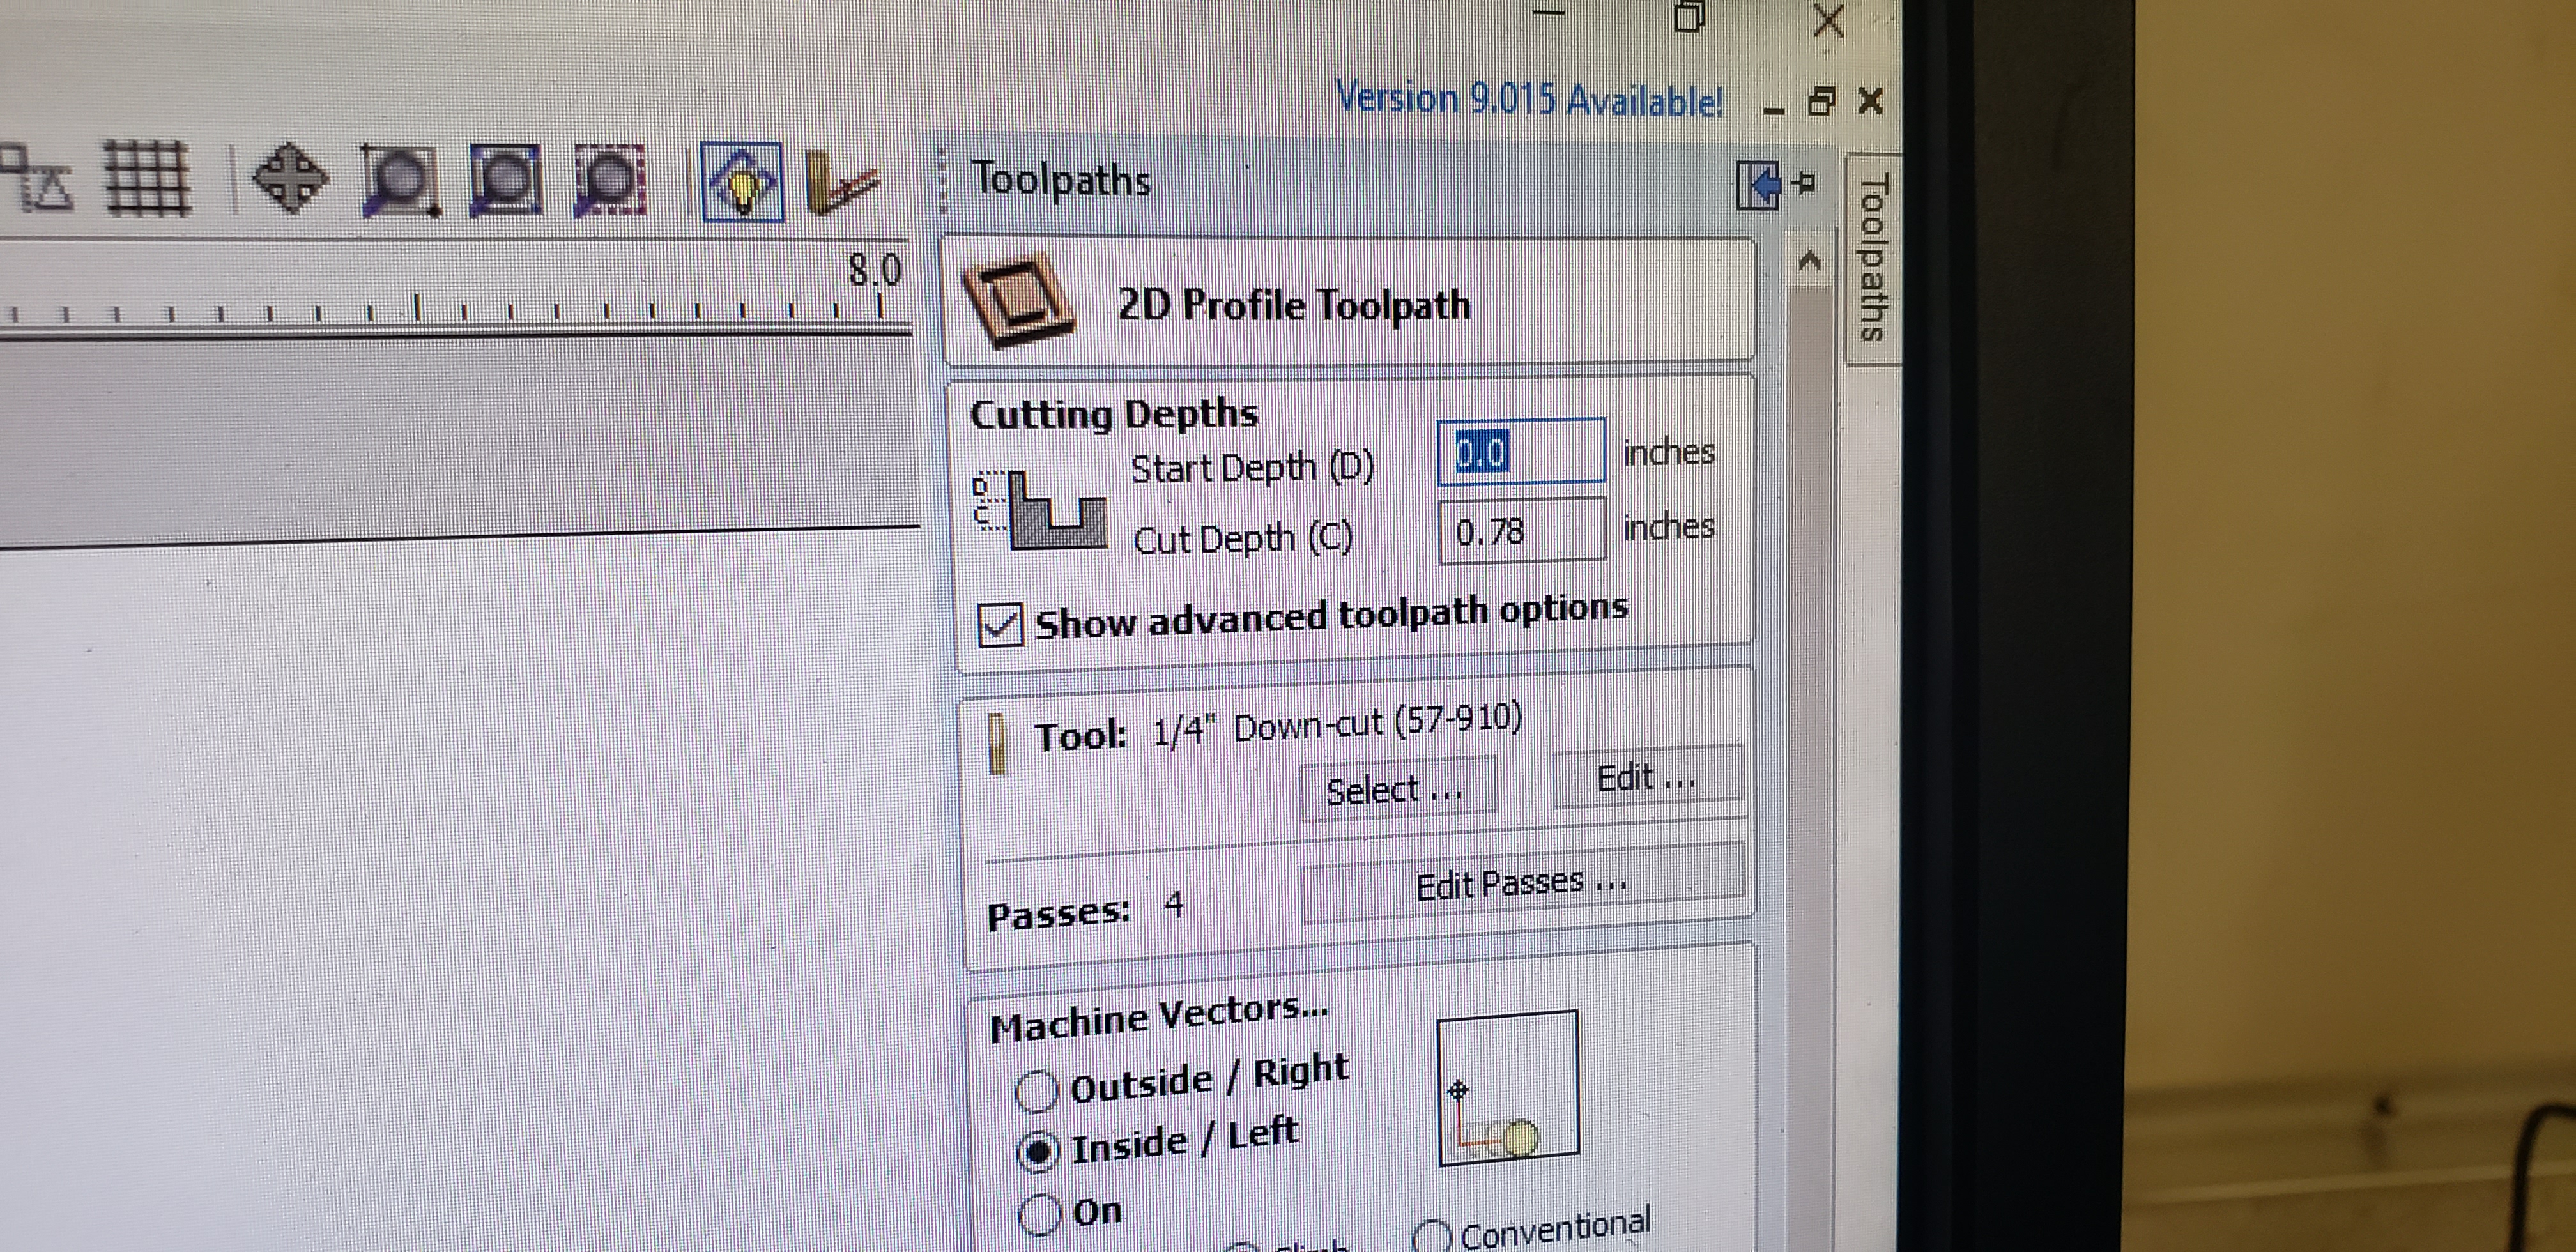
 I added the 2D profile toolpath the the outside of the box so it cuts all the way through.
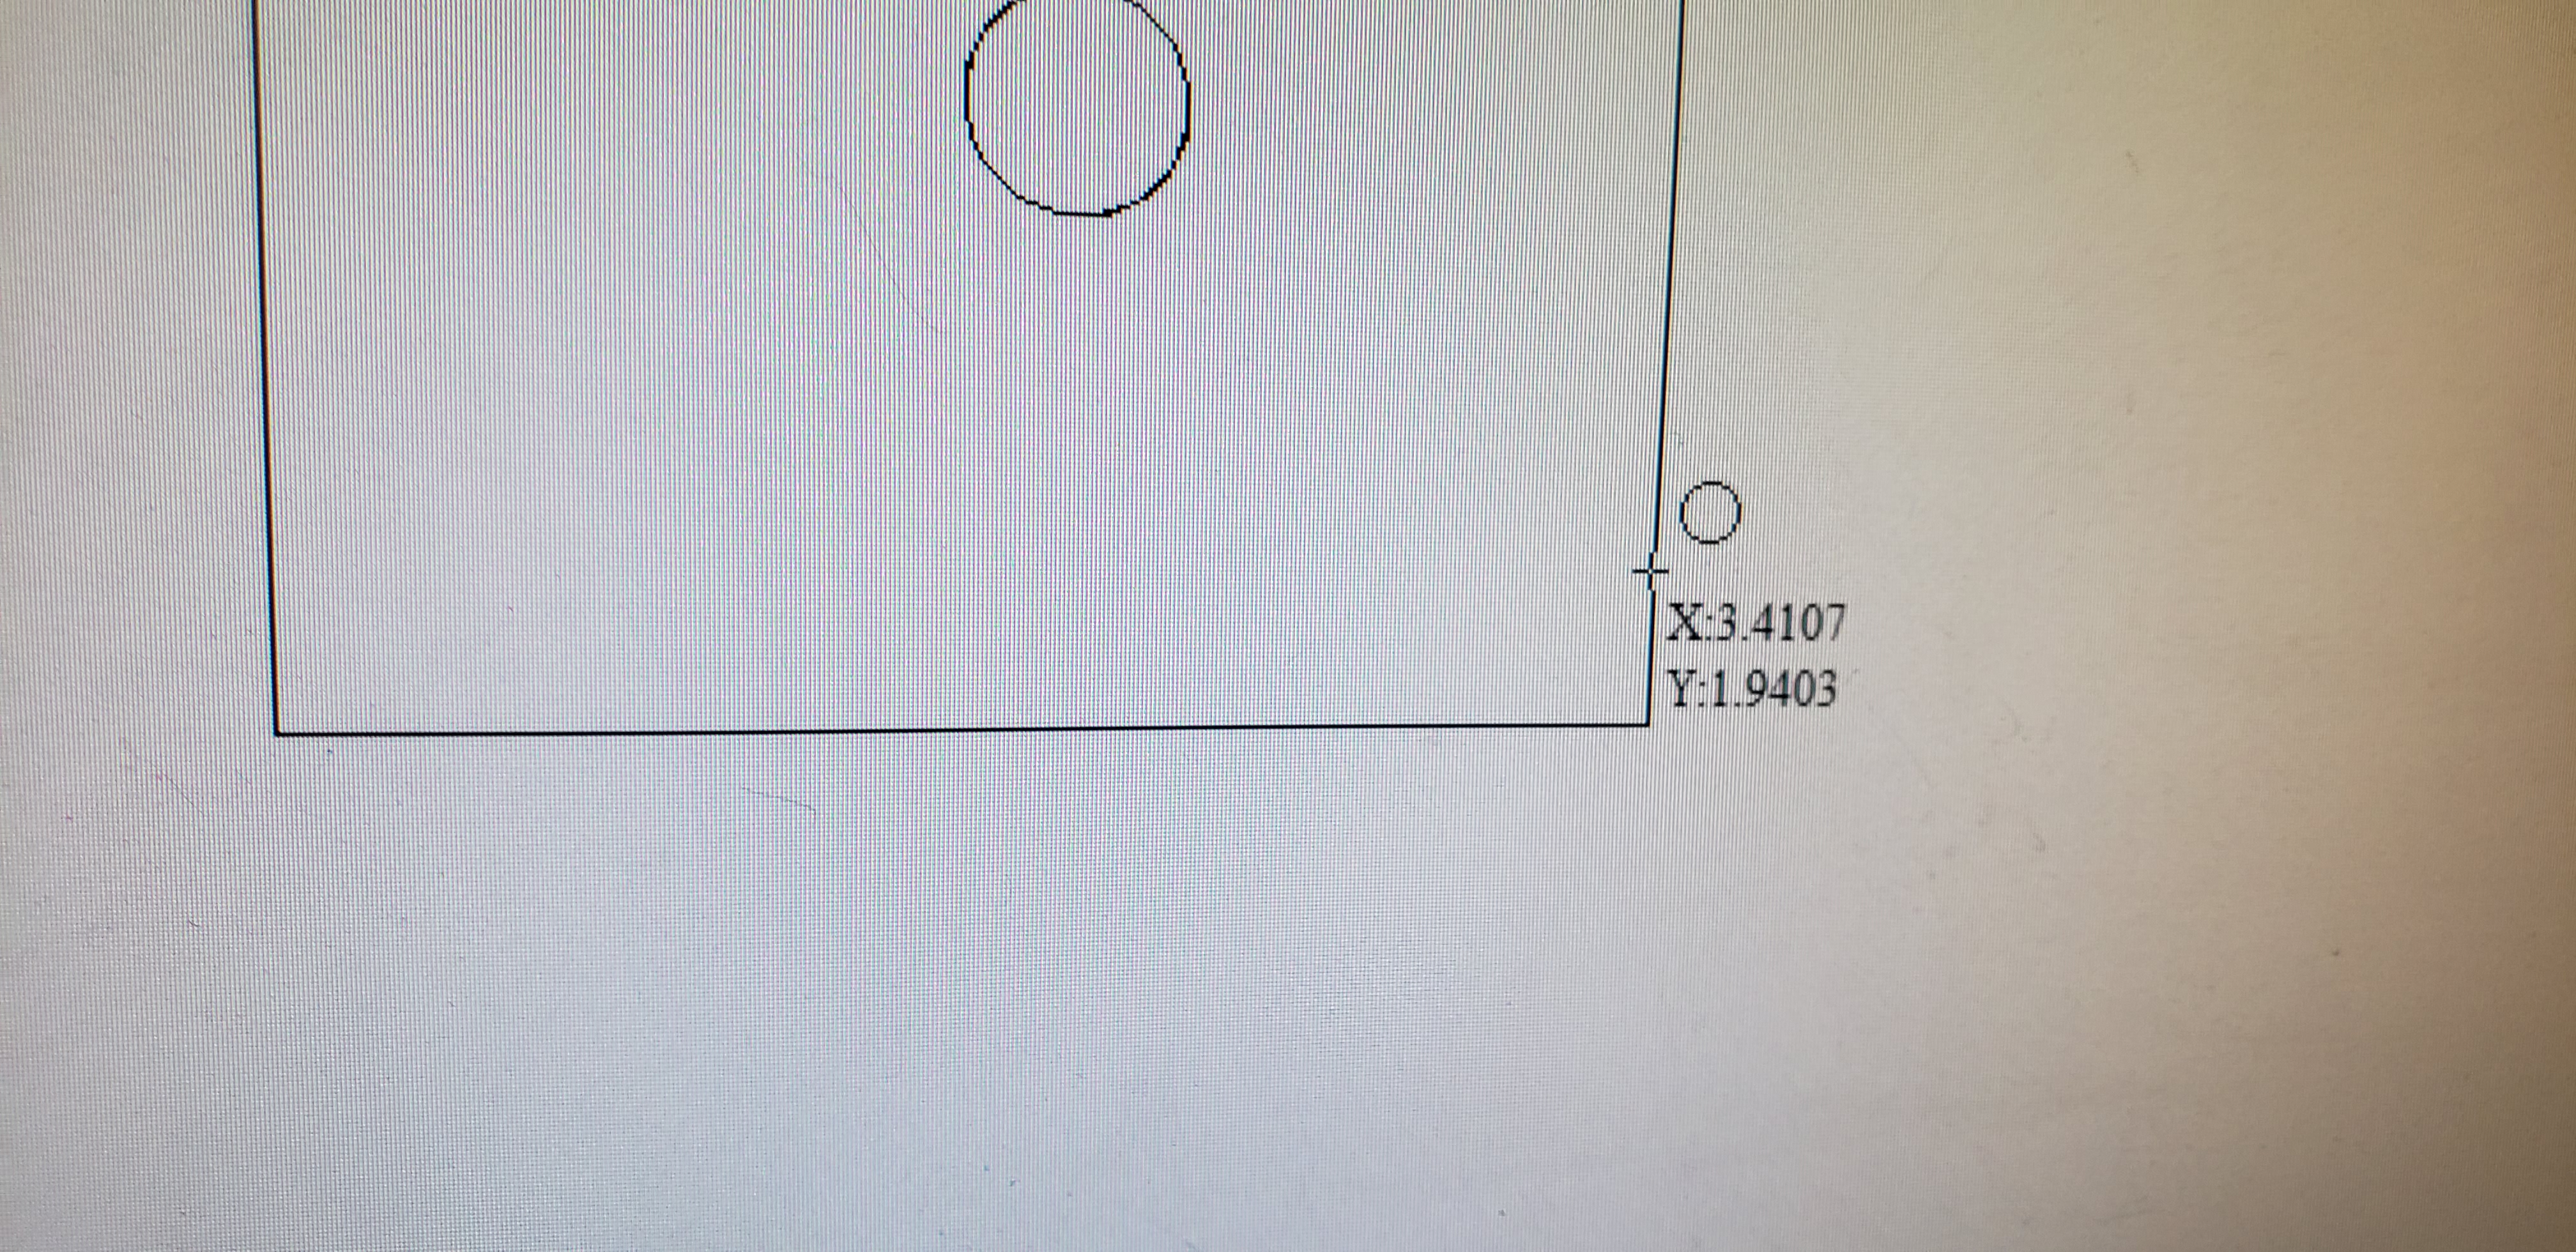 Then we needed to add tabs to it so it didnt move around while it was cutting. So thats what I did I added tabs to the corners of my box

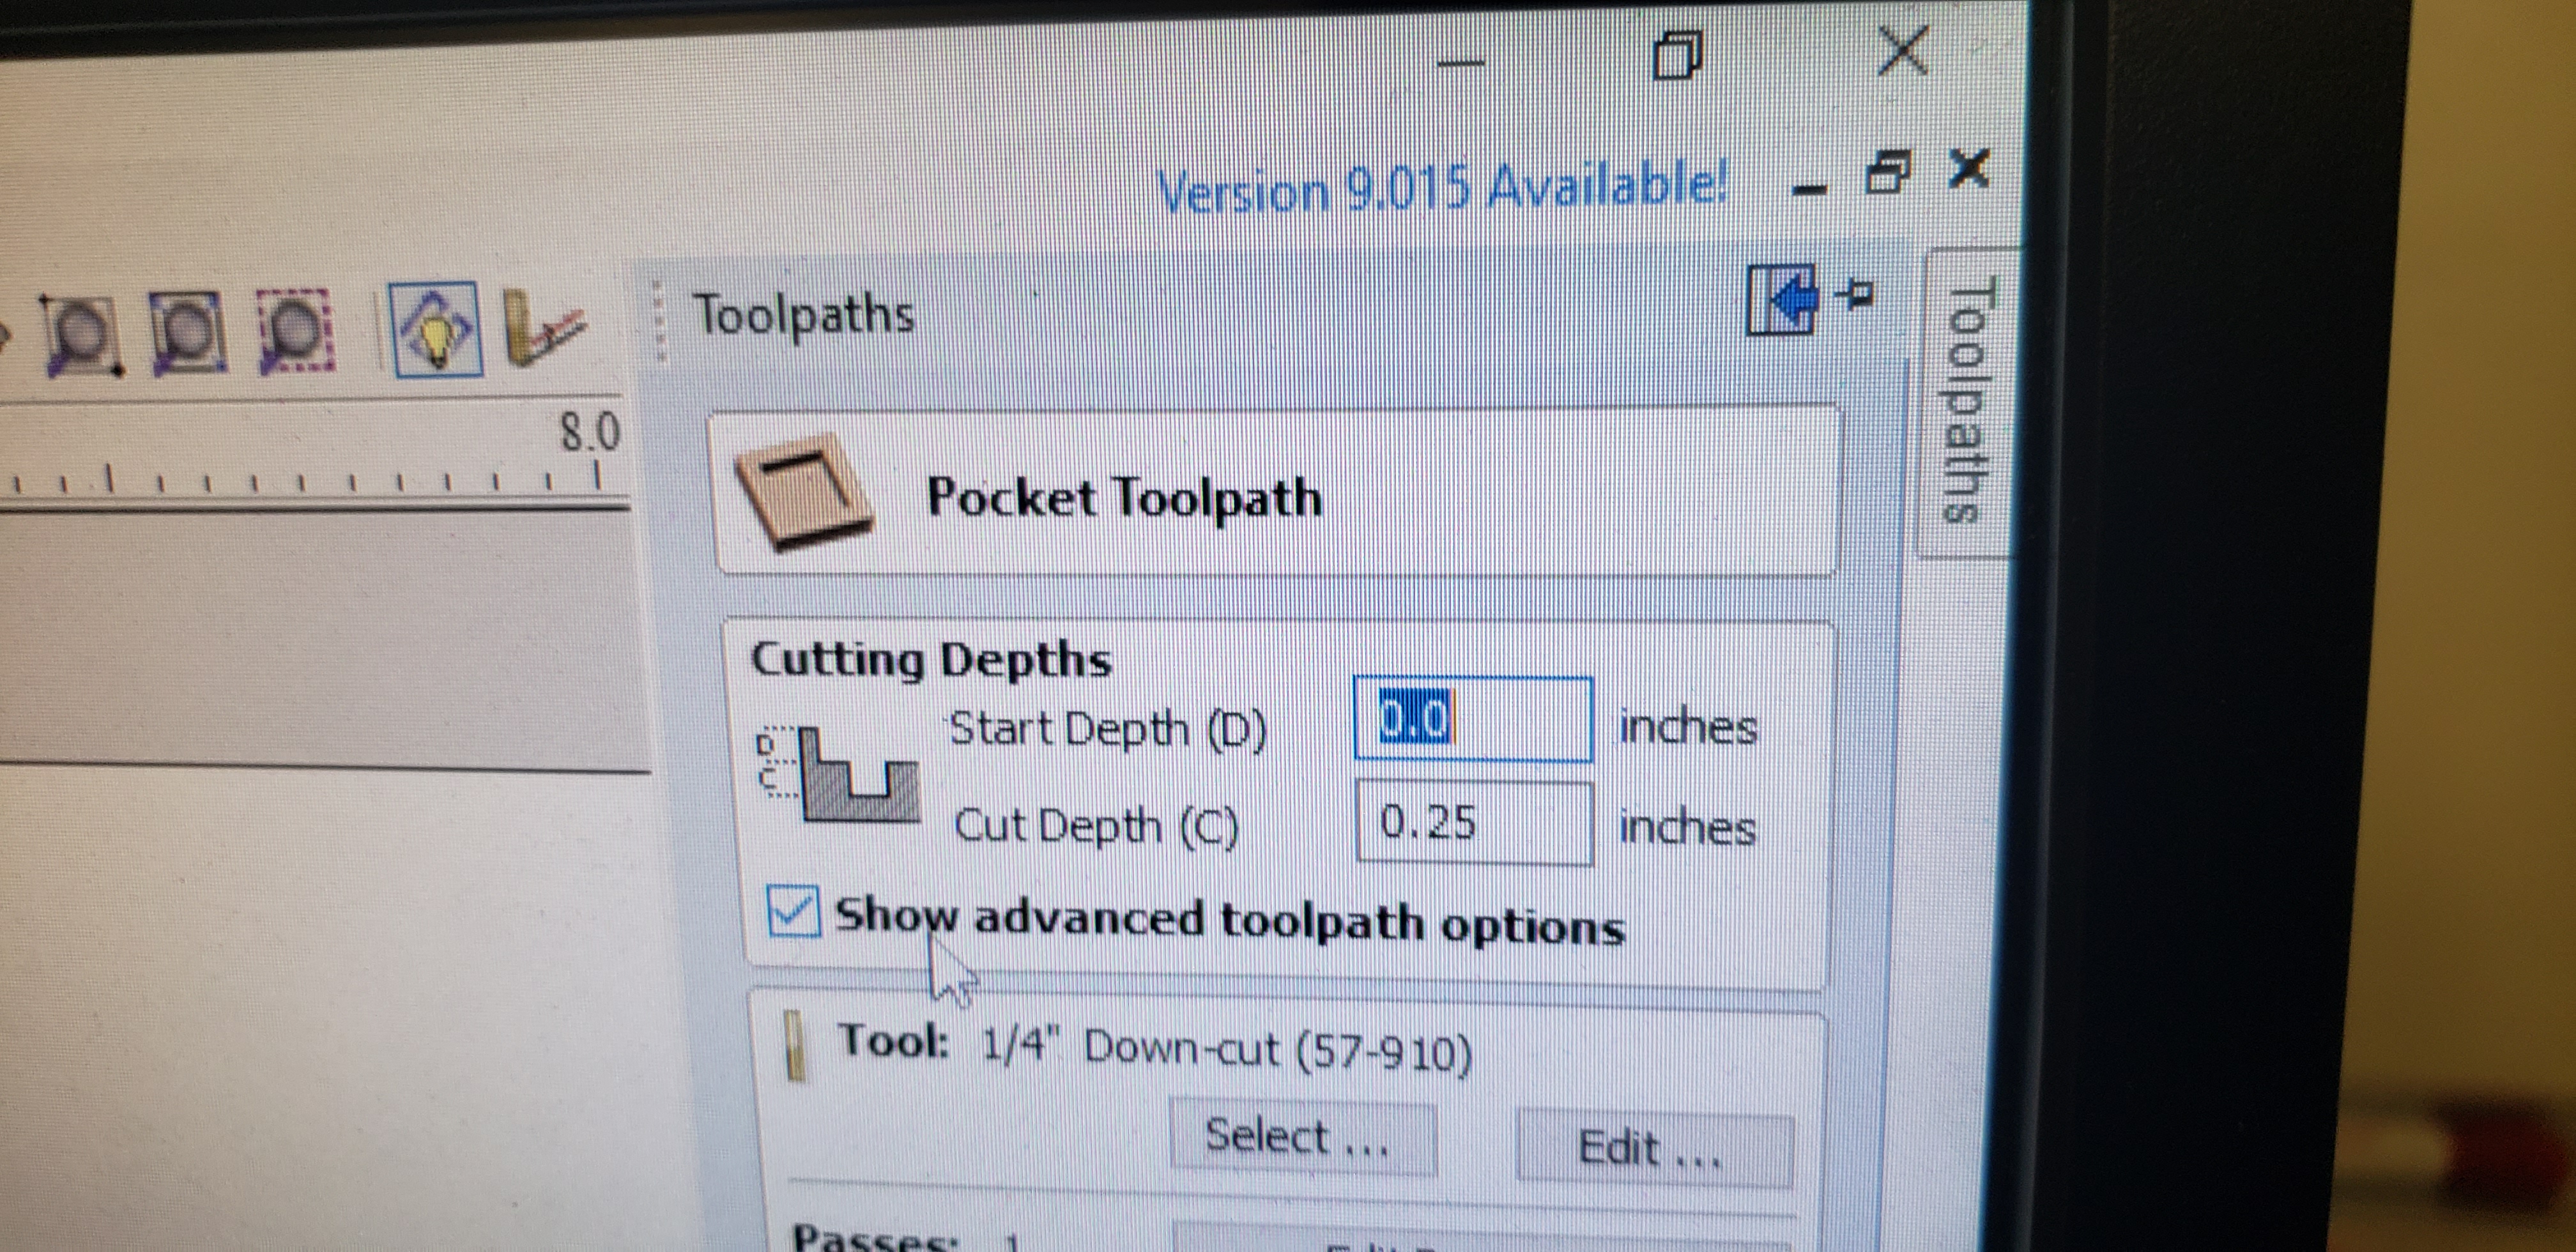
 Then I used the pocket toolpath on my cirlce, this one doesnt cut it all the way though it like engraves it. And I did the profile toolpath for the star and added tabs as well. Then for each path I had to select the tool bit we used, it was one of the down drill bits. Then once that was all done you save them as seperate projects on the SD card then head to the machine.
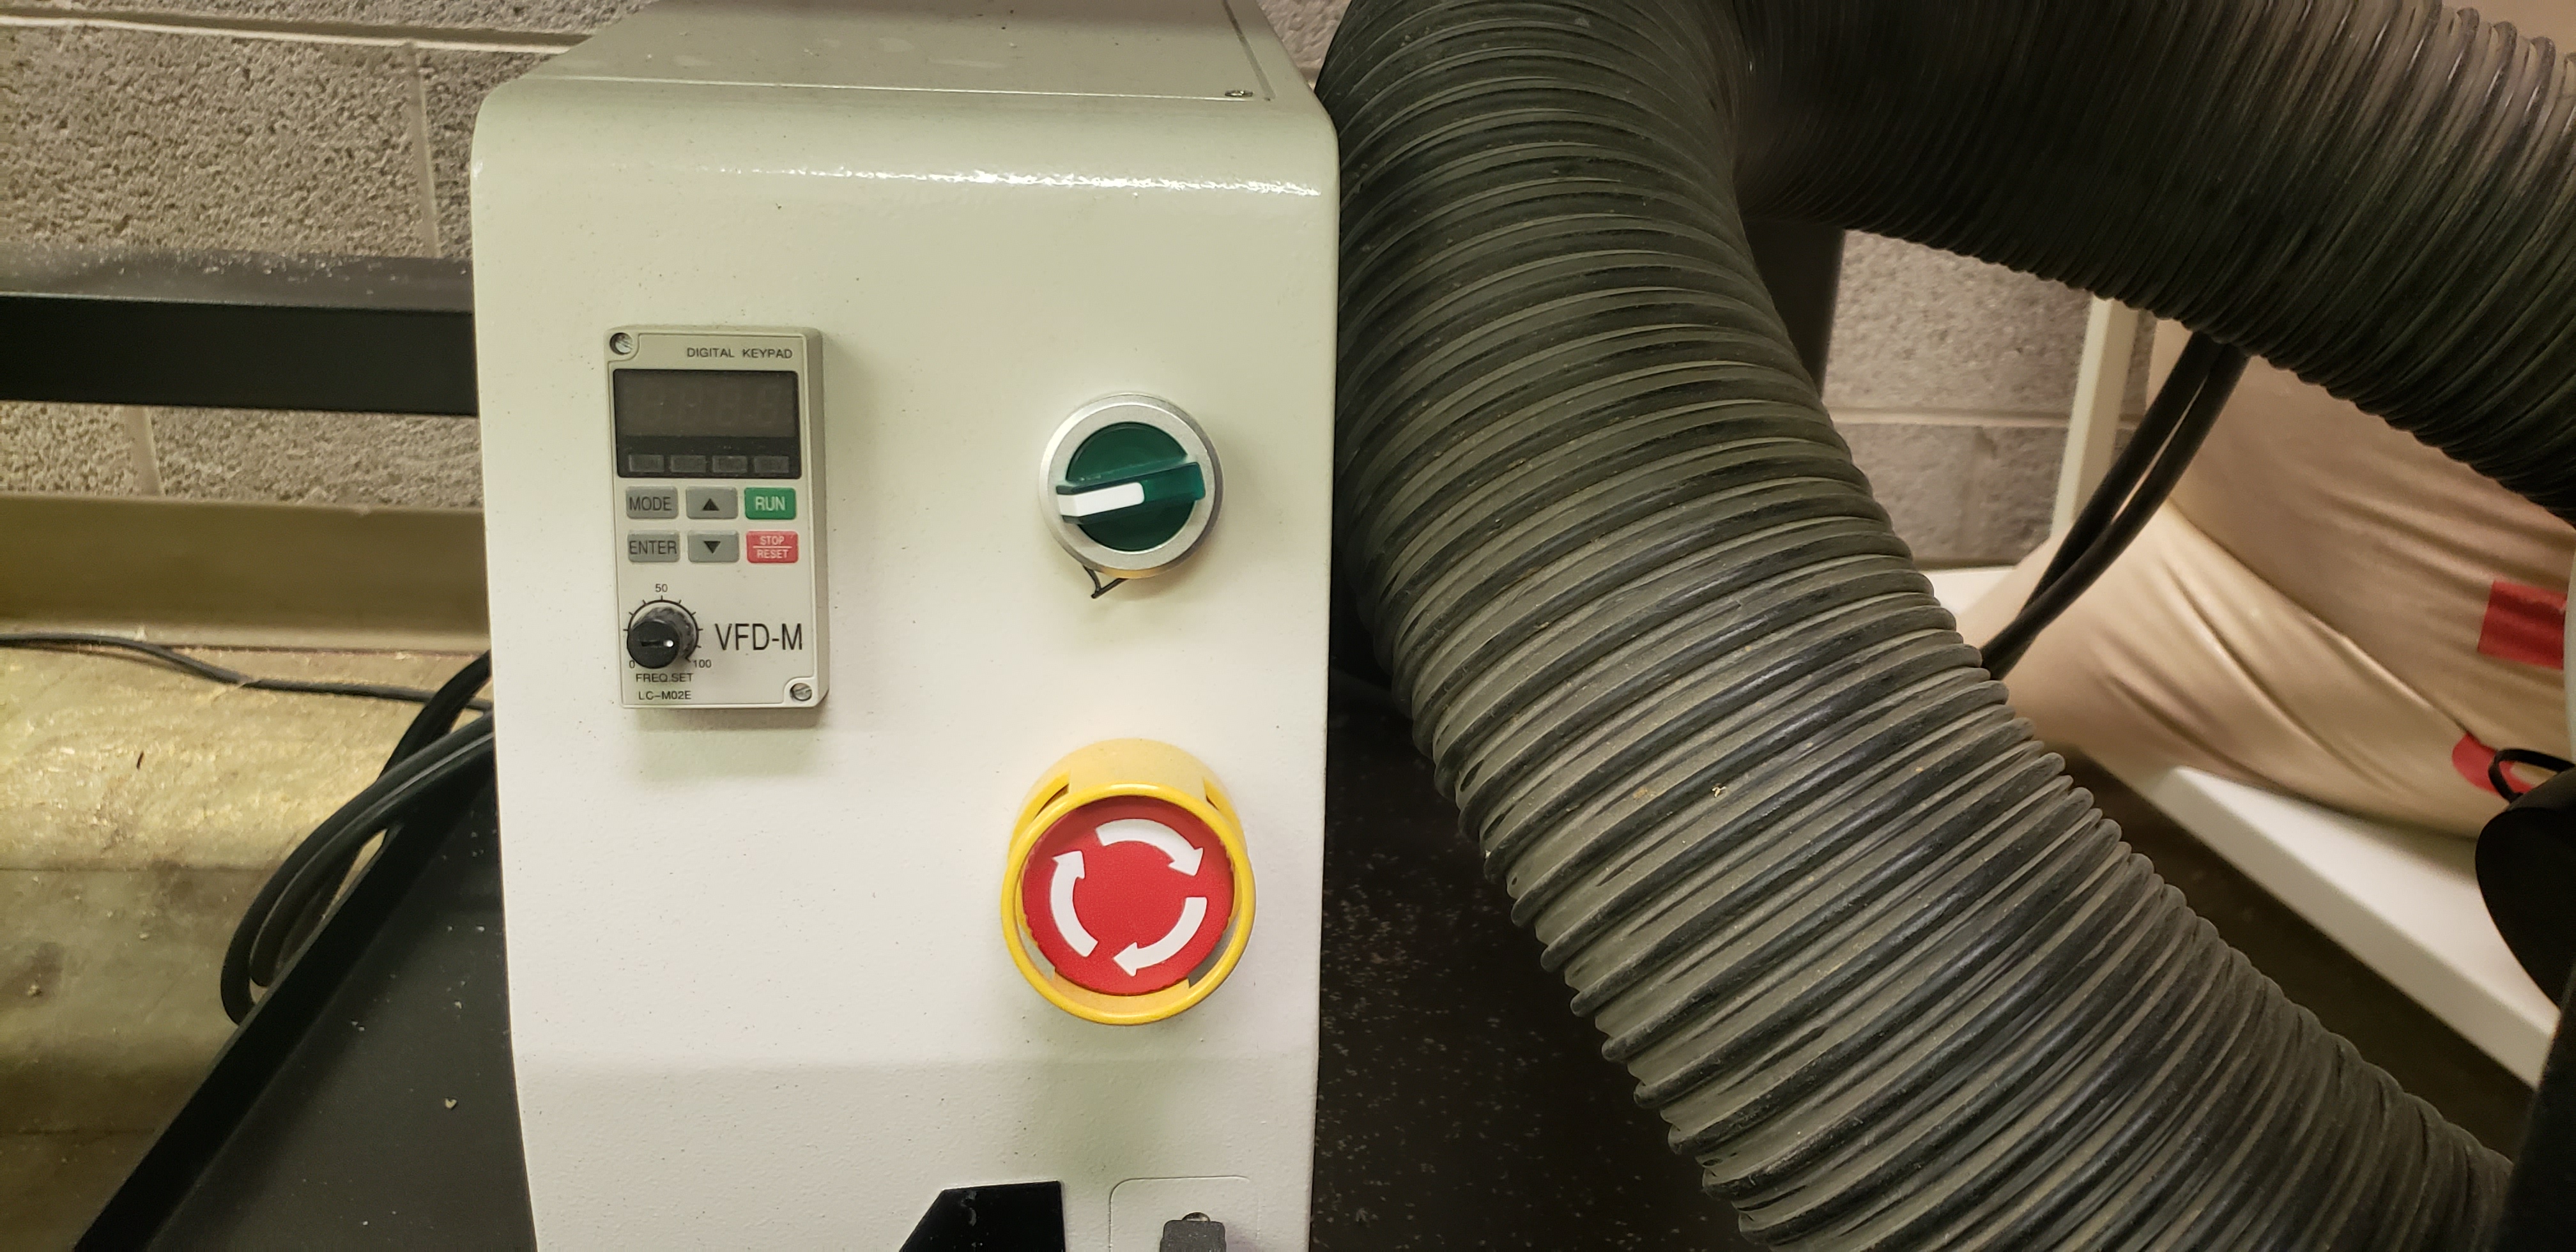
 The first step of the machine is to turn it on. (and get saftey googles and ear plugs)
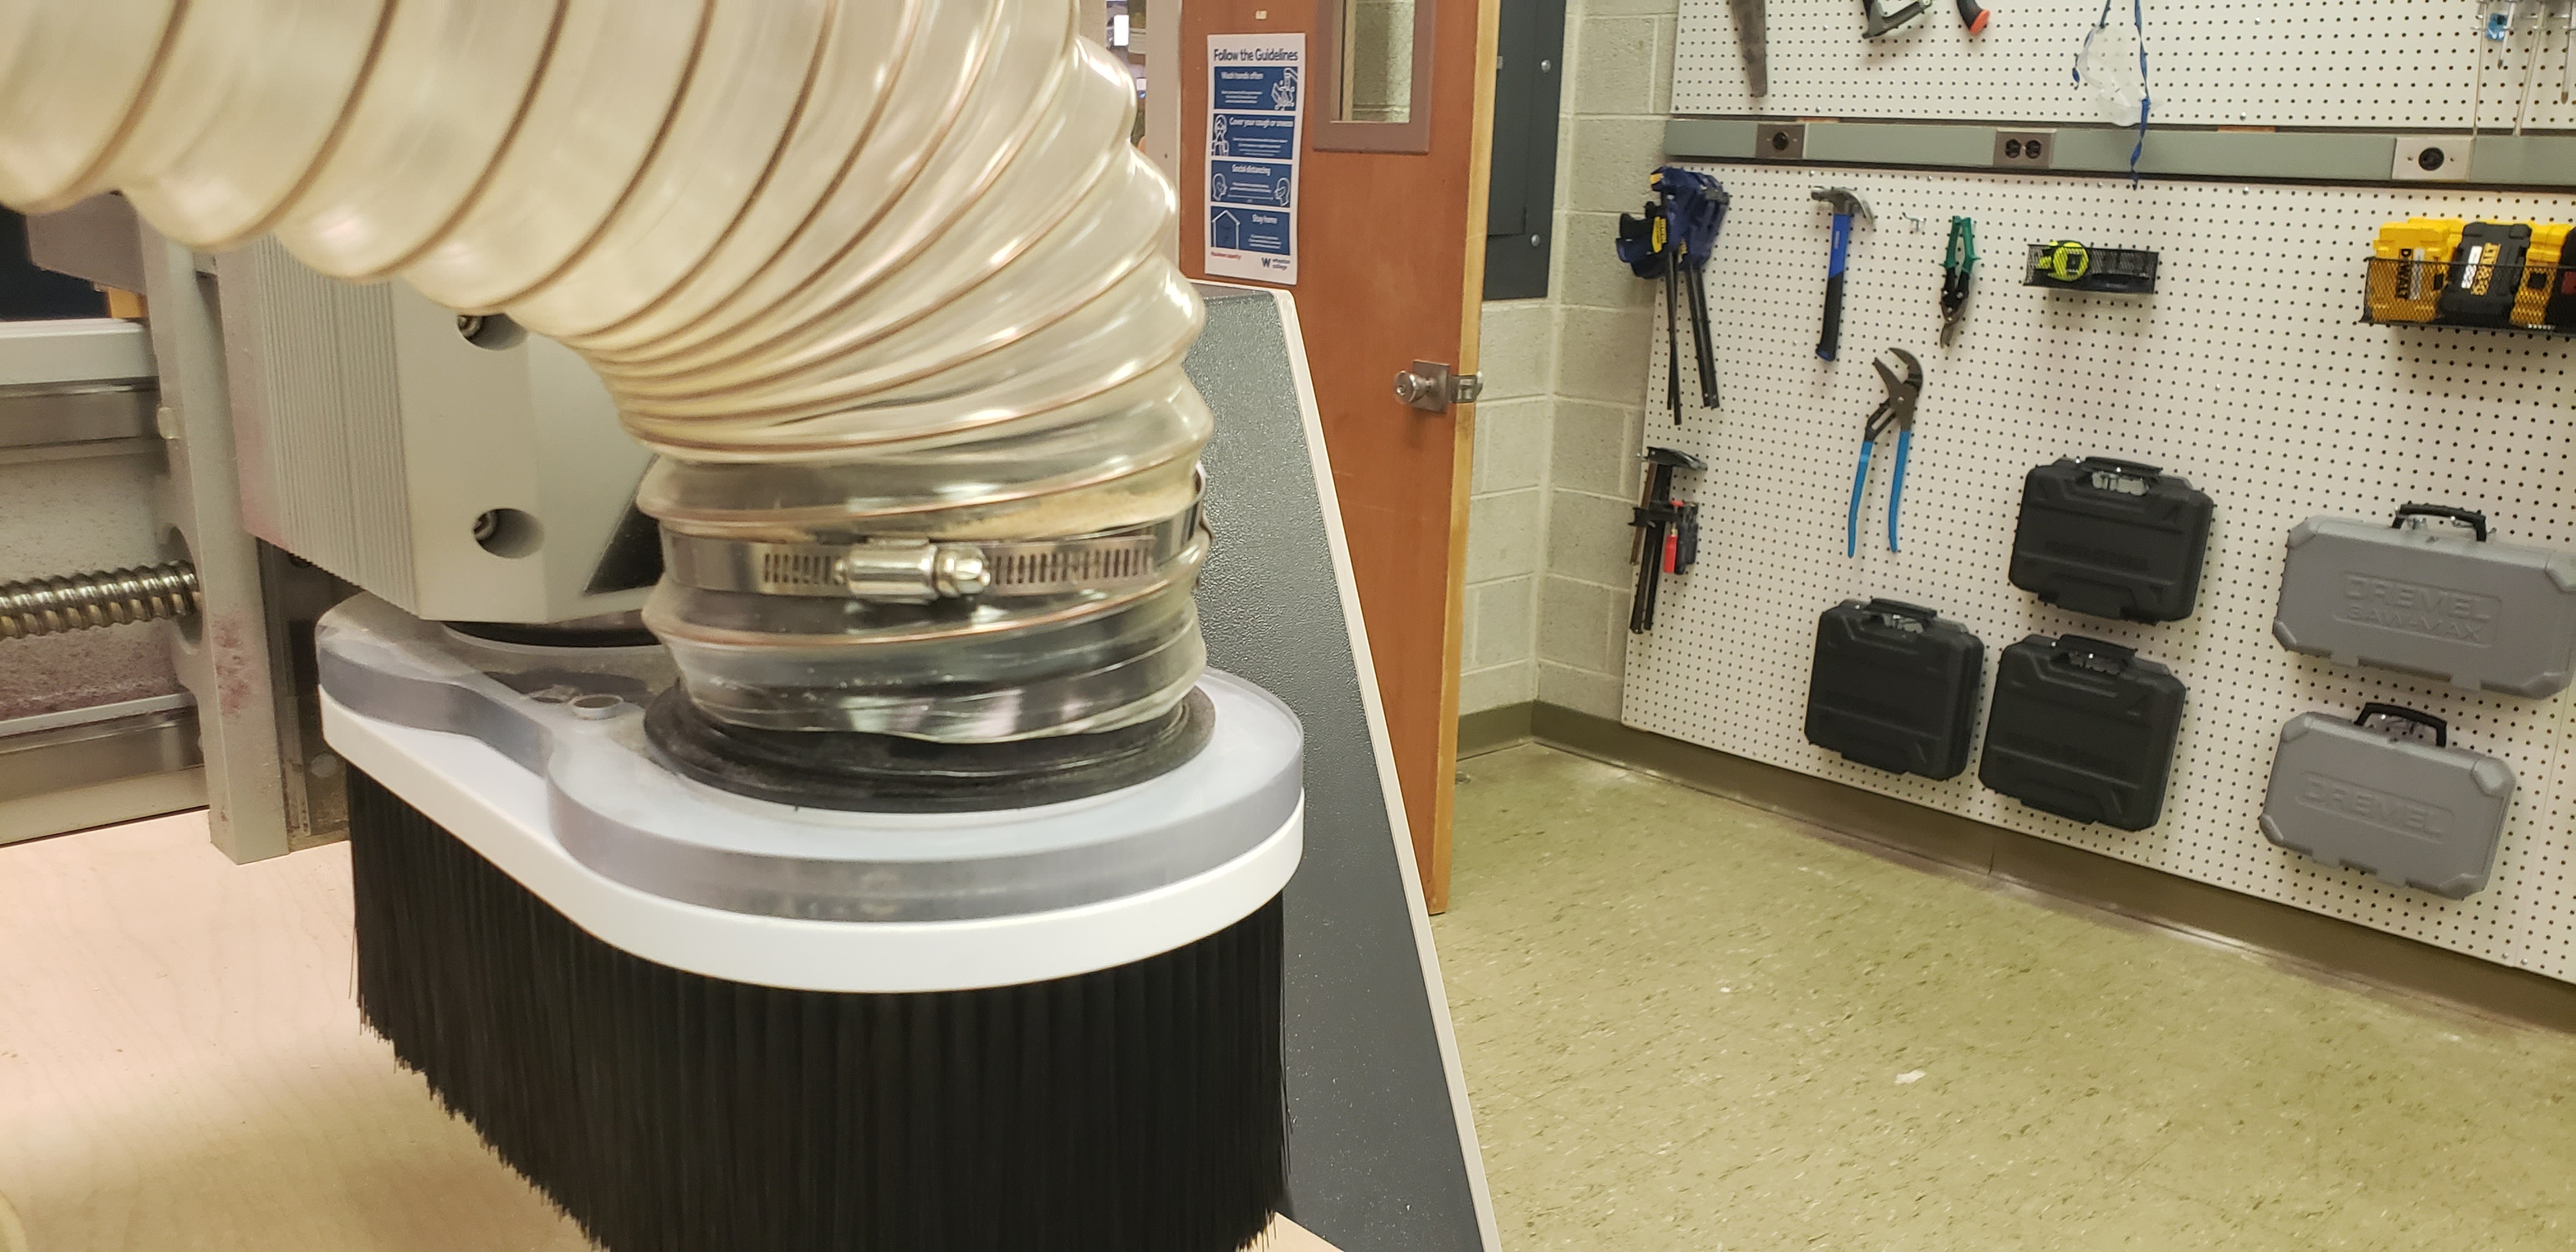
 Then the next step is to take off the duster thing and make sure your toolbit is in the machine using the wrenches. Which I was very close of slipping and bashing my hand into the machine but its fine. And then I turned on the duster where all the dust should go through but it never actually does all the way.
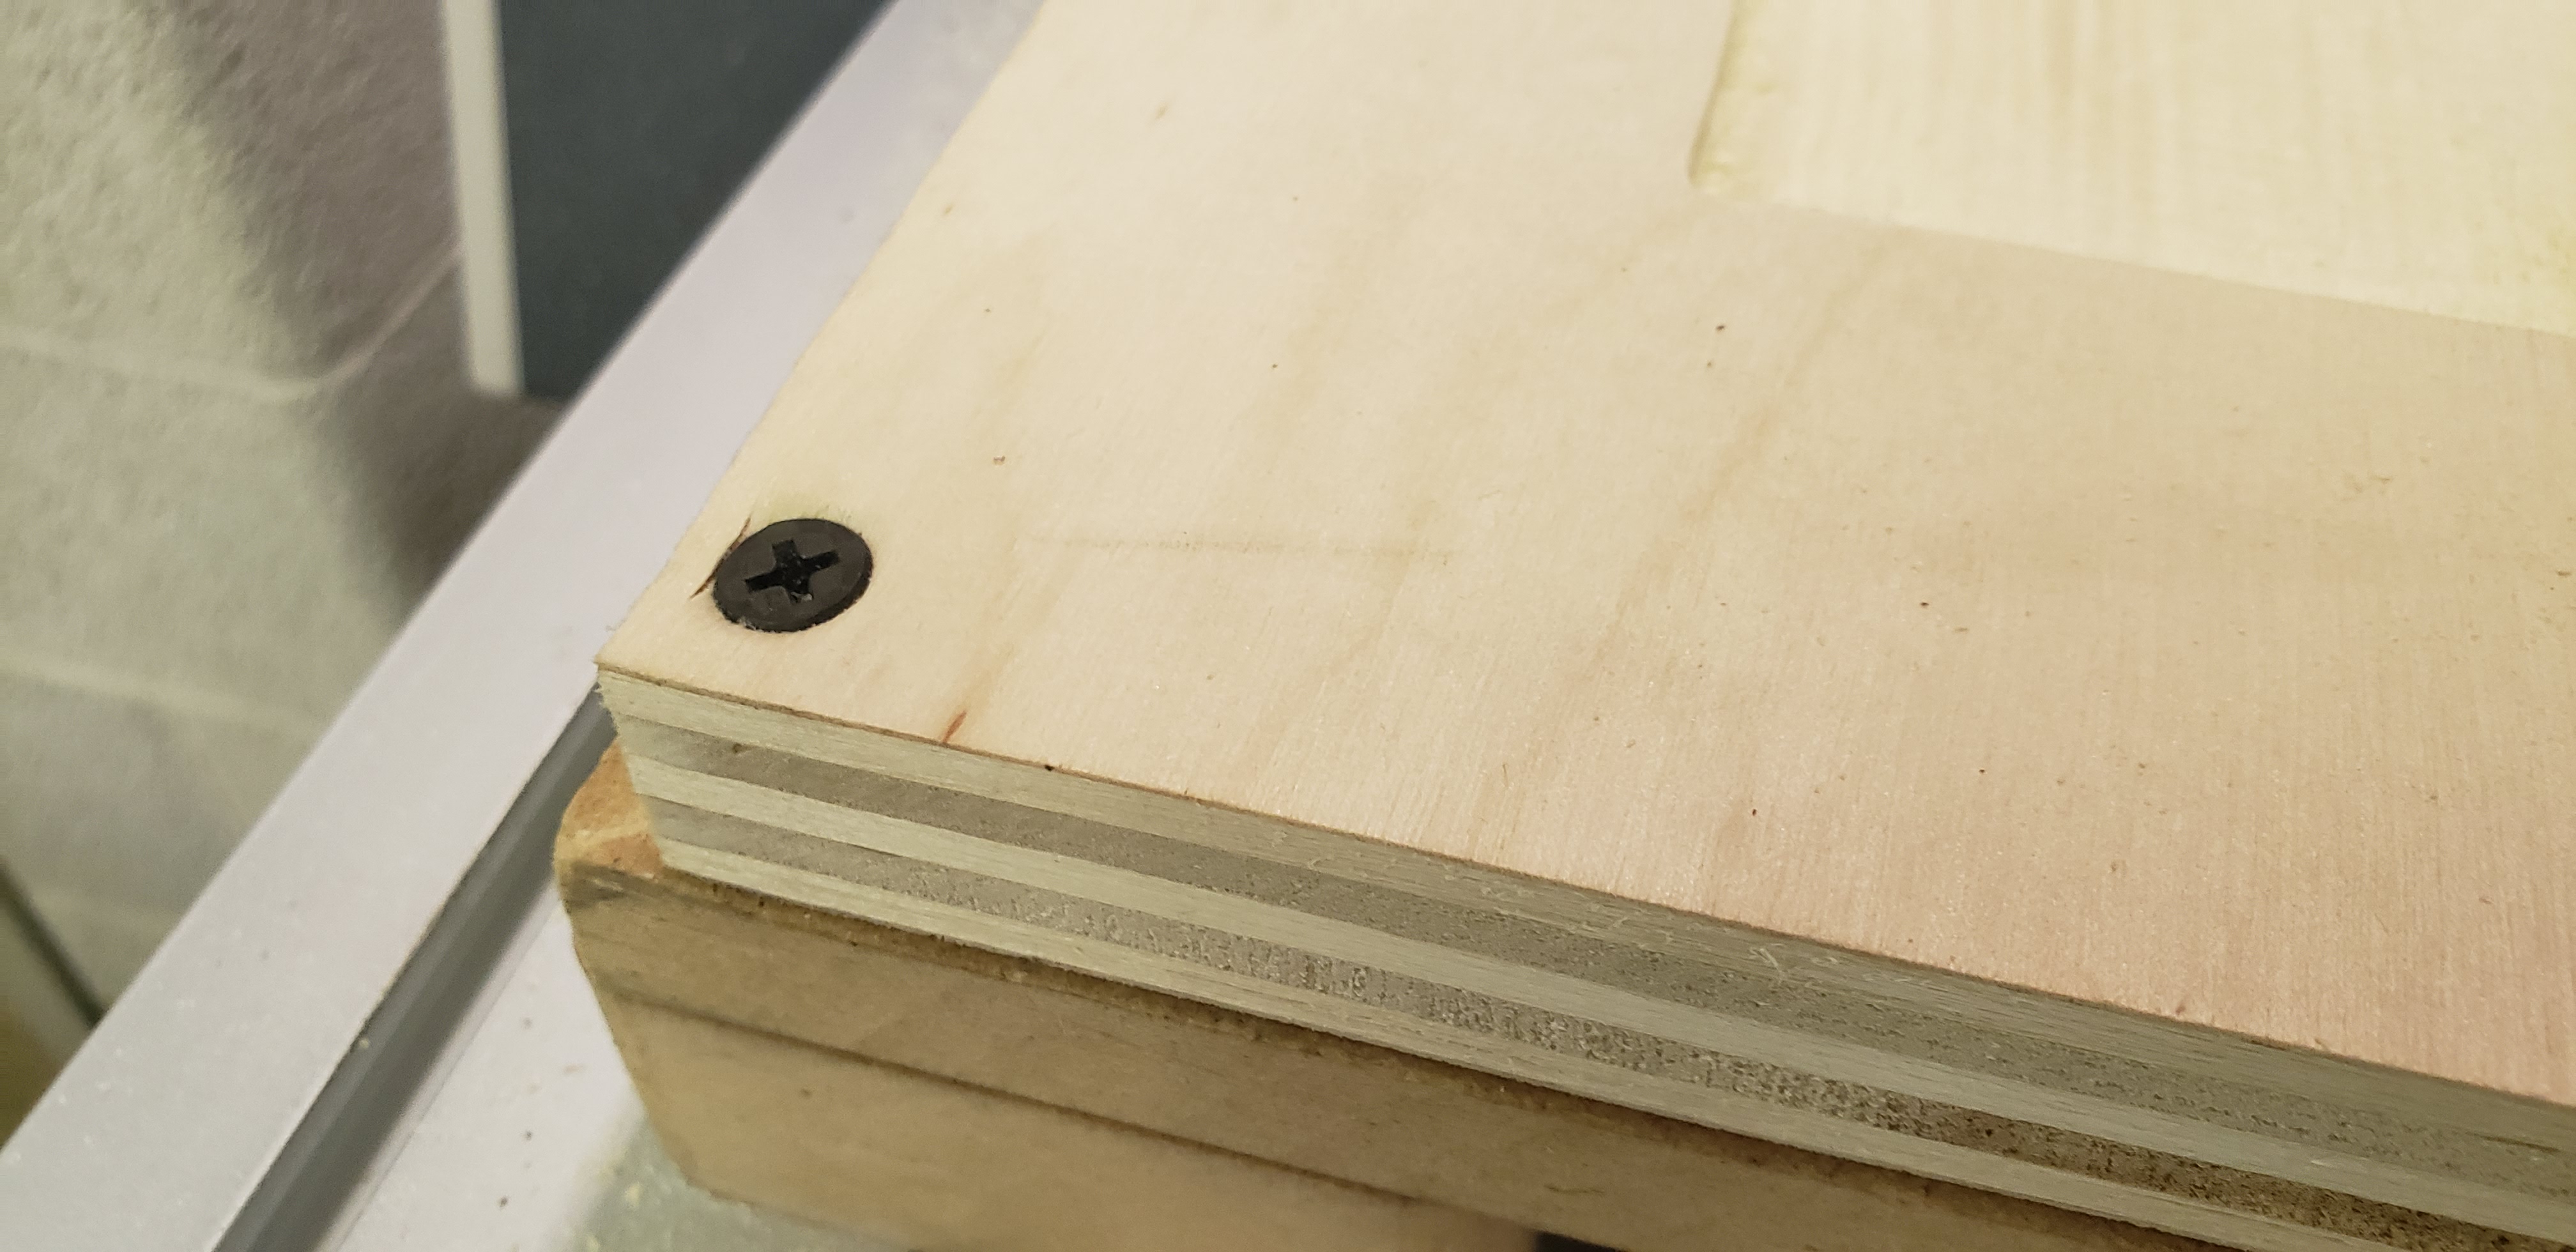
 Then we taped and drilled our material down so it doesn't move and cause injury.
 The next step was to bring it to the orgin/ set the orgin so it knows where to start cutting.
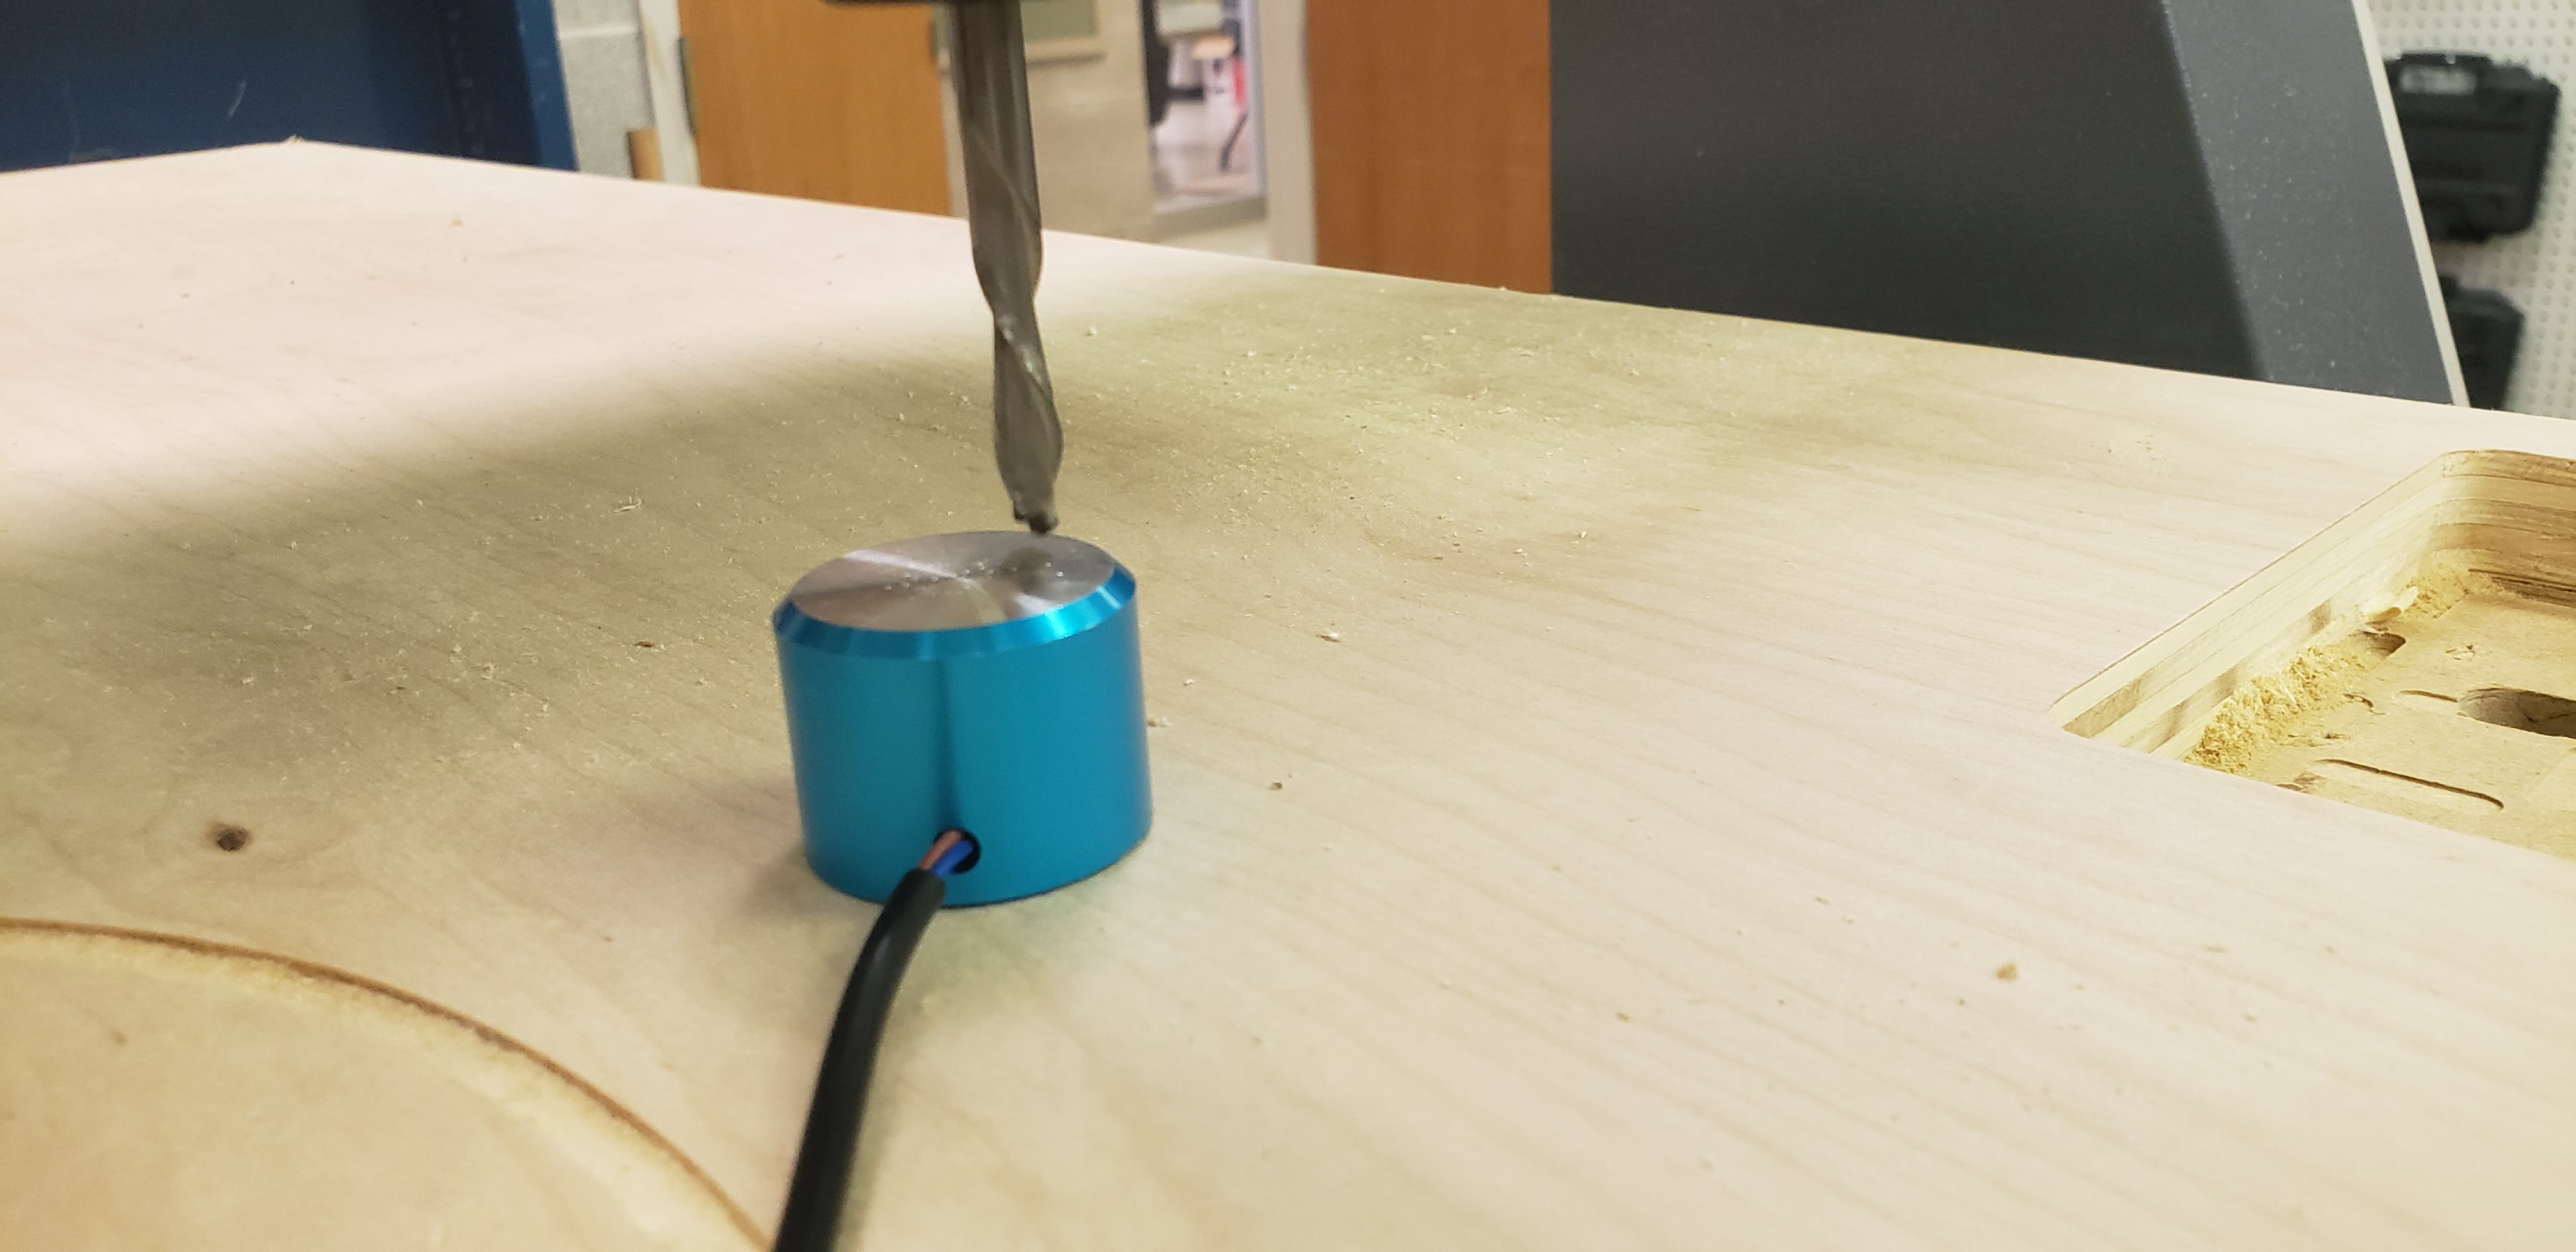
 Then by plugging in the little blue thing it sets the height of the material which tells the machine where to start cutting.
 Then you select your file from the SD card and cut it out.
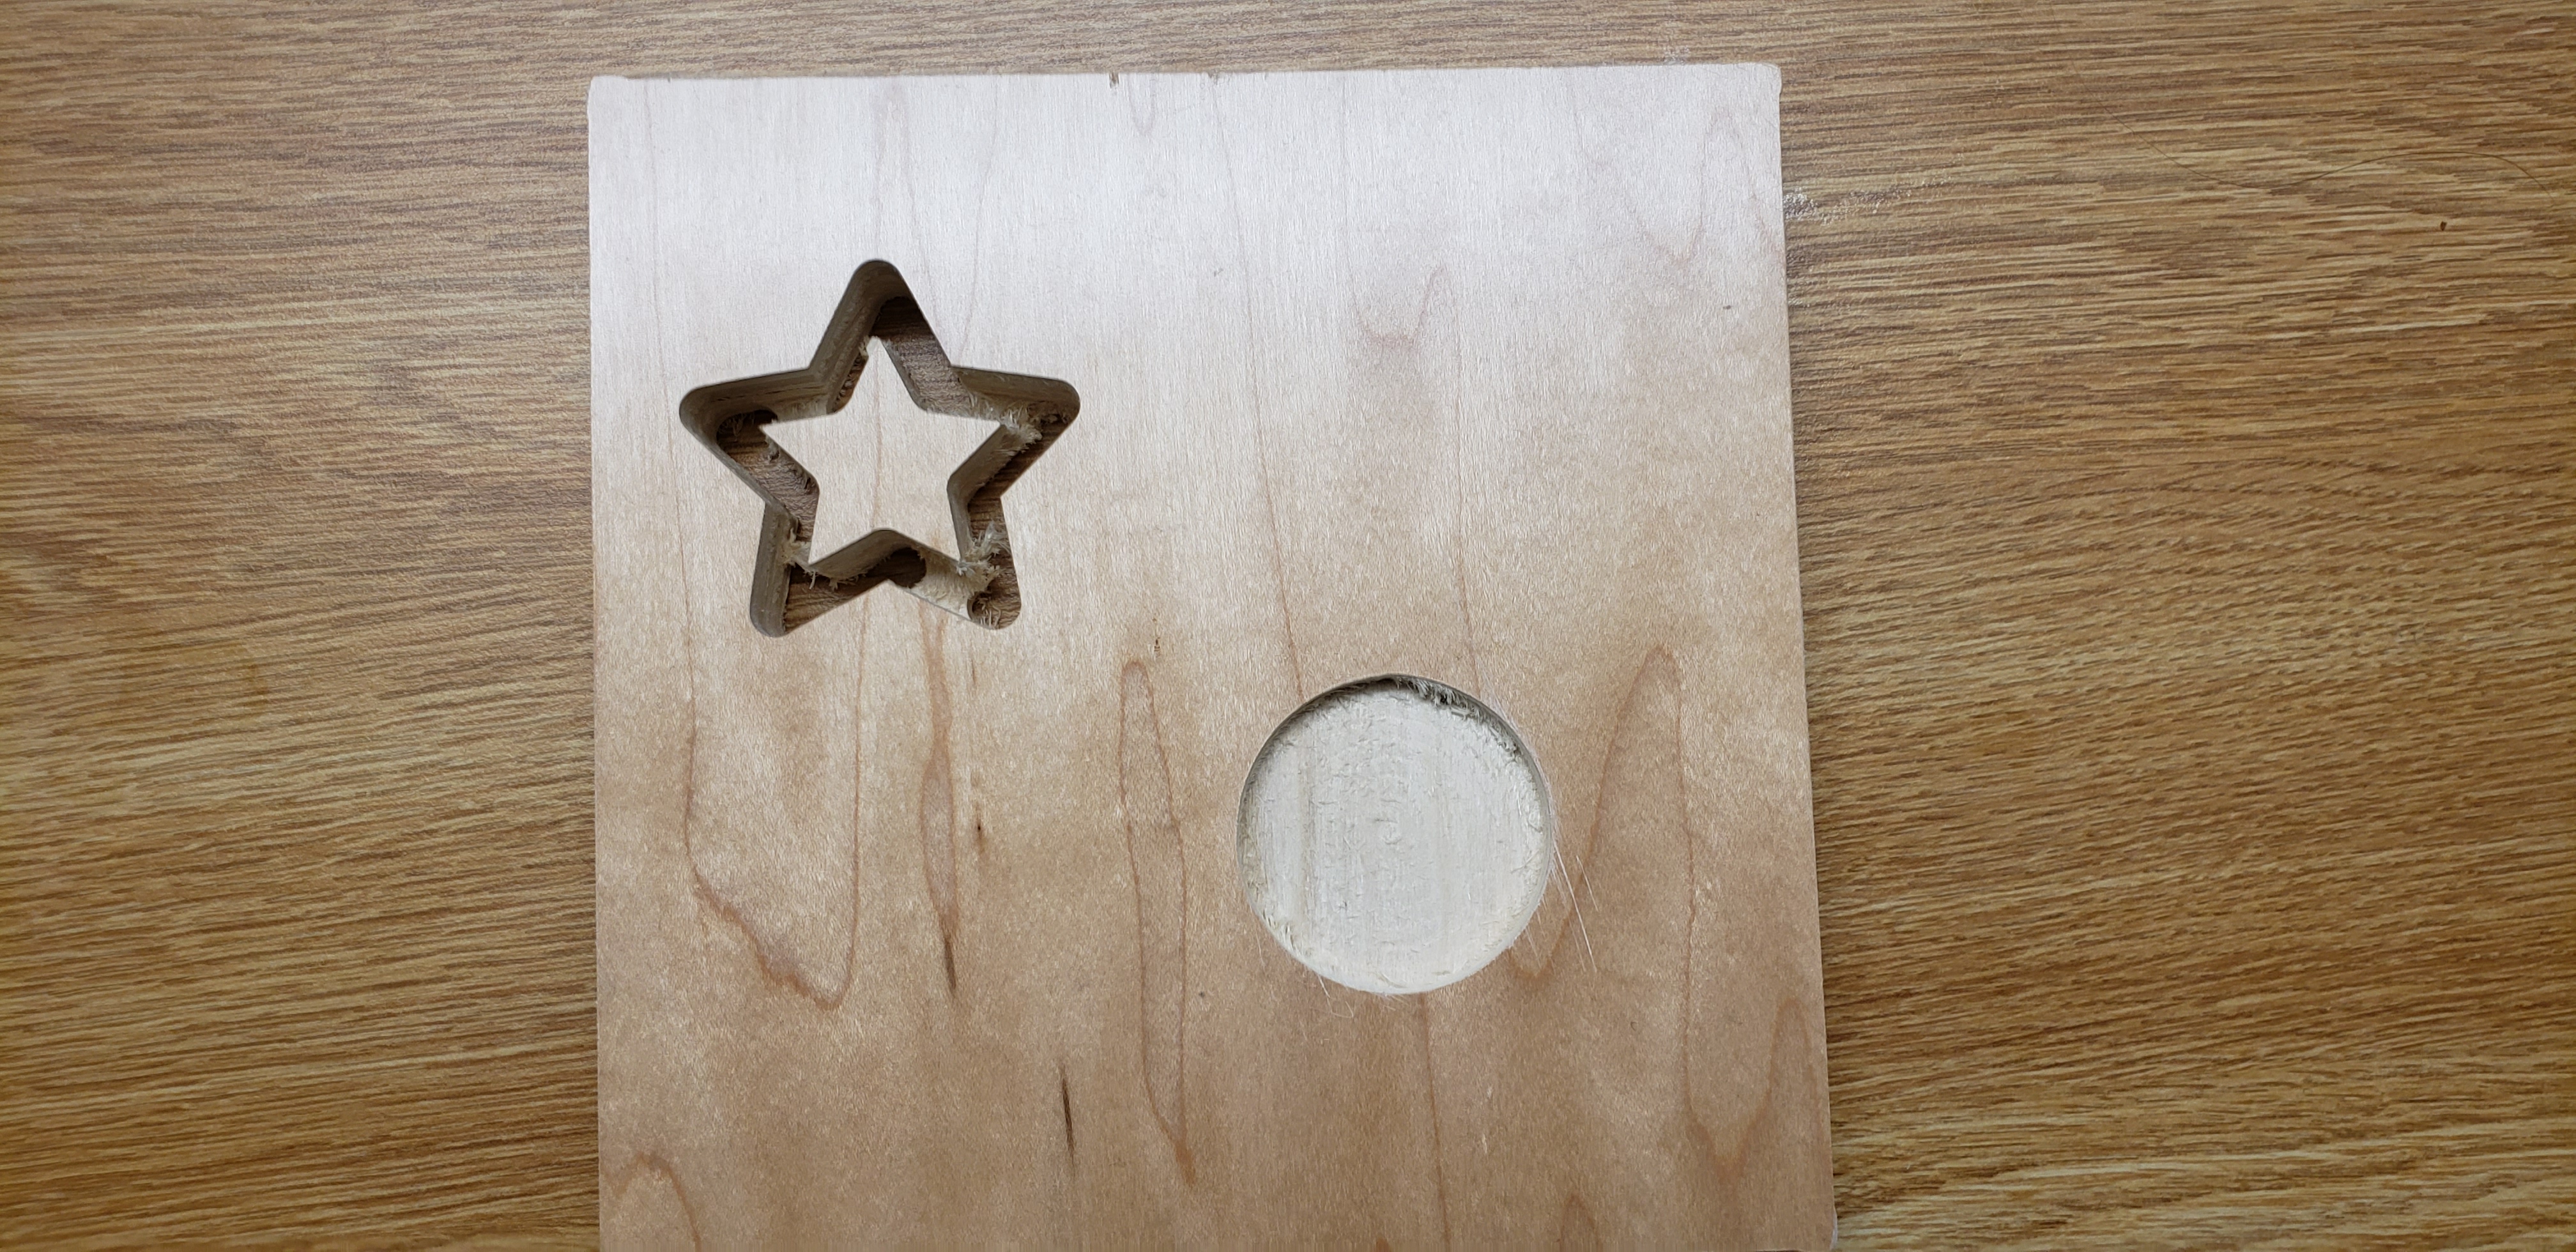
 And here is my final project.
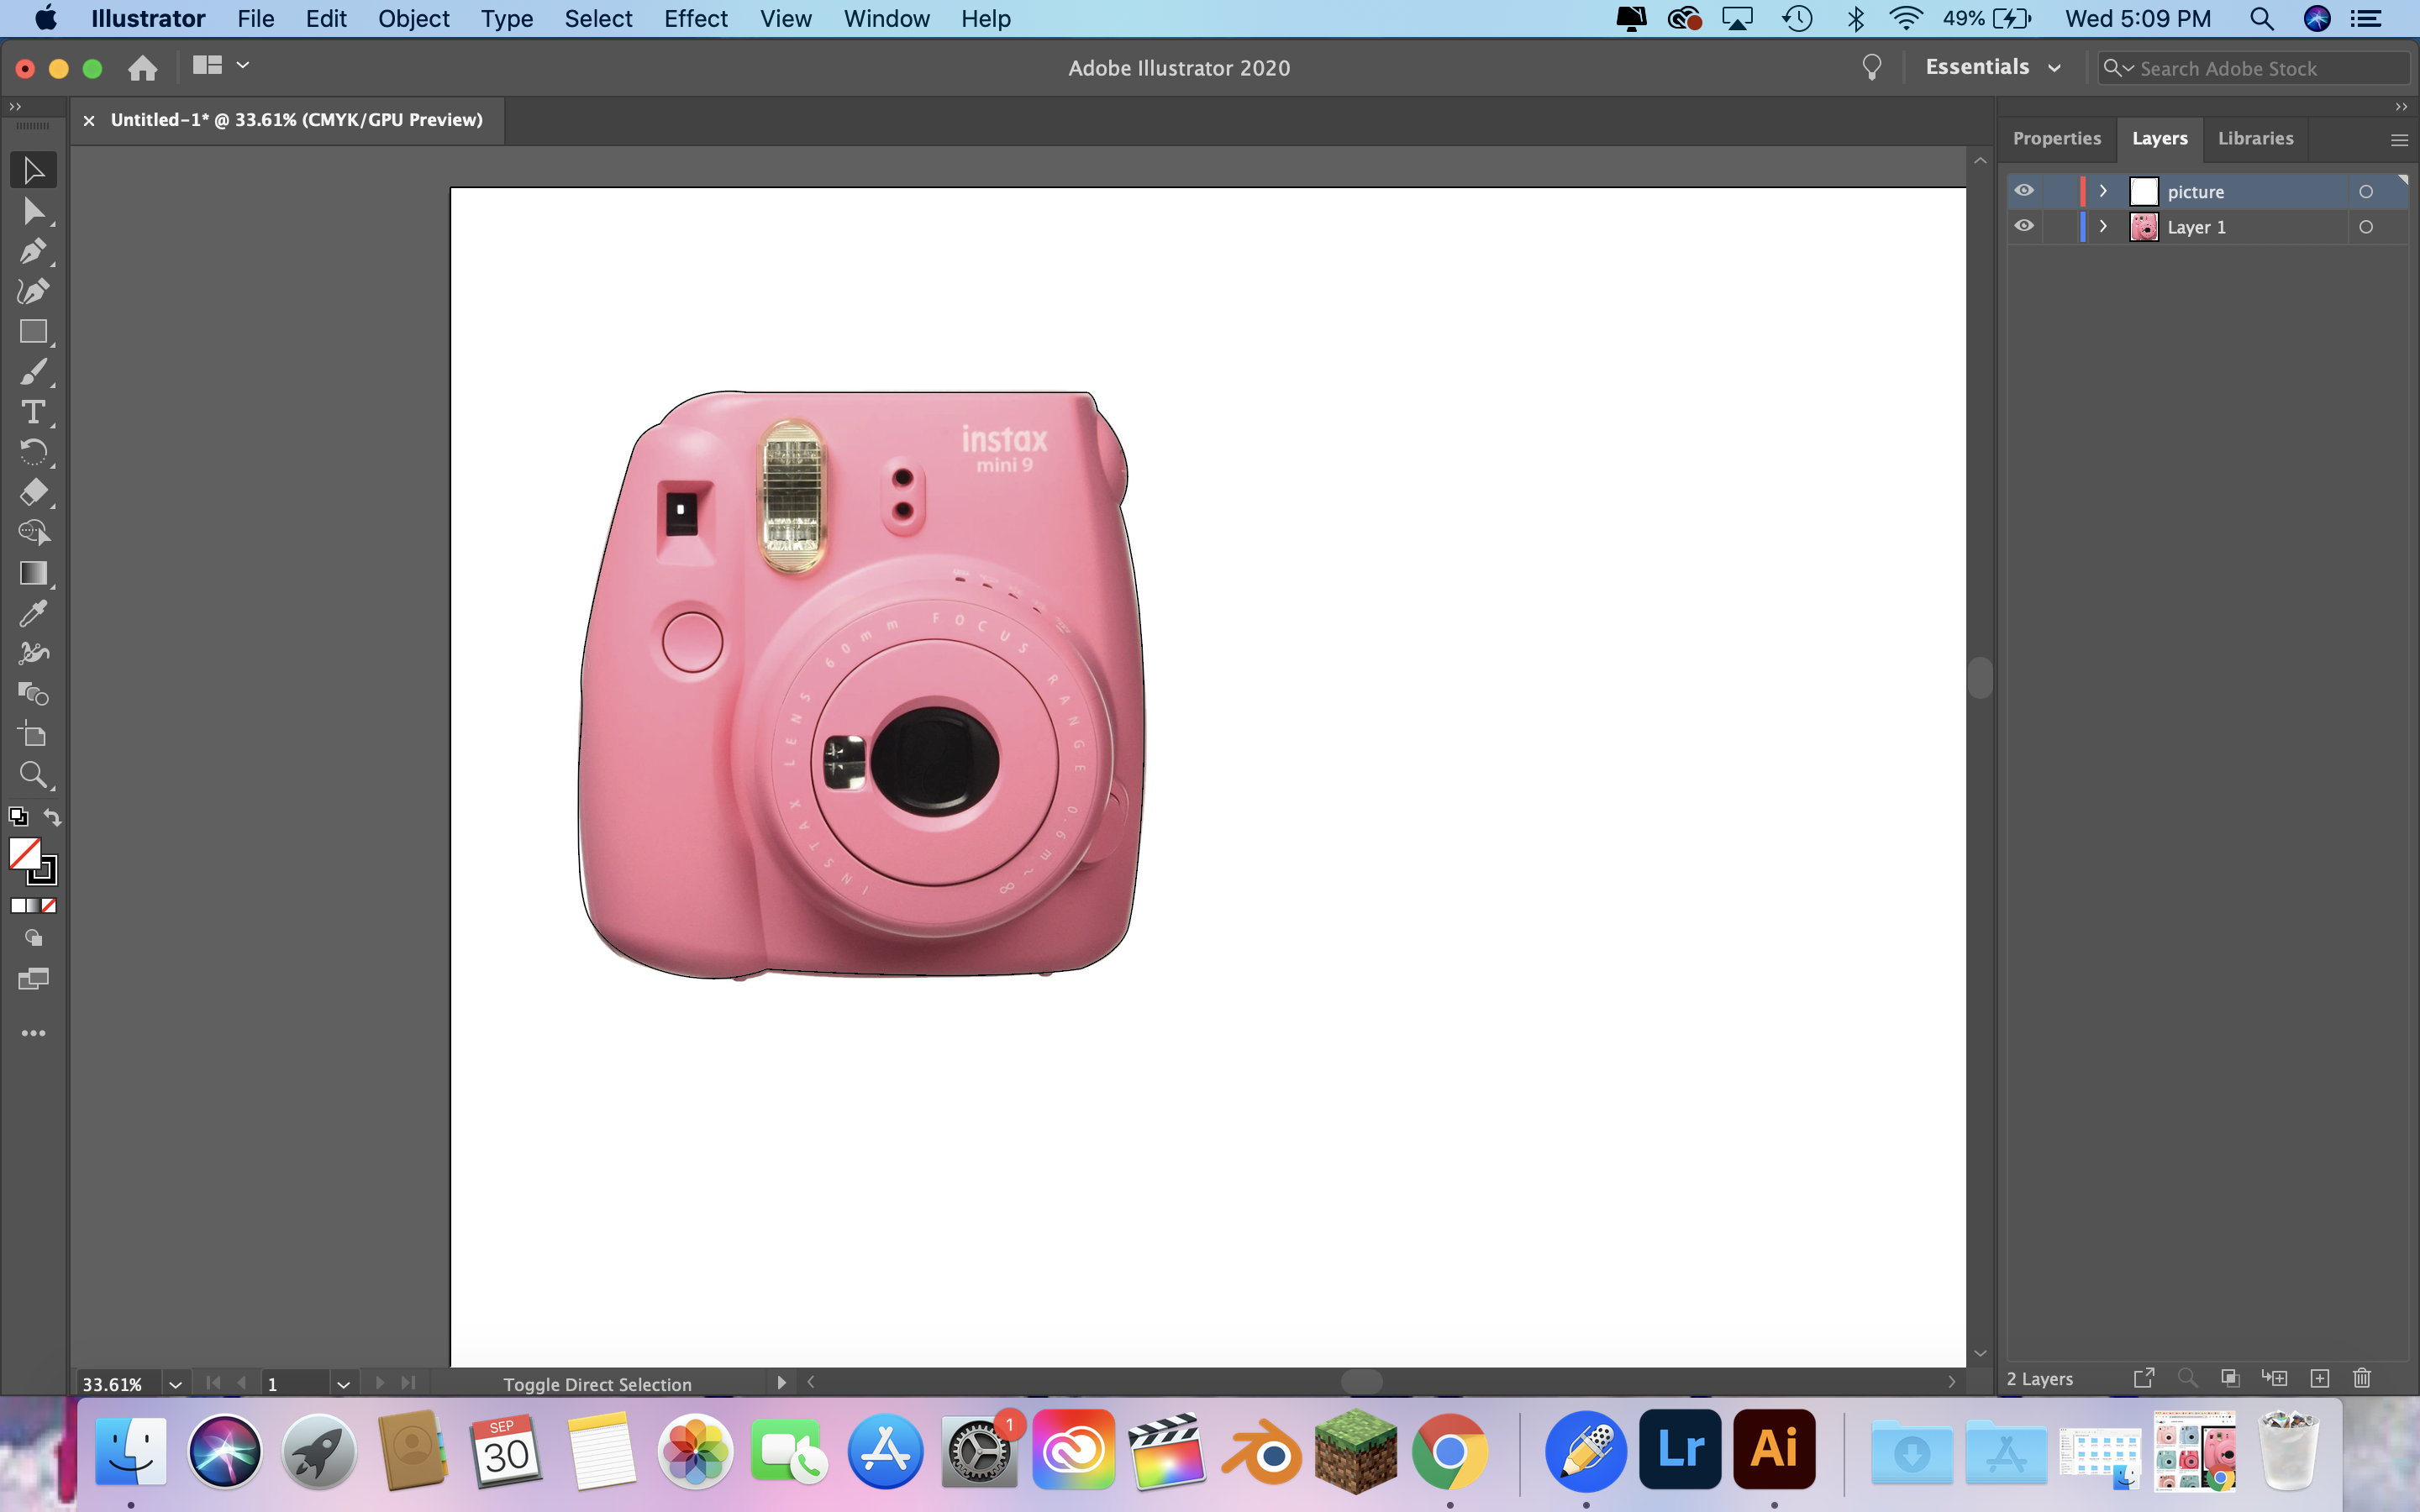
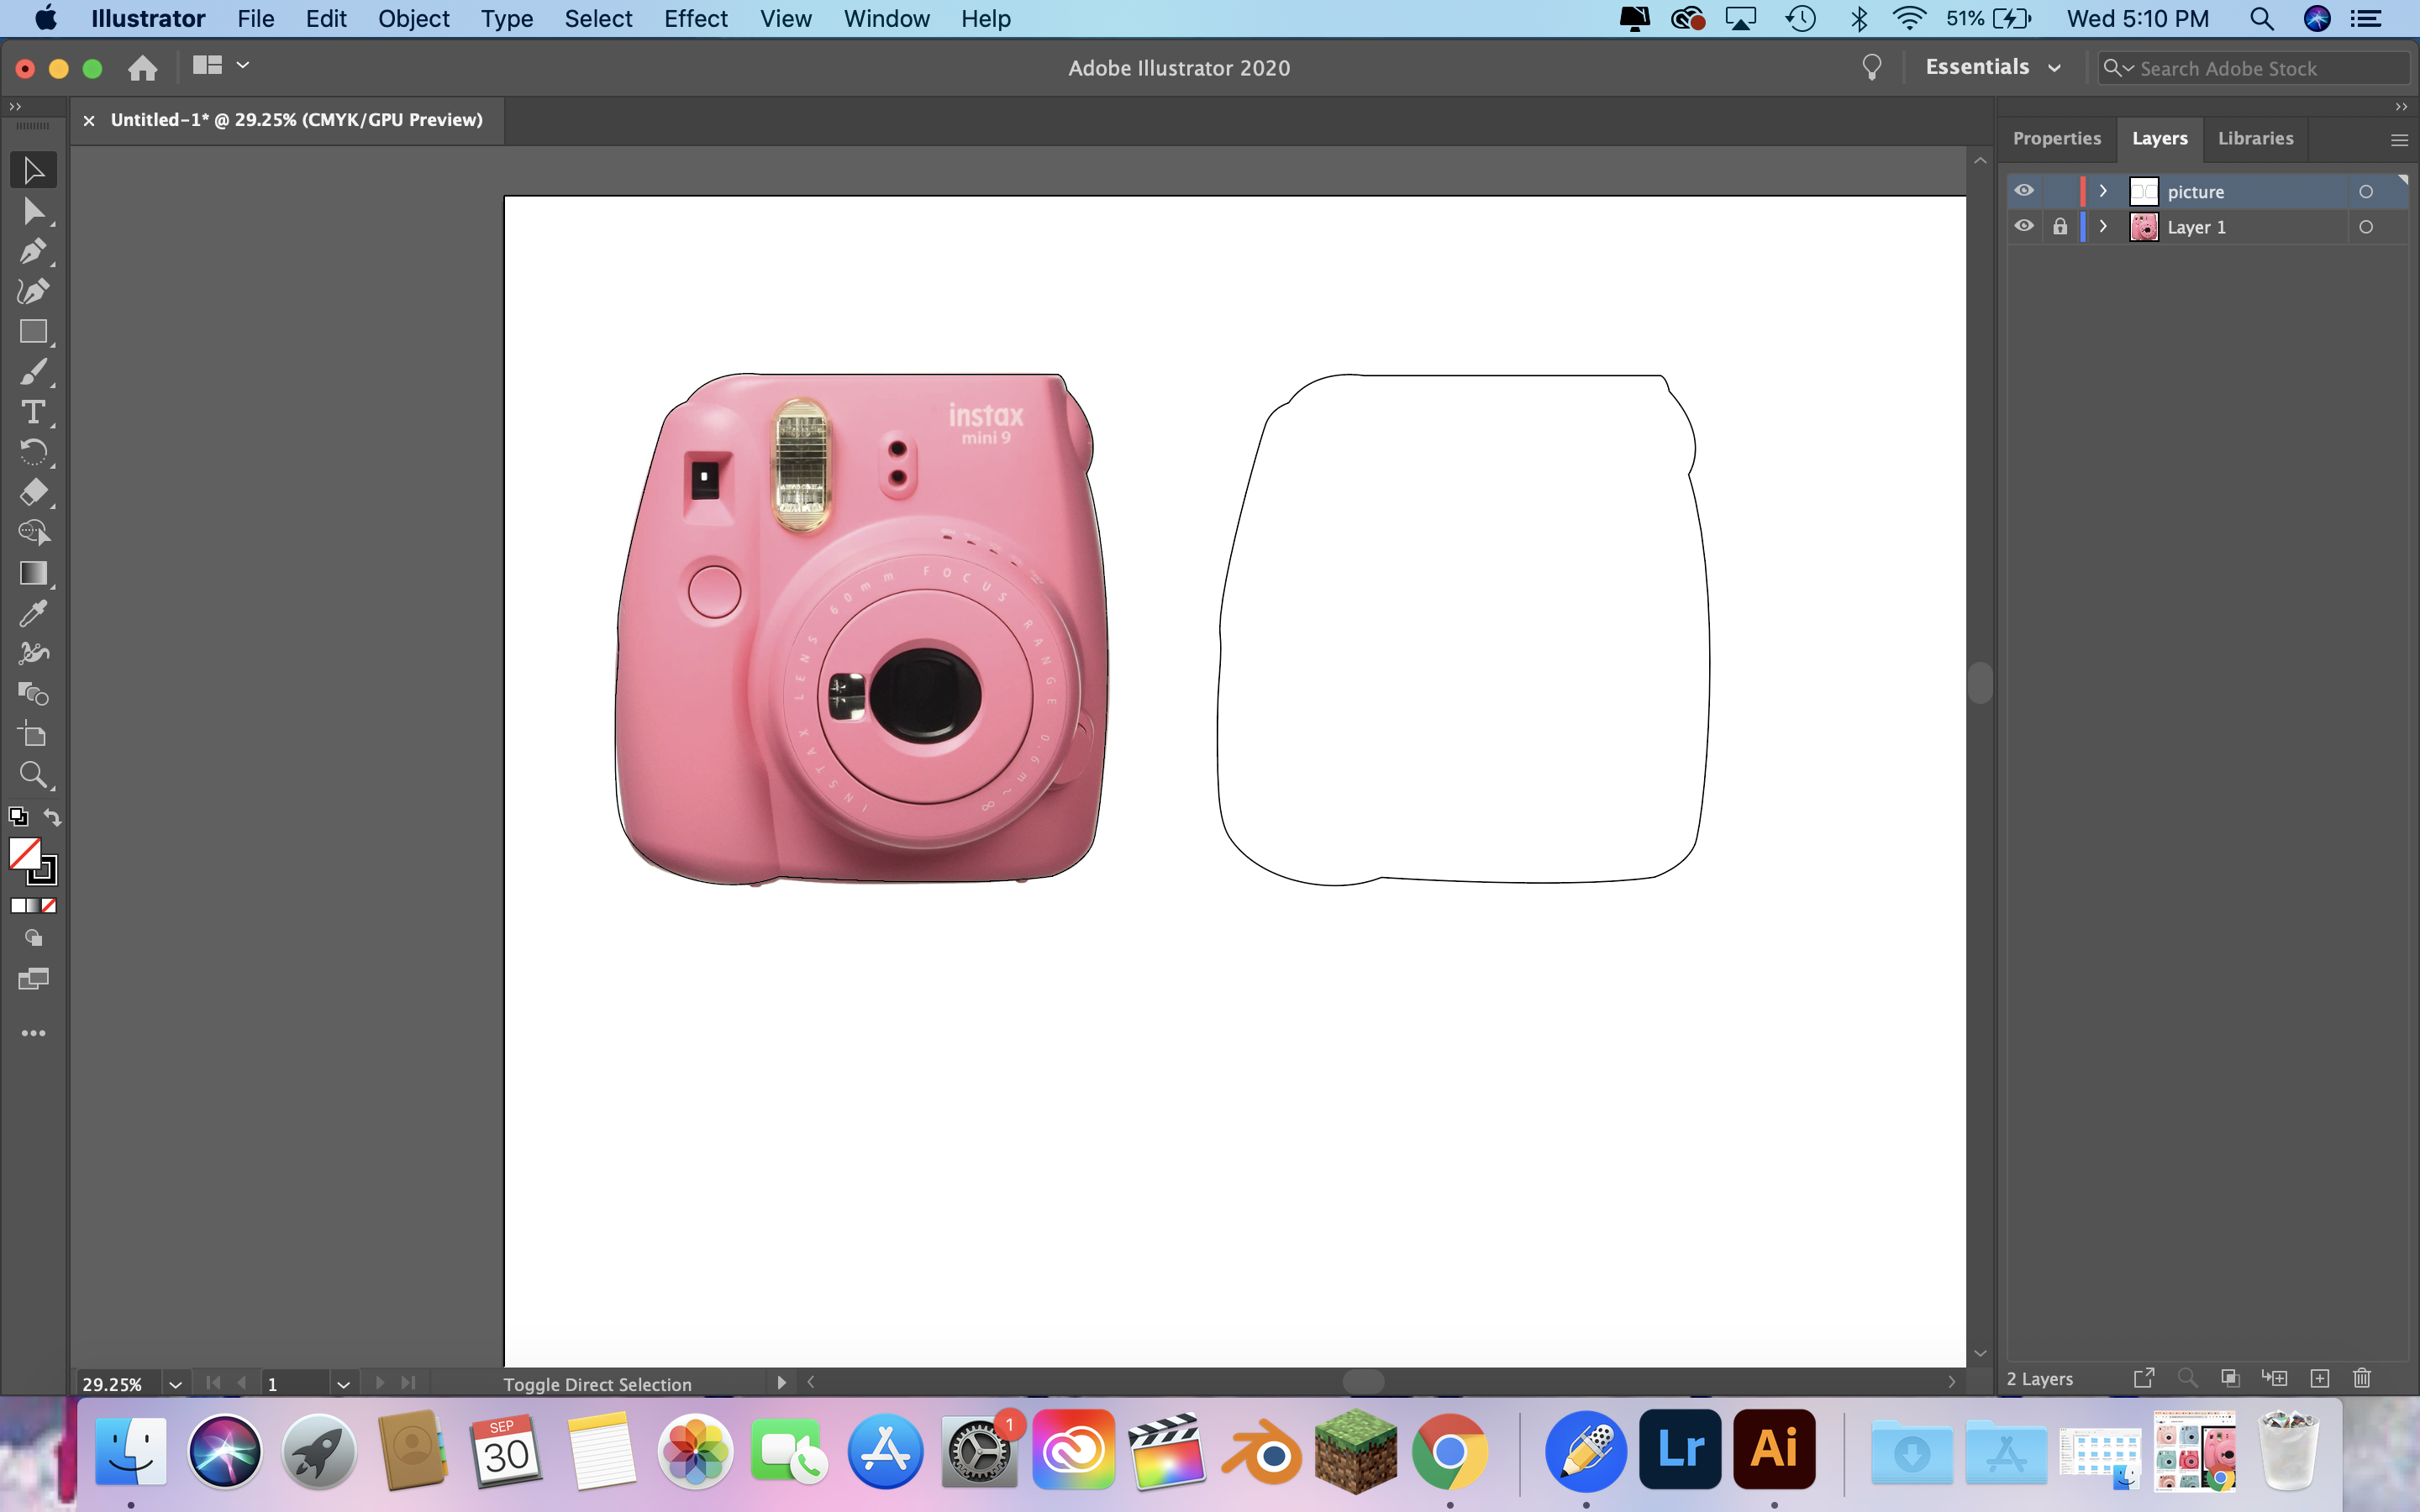
 The next part is where it started to get hard for me and it honestly had no reason to be this difficult but softwares hate me so here we are. So I decided I wanted to creat a box so I could keep some pictures in and have it kinda look like one of the new types of instant cameras. I cant tell you how or why it took like 5 hours to complete the worlds most simplest box, but here are all of my mistakes and trying to figure something out. It started off strong with creating the outline from a picture of the camera.
 Then I copied it to create the bottom of the box.
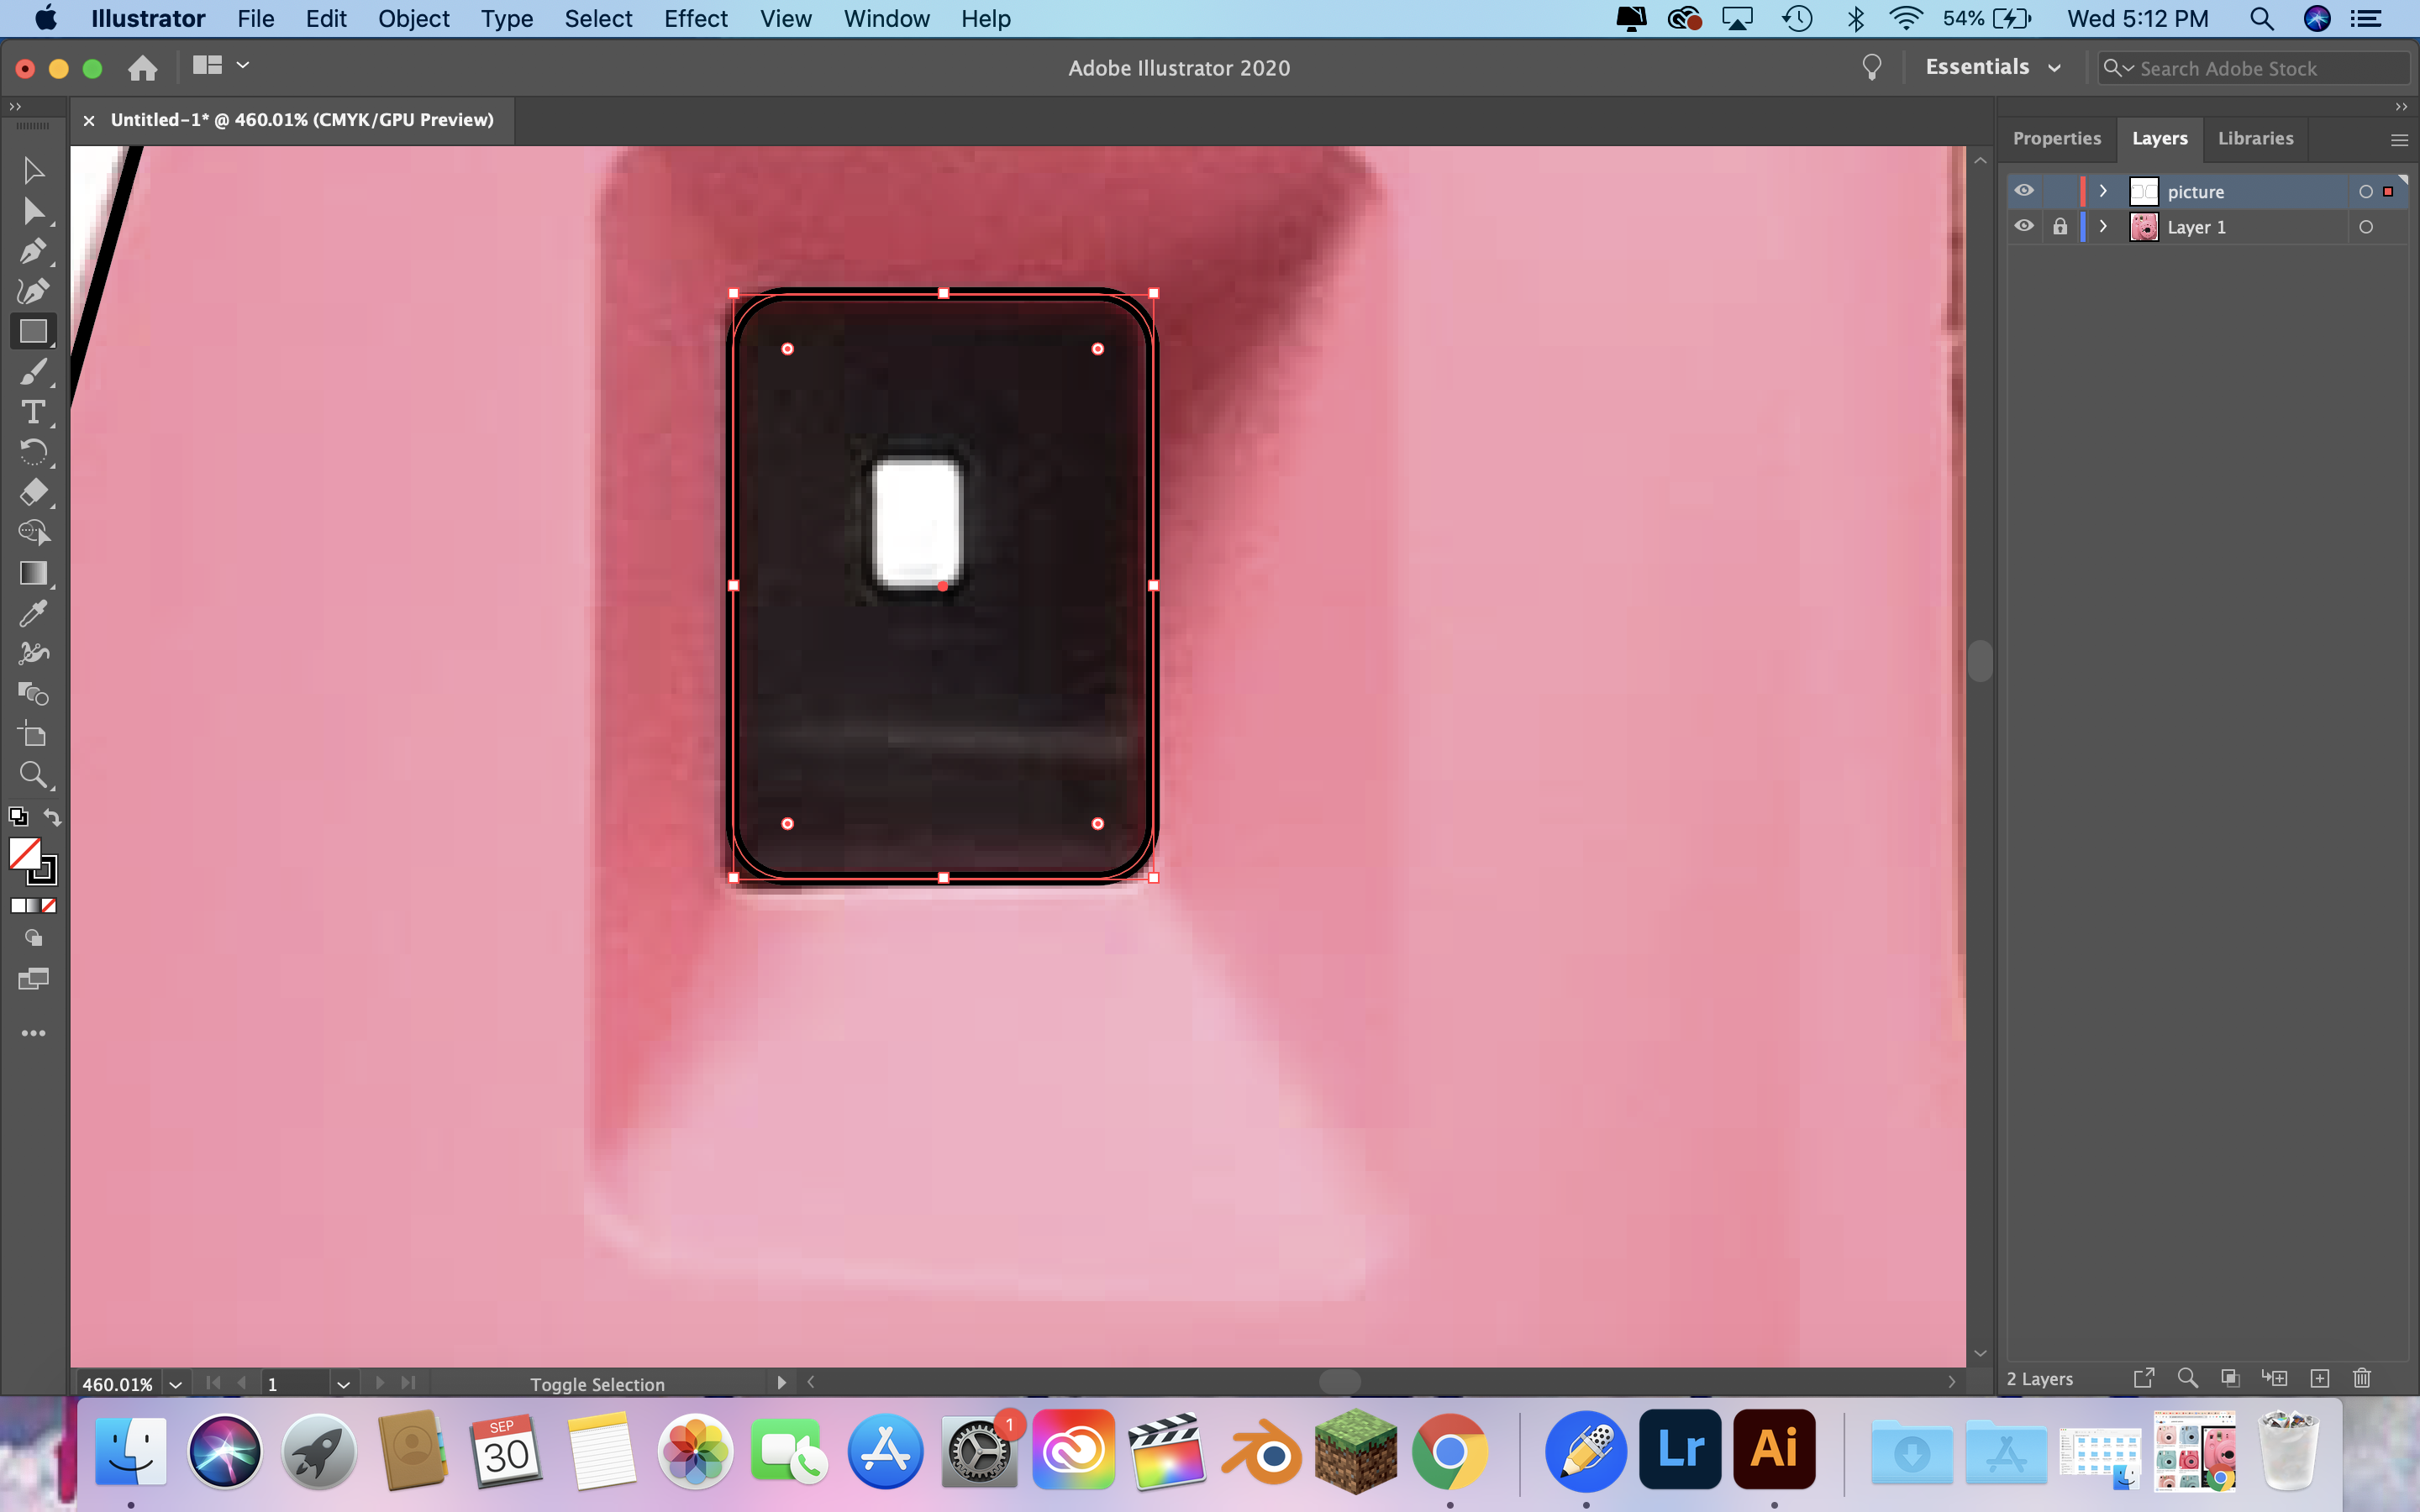
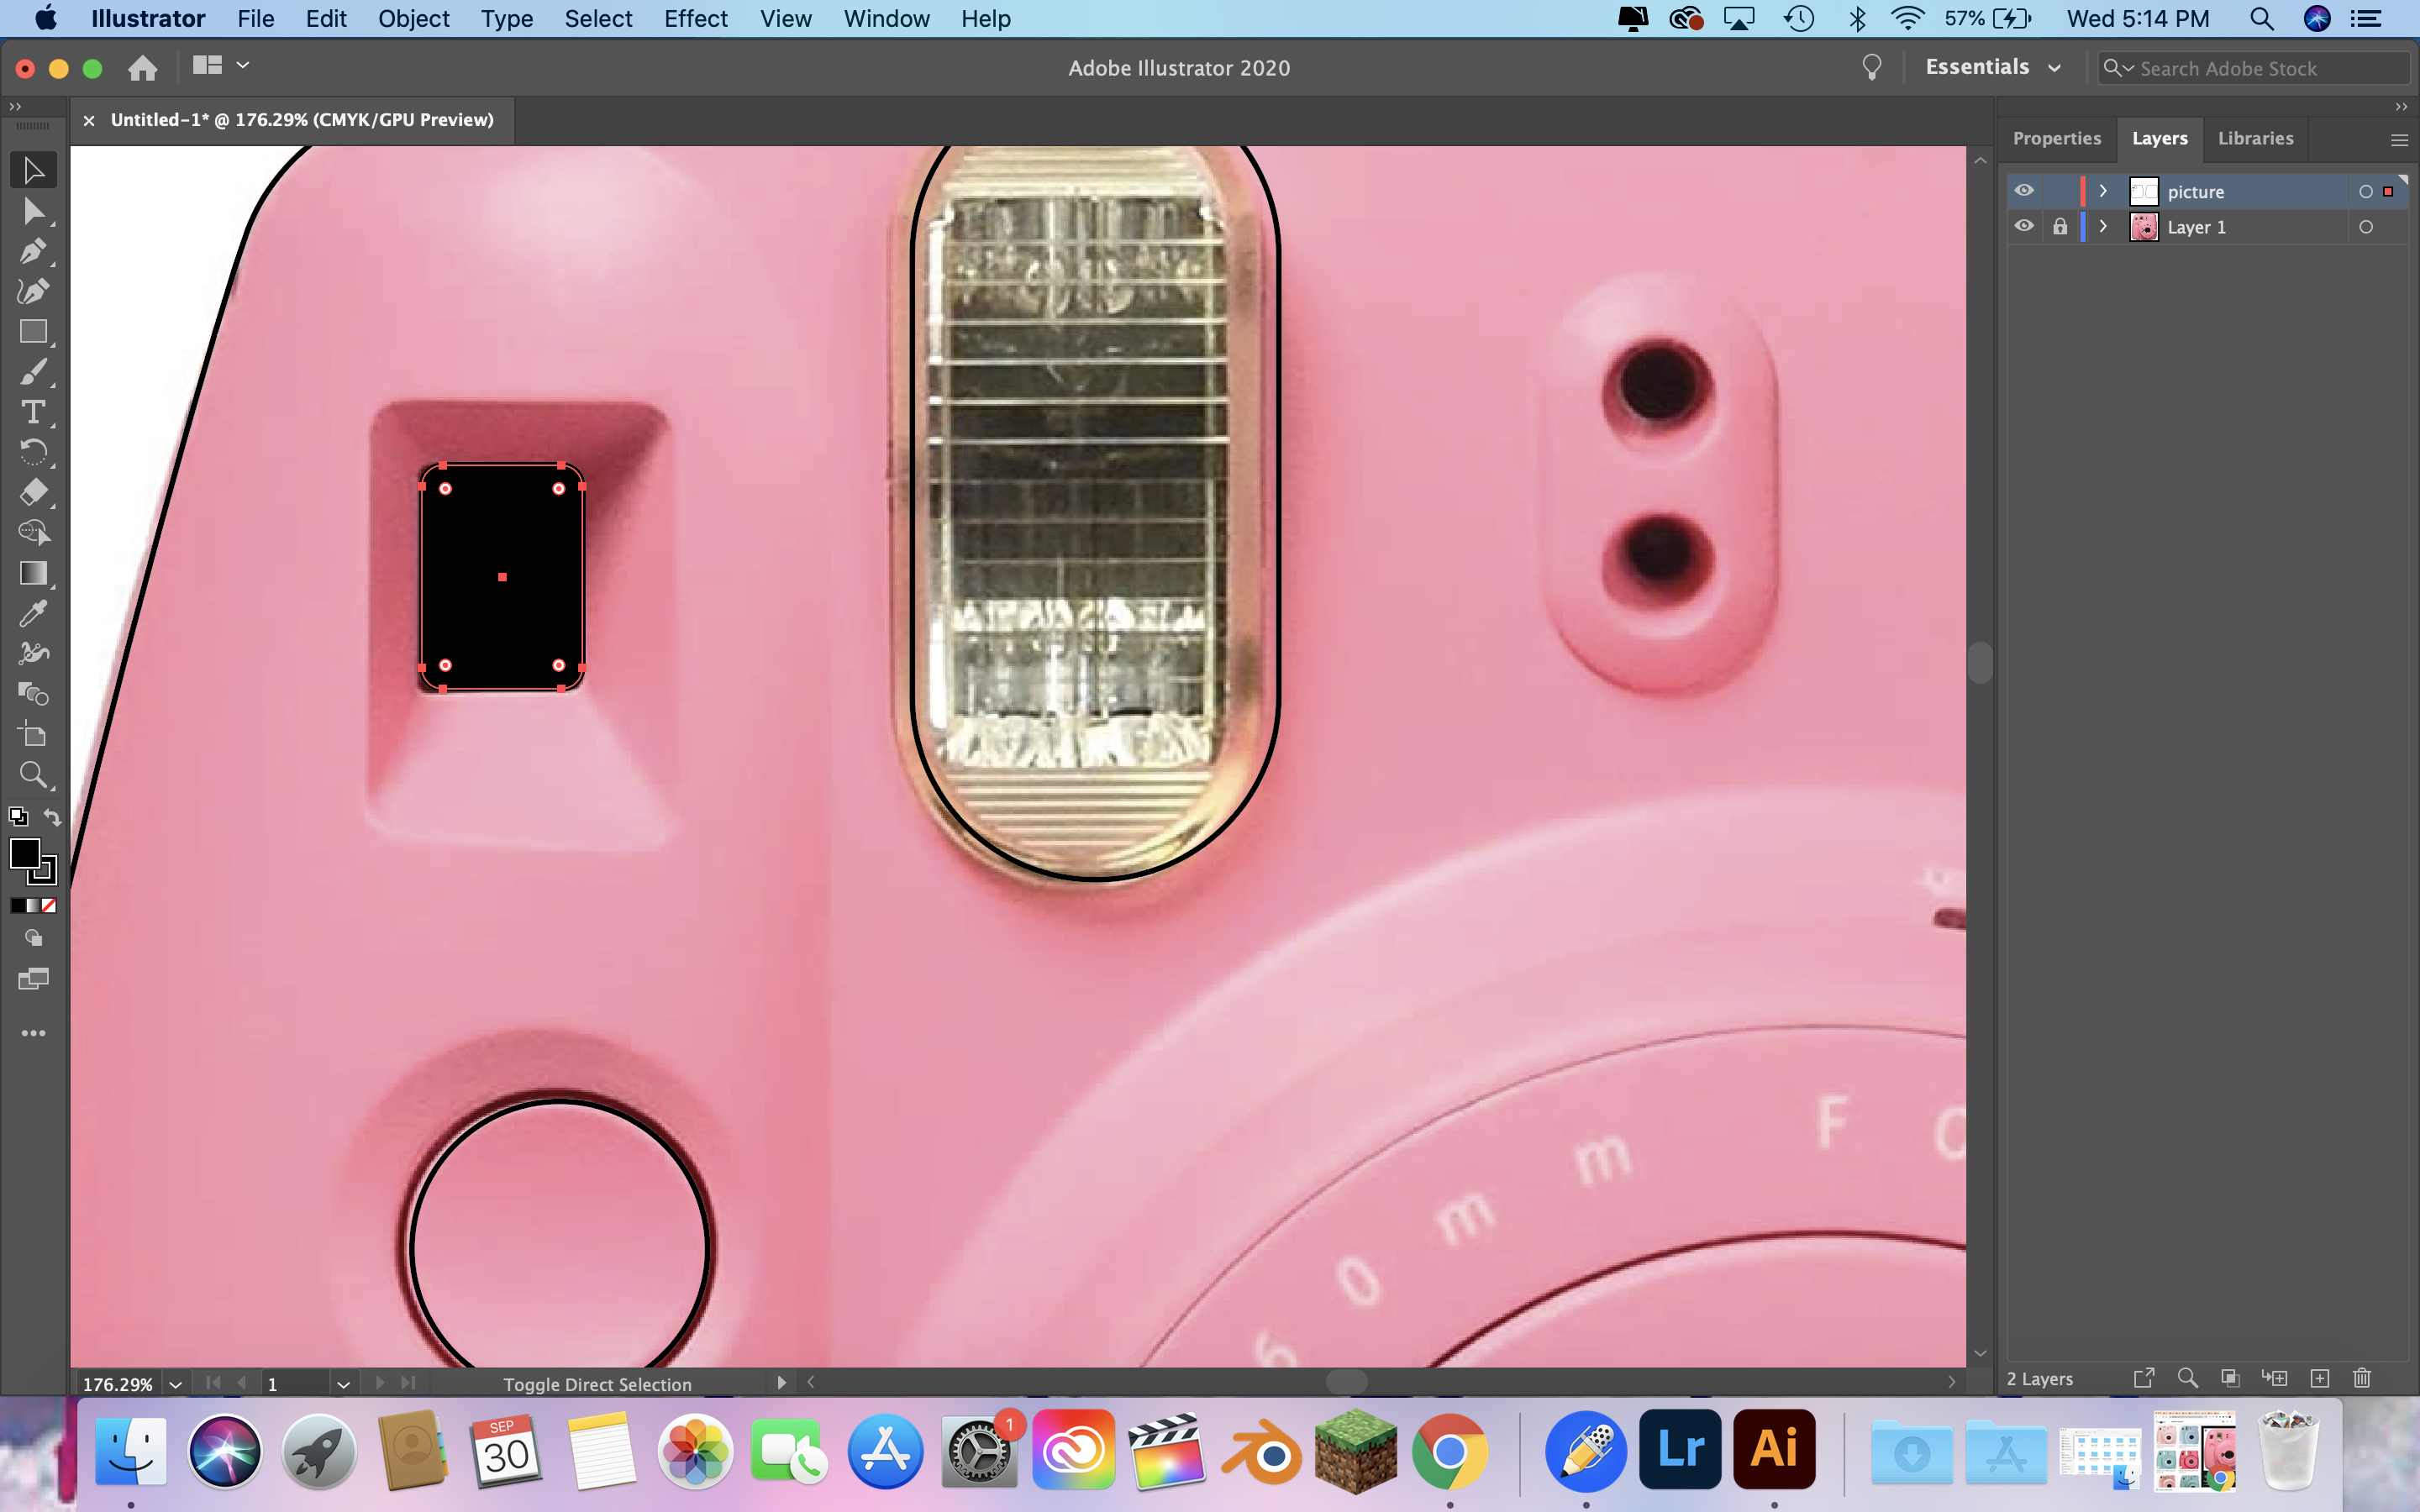
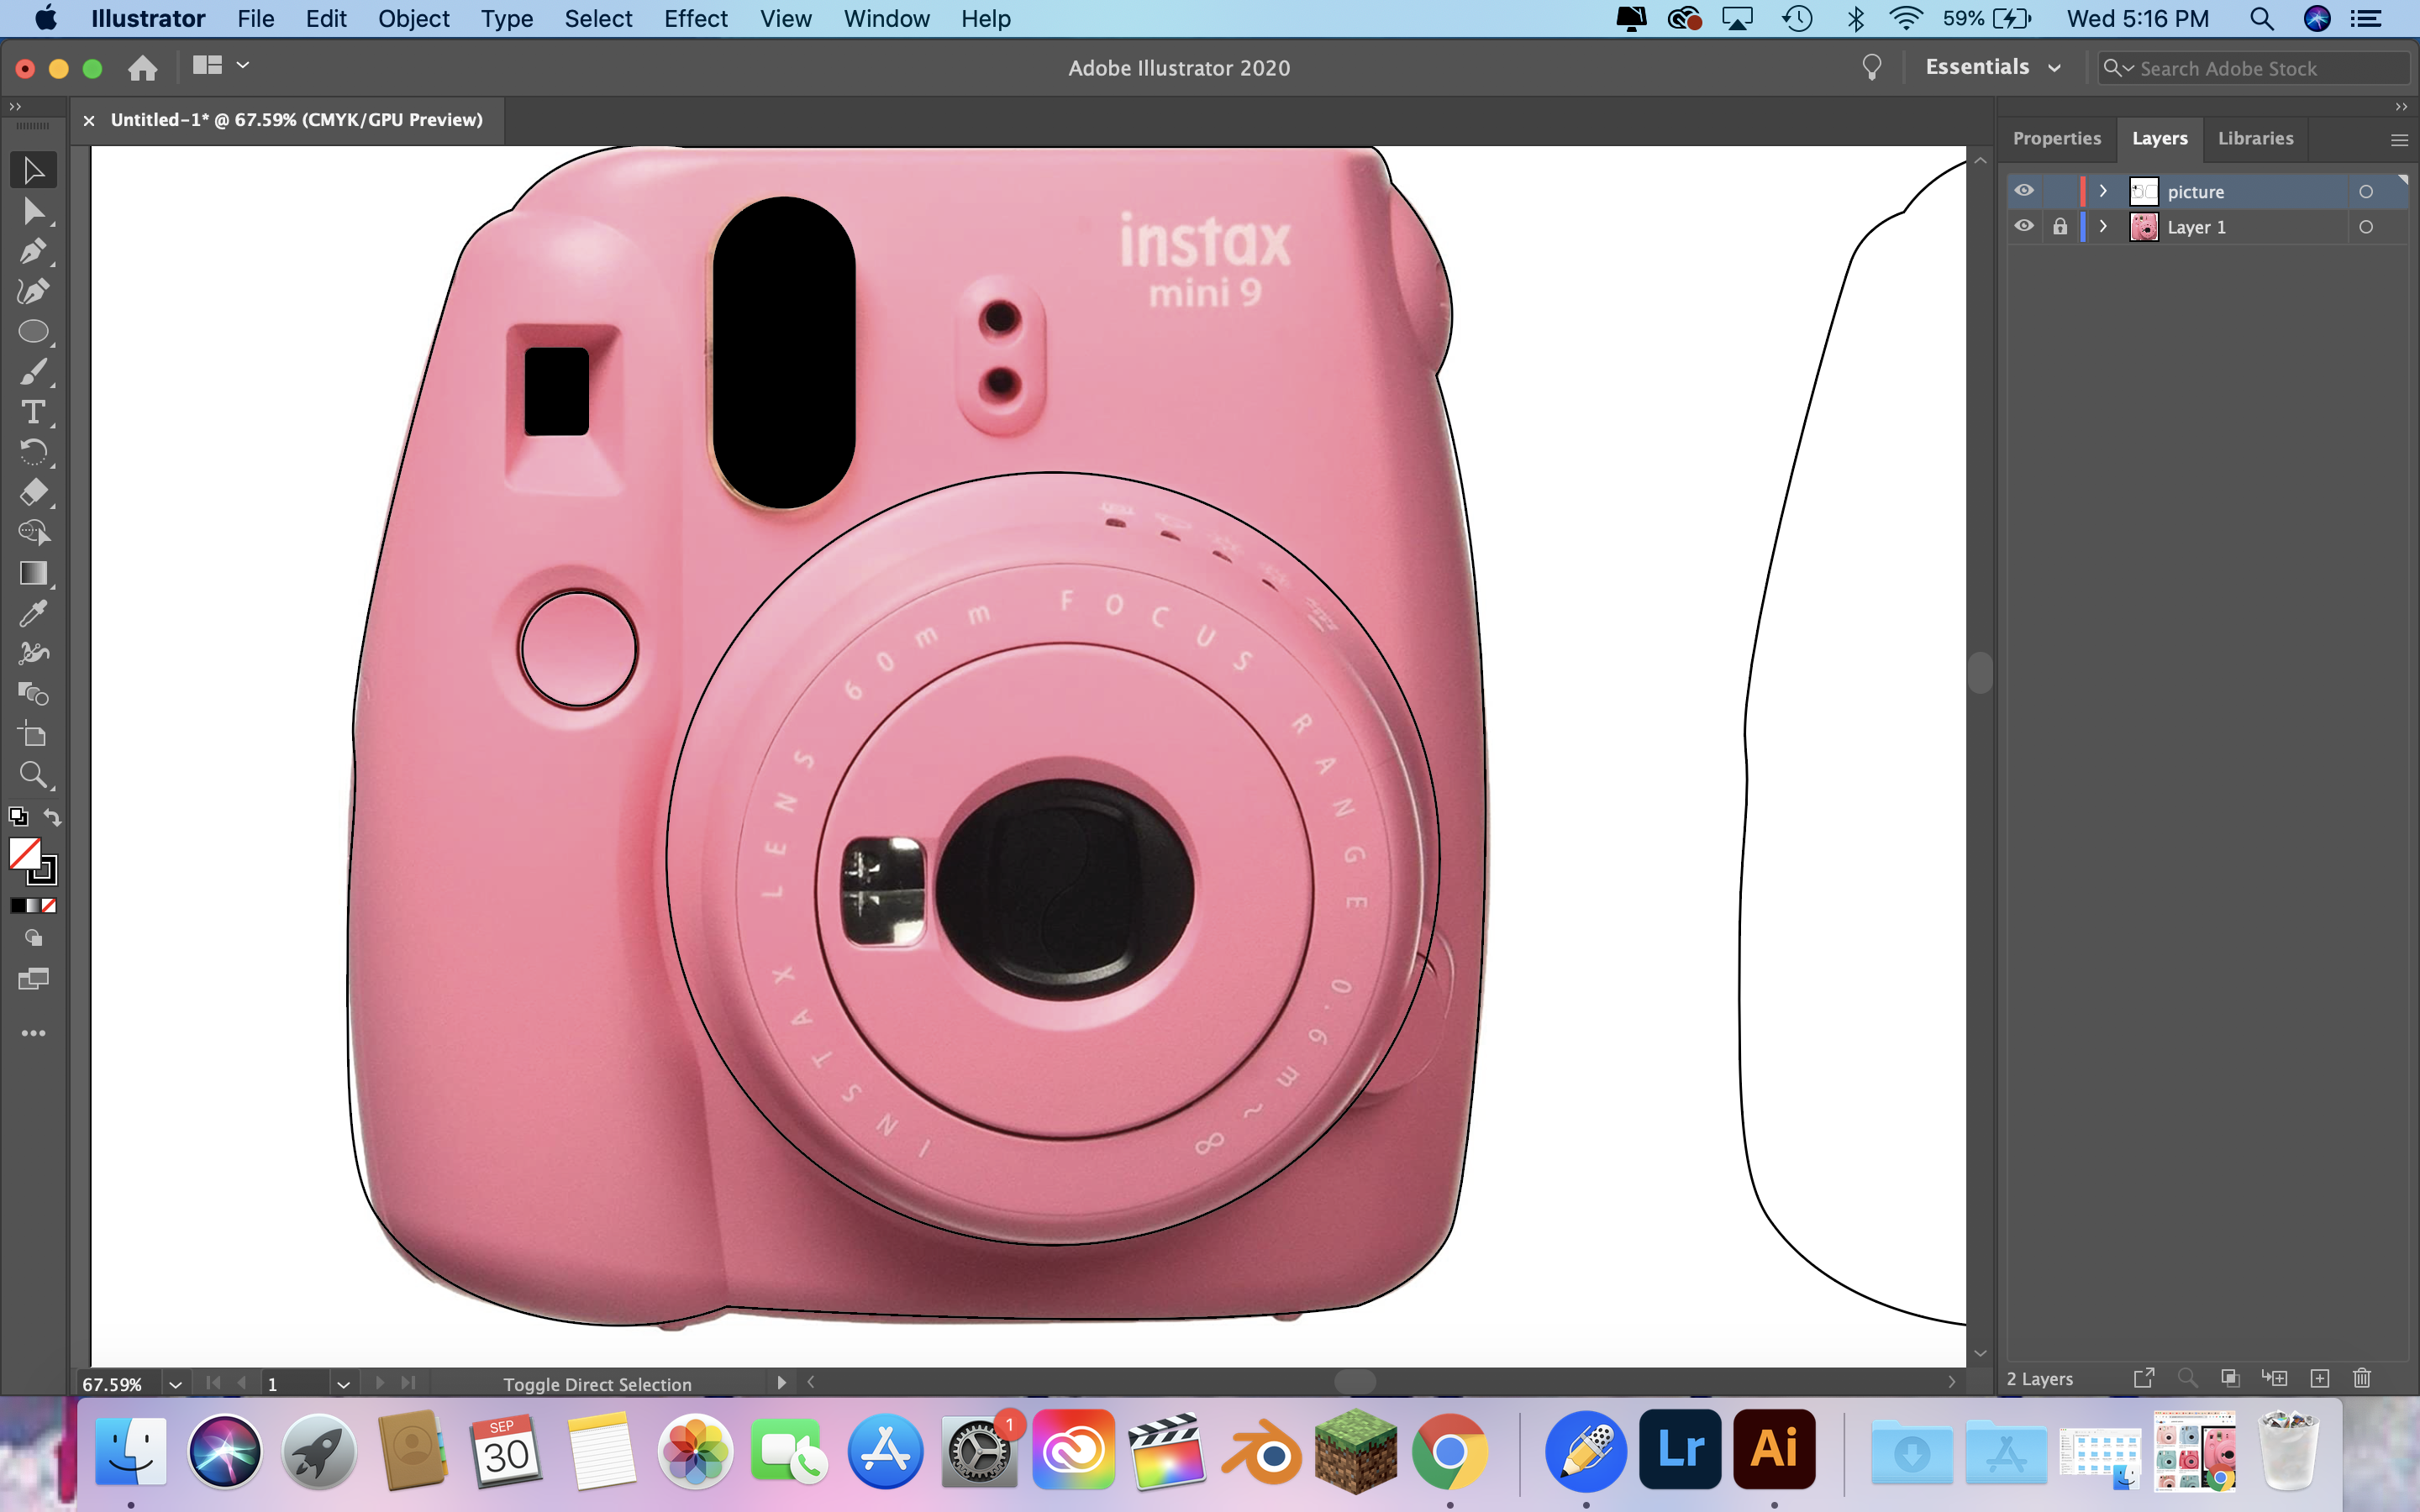
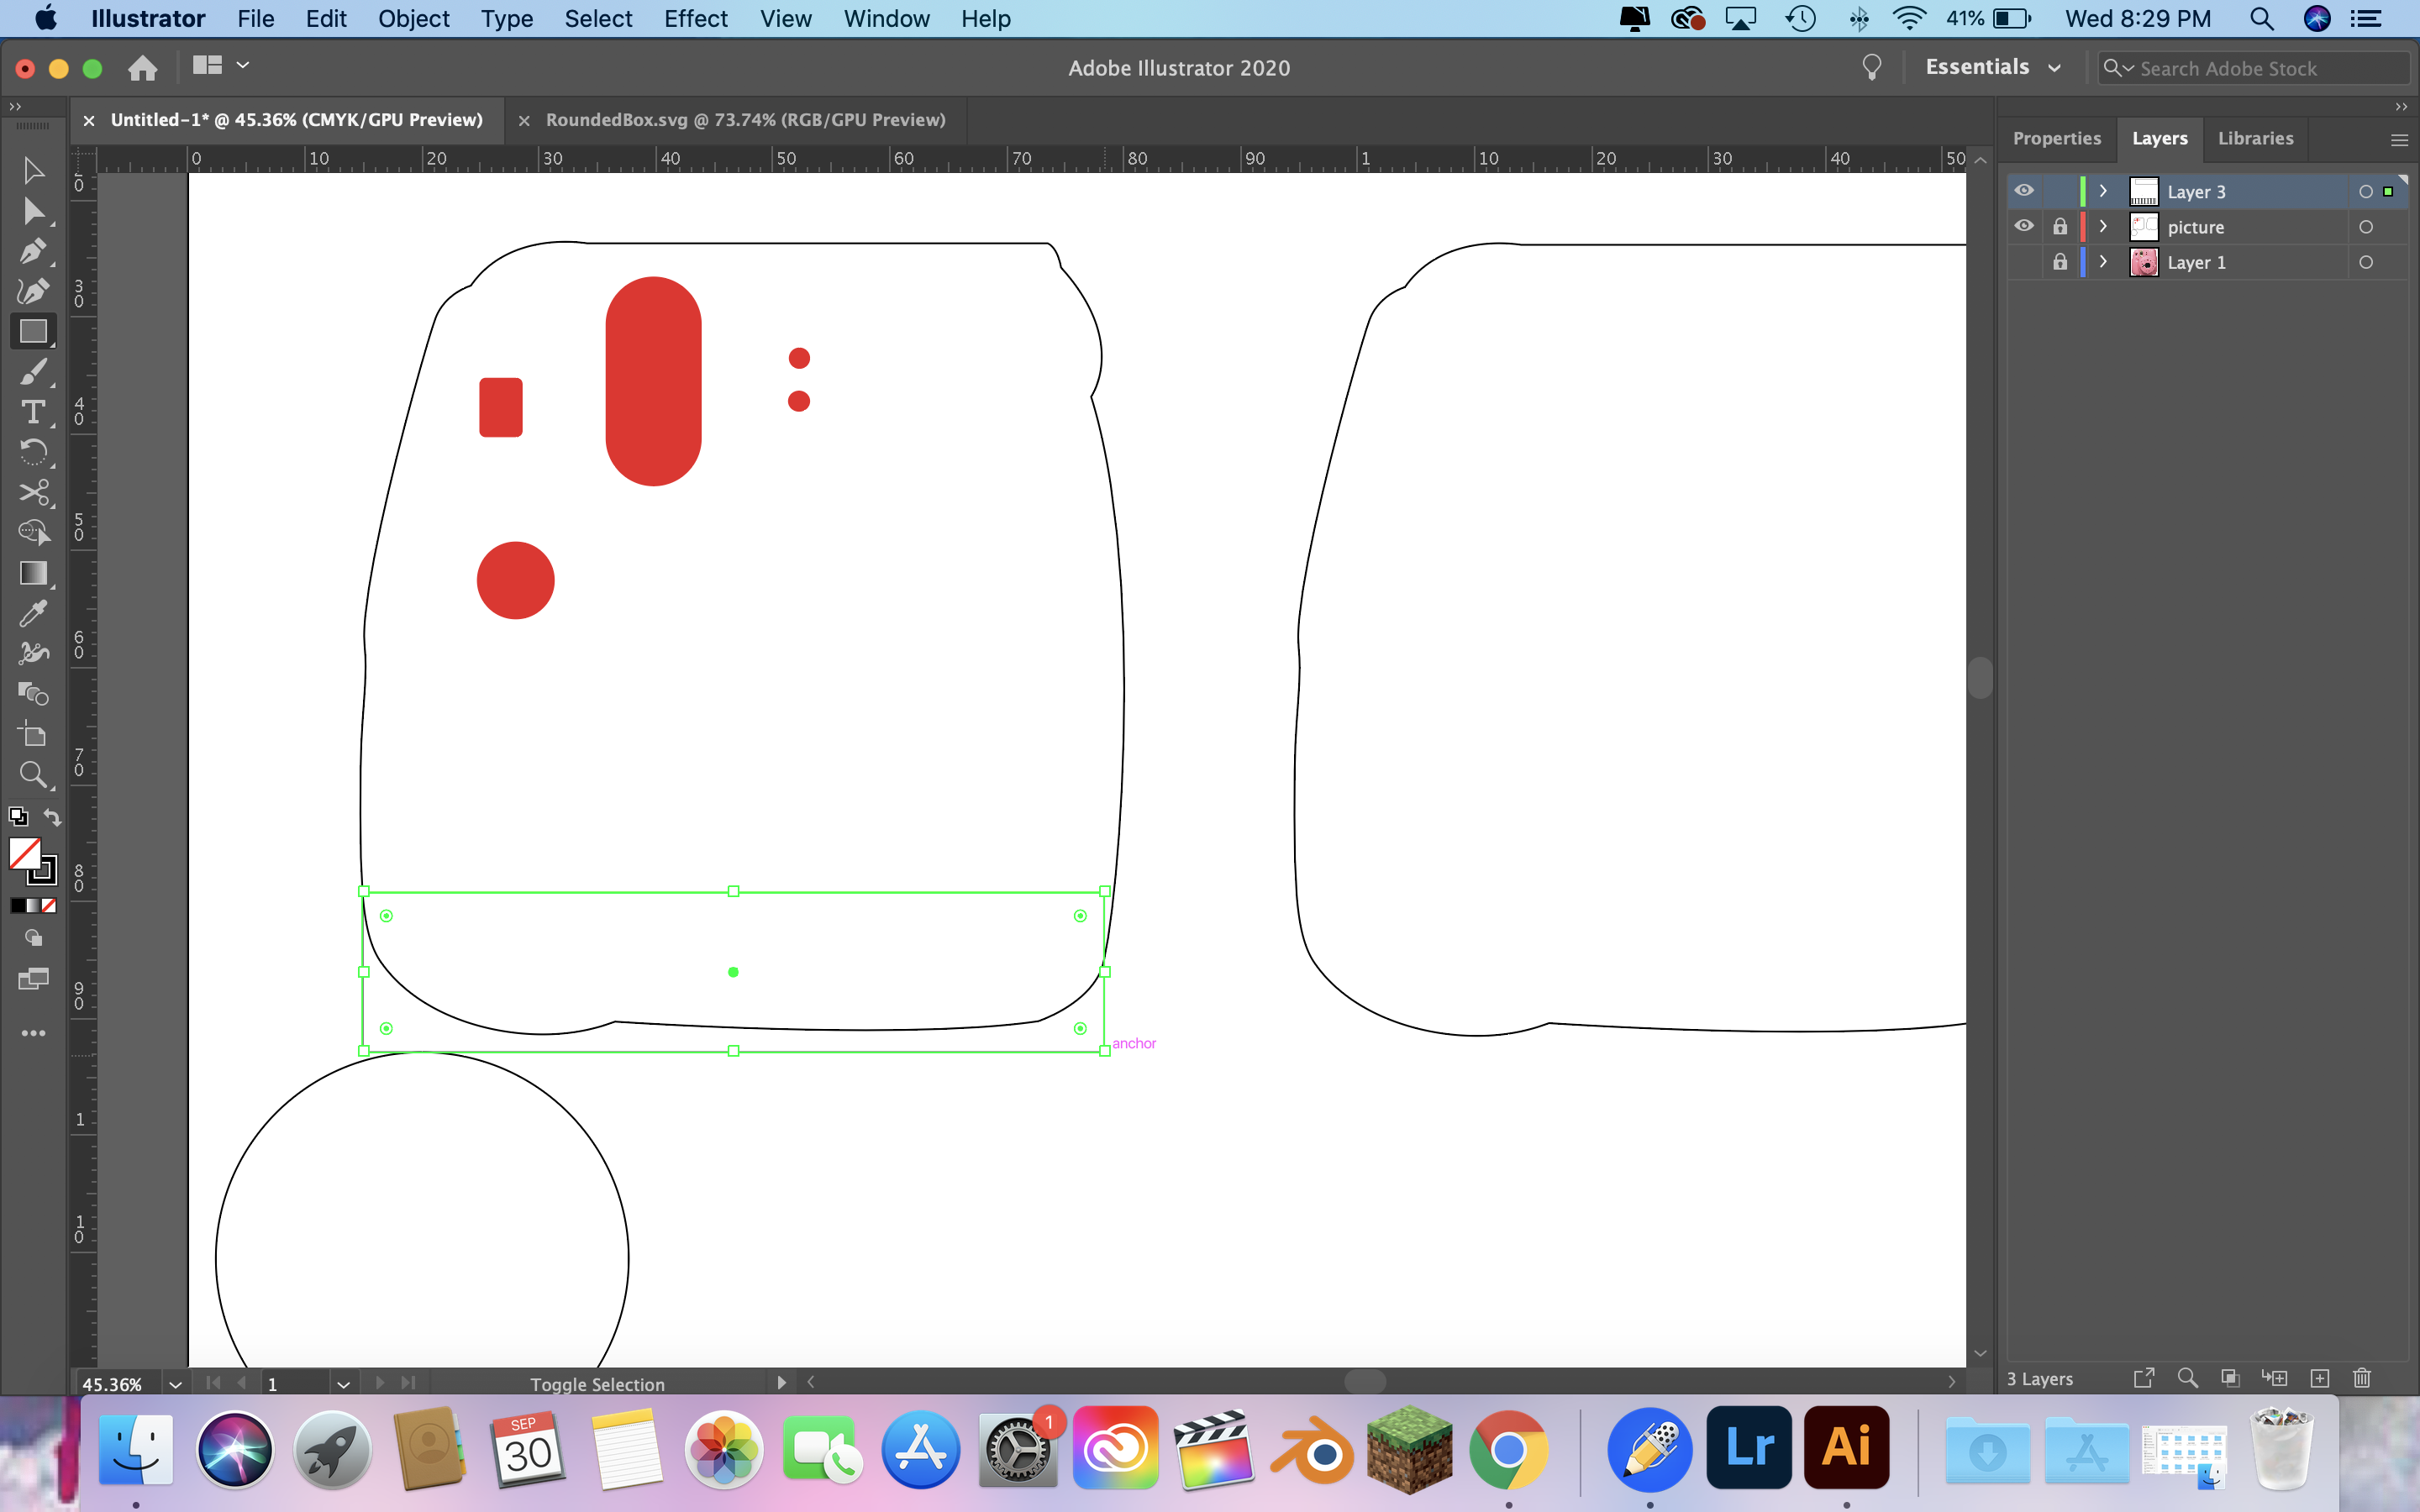
 Then I started tracing and filling the inside of the little details to make it look better, the ones that are filled in are supposed to be carved out and not cut out either using the lazer cutter or the Axiom.
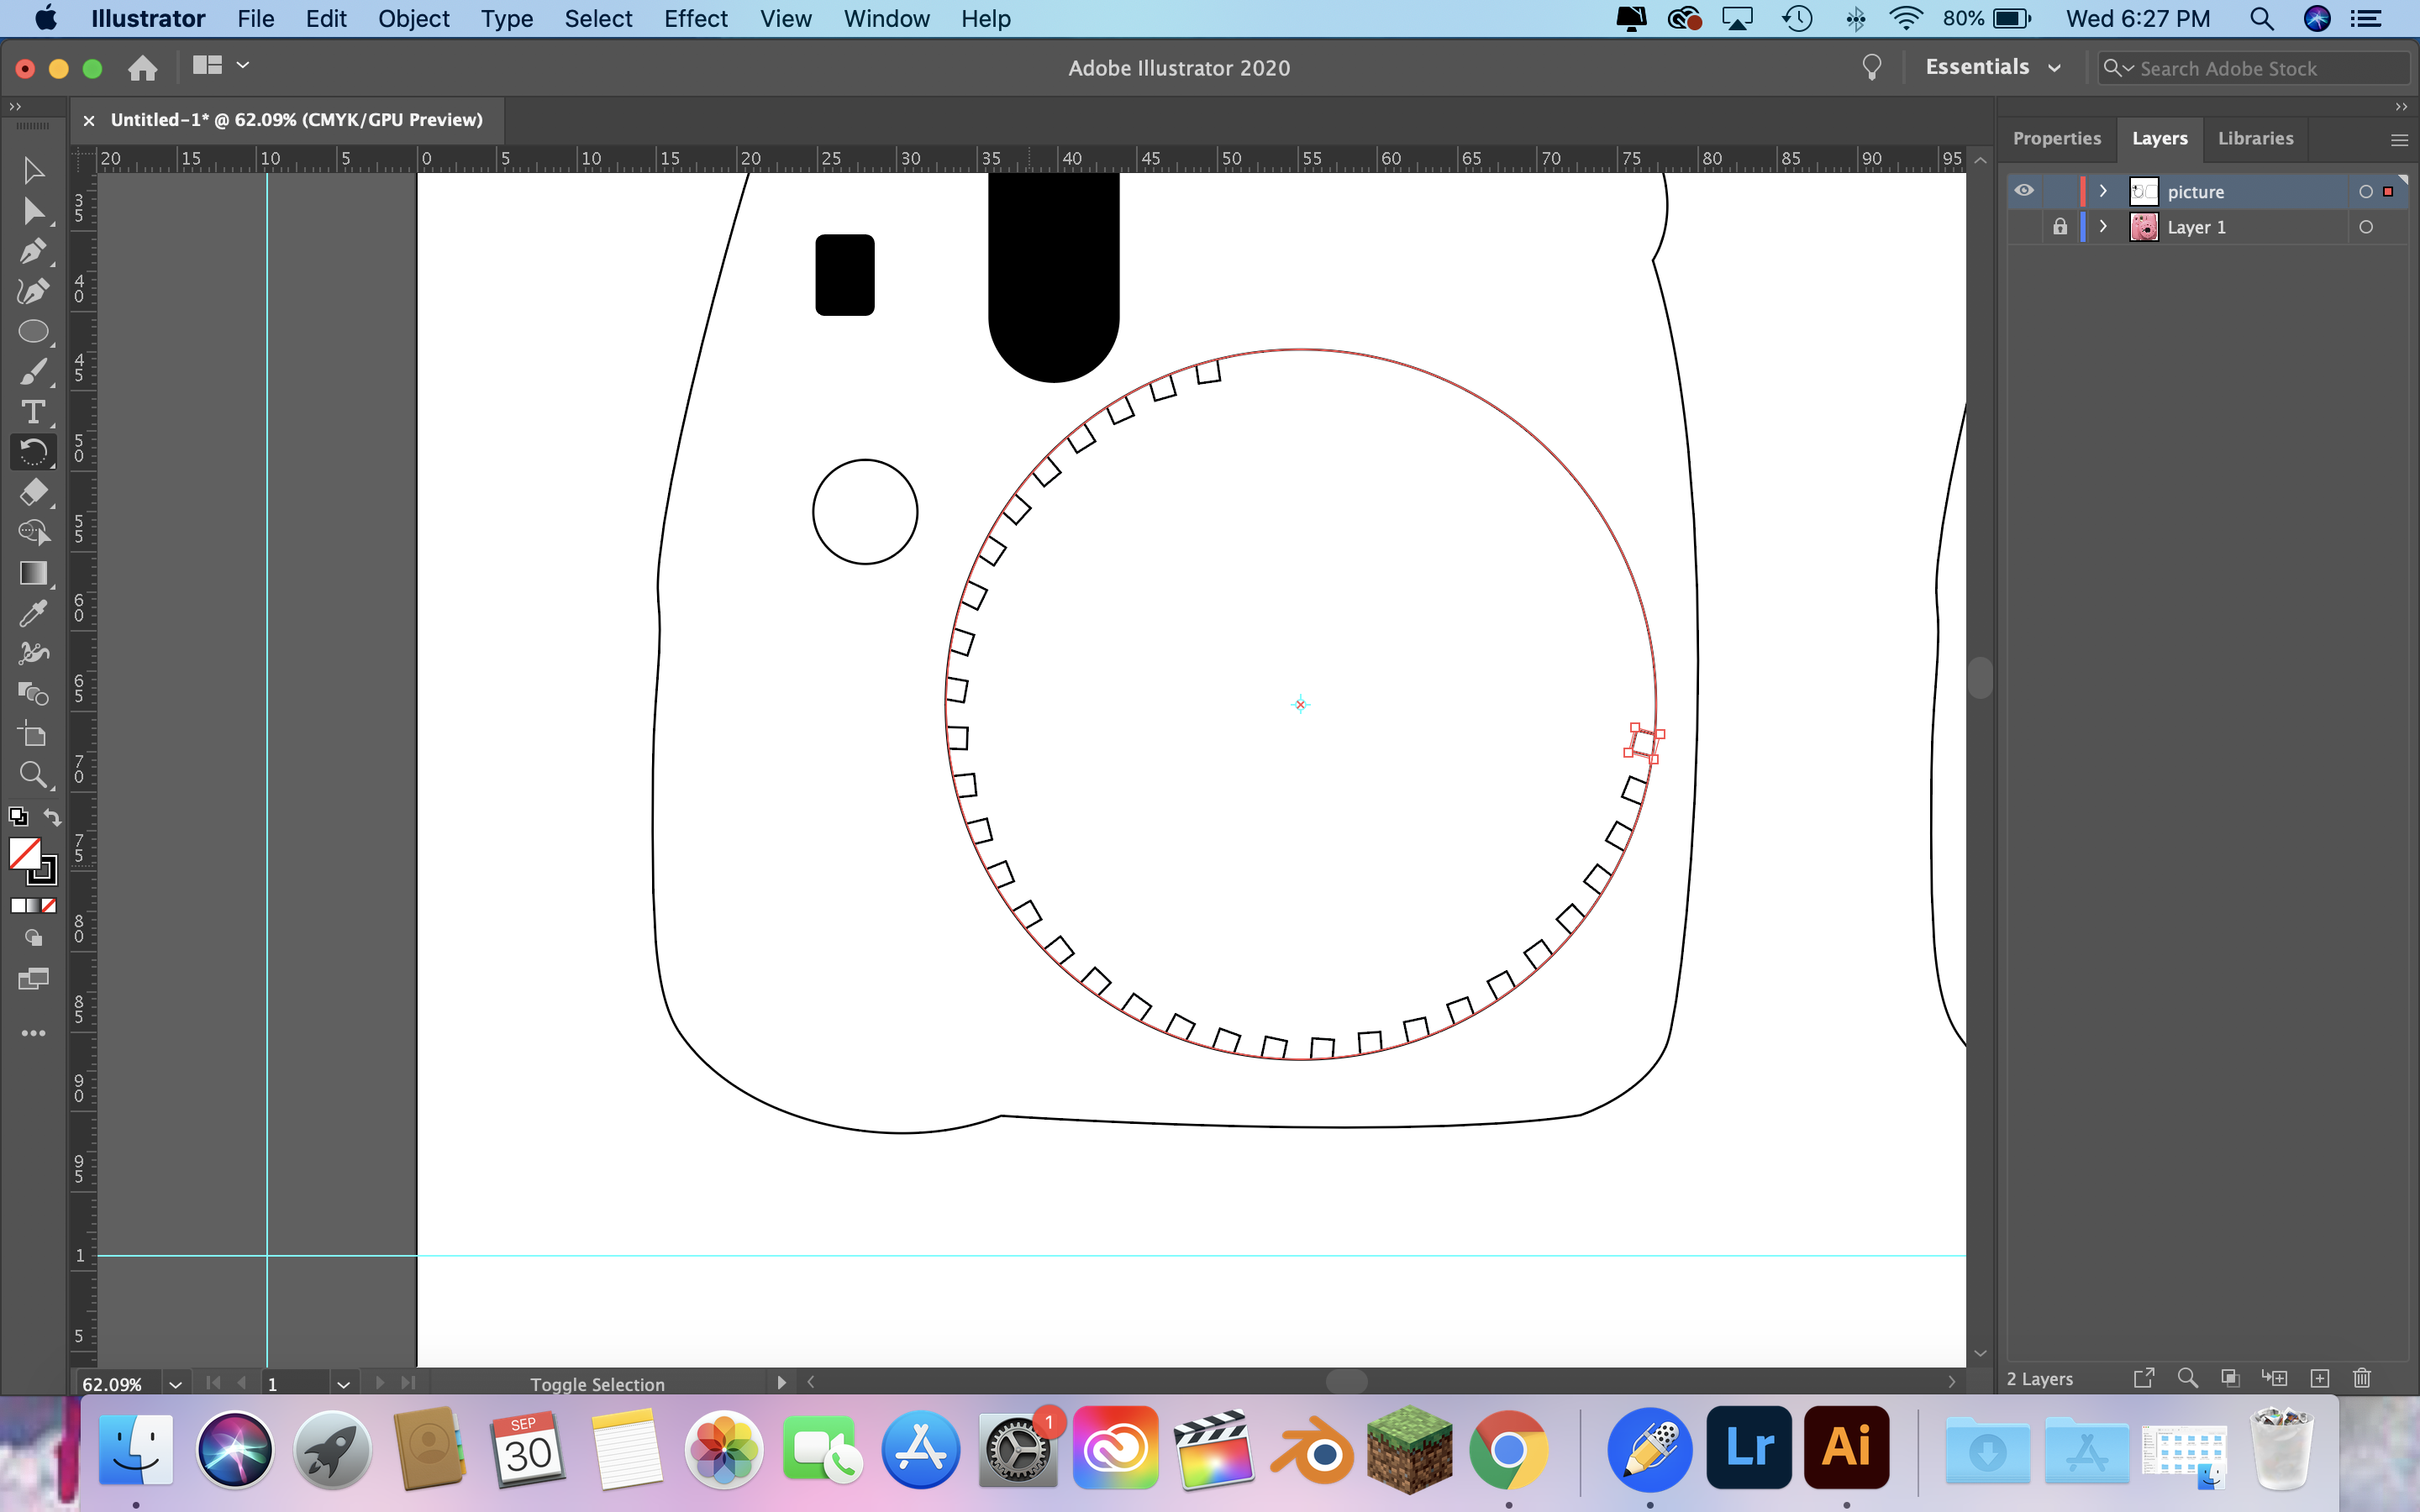
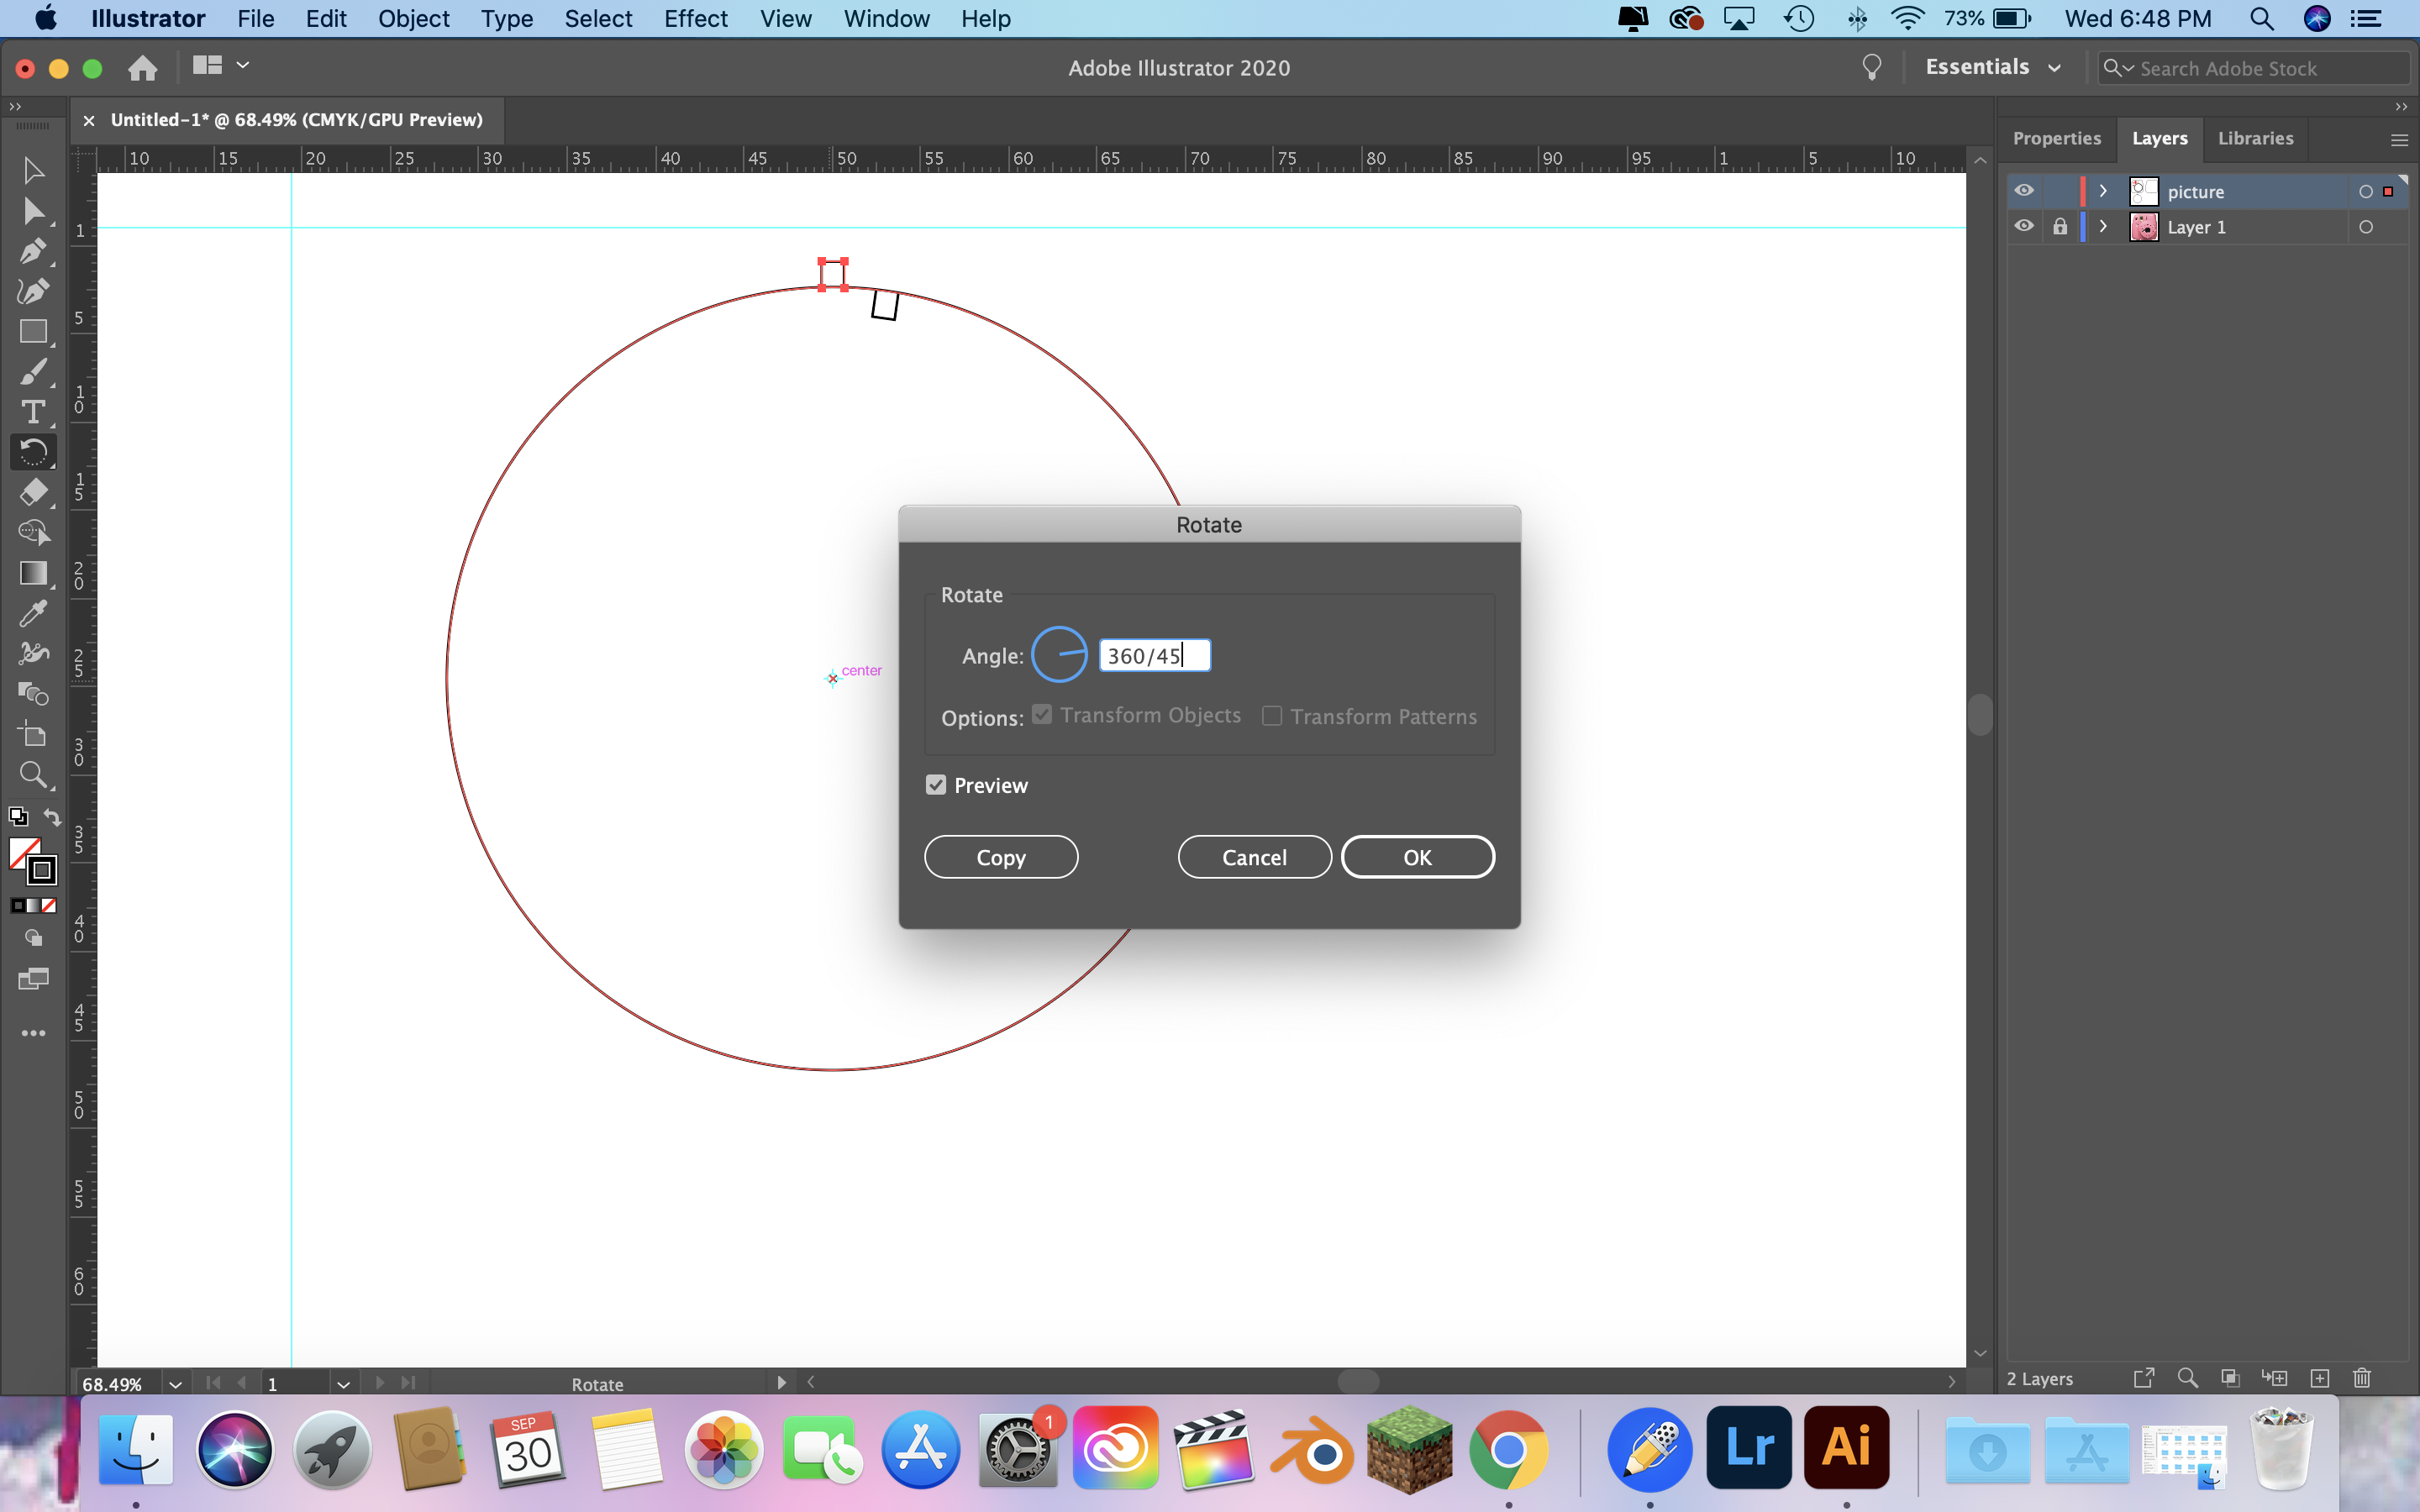
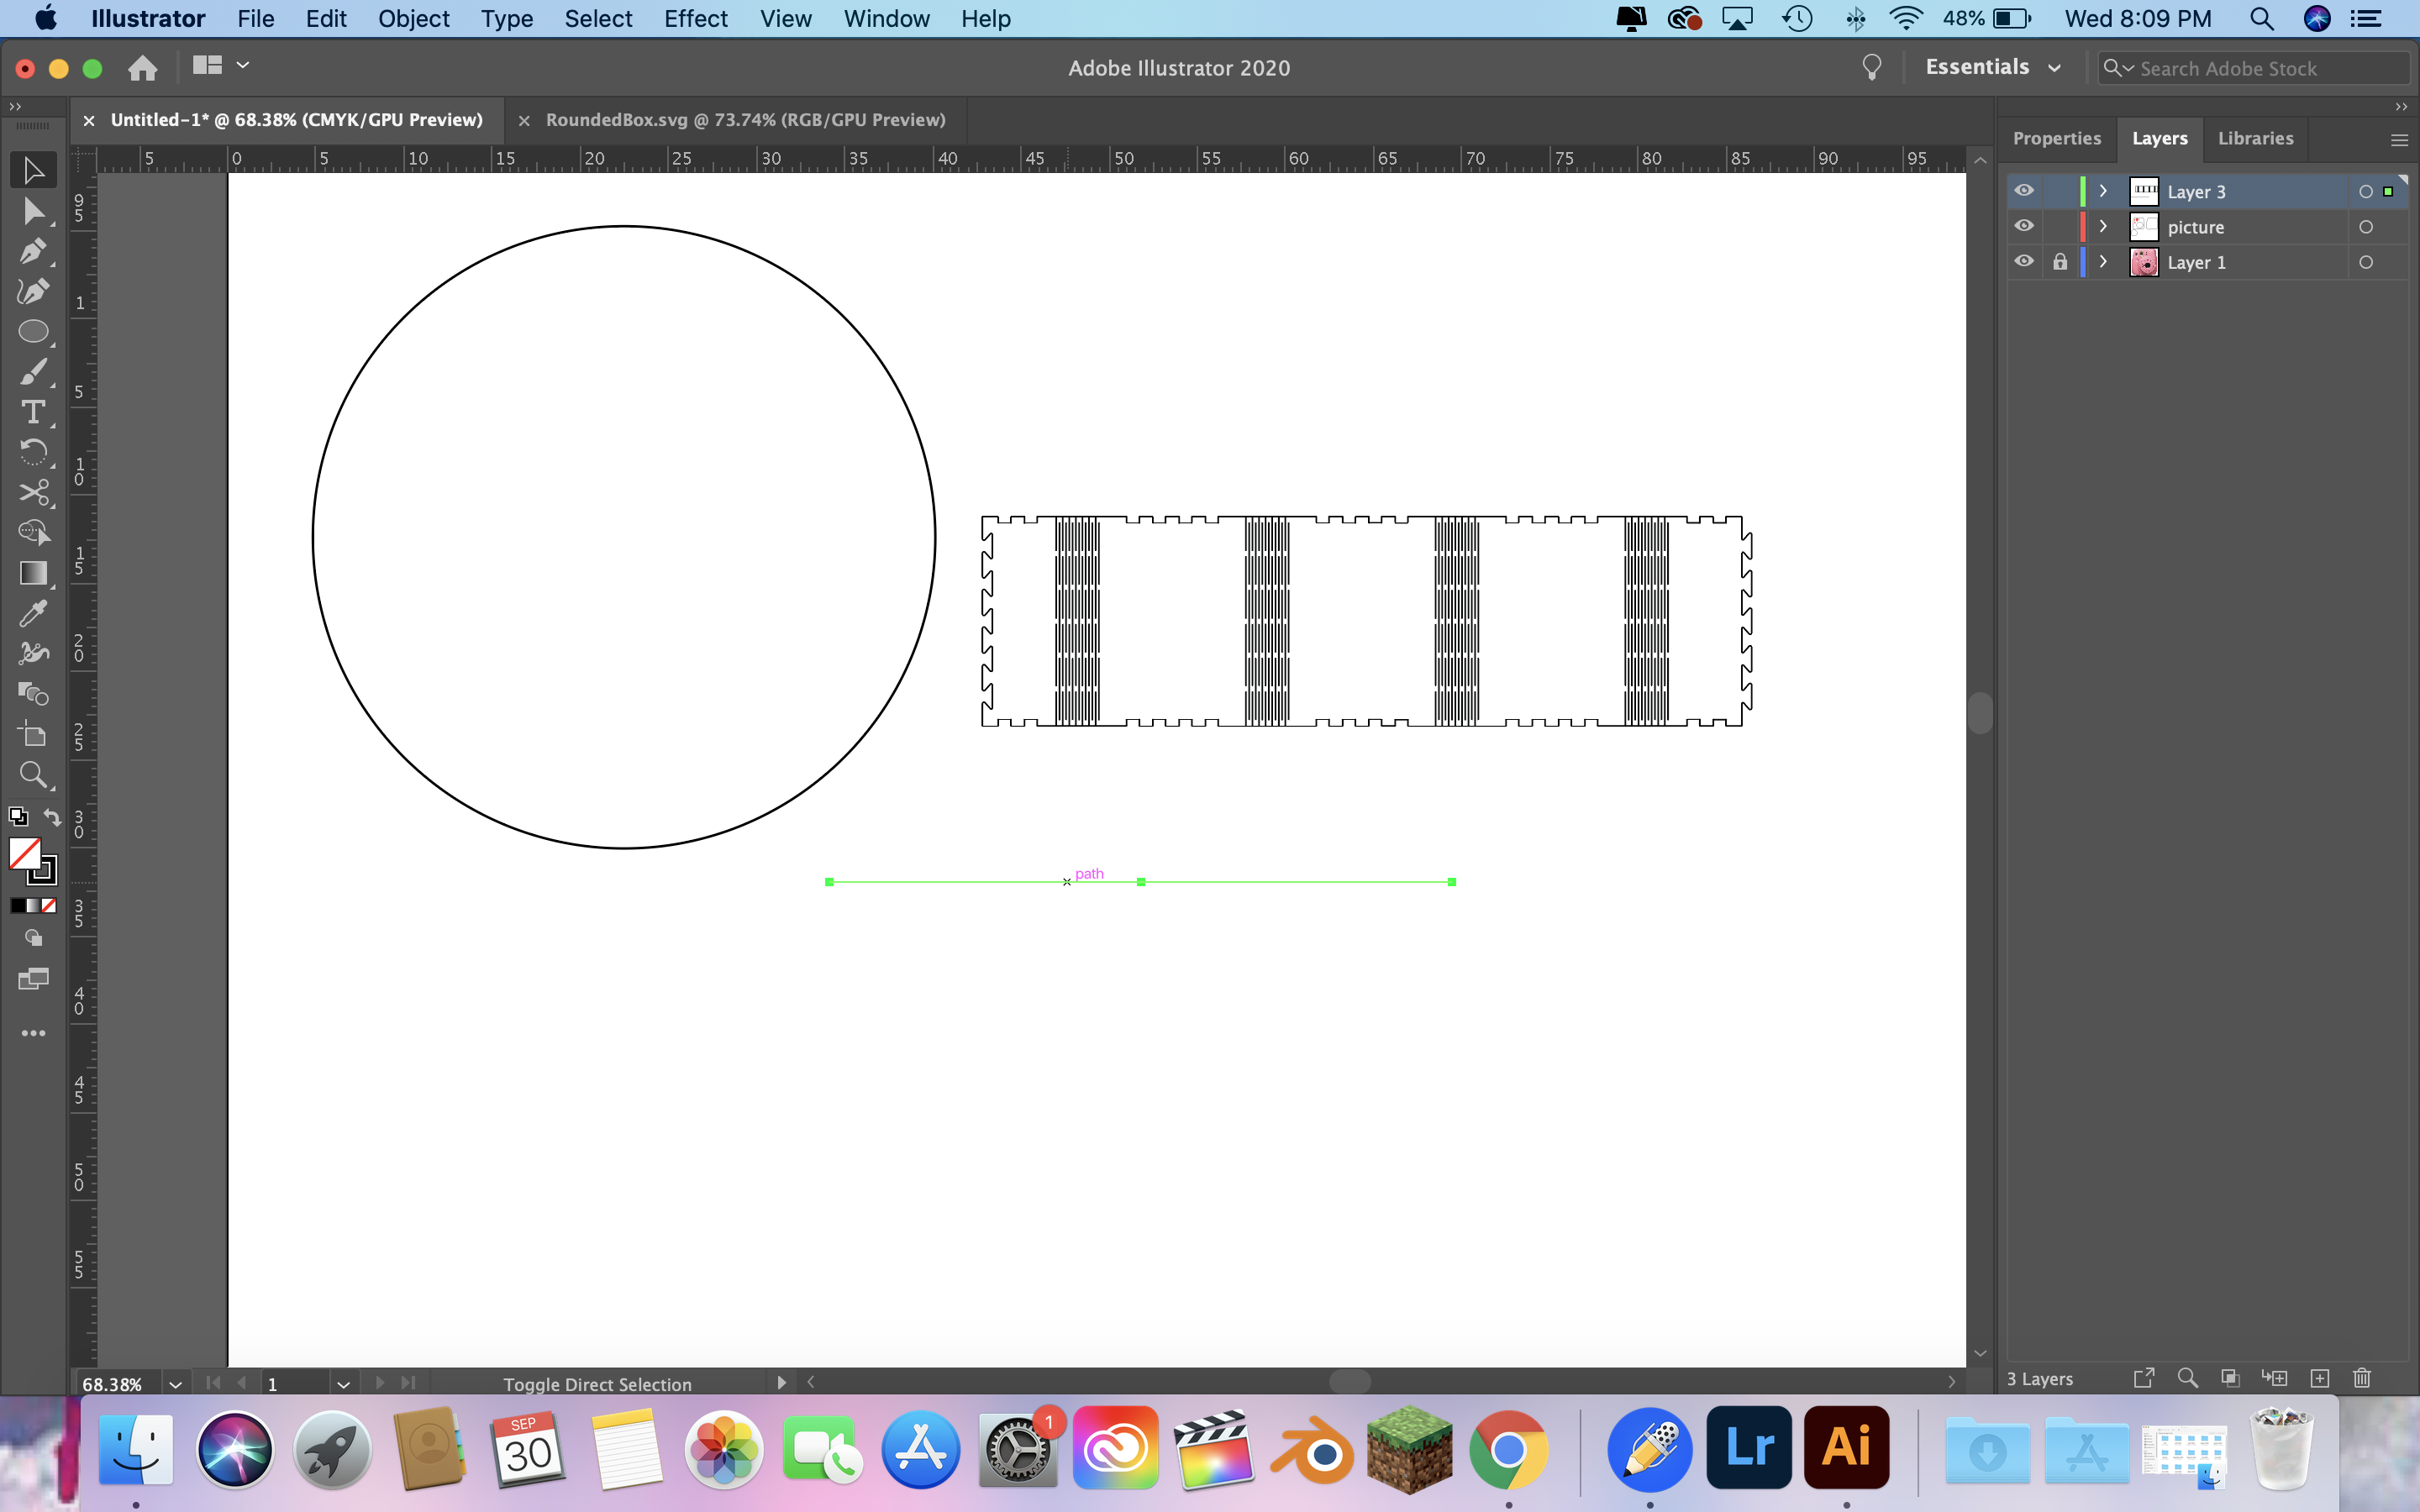
 Then I wanted to create a 3D part of the face with the the camera part. This is where things went down hill and fast. So I wanted to make this no glue at first so I made a circle and created a little box and then used a tool to have it go around the circle 45 times. I used this video to figure it out.
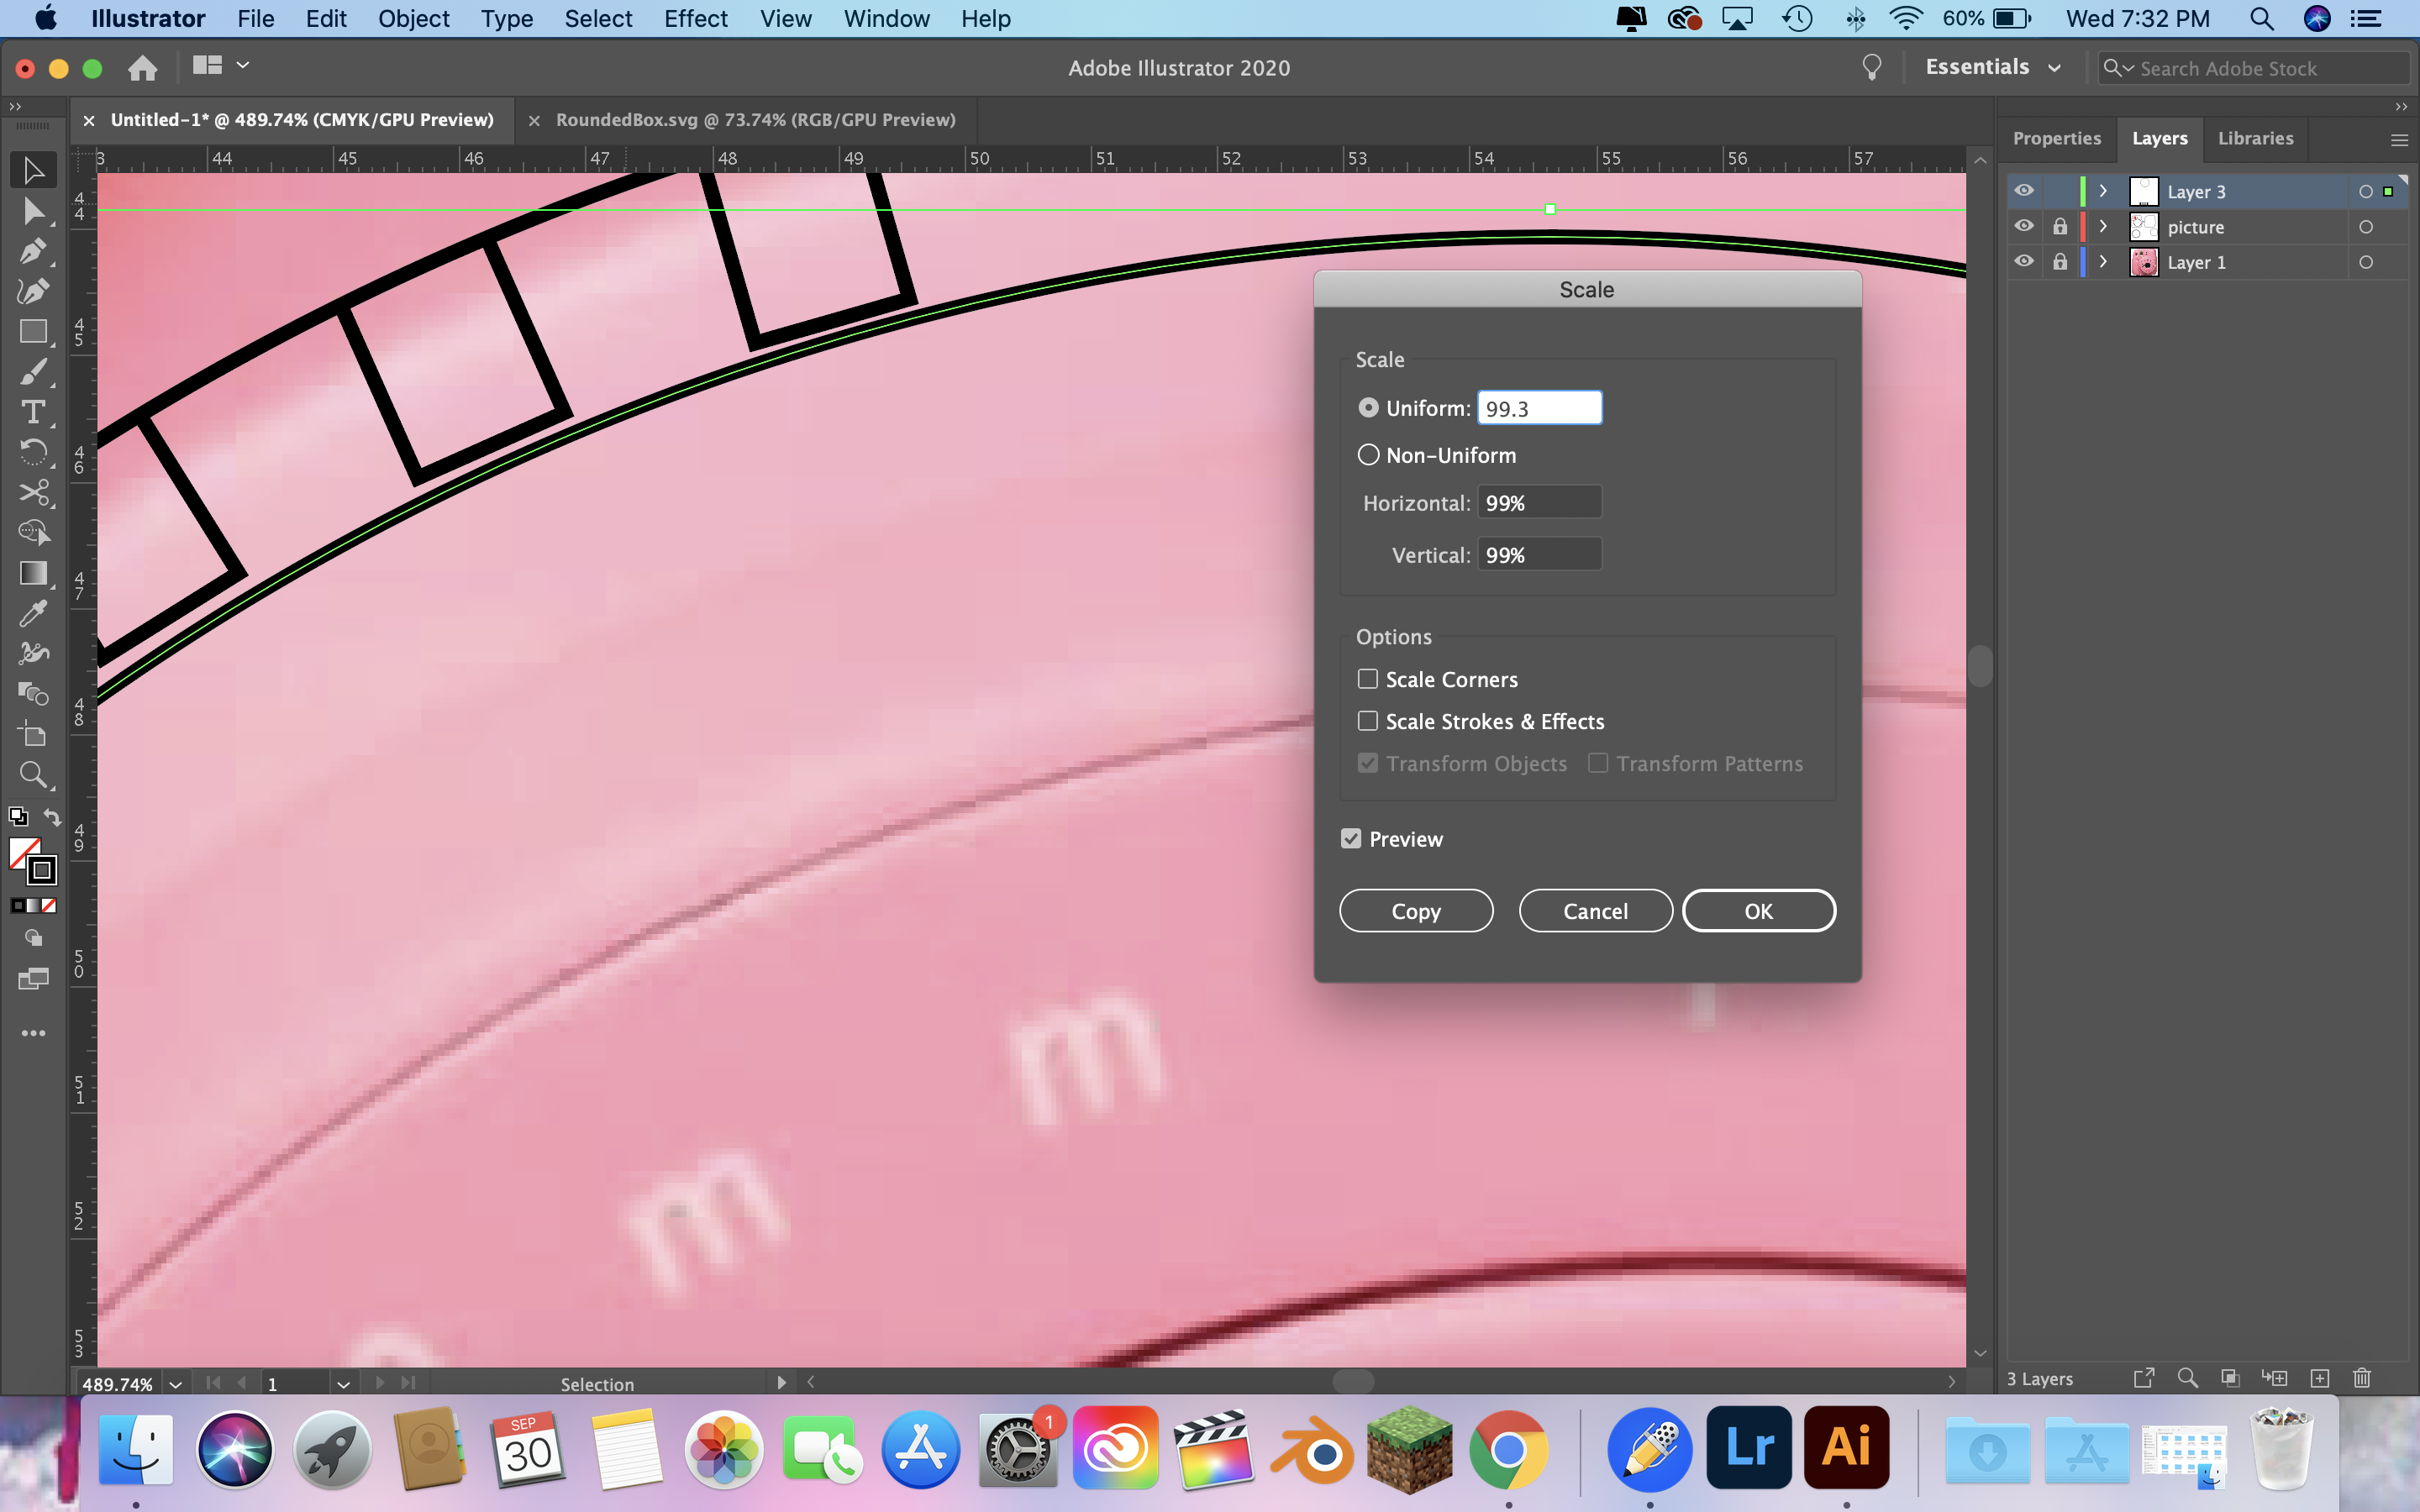
 Then I made another cirlce and tried doing the same thing but for the outside of it. See this was my first mistake out of many. I know this now that this is not how notches work but I still couldnt figure out with Illustrator how to exactly make it so they could fit it together.
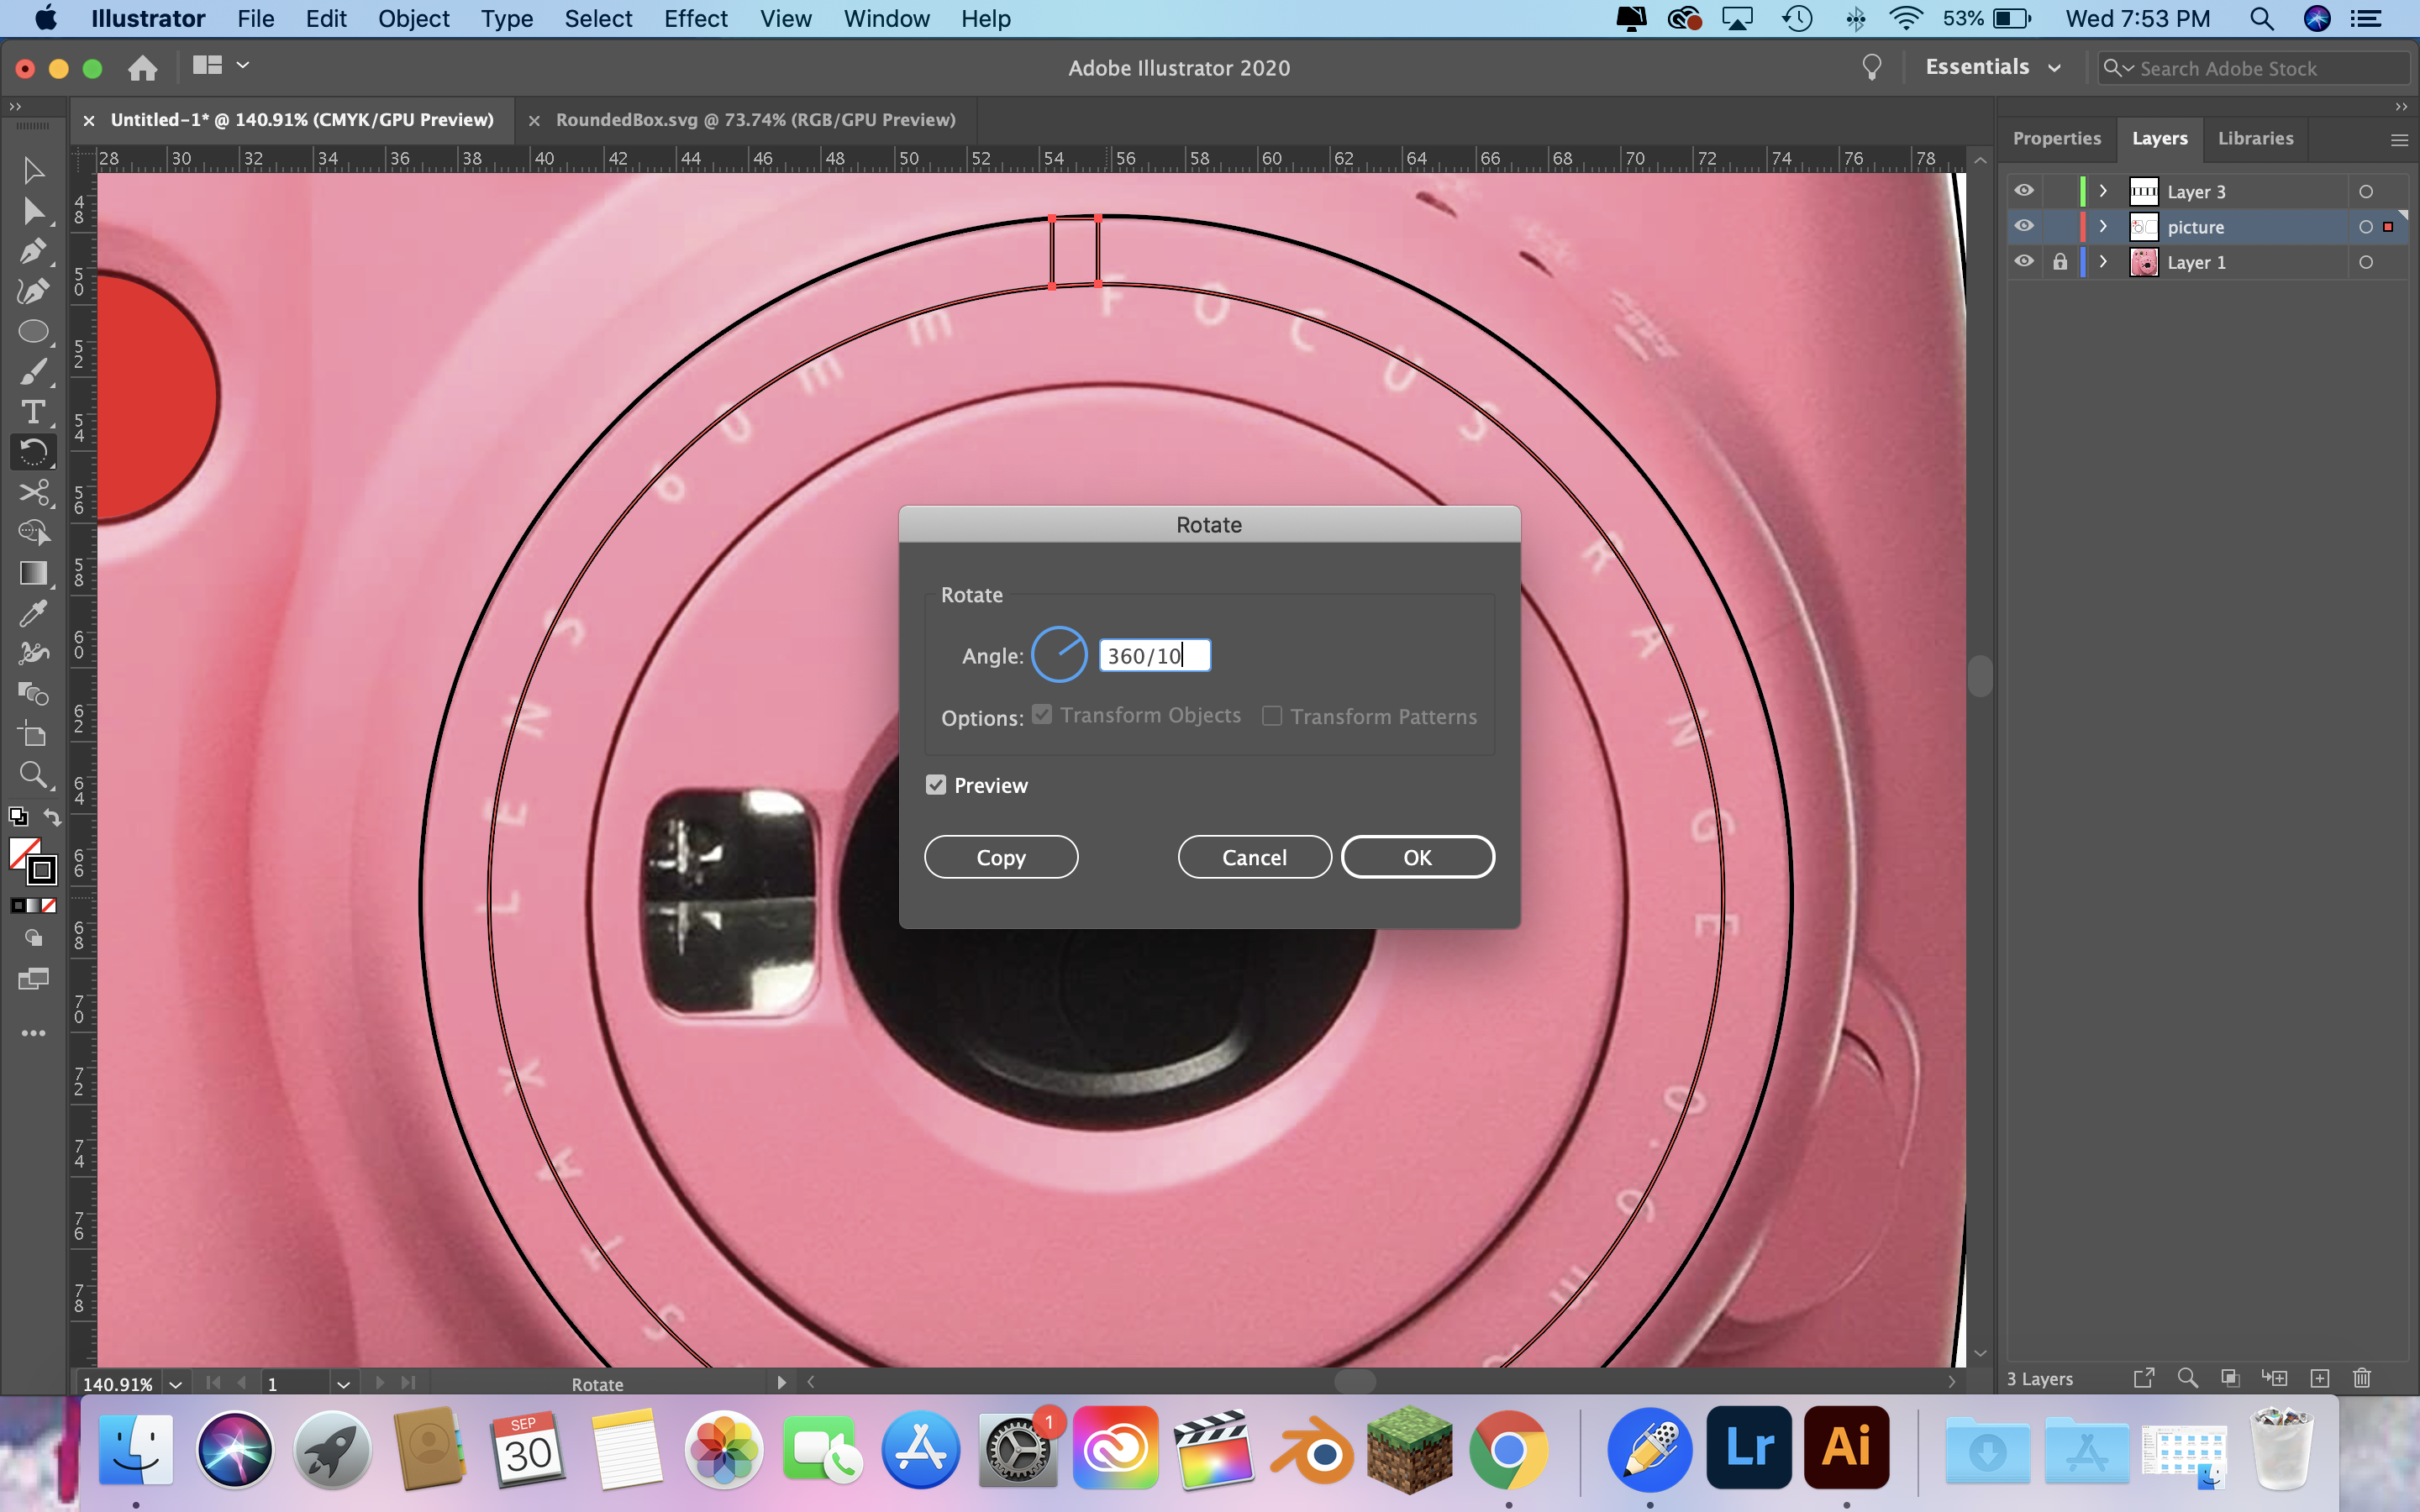
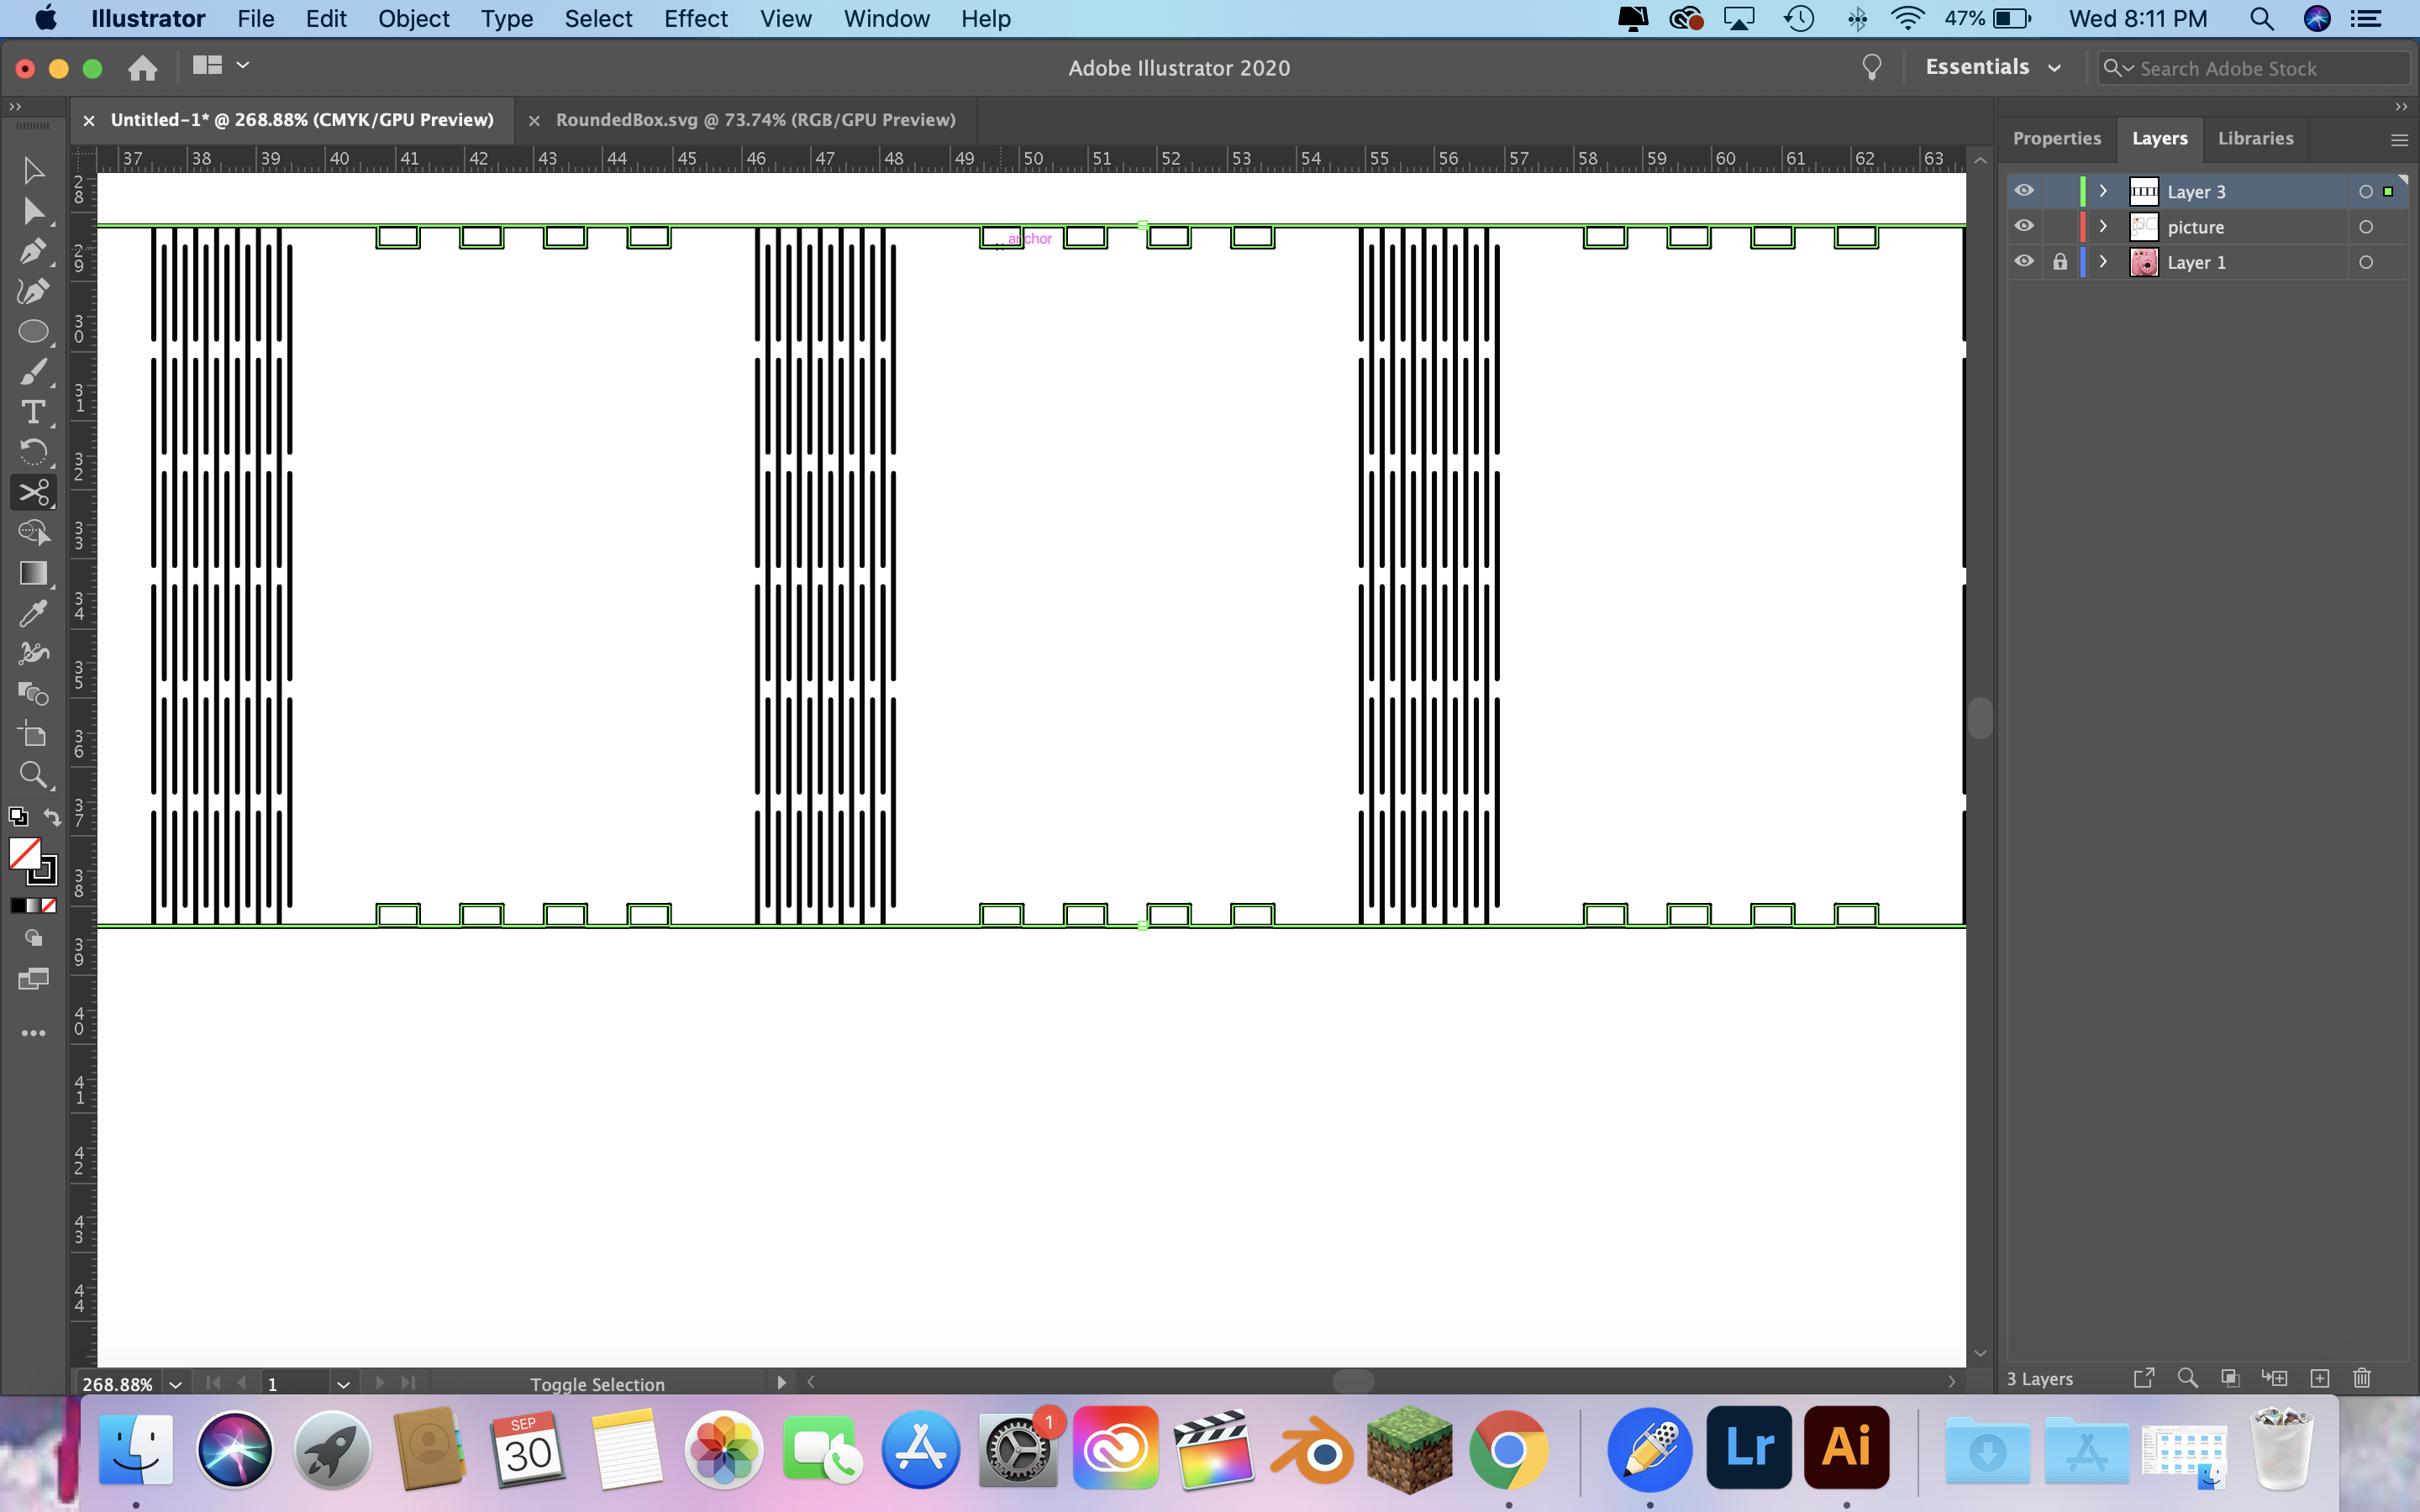
 Then what ever brain cells I had left knew that was not how you do it so I tried again, but this time it was still wrong. I decided to try and make a smaller circle in the middle that linned up with the the already created little nobs and then try and go around that with the box. Yeah I don't know my mindset either.

 Then I tried it again one more time, and it still didnt work because thats not how these things work.
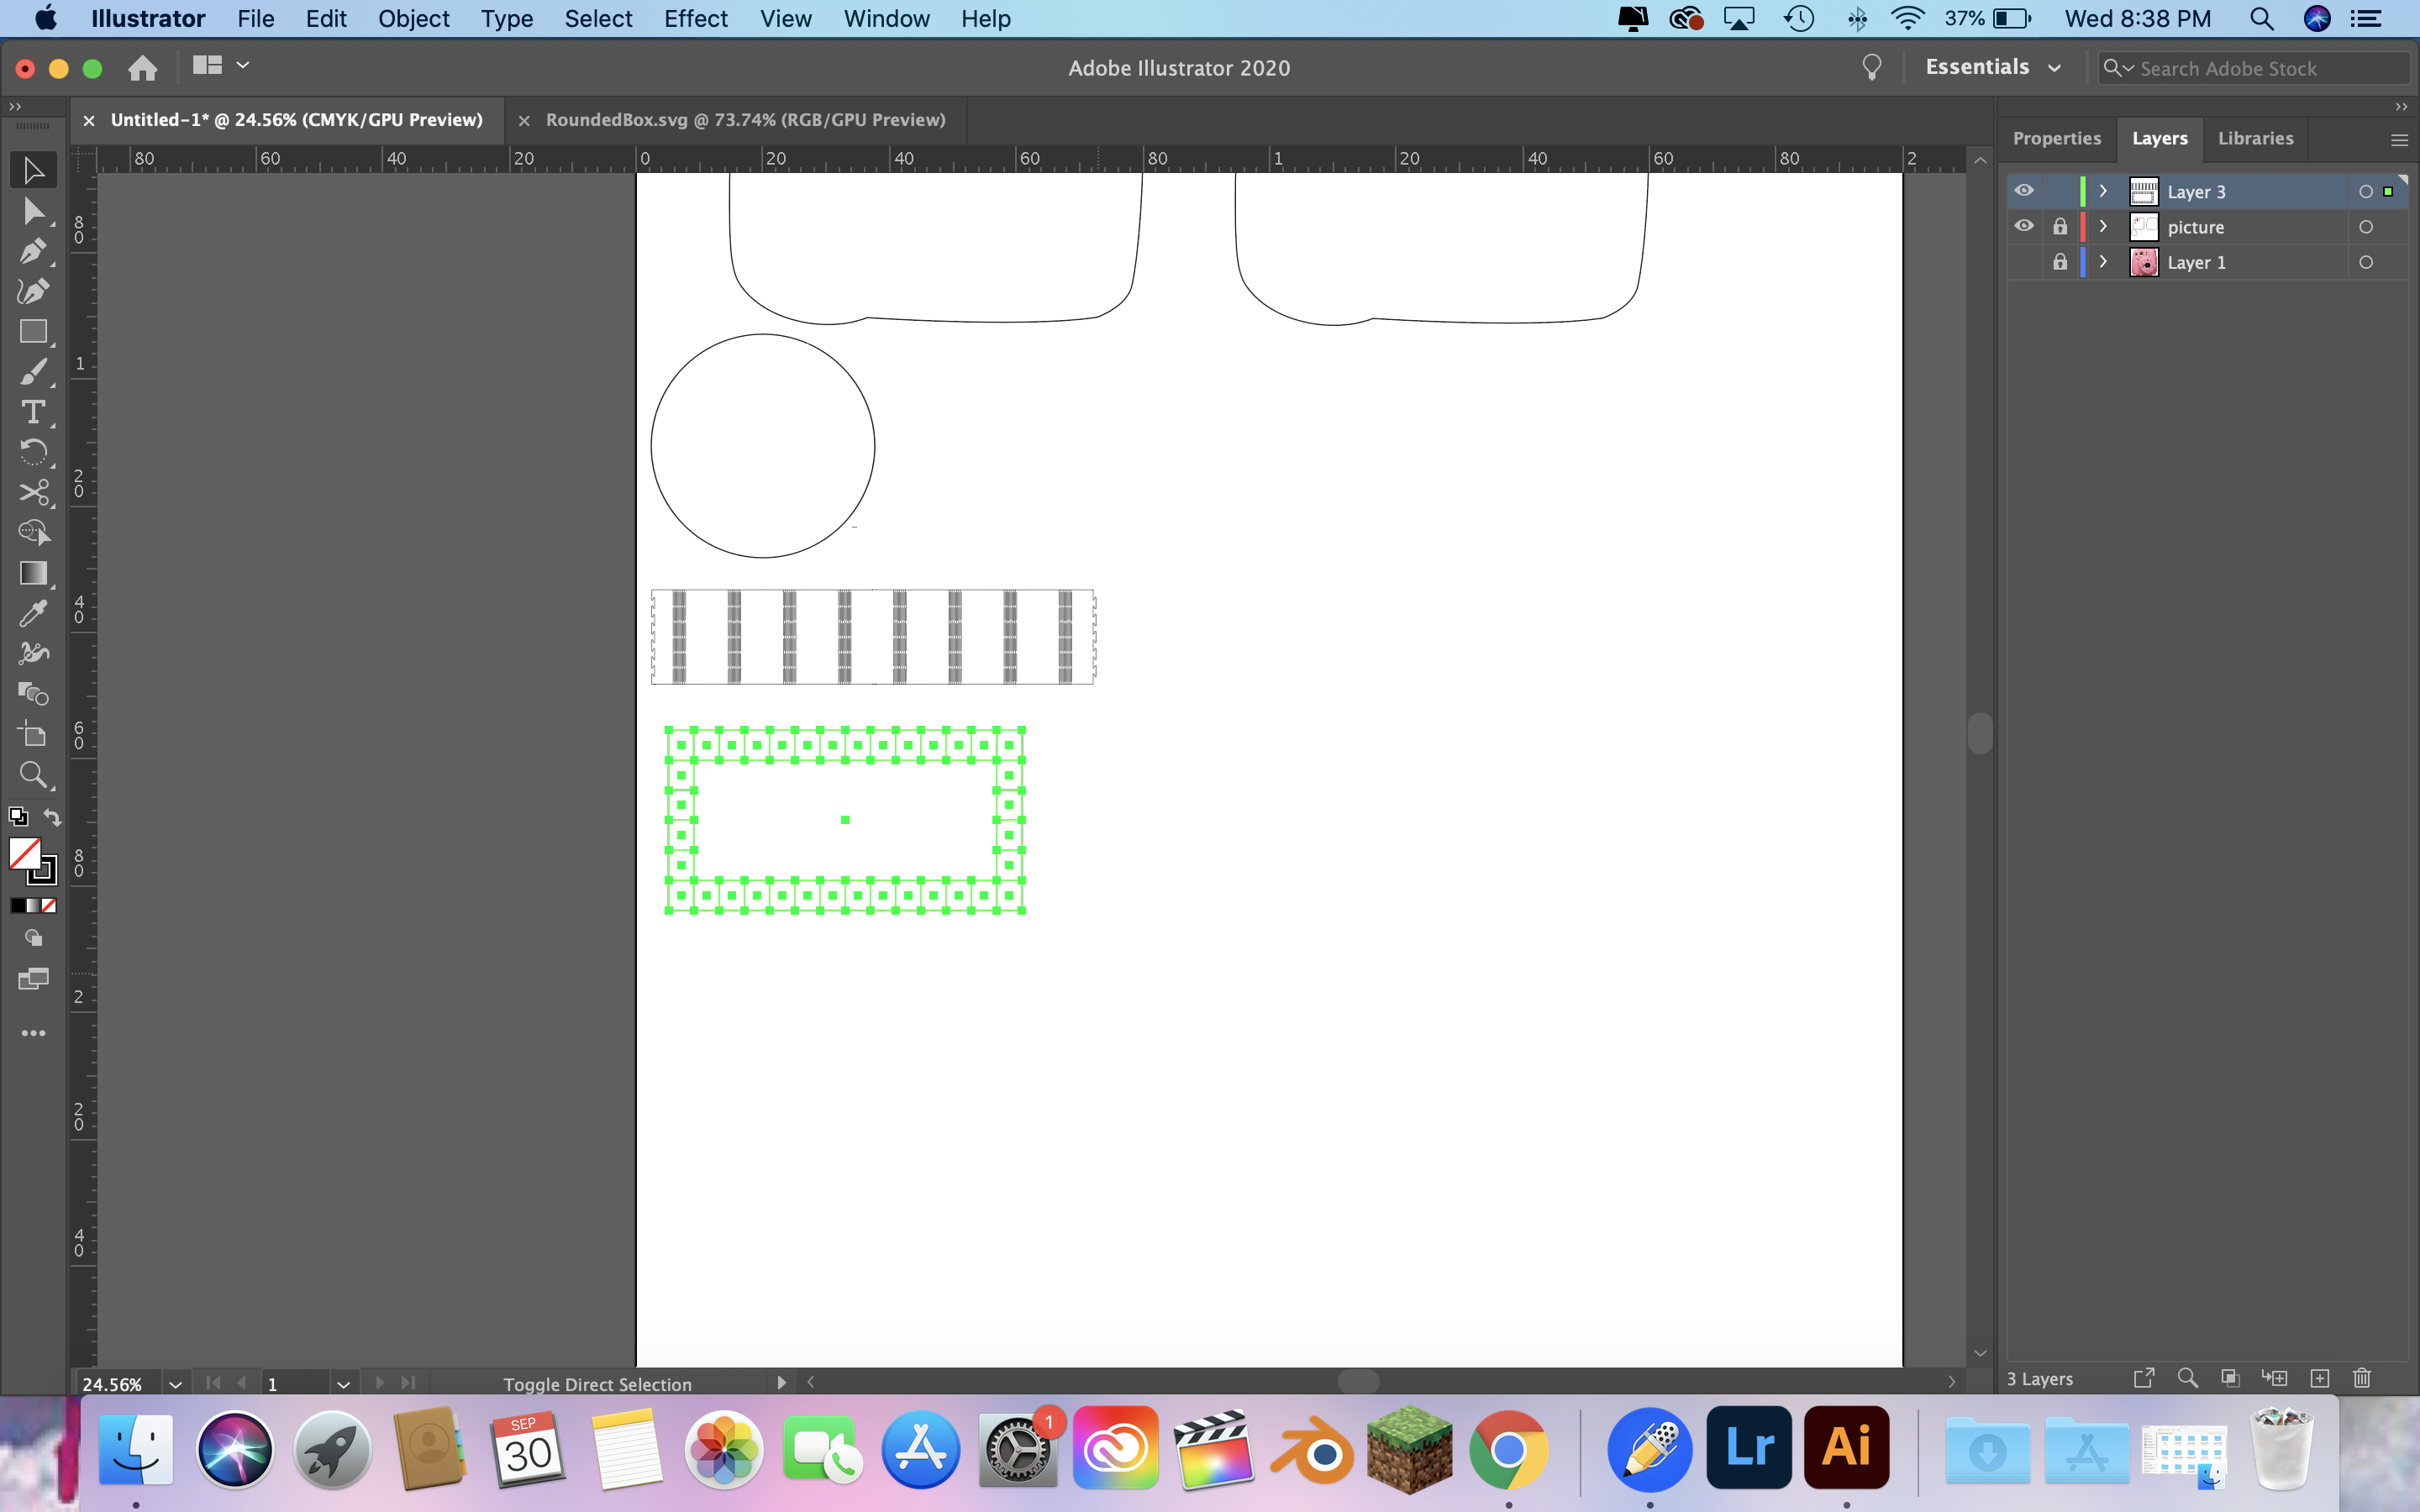
 The next thing I did was give up and work on making the piece so it can wrap around the edges. Now I know how stupid this is going to sound but I decided, oh yeah you just use the diameter and that will be equal to the length of the piece. News flash, thats not how that works. So I took a peice from the box
website from a while ago.
The next thing I did was give up and work on making the piece so it can wrap around the edges. Now I know how stupid this is going to sound but I decided, oh yeah you just use the diameter and that will be equal to the length of the piece. News flash, thats not how that works. So I took a peice from the box
website from a while ago.
 Then I deleted the little notches for the top part becuase at this point I gave up with trying to make notches and decided glue is just as effective.
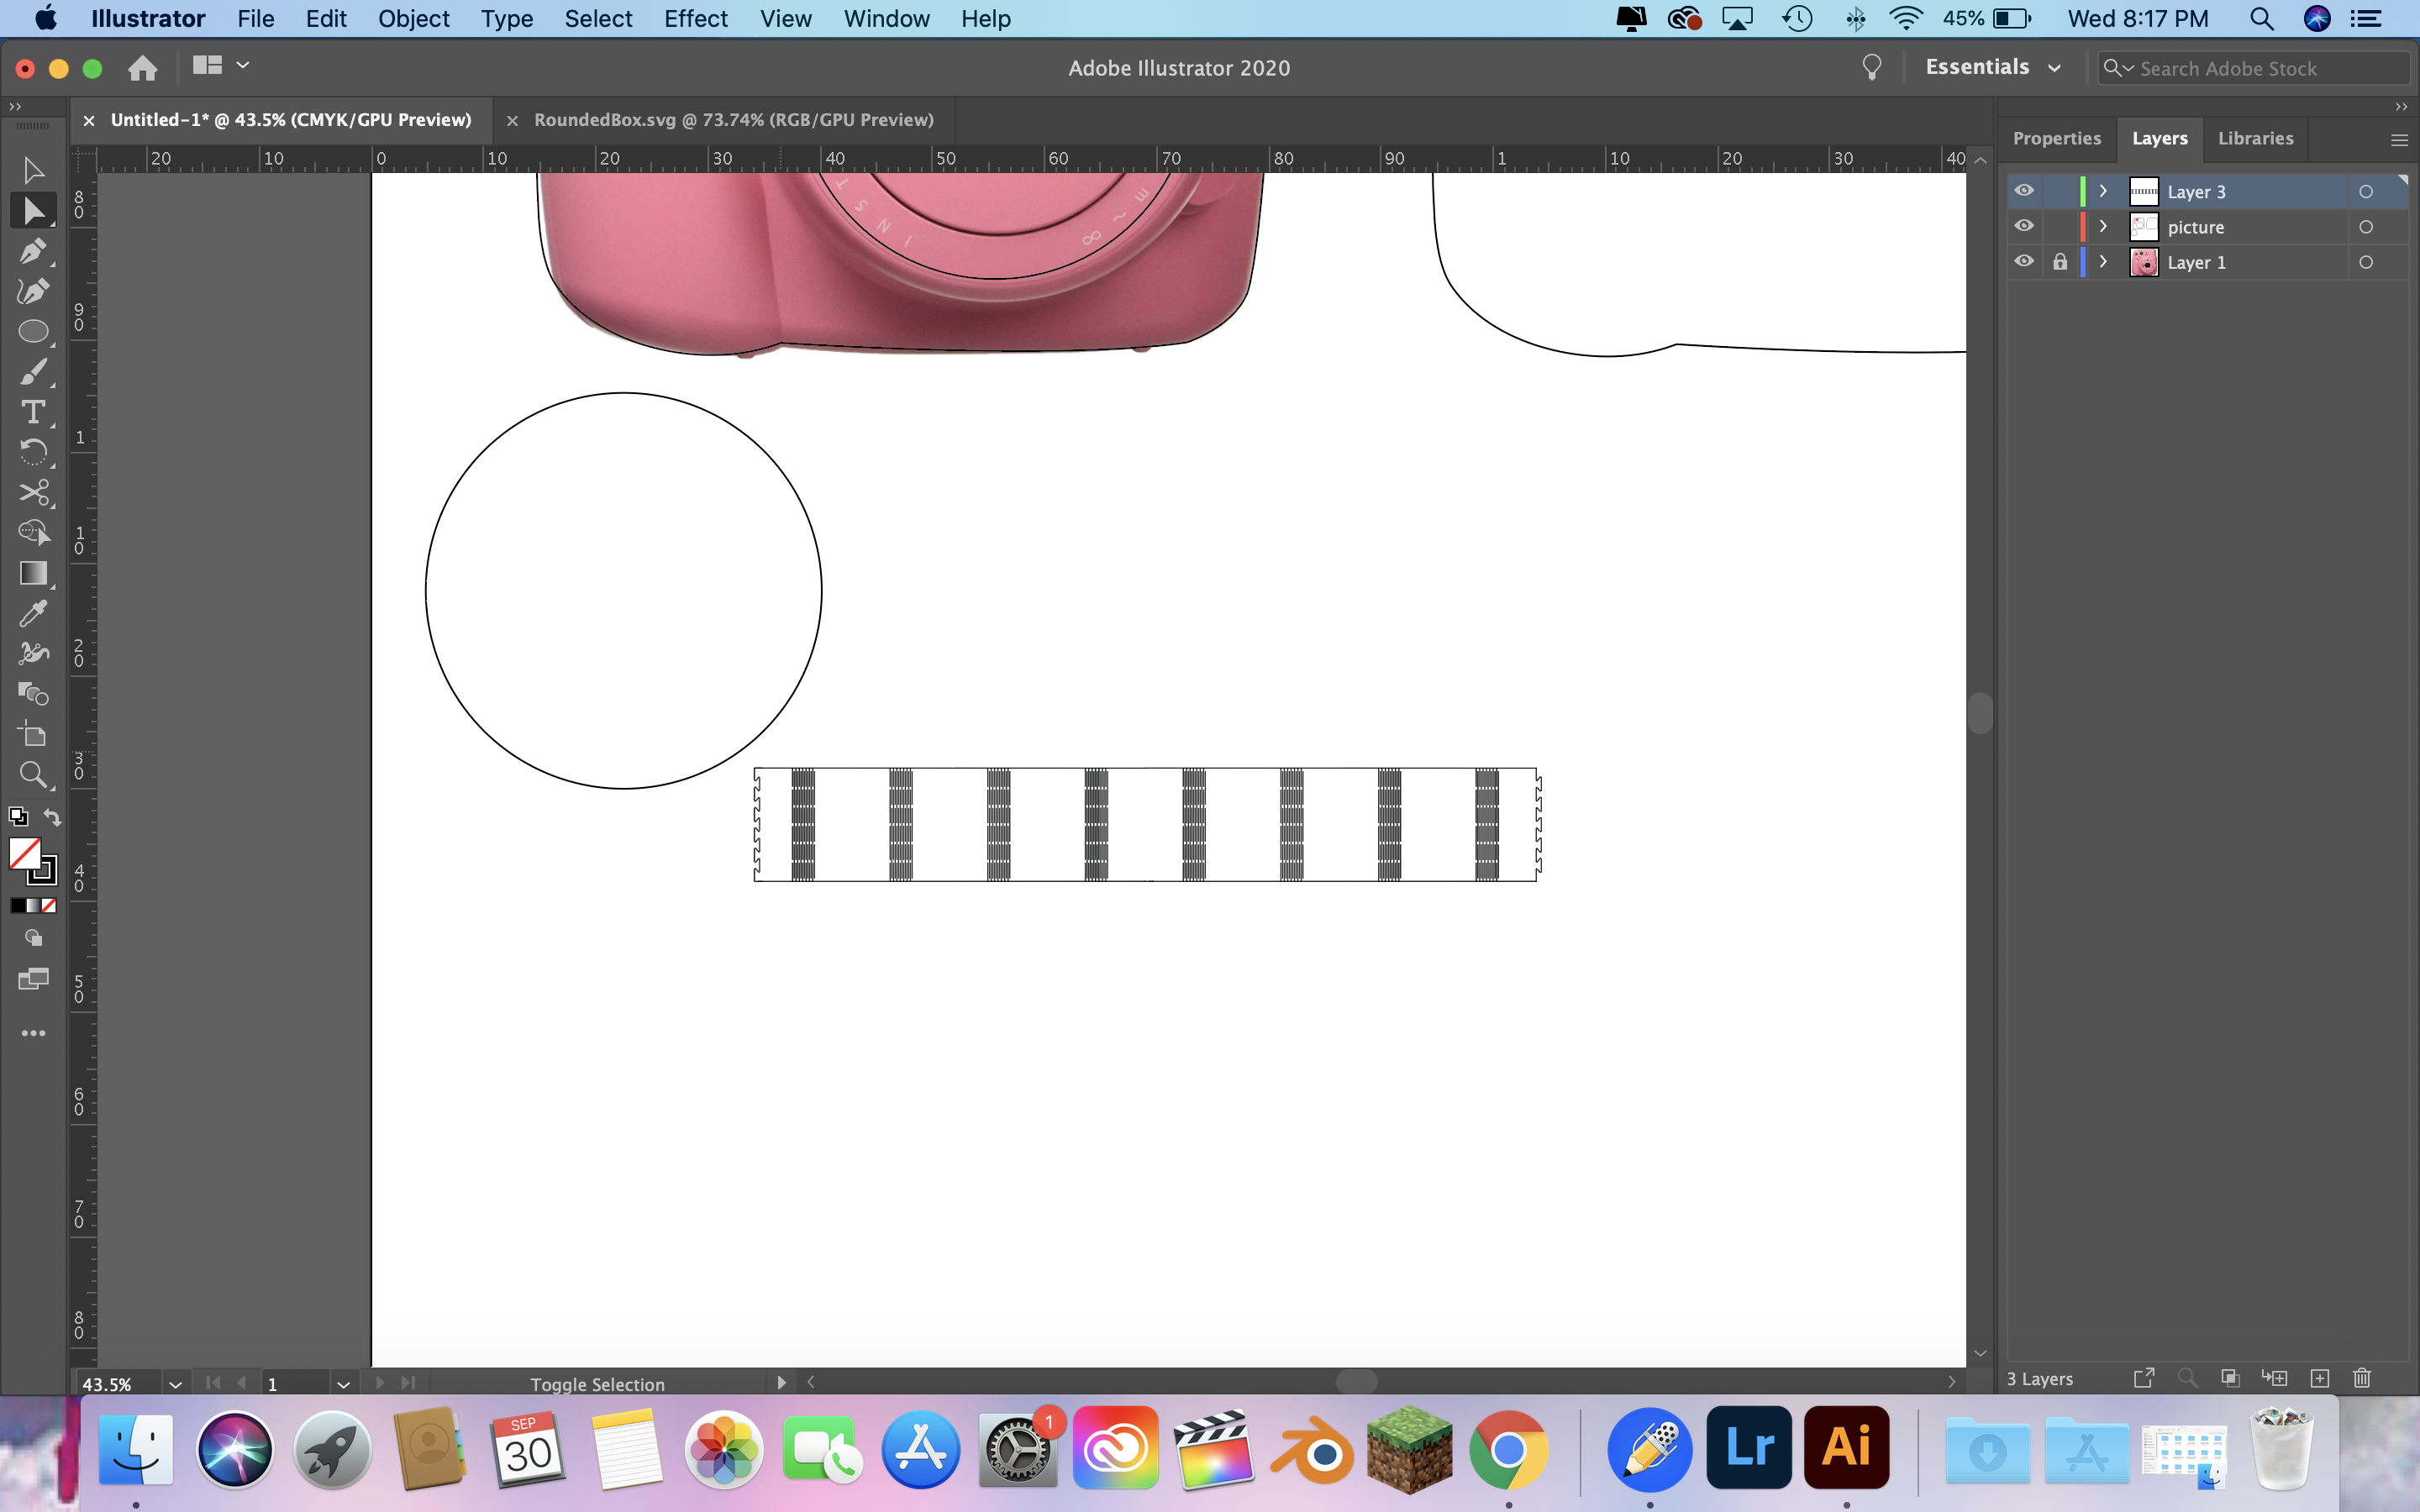
 Then somewhere in my brain I knew this didnt look right so I just decided to double the length of the bedning part pretending that solved the issue, dont worry I fix it later.
 Then the next part, I am ashamed I tried to do this, but I wanted to create a box in the shape of the side so it was flushed up agaisnt it. Lets say I scraped that idea pretty fast.
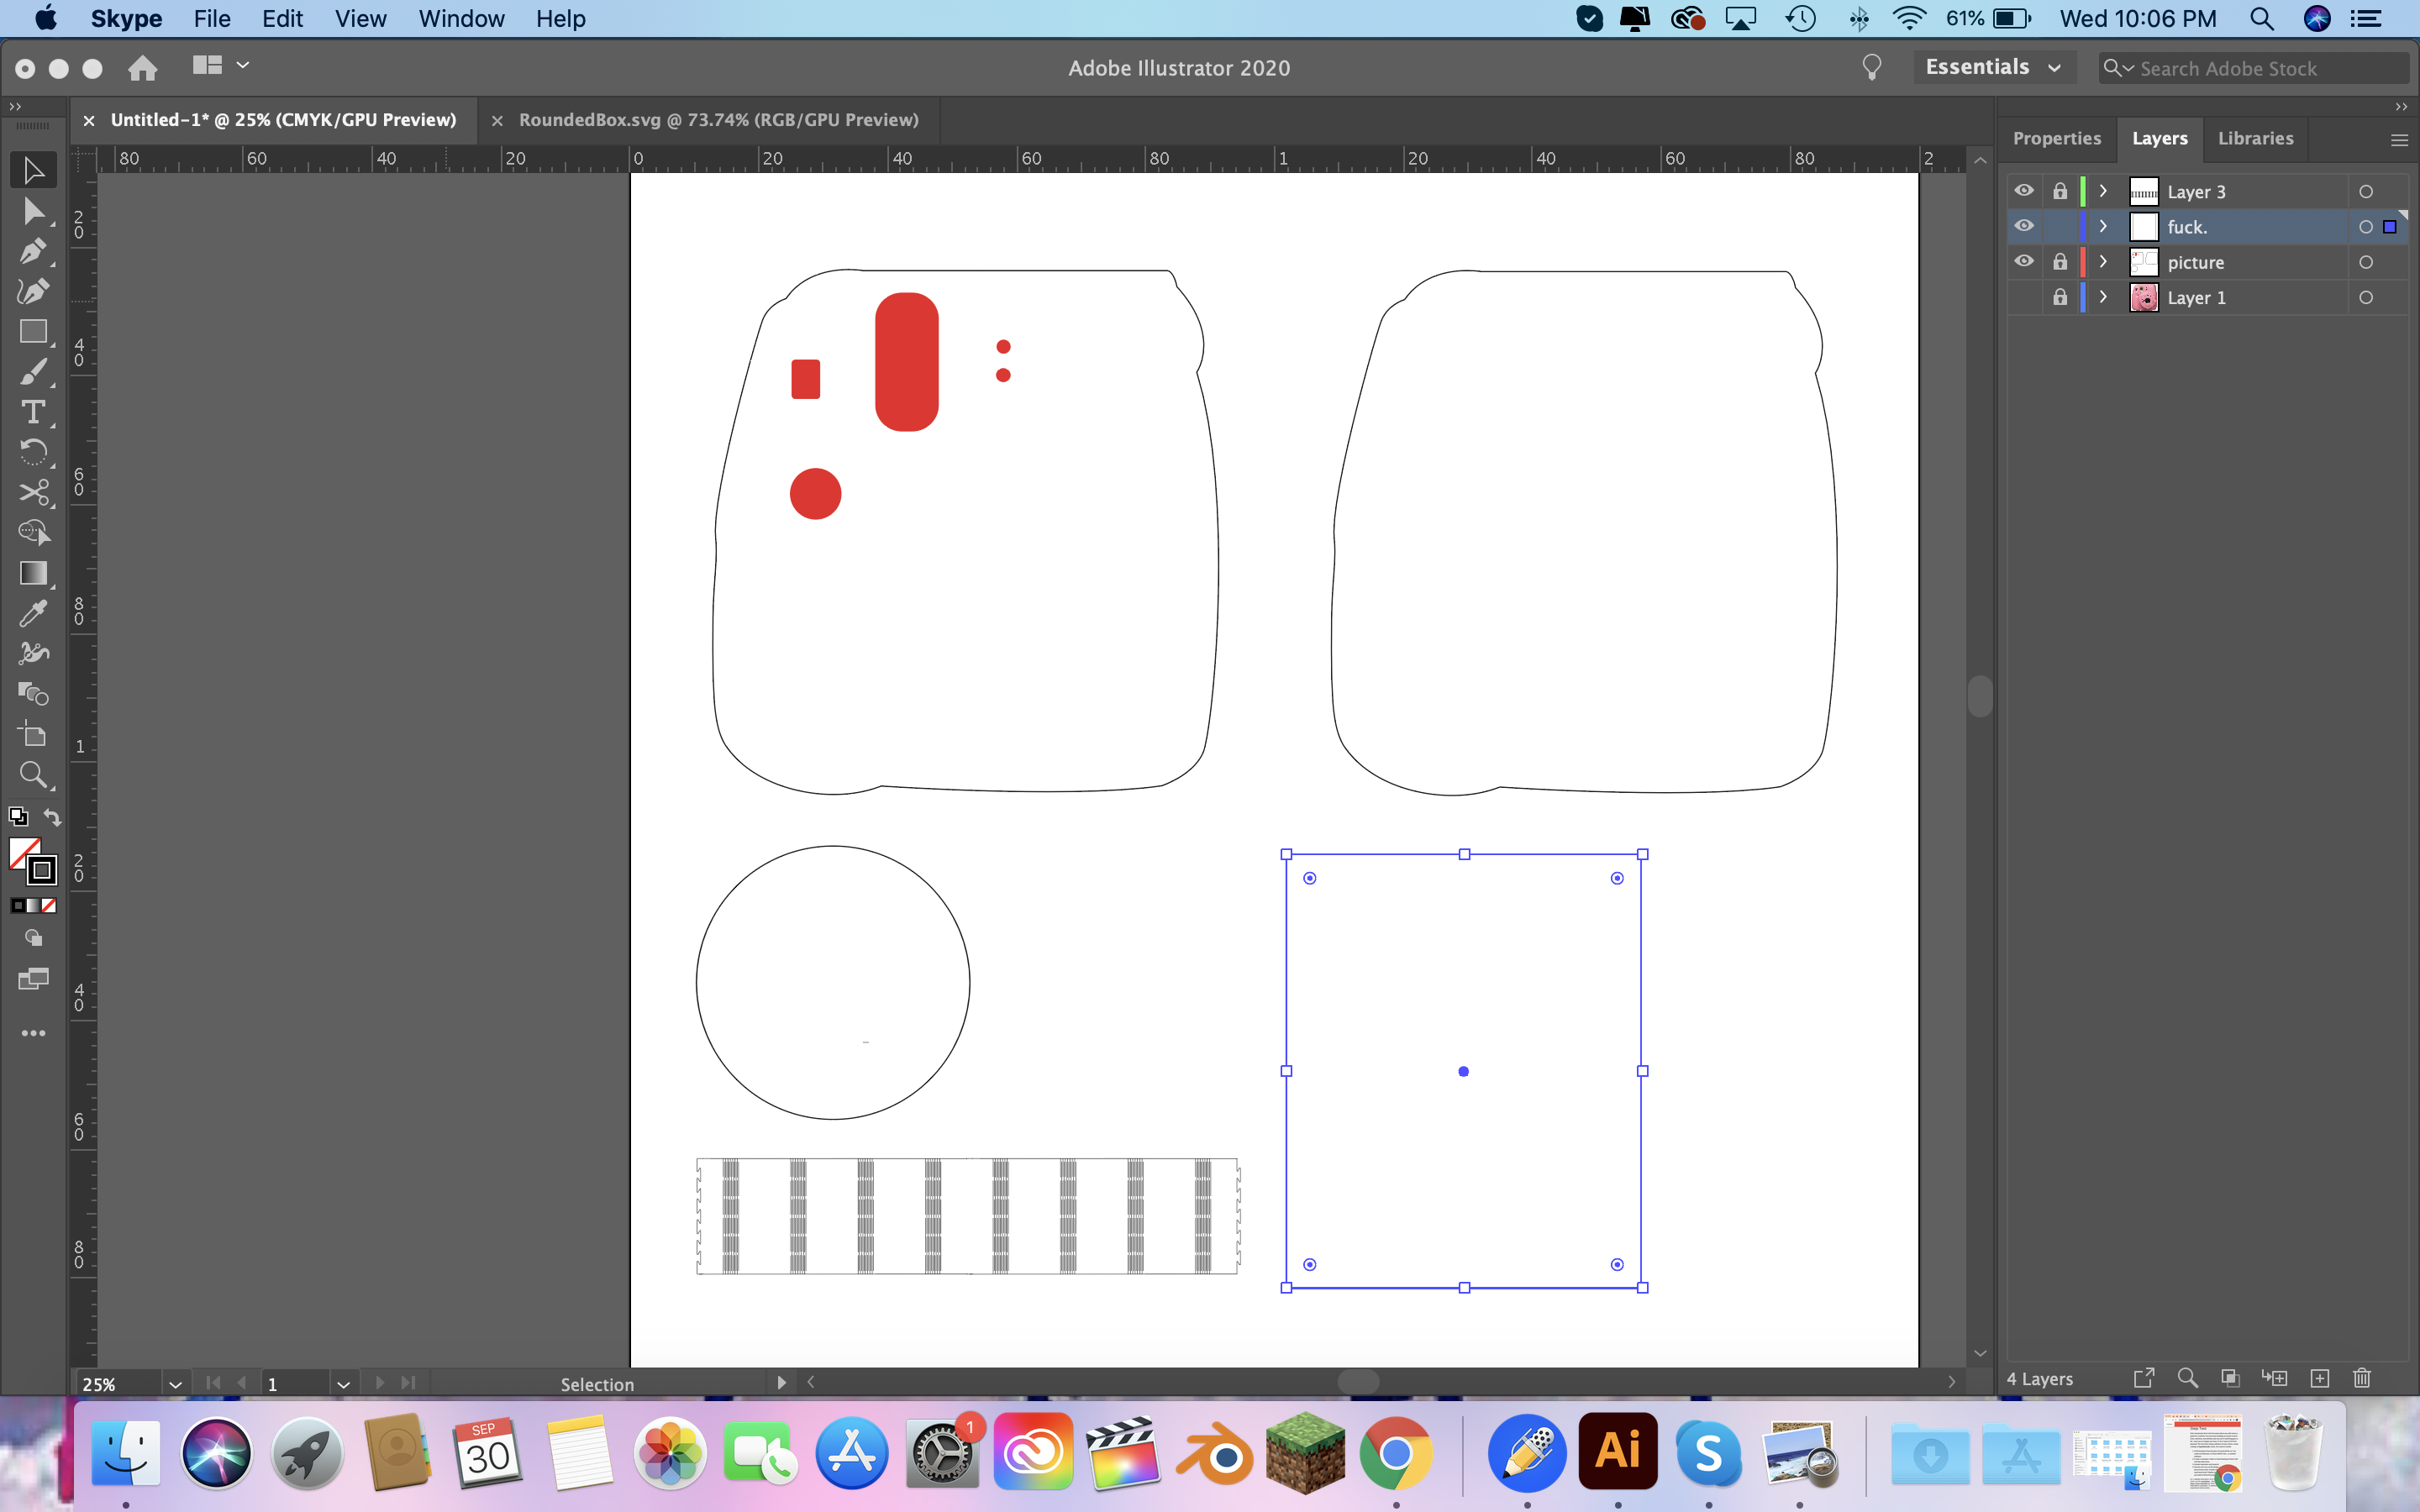
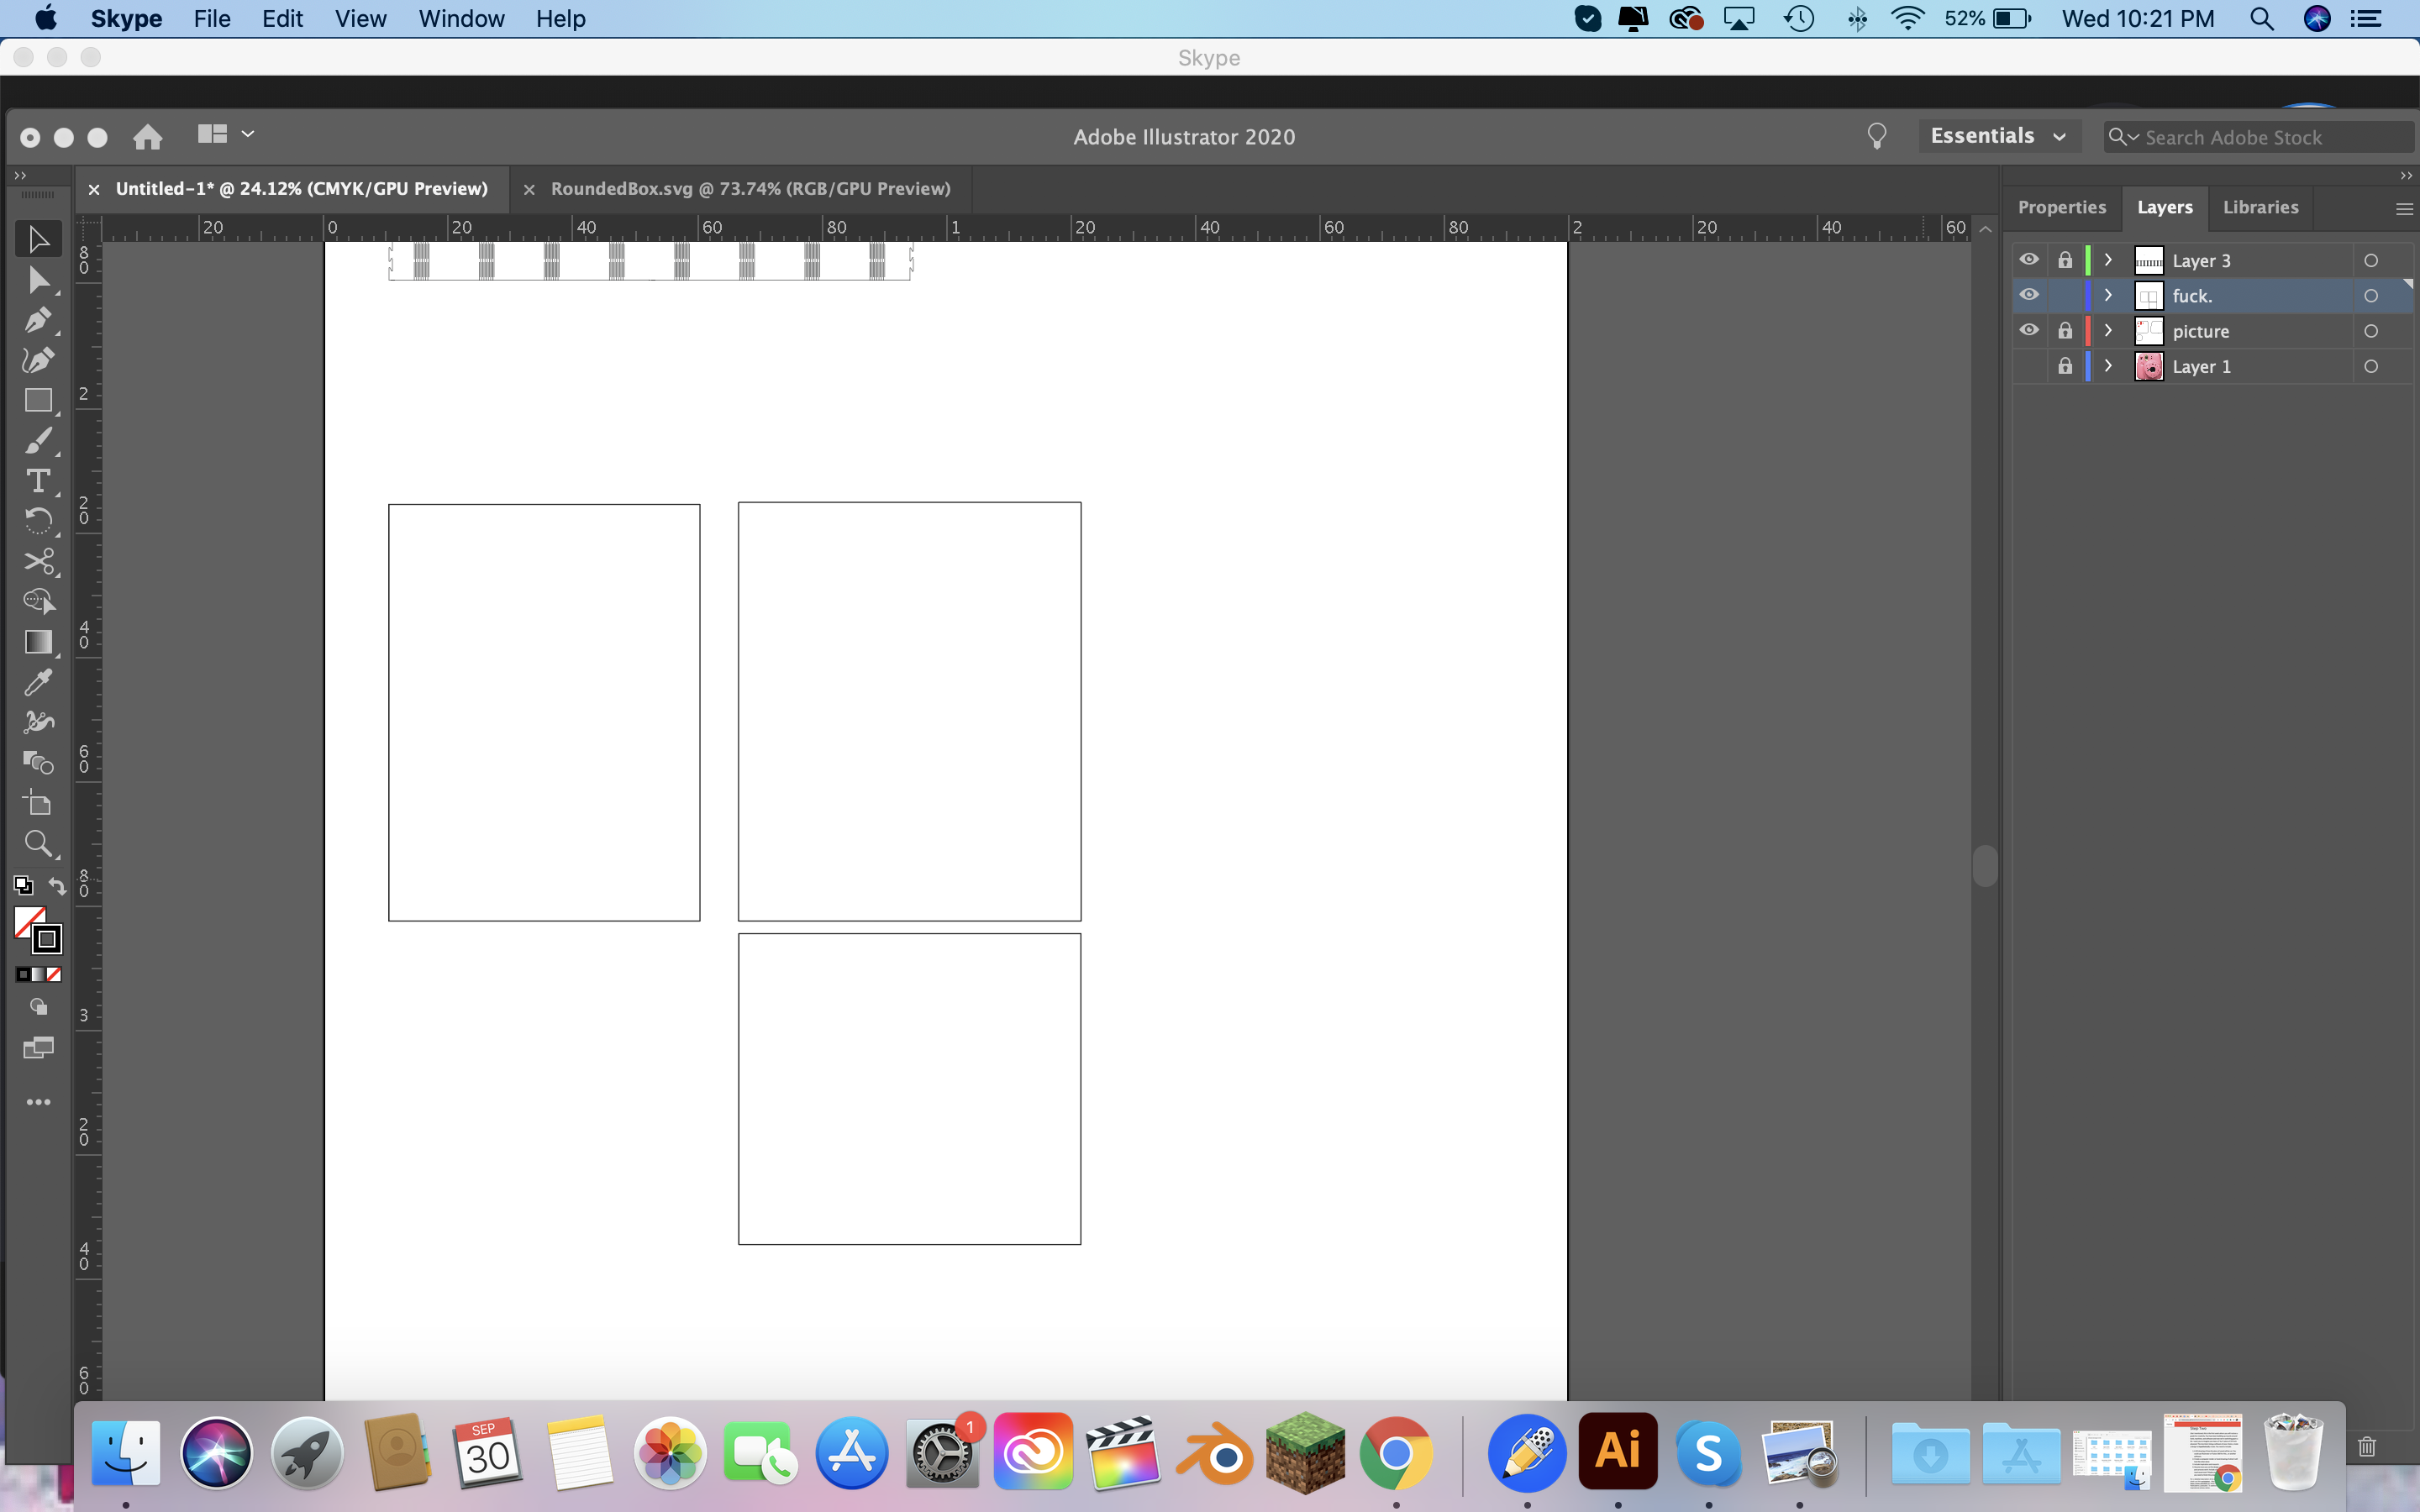
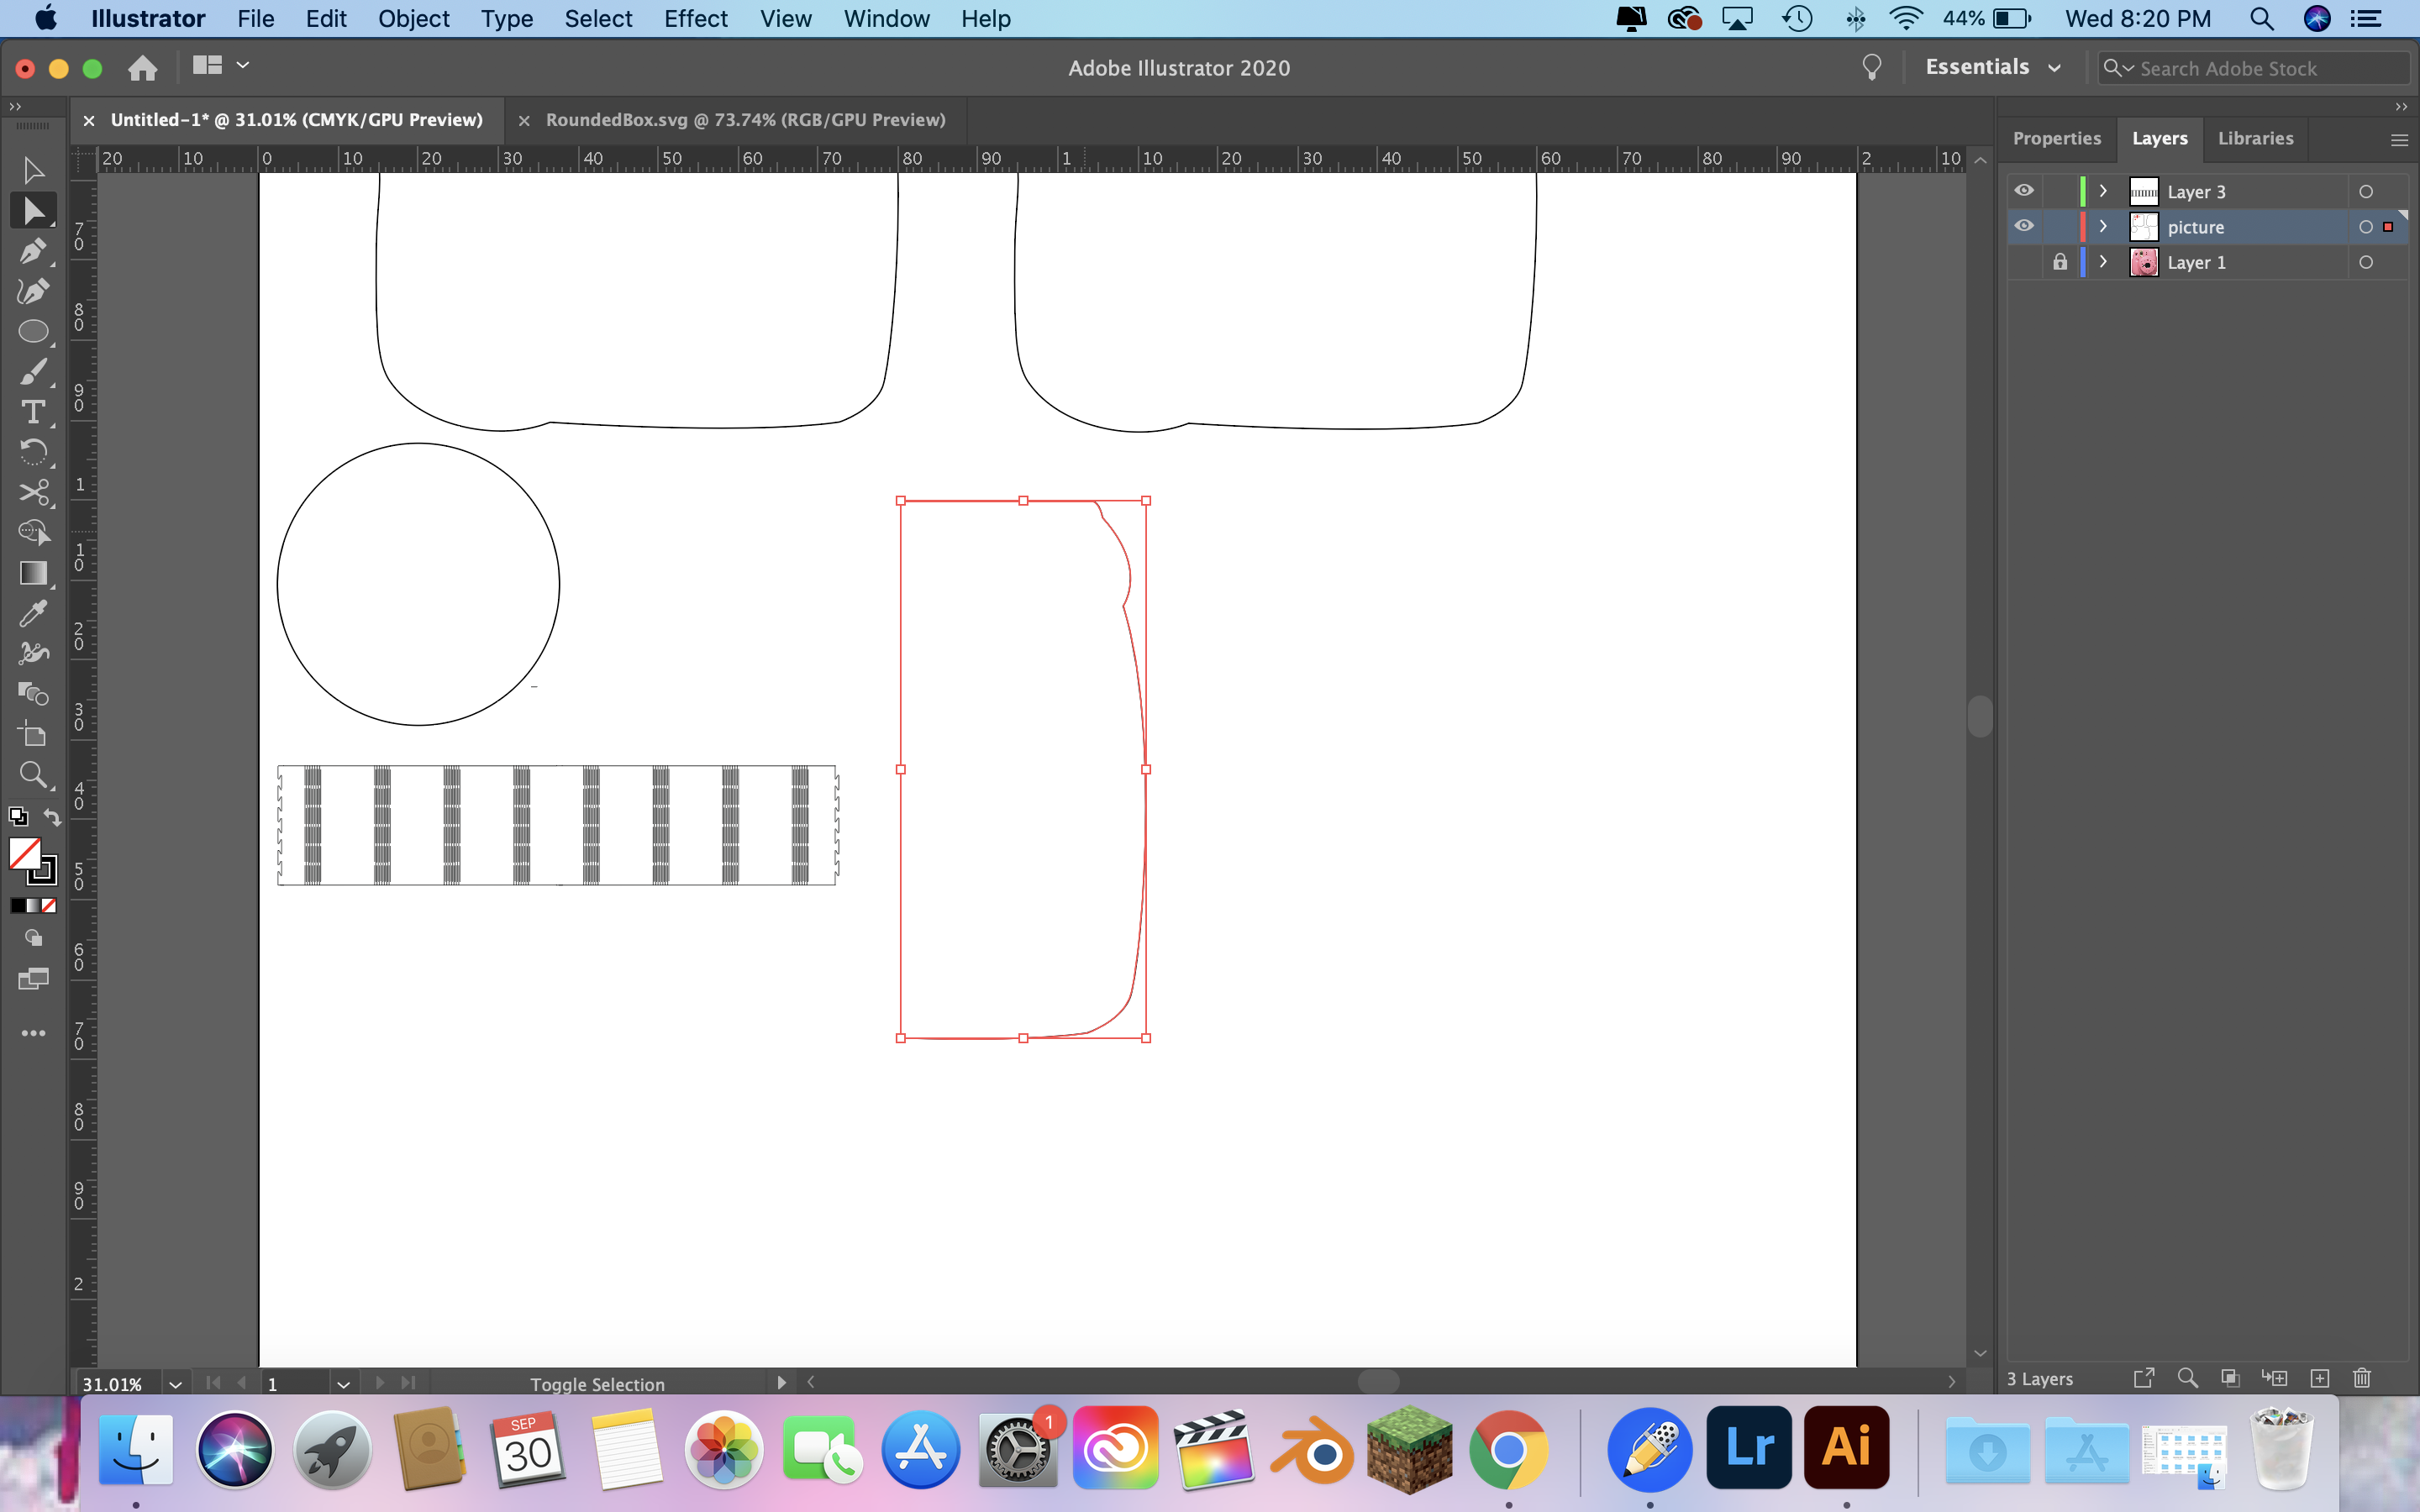 Then I moved onto the idea of, ok lets just make a box with a fancy top and bottom which will overhang the sides of the box. But even this part I messed up with. So I made a box the length that I wanted the front side and back side to be.
 Then I tried to make notches again which, I mean just look at it, I gave up that idea fast. It was at this time and this long I gave up and called one of my friends that go to a different school to help me.

 Then I created a box to be the pretend top so I could make the sides from there.
 I made a side with the width the same as the pretend box top and 6 inches for the height.
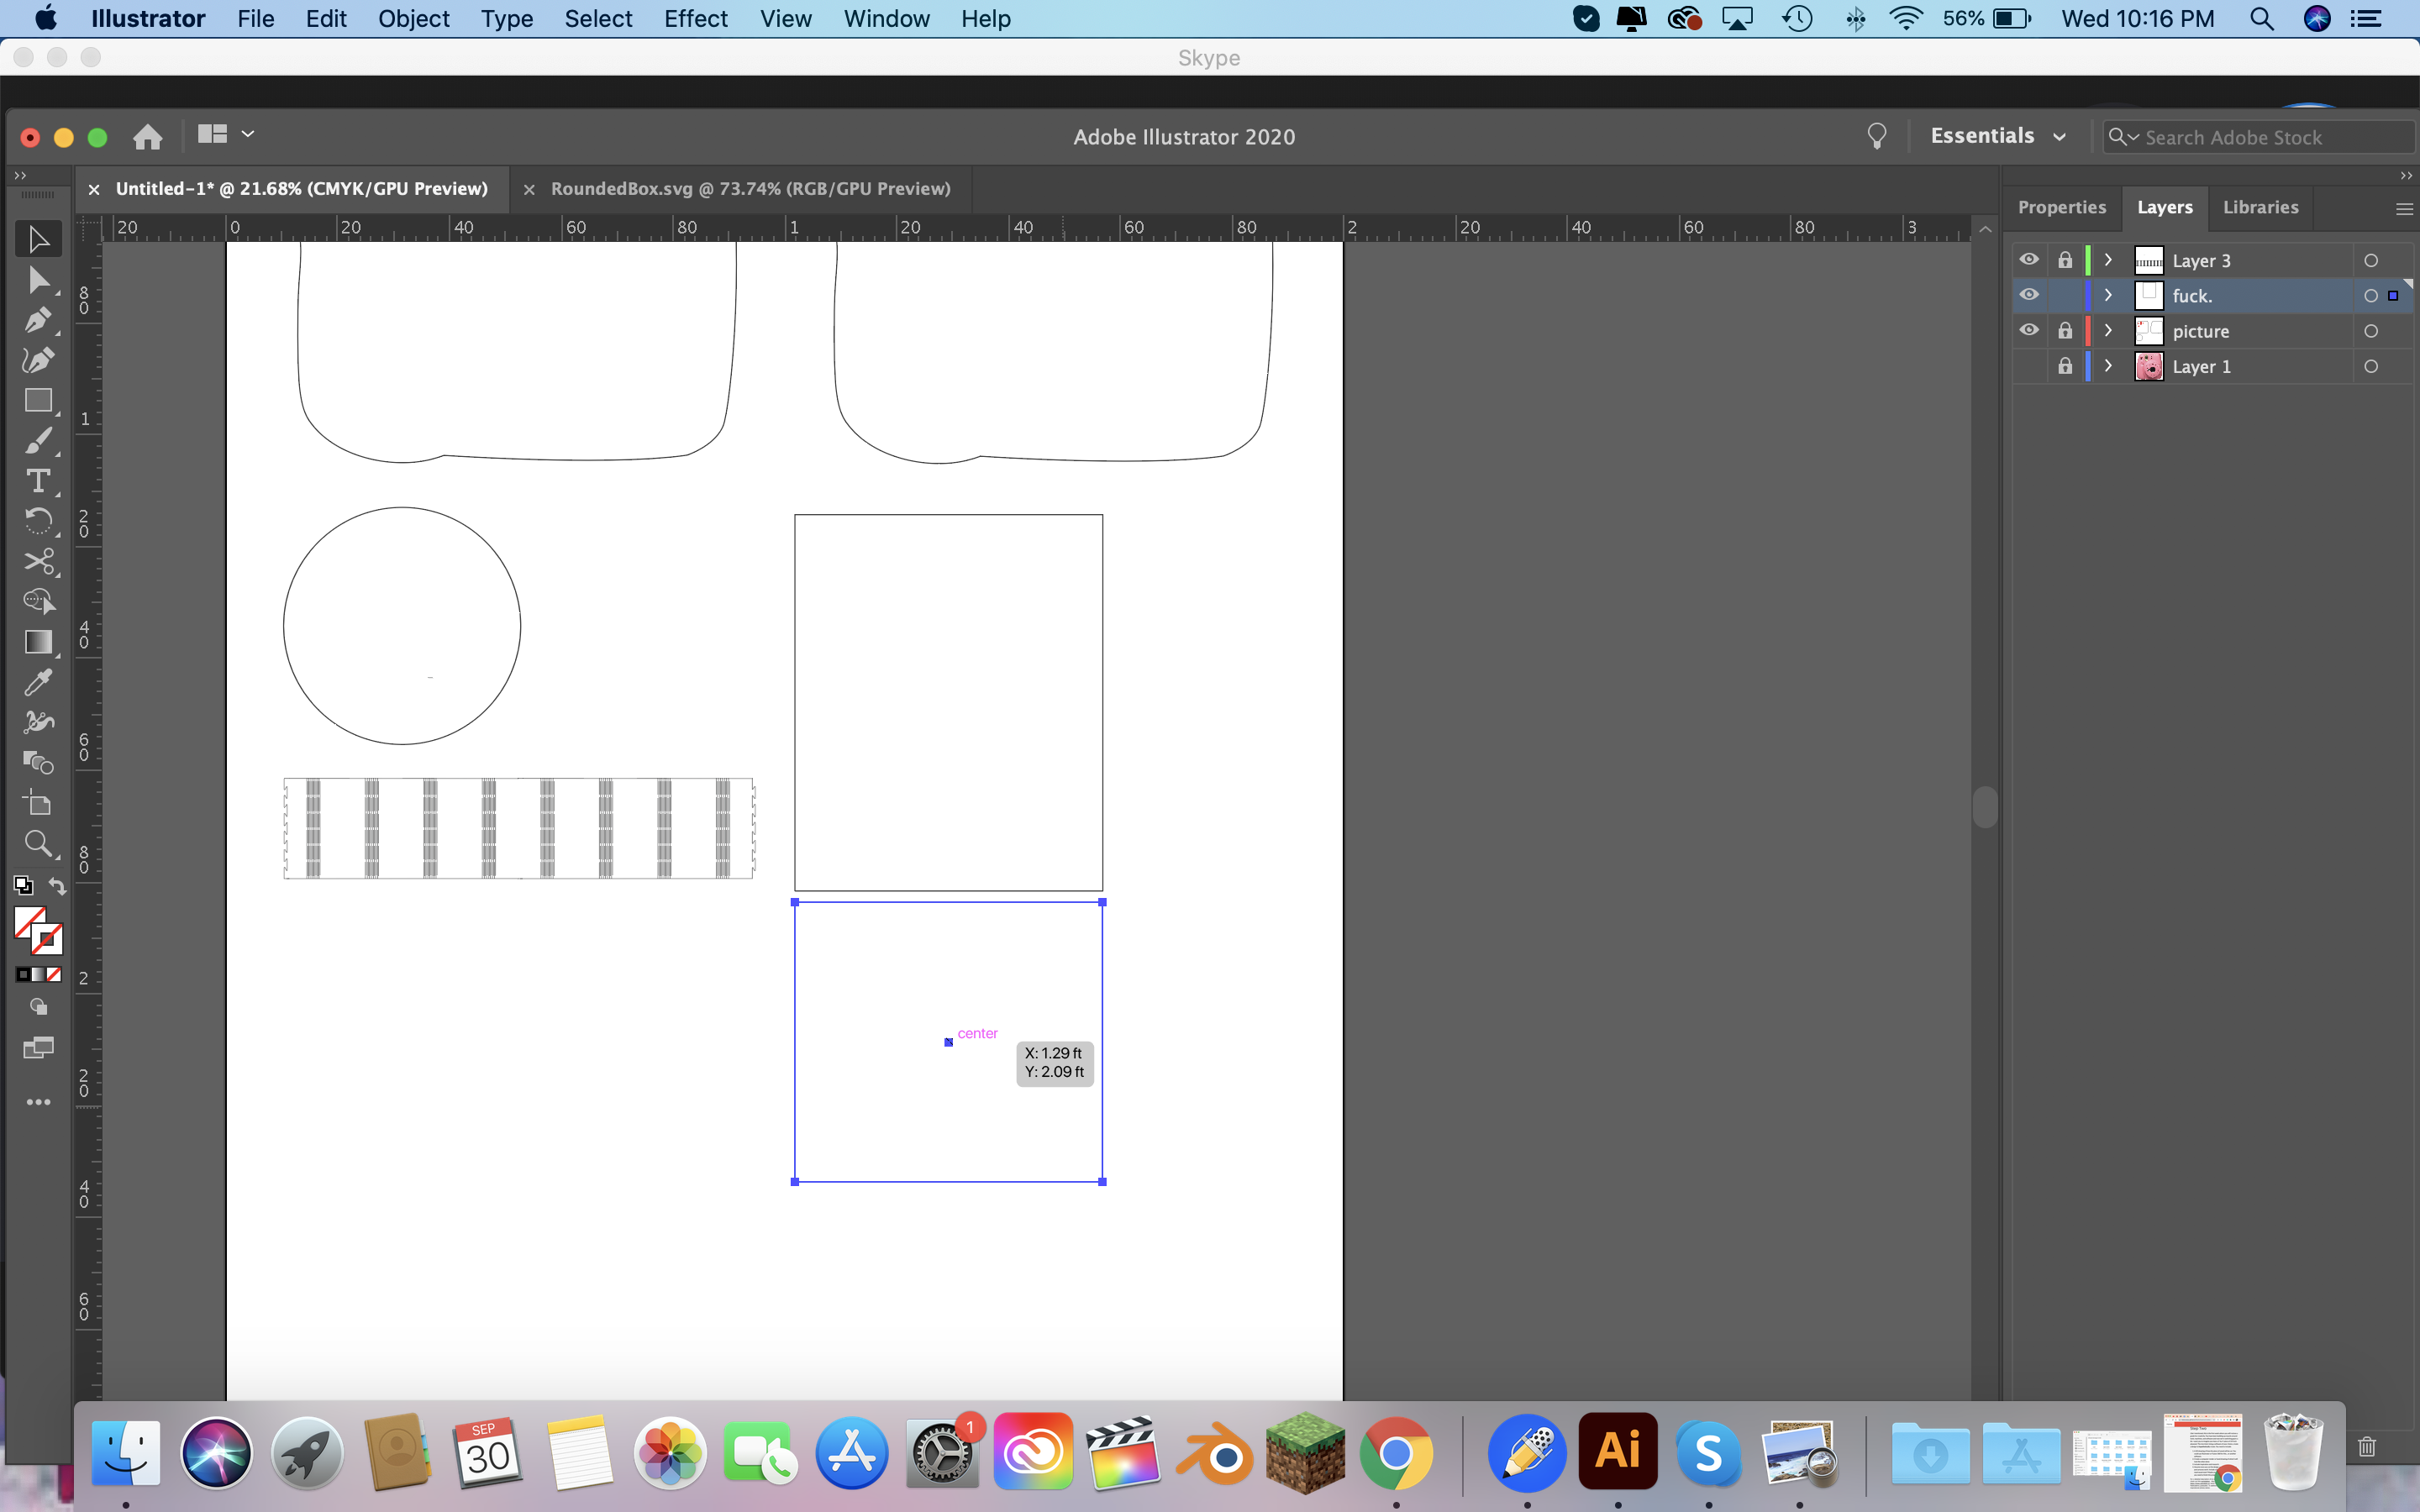 Then I did the same thing for the side of the box the hight matches up to be the same and the width is 6 inches.
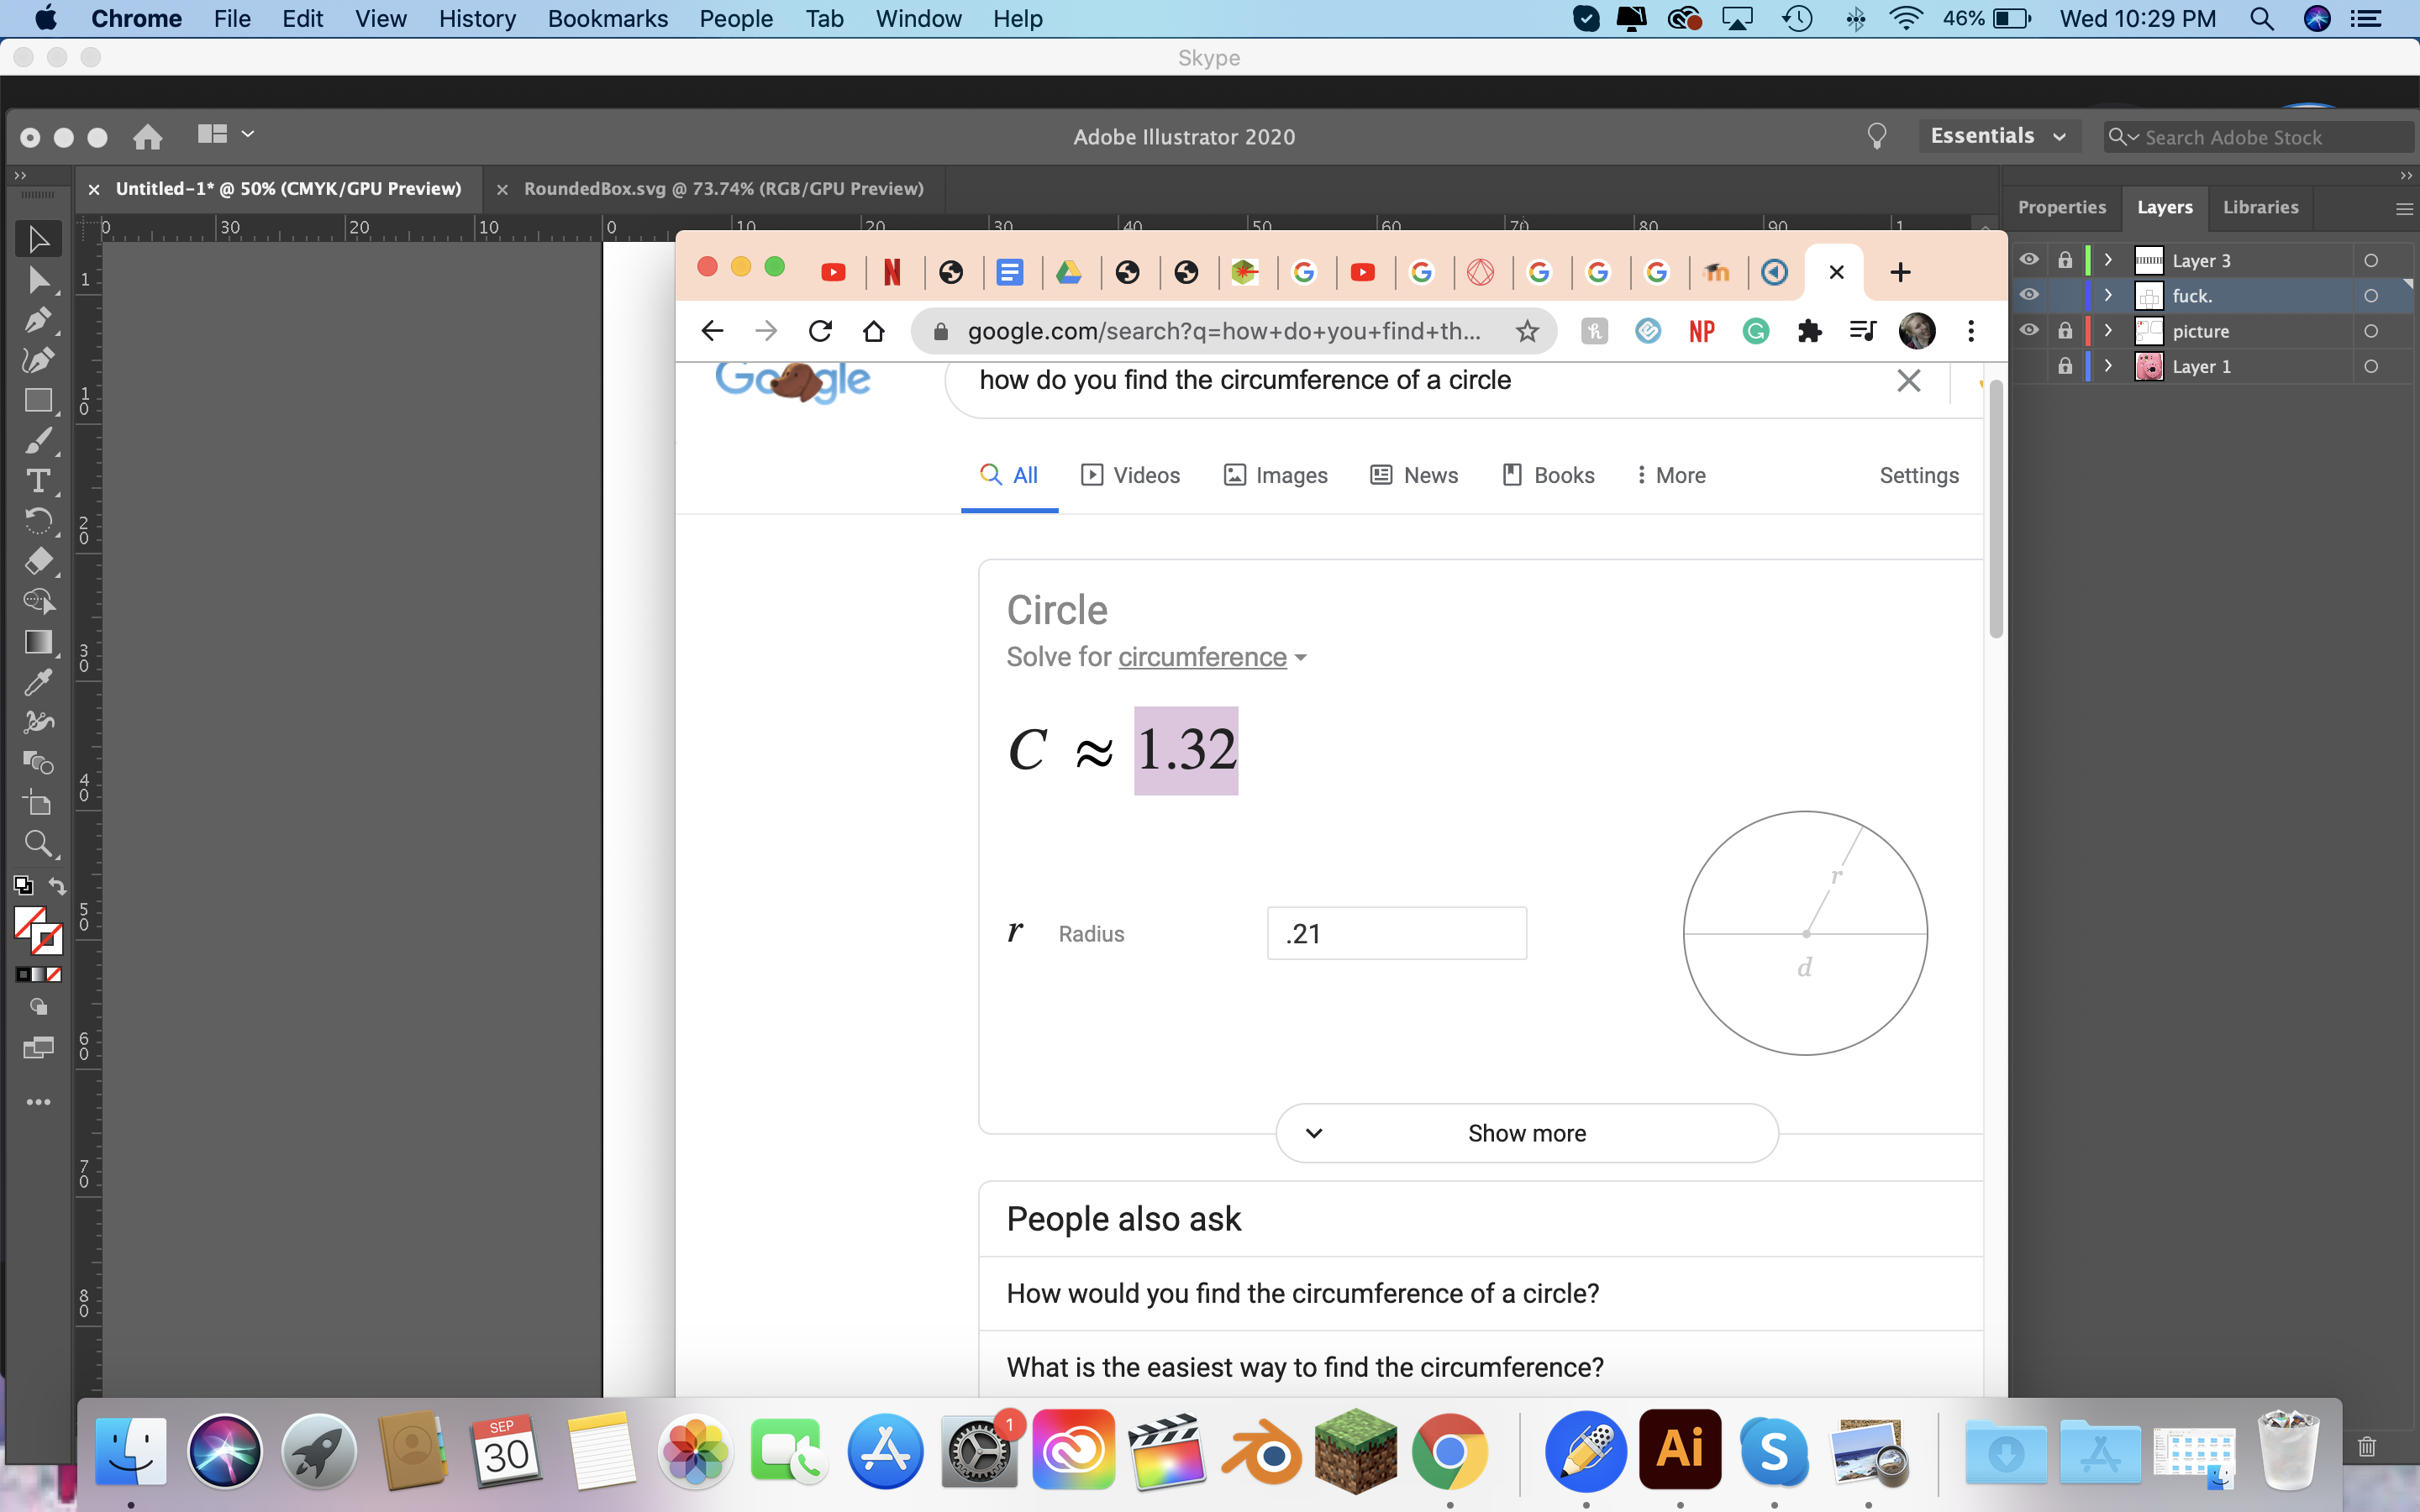
 Now at this point asked my friend the stupid quesiton of, how do you make a cylinder, after a few minutes of her laughing at me she reminded me that it was the circumference of the circle so now was the adventure of finding circumference of the circle. So I drew the a line to find the radius and then put it in a calculator.

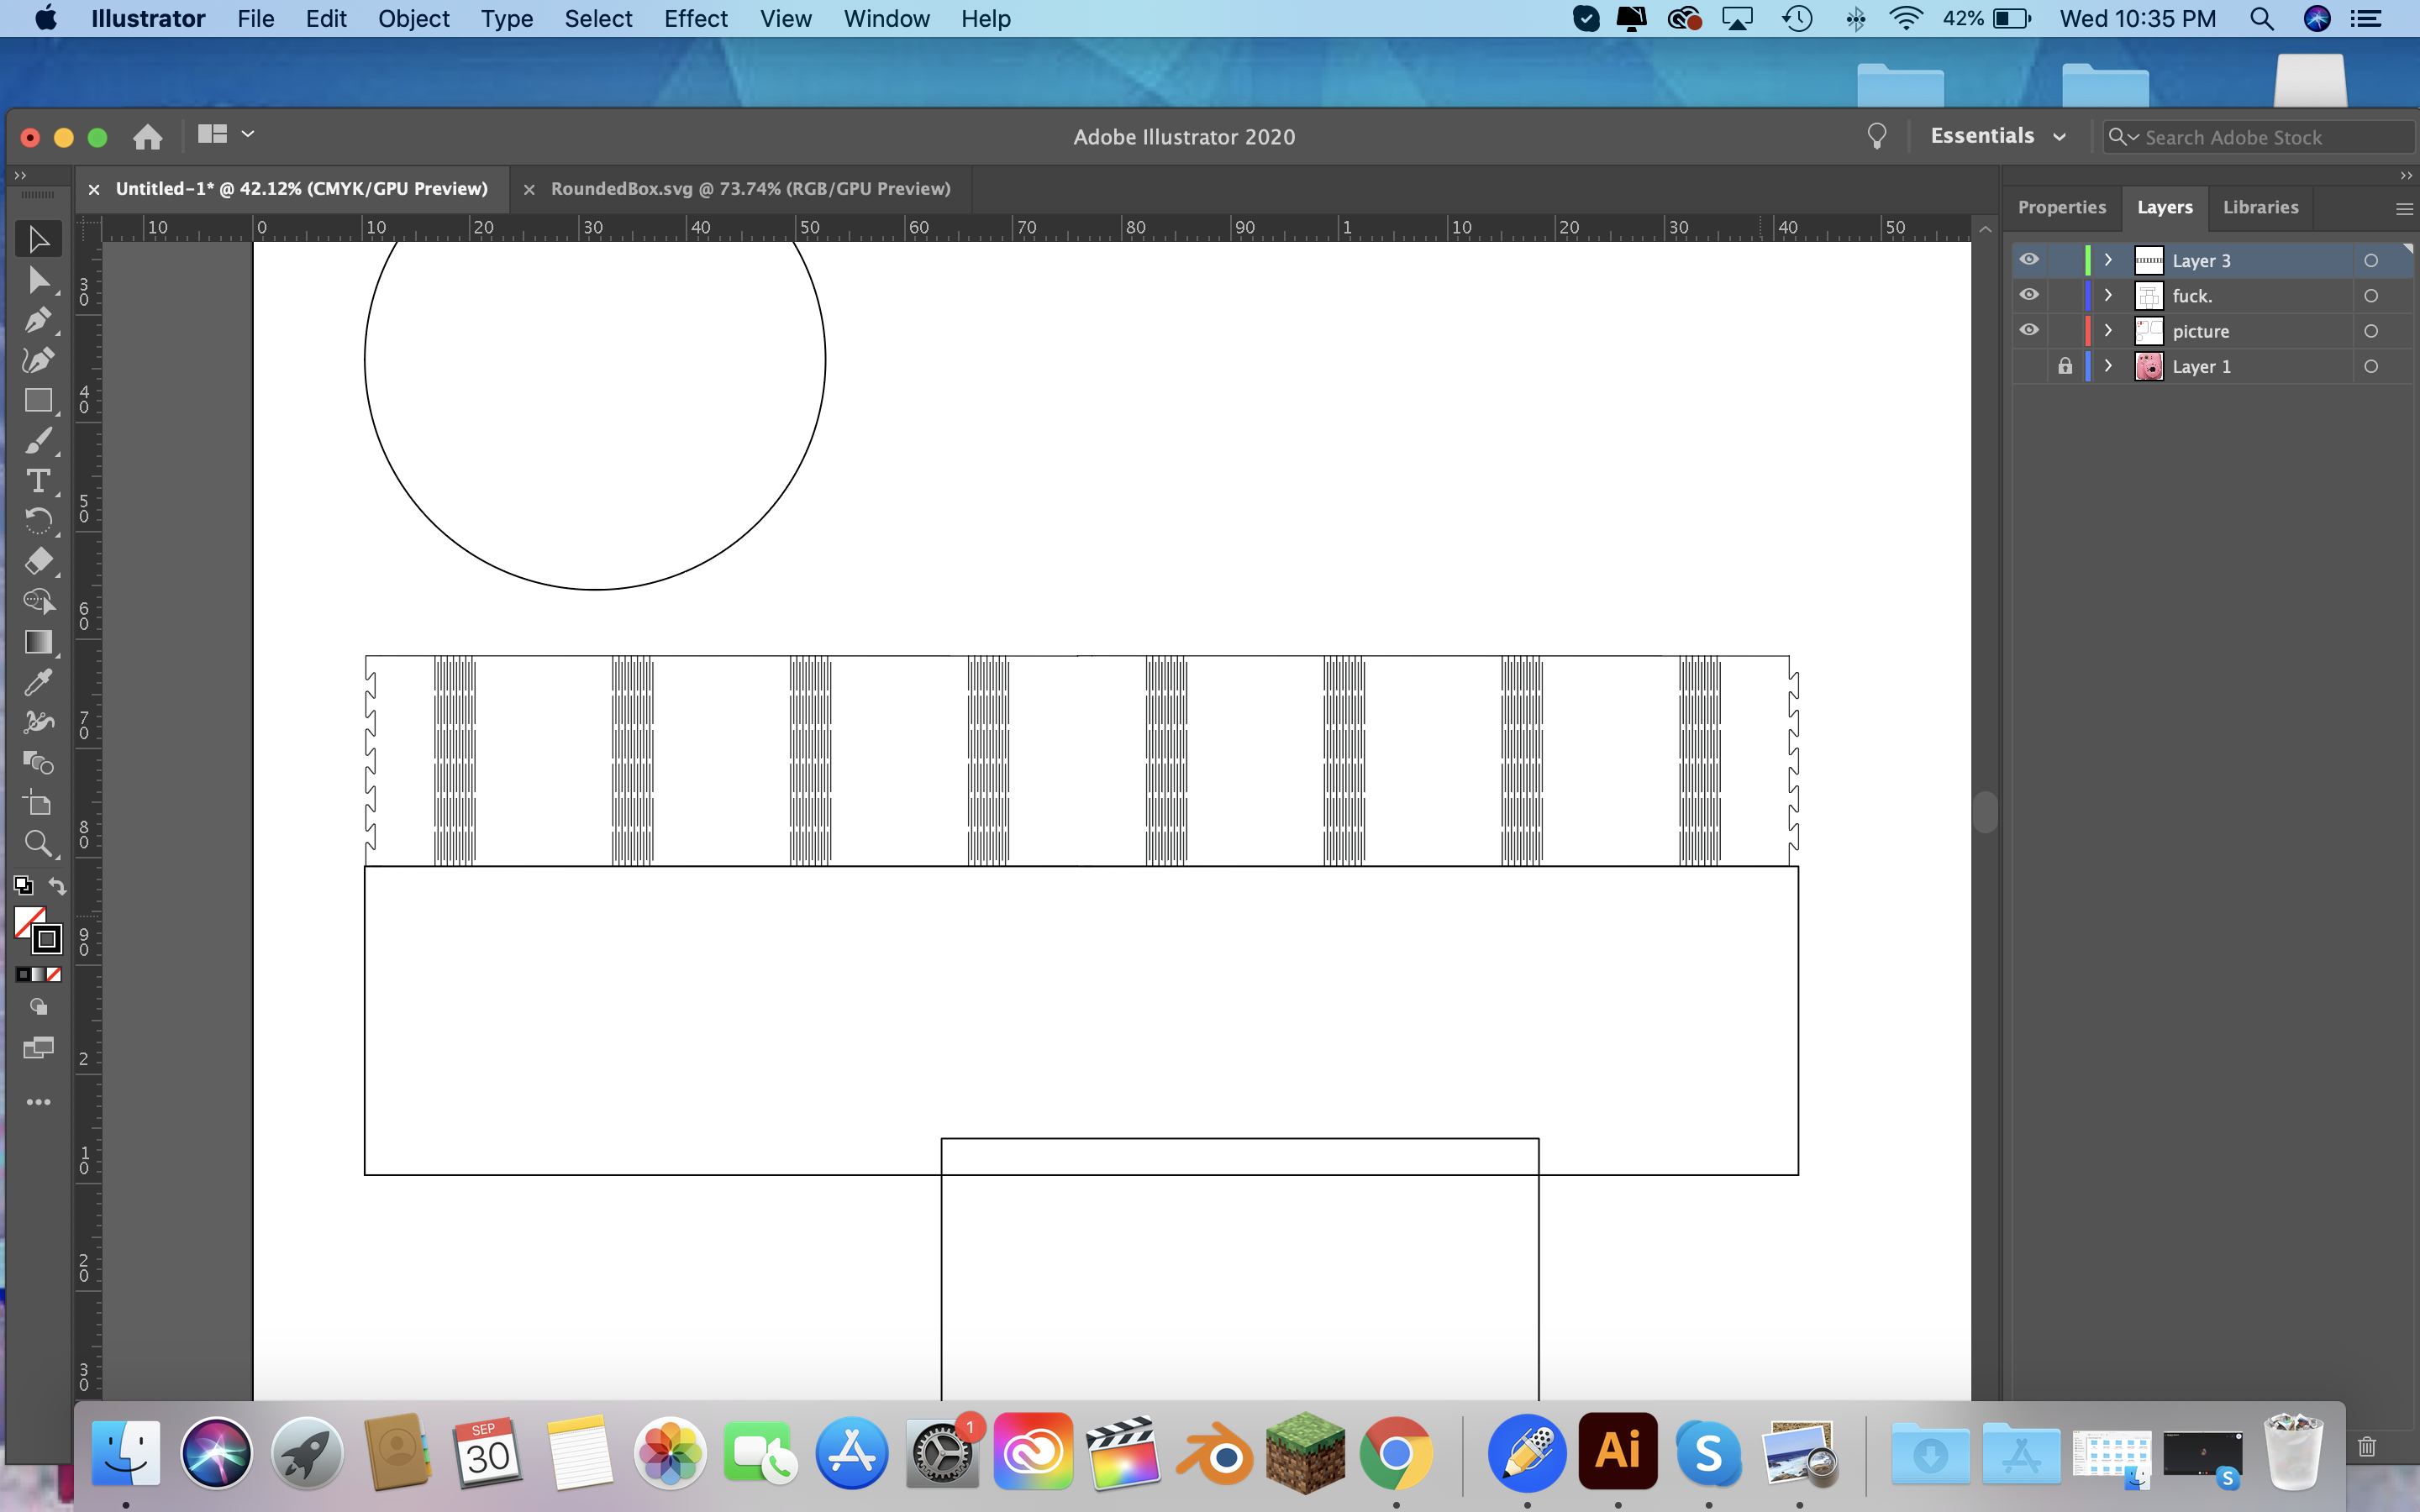
 Then I created a box that was the the correct length and just matched the actual part to the length of the box and called it a day... well called it a night.
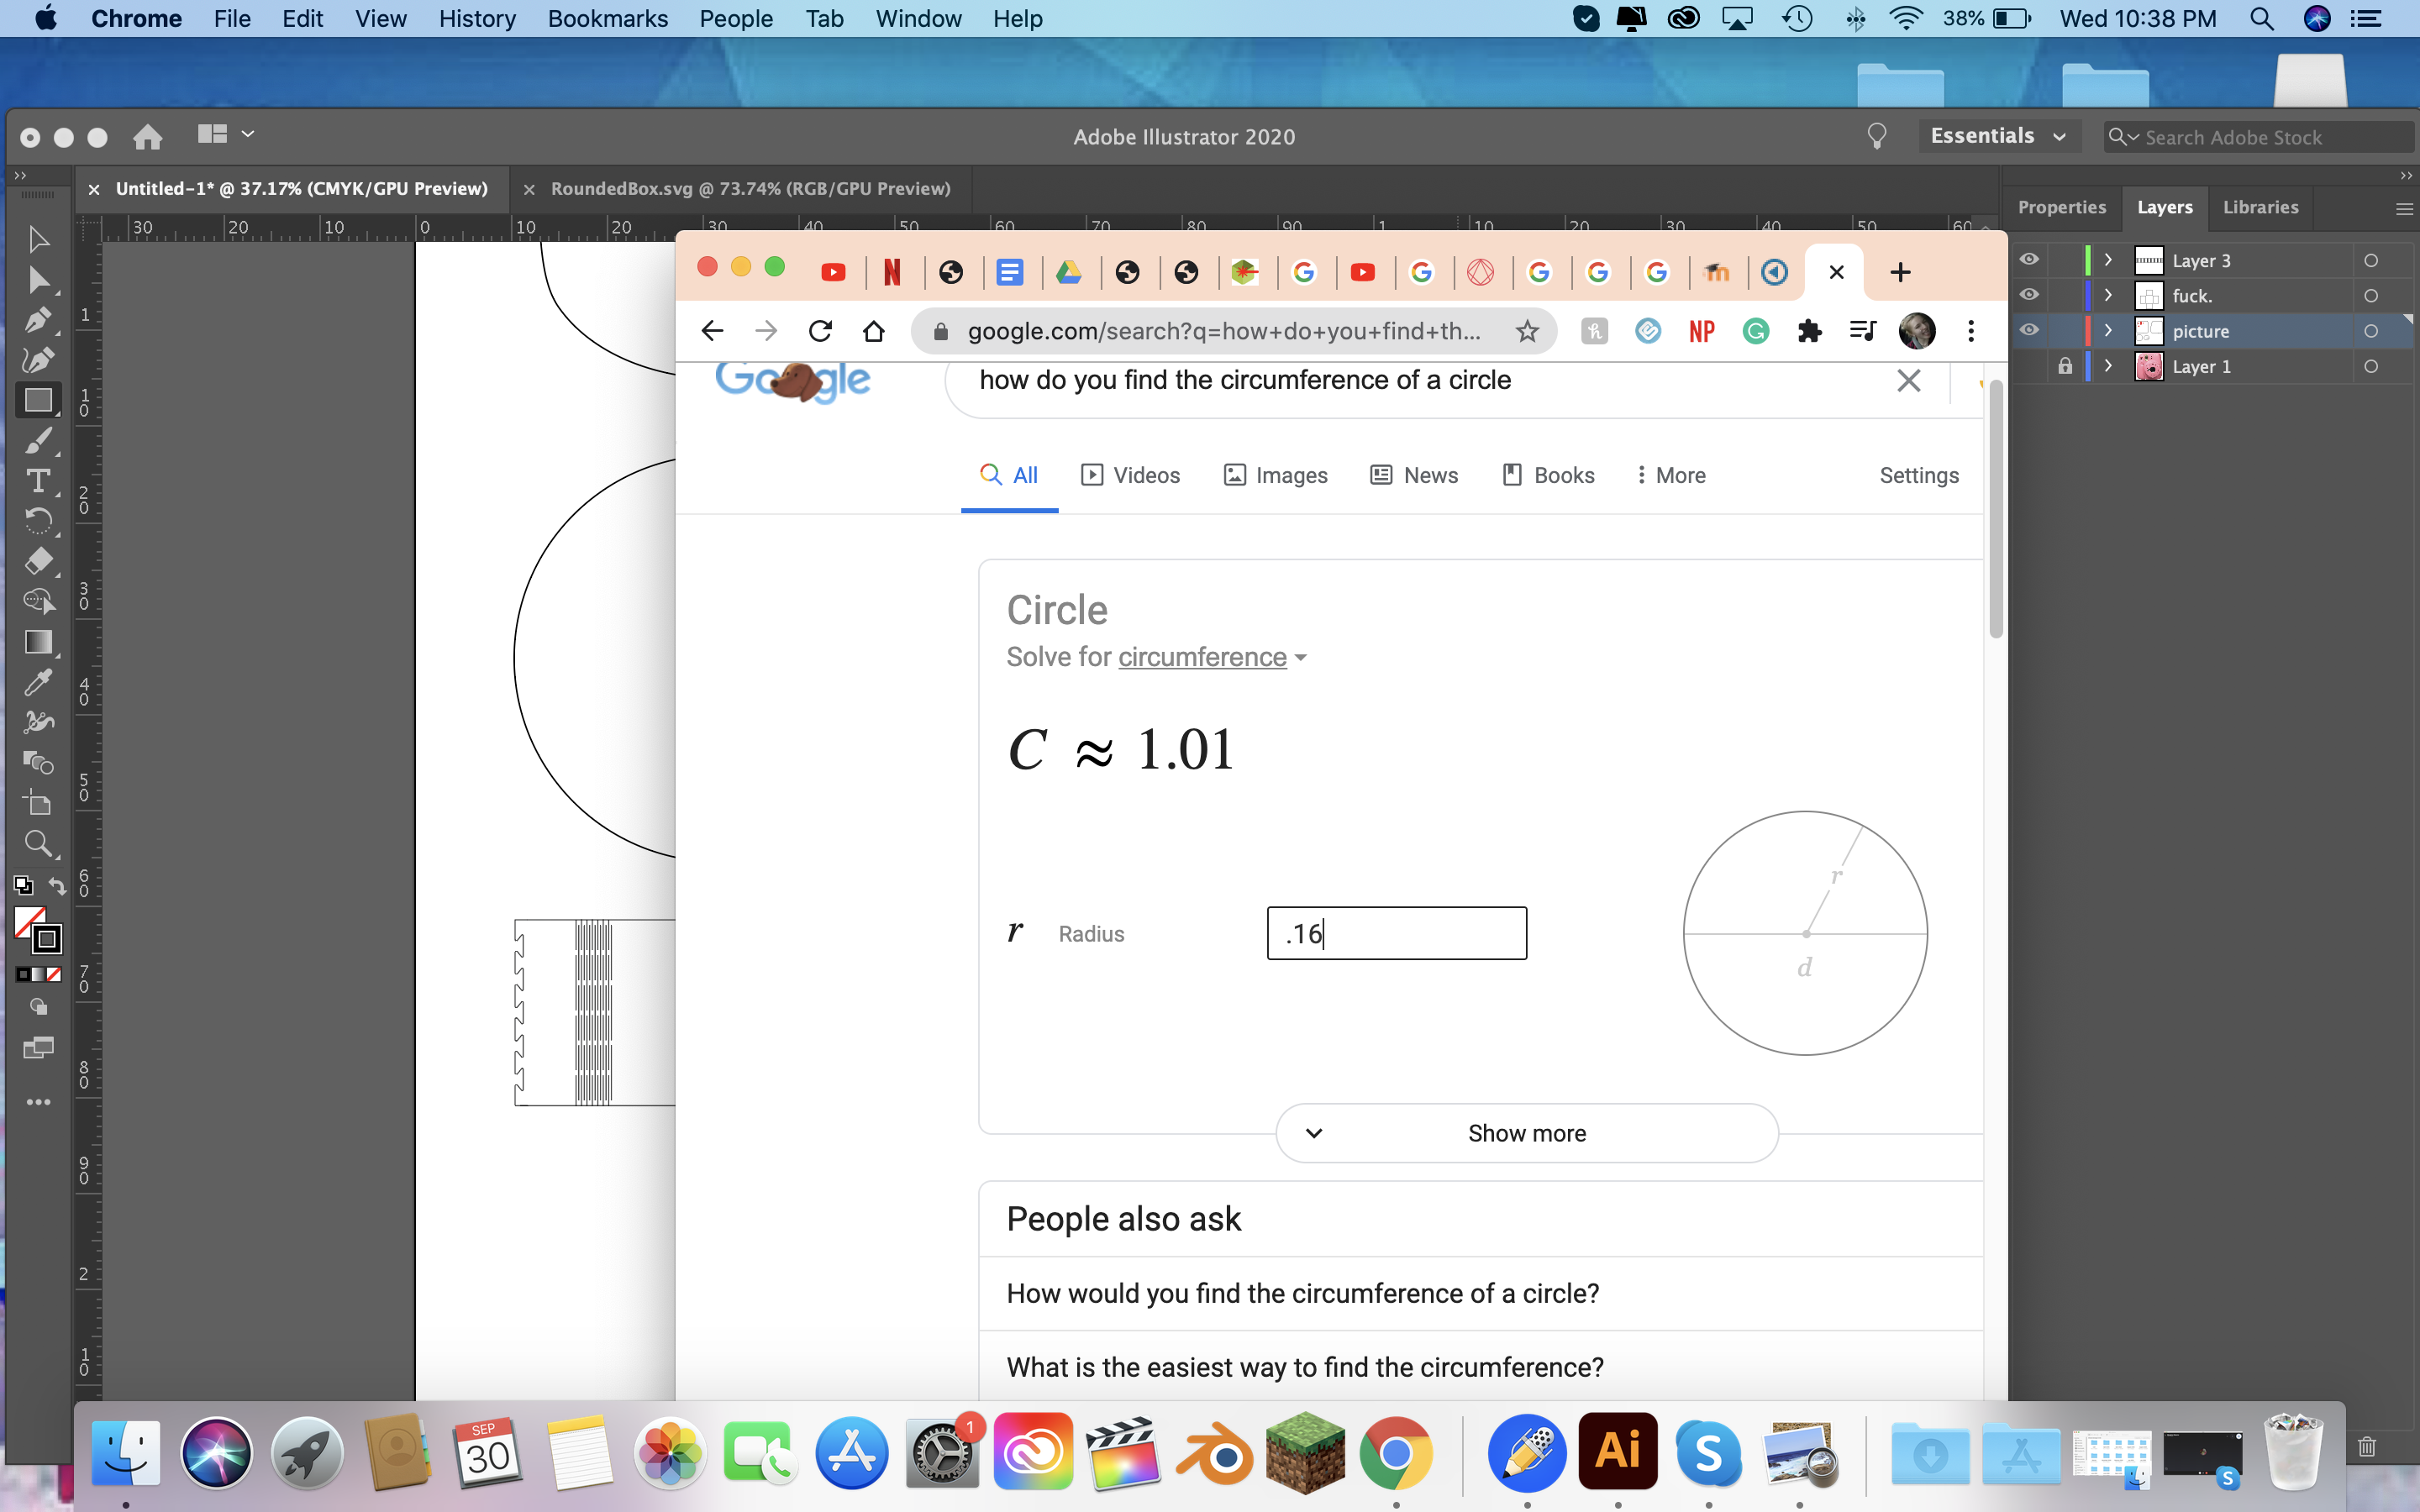
 Then I did the same thing for a smaller cirlce to act as the lense that pops out.

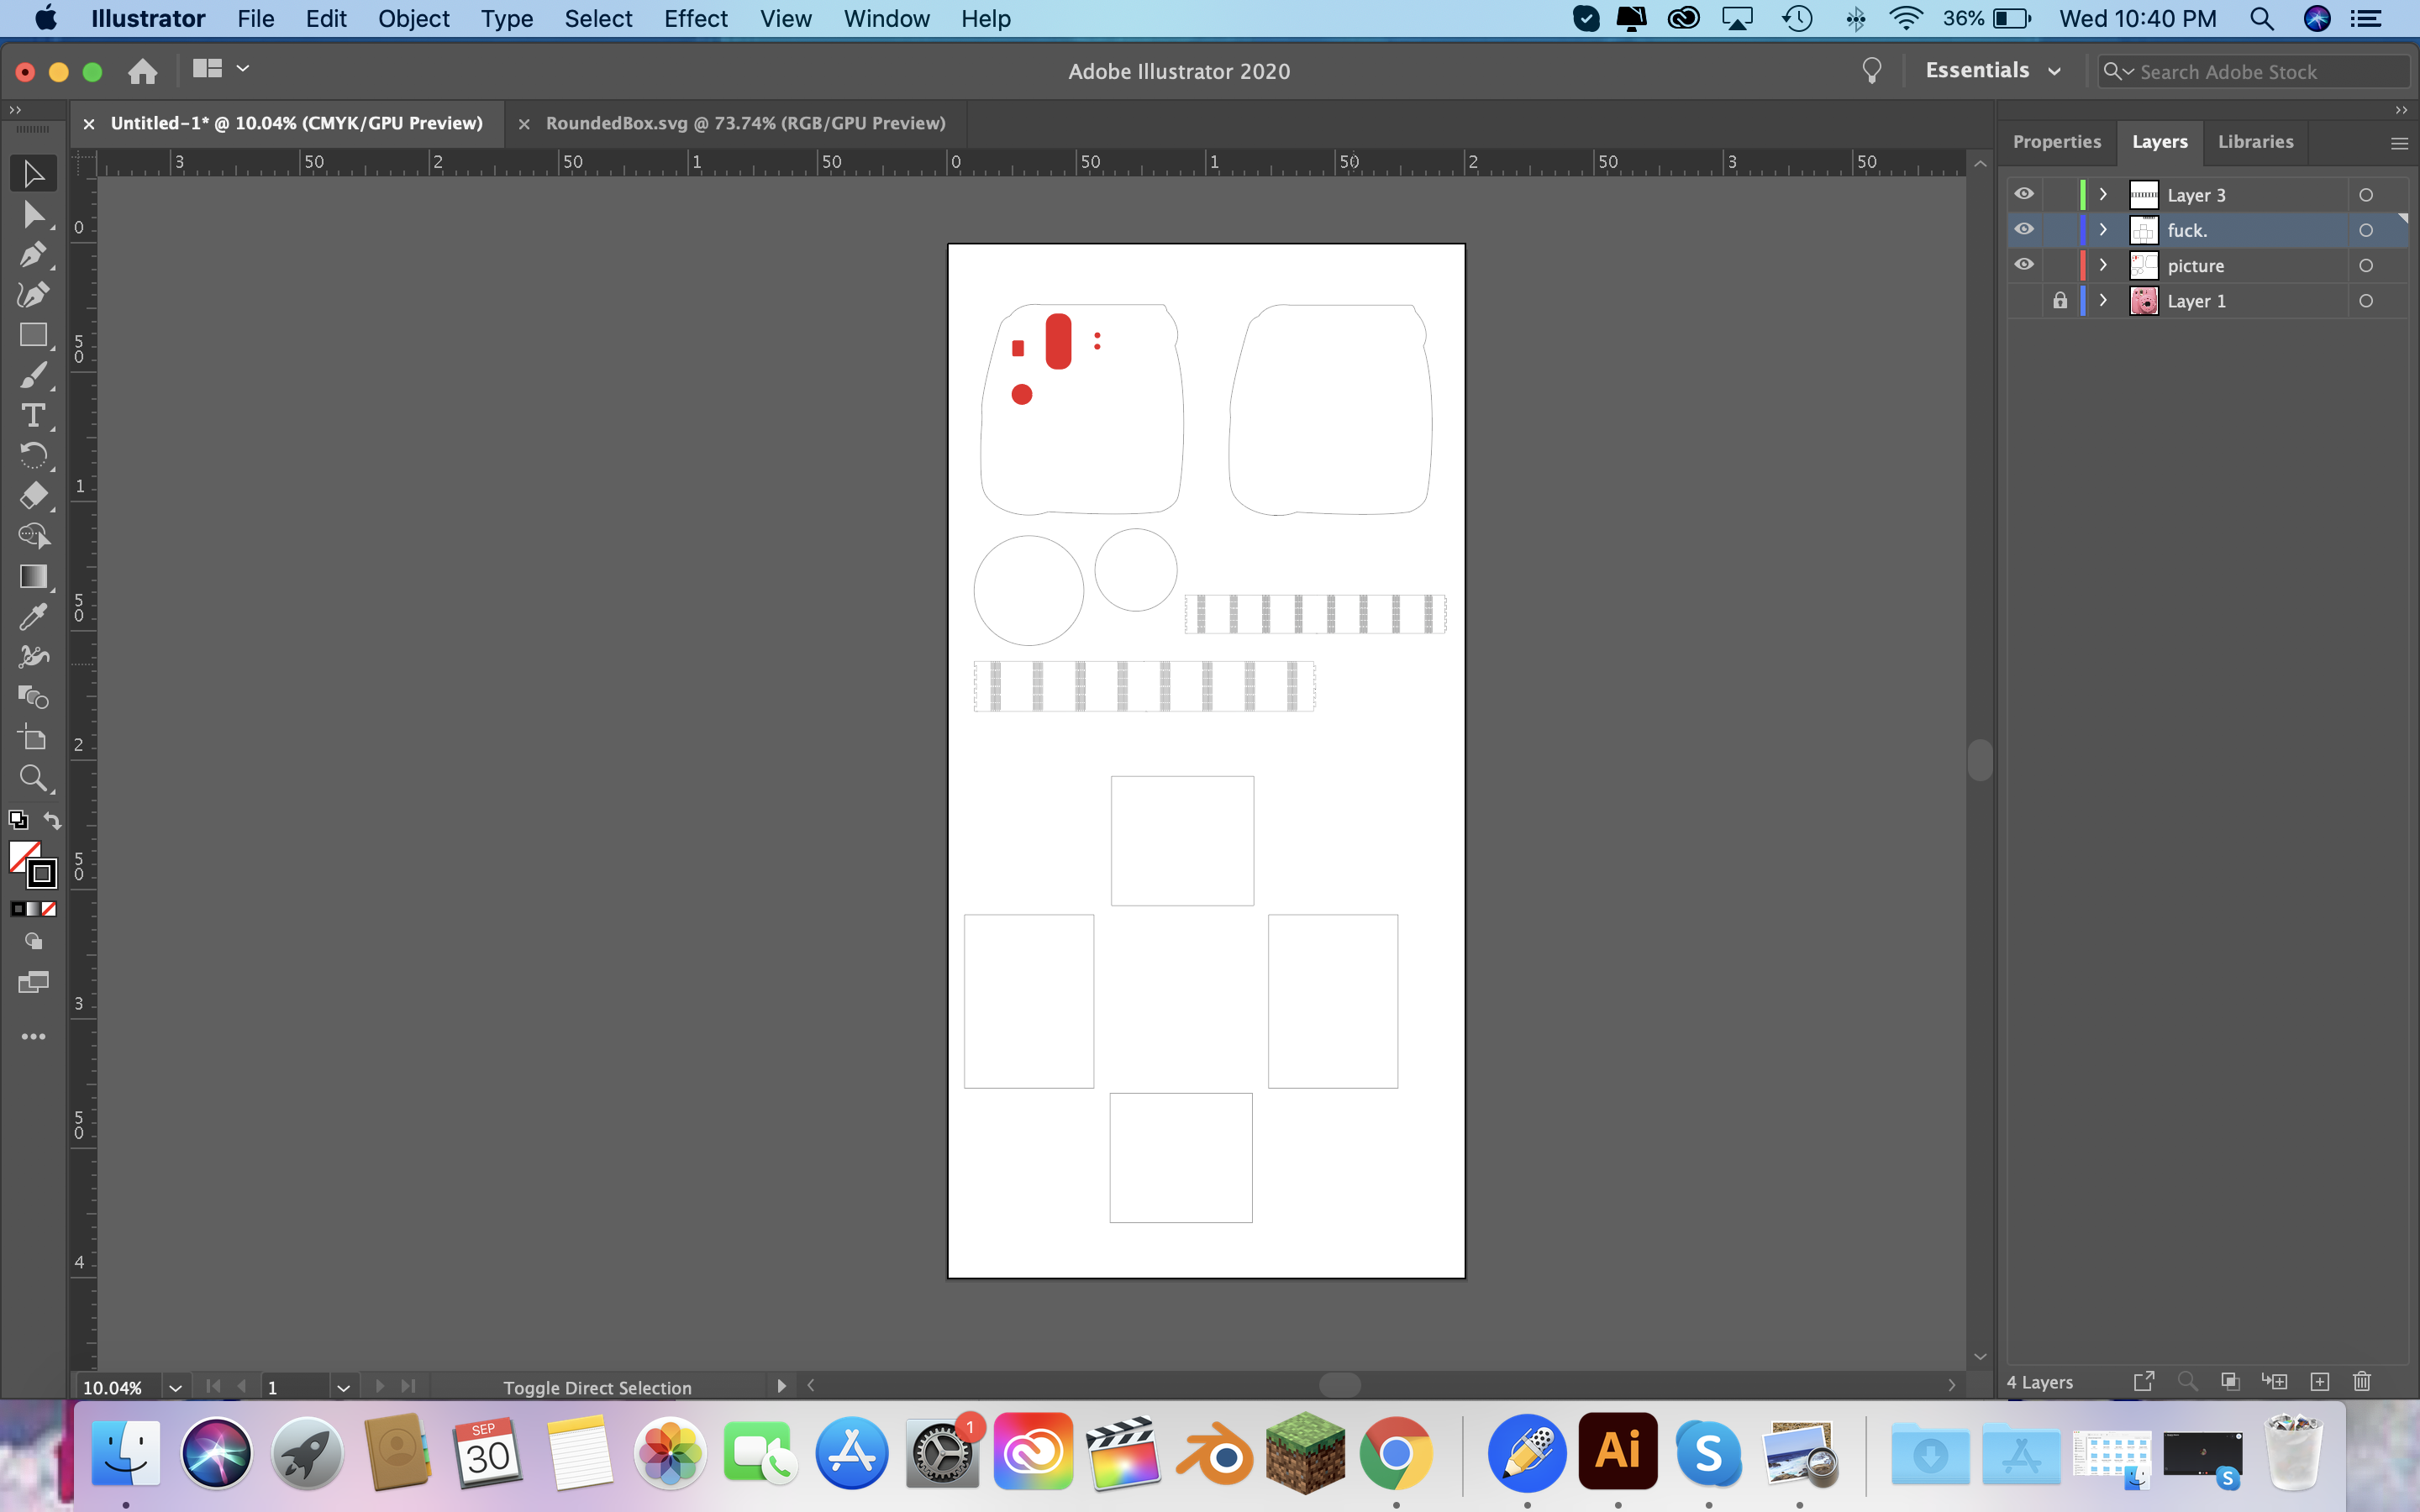
 And finally I had my final cut out.
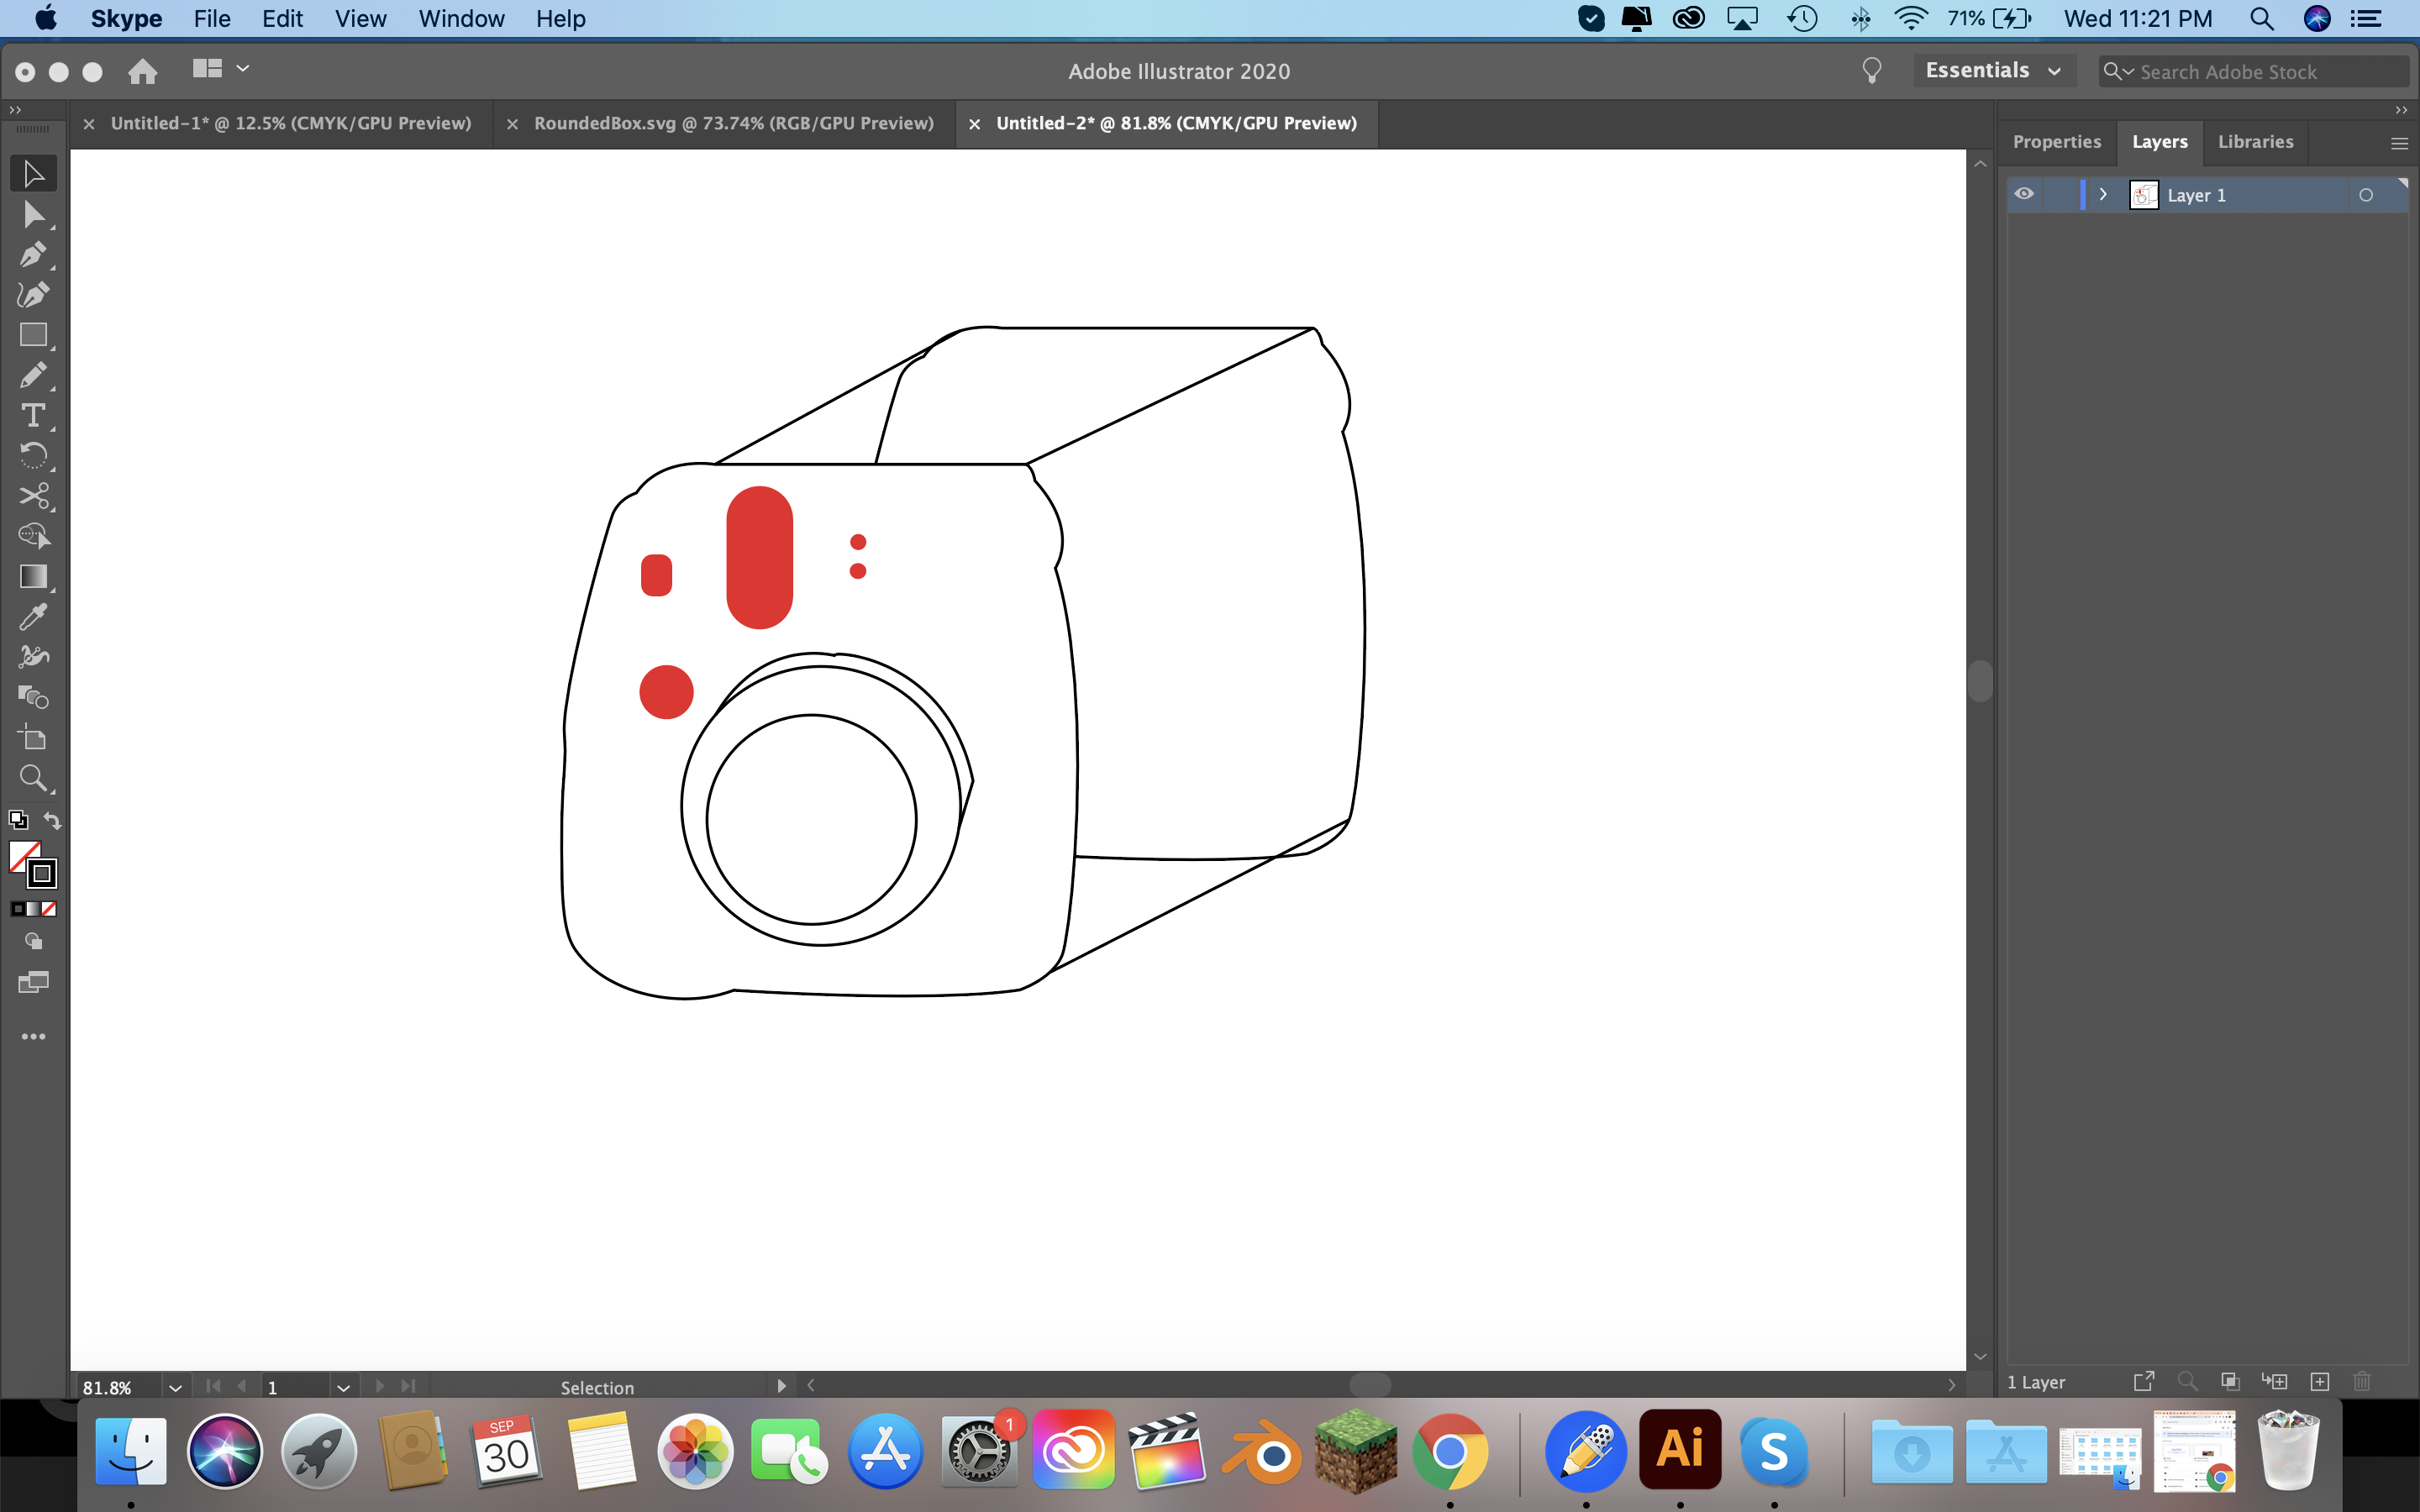
 Then I did a 3D drawing of the box but it is a top down view.

 For some other things for the final box I need to get wood glue , paint , some LED lights , and little hinges and a clip. All of that costs to $27.75 before tax. And that was my adventure of creating a little box just to hold some pictures. Files for this week
For some other things for the final box I need to get wood glue , paint , some LED lights , and little hinges and a clip. All of that costs to $27.75 before tax. And that was my adventure of creating a little box just to hold some pictures.
Files for this week
For some other things for the final box I need to get wood glue , paint , some LED lights , and little hinges and a clip. All of that costs to $27.75 before tax. And that was my adventure of creating a little box just to hold some pictures. Files for this week
For some other things for the final box I need to get wood glue , paint , some LED lights , and little hinges and a clip. All of that costs to $27.75 before tax. And that was my adventure of creating a little box just to hold some pictures.
Files for this week
So the first part of the assigment was to get trained on the Axiom which surpisingly wasnt all that complicated for basic training. As with any program the first step is to open a new project. Then we played around with some of the tools and drawing things but then we had to make a box
Then we can set the size of the box over on the side to make it the size we want. Then I drew the rest of my shapes, a cirlce and a star, and once they were the correct size and place it was time to add the paths.
I added the 2D profile toolpath the the outside of the box so it cuts all the way through.
Then we needed to add tabs to it so it didnt move around while it was cutting. So thats what I did I added tabs to the corners of my box
Then I used the pocket toolpath on my cirlce, this one doesnt cut it all the way though it like engraves it. And I did the profile toolpath for the star and added tabs as well. Then for each path I had to select the tool bit we used, it was one of the down drill bits. Then once that was all done you save them as seperate projects on the SD card then head to the machine.
The first step of the machine is to turn it on. (and get saftey googles and ear plugs)
Then the next step is to take off the duster thing and make sure your toolbit is in the machine using the wrenches. Which I was very close of slipping and bashing my hand into the machine but its fine. And then I turned on the duster where all the dust should go through but it never actually does all the way.
Then we taped and drilled our material down so it doesn't move and cause injury.
The next step was to bring it to the orgin/ set the orgin so it knows where to start cutting.
Then by plugging in the little blue thing it sets the height of the material which tells the machine where to start cutting.
Then you select your file from the SD card and cut it out.
And here is my final project.
The next part is where it started to get hard for me and it honestly had no reason to be this difficult but softwares hate me so here we are. So I decided I wanted to creat a box so I could keep some pictures in and have it kinda look like one of the new types of instant cameras. I cant tell you how or why it took like 5 hours to complete the worlds most simplest box, but here are all of my mistakes and trying to figure something out. It started off strong with creating the outline from a picture of the camera.
Then I copied it to create the bottom of the box.
Then I started tracing and filling the inside of the little details to make it look better, the ones that are filled in are supposed to be carved out and not cut out either using the lazer cutter or the Axiom.
Then I wanted to create a 3D part of the face with the the camera part. This is where things went down hill and fast. So I wanted to make this no glue at first so I made a circle and created a little box and then used a tool to have it go around the circle 45 times. I used this video to figure it out.
Then I made another cirlce and tried doing the same thing but for the outside of it. See this was my first mistake out of many. I know this now that this is not how notches work but I still couldnt figure out with Illustrator how to exactly make it so they could fit it together.
Then what ever brain cells I had left knew that was not how you do it so I tried again, but this time it was still wrong. I decided to try and make a smaller circle in the middle that linned up with the the already created little nobs and then try and go around that with the box. Yeah I don't know my mindset either.
Then I tried it again one more time, and it still didnt work because thats not how these things work.
The next thing I did was give up and work on making the piece so it can wrap around the edges. Now I know how stupid this is going to sound but I decided, oh yeah you just use the diameter and that will be equal to the length of the piece. News flash, thats not how that works. So I took a peice from the box
website from a while ago.
Then I deleted the little notches for the top part becuase at this point I gave up with trying to make notches and decided glue is just as effective.
Then somewhere in my brain I knew this didnt look right so I just decided to double the length of the bedning part pretending that solved the issue, dont worry I fix it later.
Then the next part, I am ashamed I tried to do this, but I wanted to create a box in the shape of the side so it was flushed up agaisnt it. Lets say I scraped that idea pretty fast.
Then I moved onto the idea of, ok lets just make a box with a fancy top and bottom which will overhang the sides of the box. But even this part I messed up with. So I made a box the length that I wanted the front side and back side to be.
Then I tried to make notches again which, I mean just look at it, I gave up that idea fast. It was at this time and this long I gave up and called one of my friends that go to a different school to help me.
Then I created a box to be the pretend top so I could make the sides from there.
I made a side with the width the same as the pretend box top and 6 inches for the height.
Then I did the same thing for the side of the box the hight matches up to be the same and the width is 6 inches.
Now at this point asked my friend the stupid quesiton of, how do you make a cylinder, after a few minutes of her laughing at me she reminded me that it was the circumference of the circle so now was the adventure of finding circumference of the circle. So I drew the a line to find the radius and then put it in a calculator.
Then I created a box that was the the correct length and just matched the actual part to the length of the box and called it a day... well called it a night.
Then I did the same thing for a smaller cirlce to act as the lense that pops out.
And finally I had my final cut out.
Then I did a 3D drawing of the box but it is a top down view.
For some other things for the final box I need to get wood glue , paint , some LED lights , and little hinges and a clip. All of that costs to $27.75 before tax. And that was my adventure of creating a little box just to hold some pictures. Files for this week
For some other things for the final box I need to get wood glue , paint , some LED lights , and little hinges and a clip. All of that costs to $27.75 before tax. And that was my adventure of creating a little box just to hold some pictures.
Files for this week