WEEK 6
Another week more screenshots. This week there are 66 screenshots, fitting because its the 6th week.
 This week we had to create something out of carboard using Slicer for Fusion 360. The mini version is this week because next week we make it big. So the first thing I did before anything was download Slicer for Fusion 360
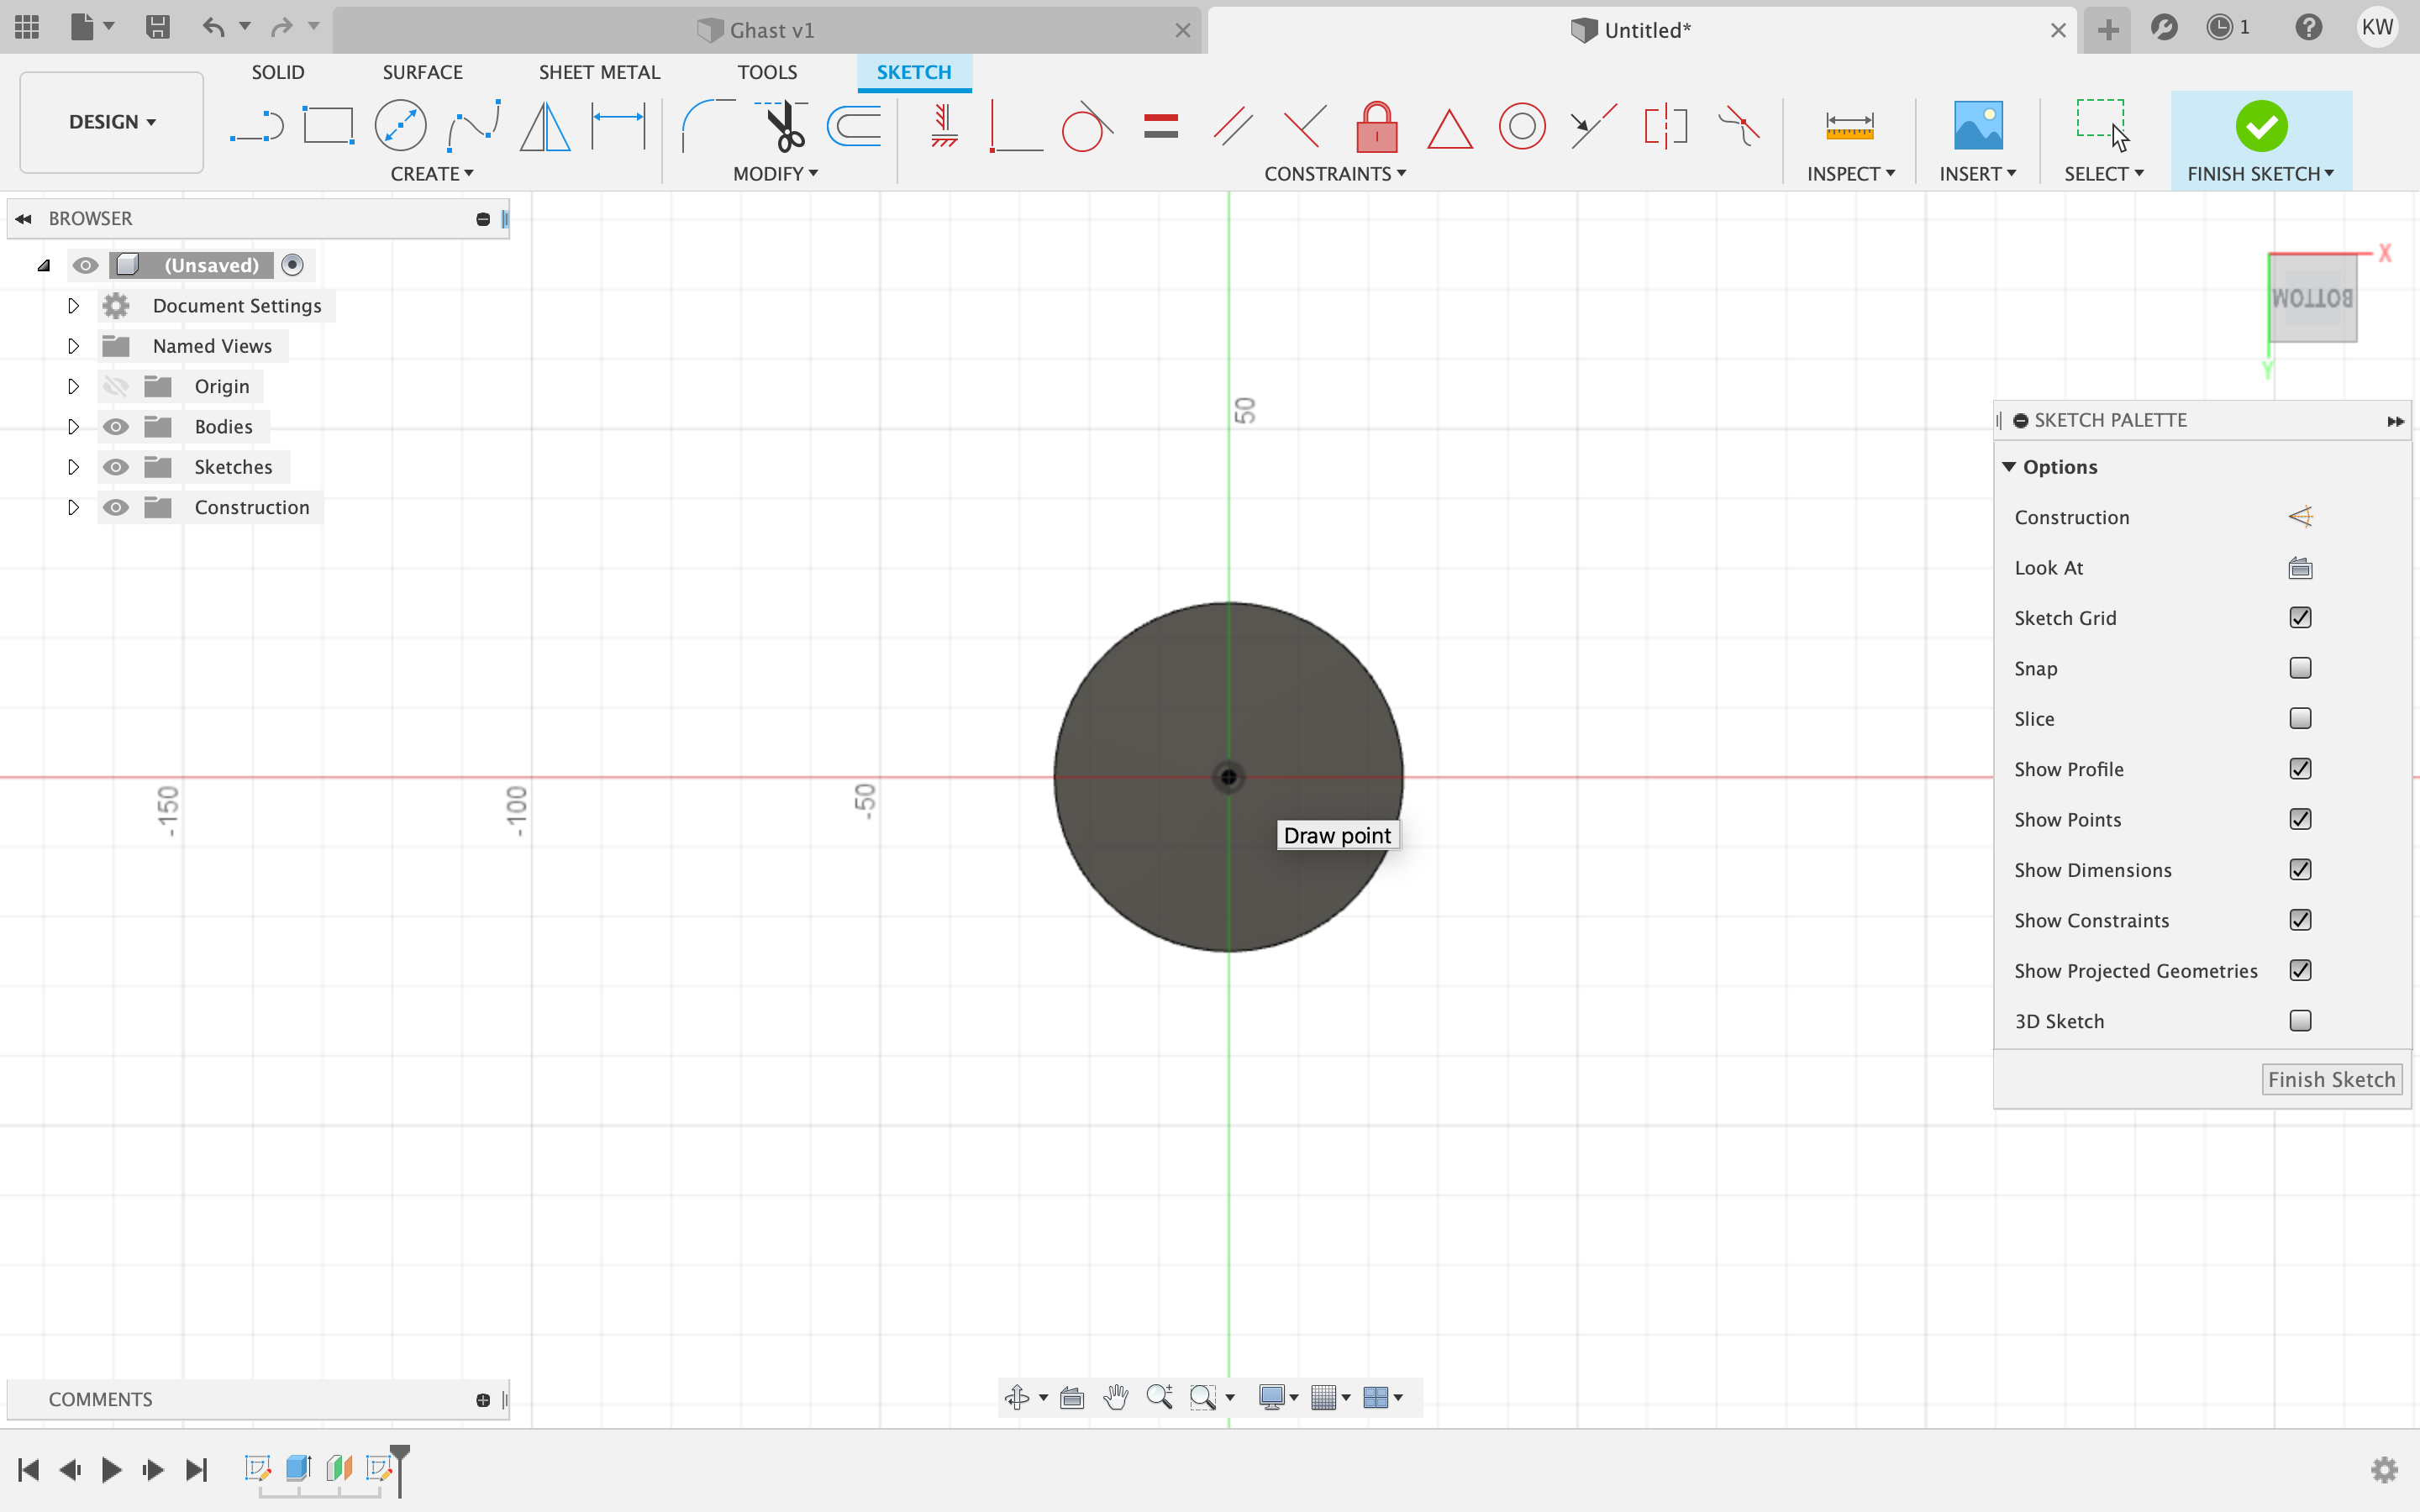
 Then I opened up Fusion 360 created a new sketch and made a circle with the radius of 50mm.
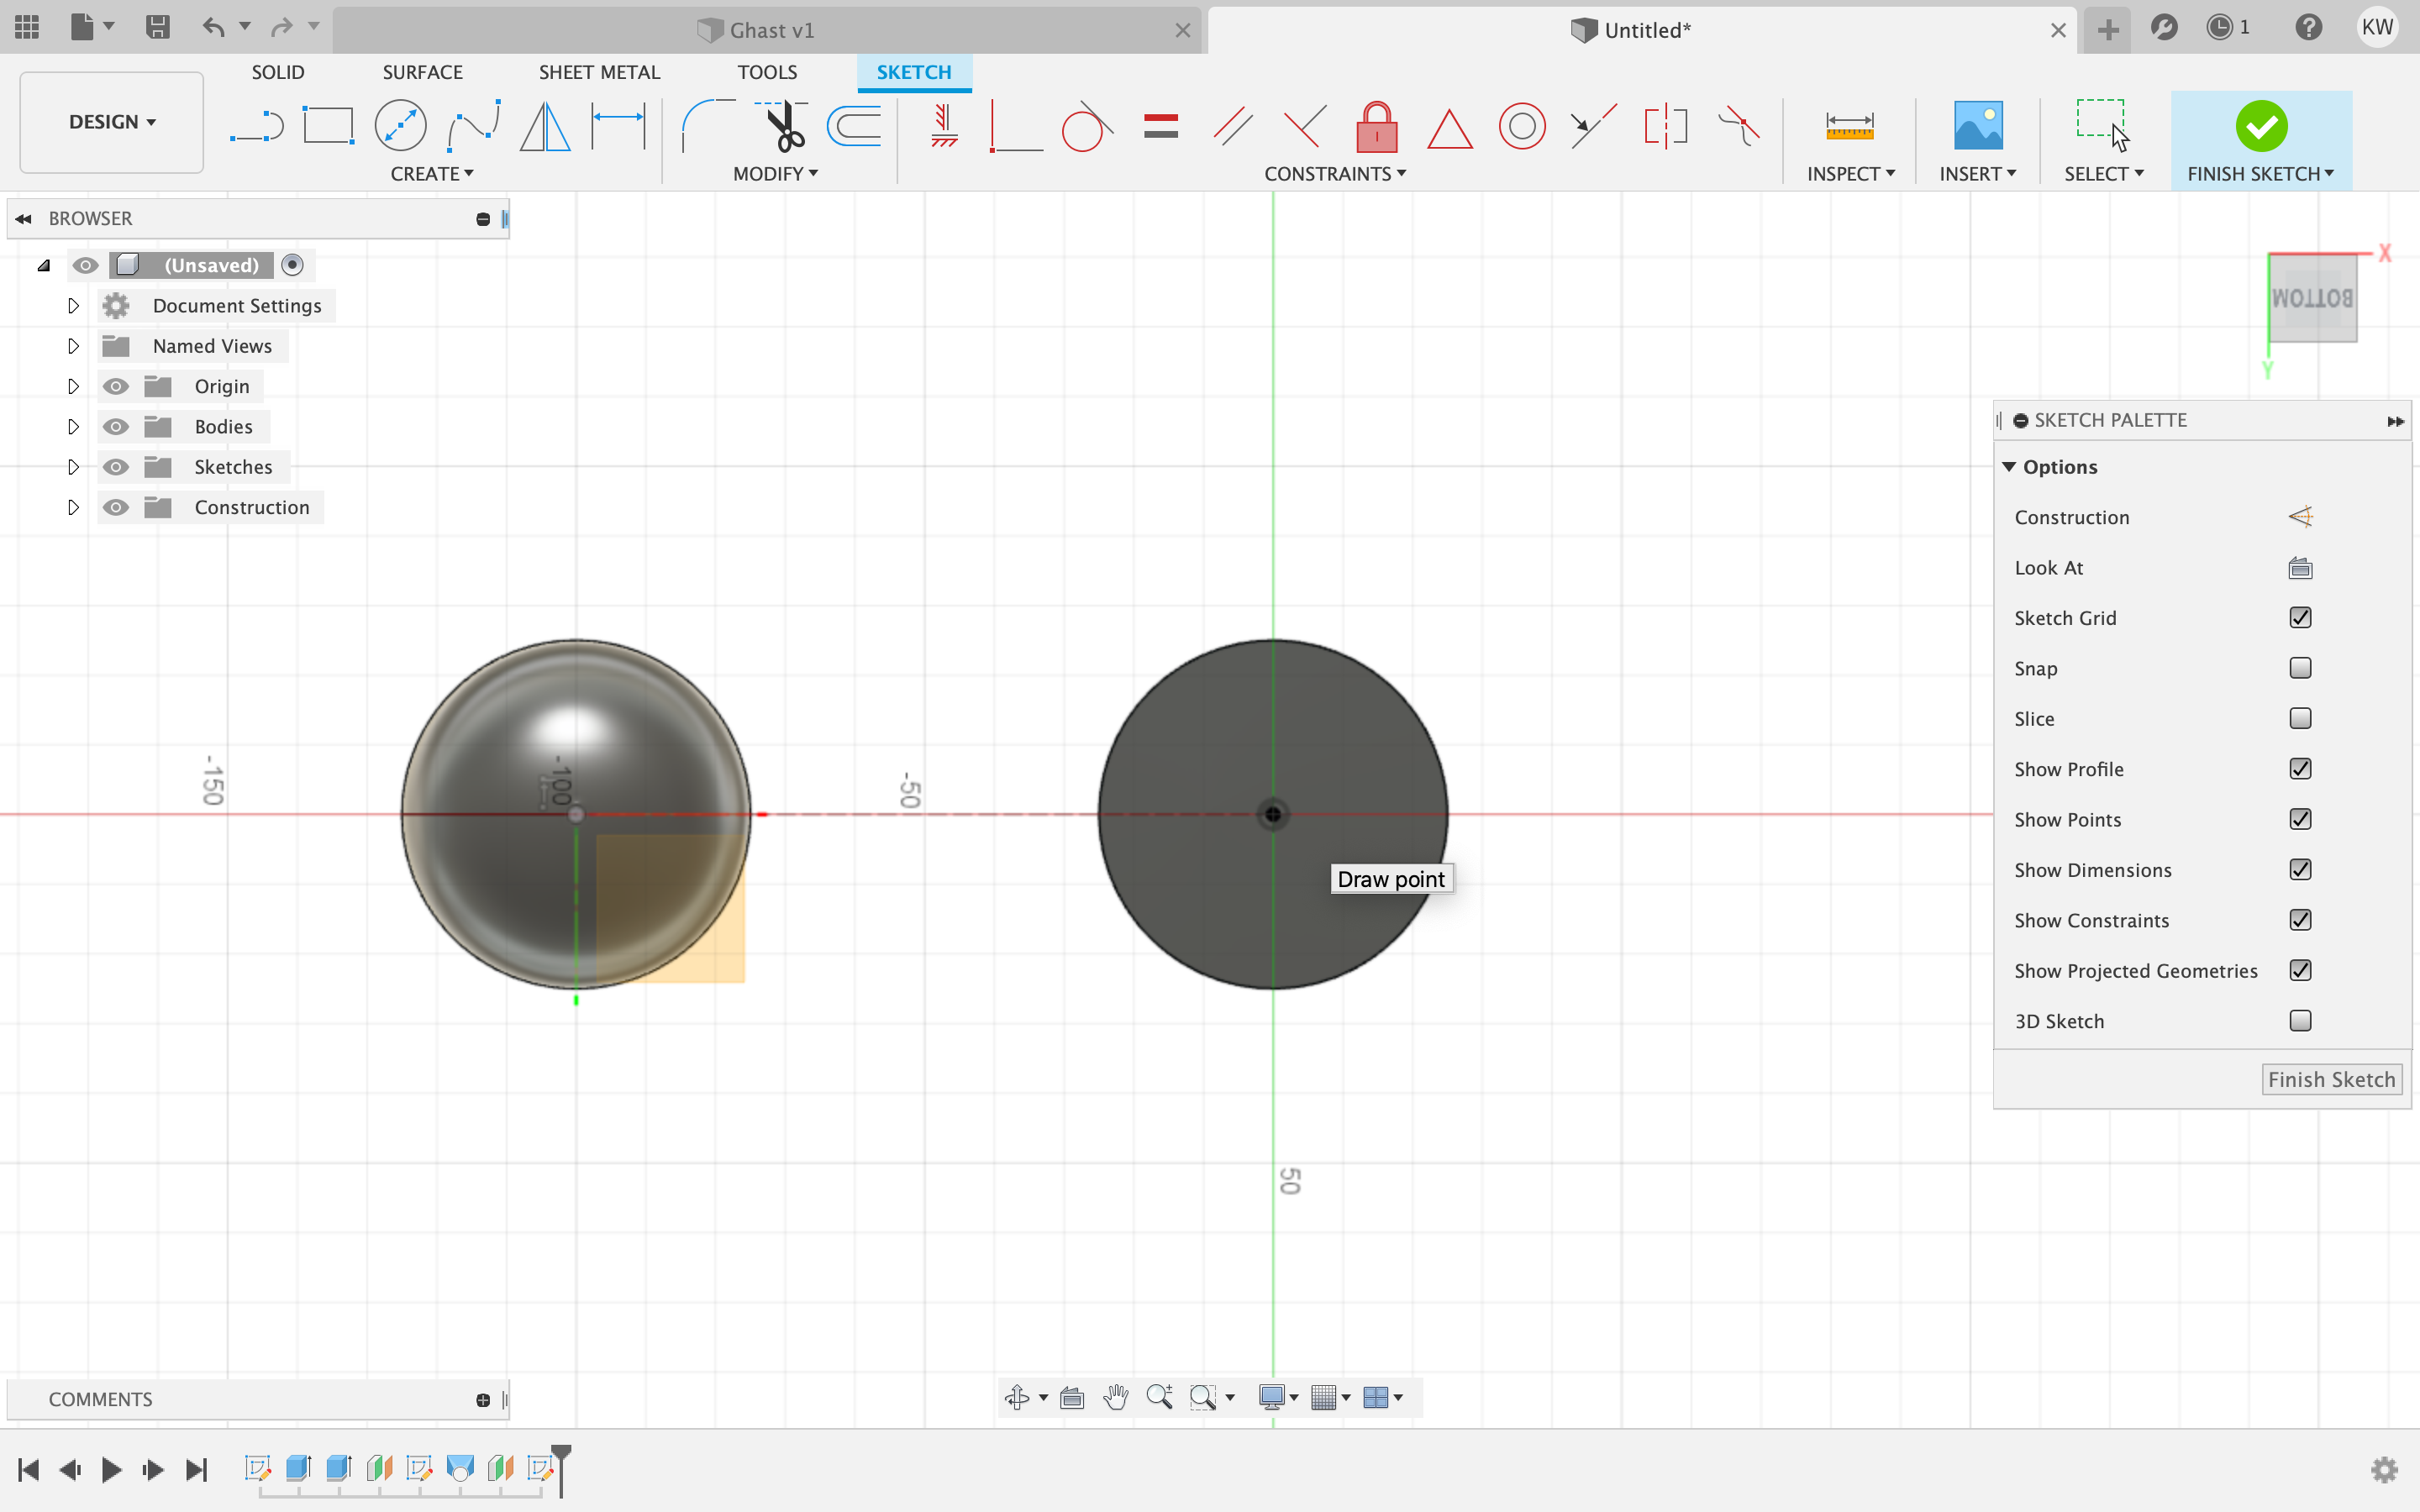
 Then I took that circle and extruded it 50mm I did this orignially to test if my idea was going to work. My plan was to try and modle an Among Us character (Picture in the files folder)
 Then I made a offset plane 15 mm from the bottom of my new cylinder
 I created a dot so I could refrence the center of the plane then I backed out of the sketch.
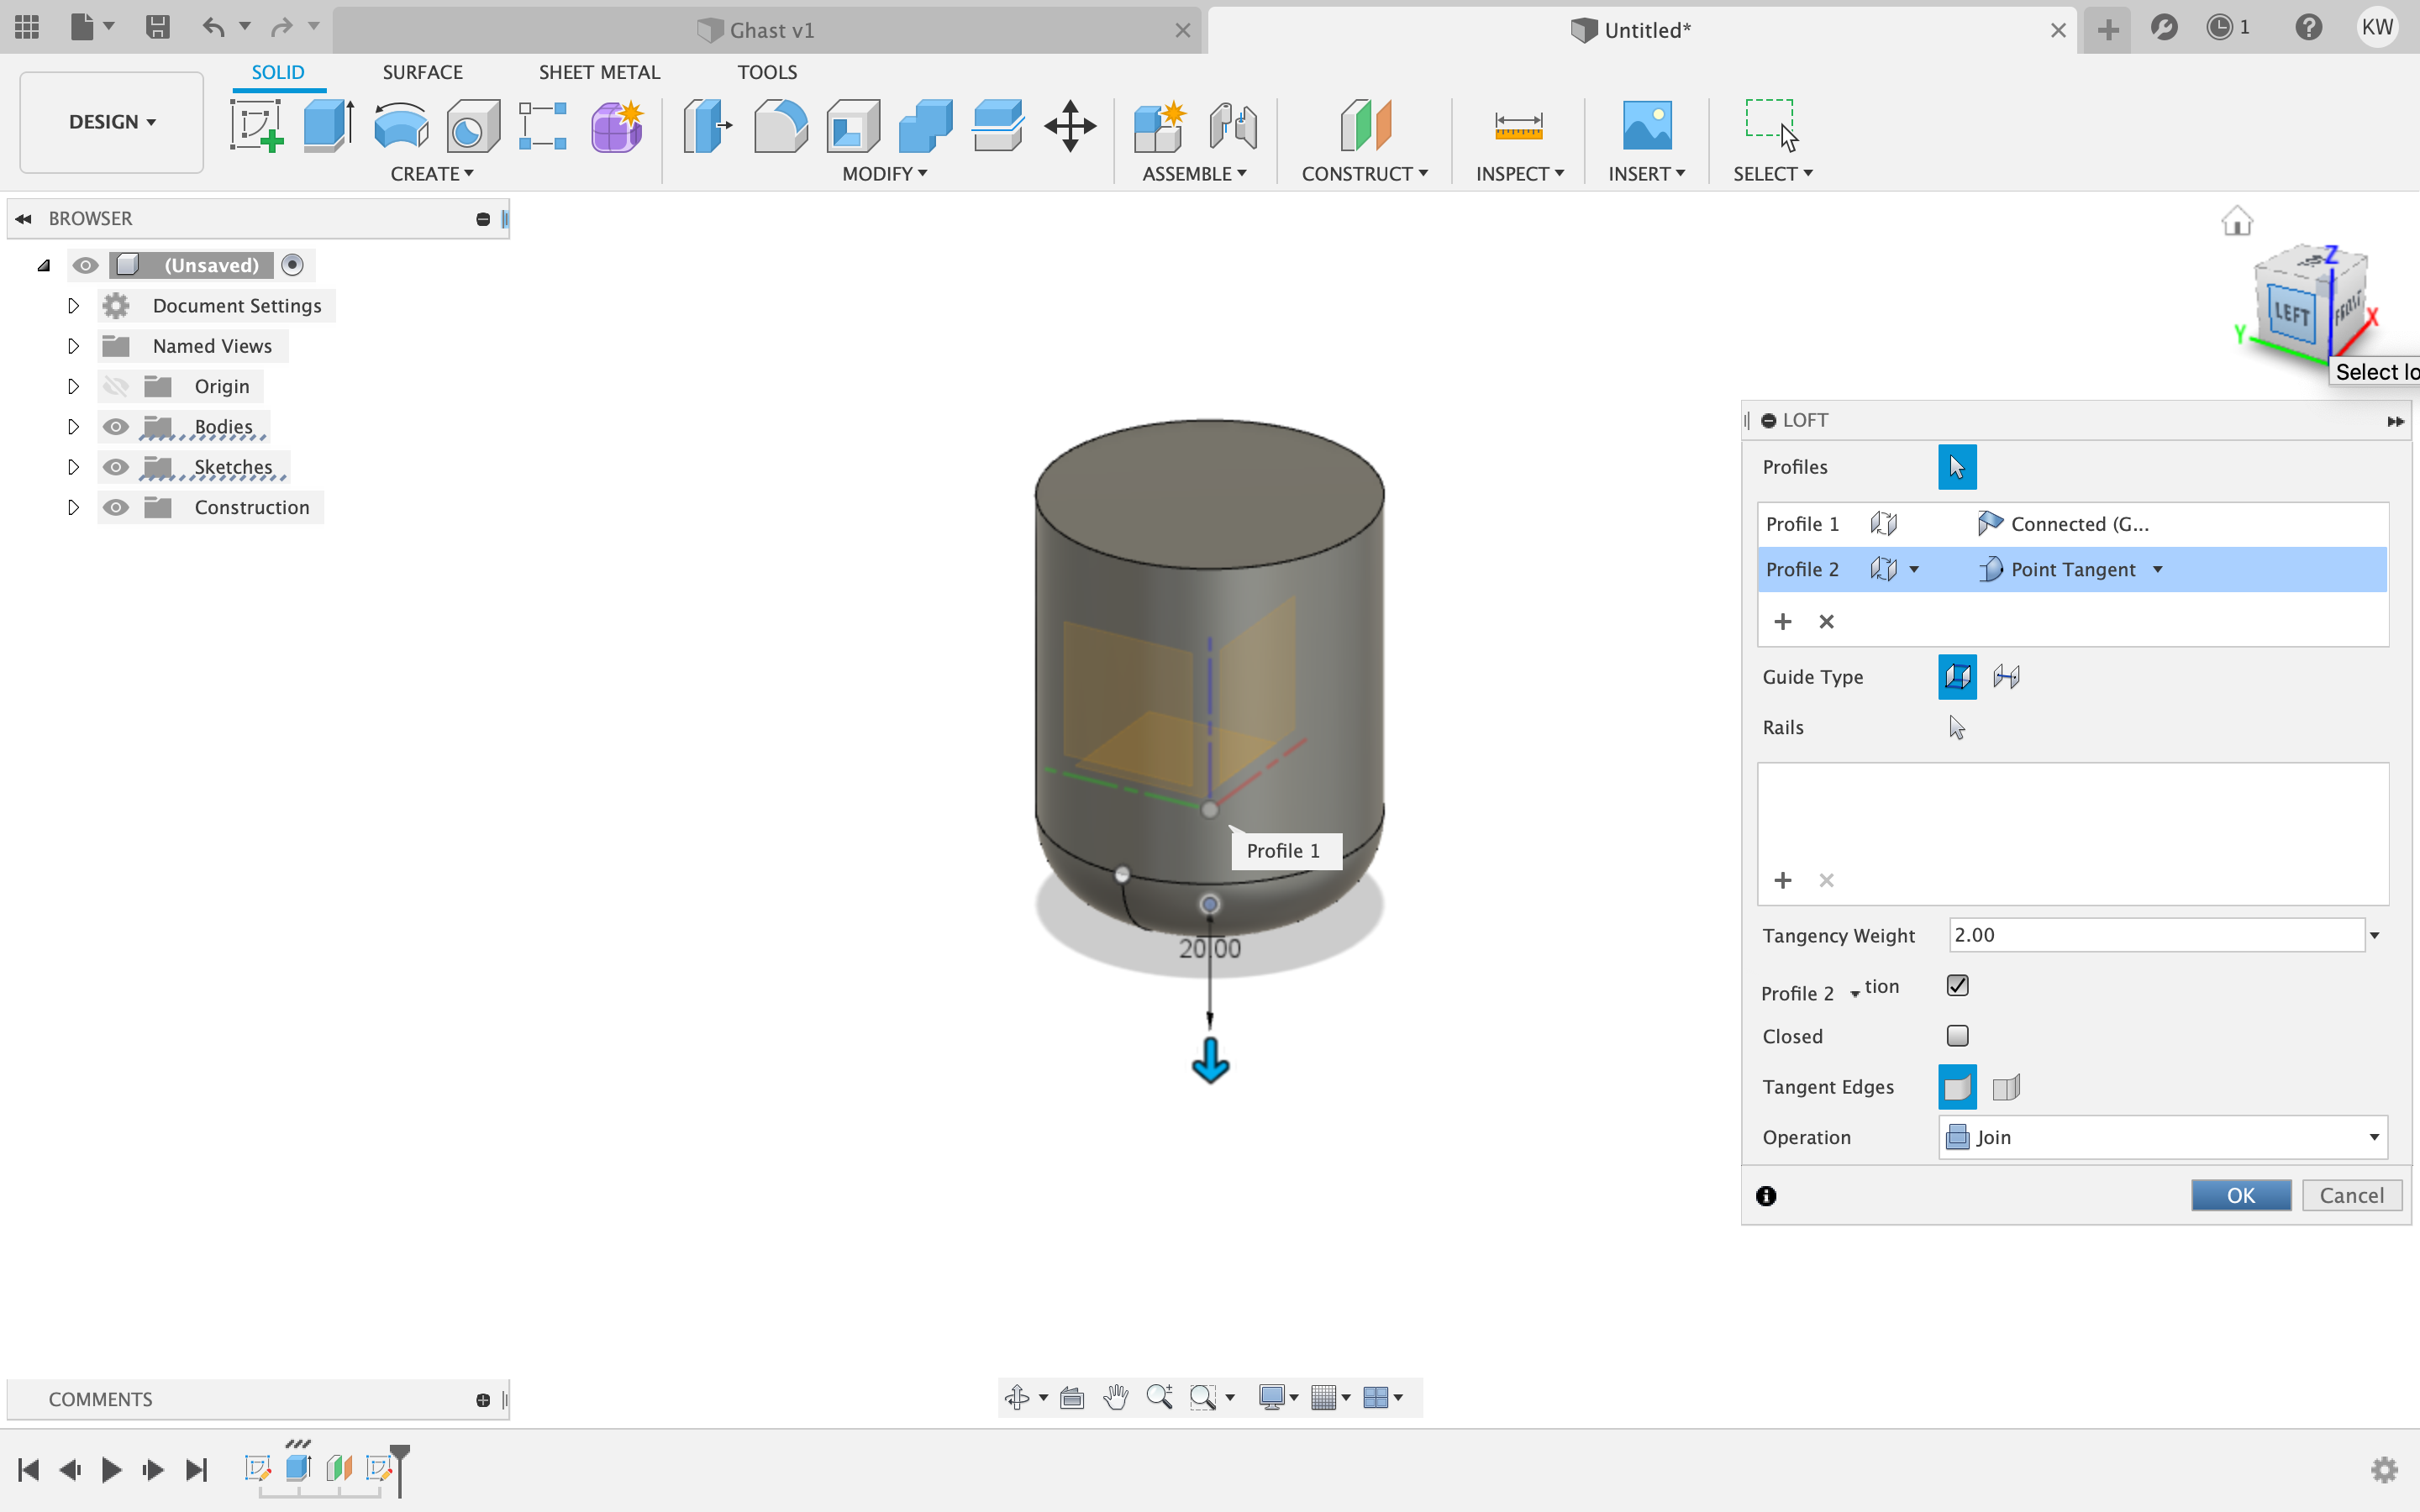
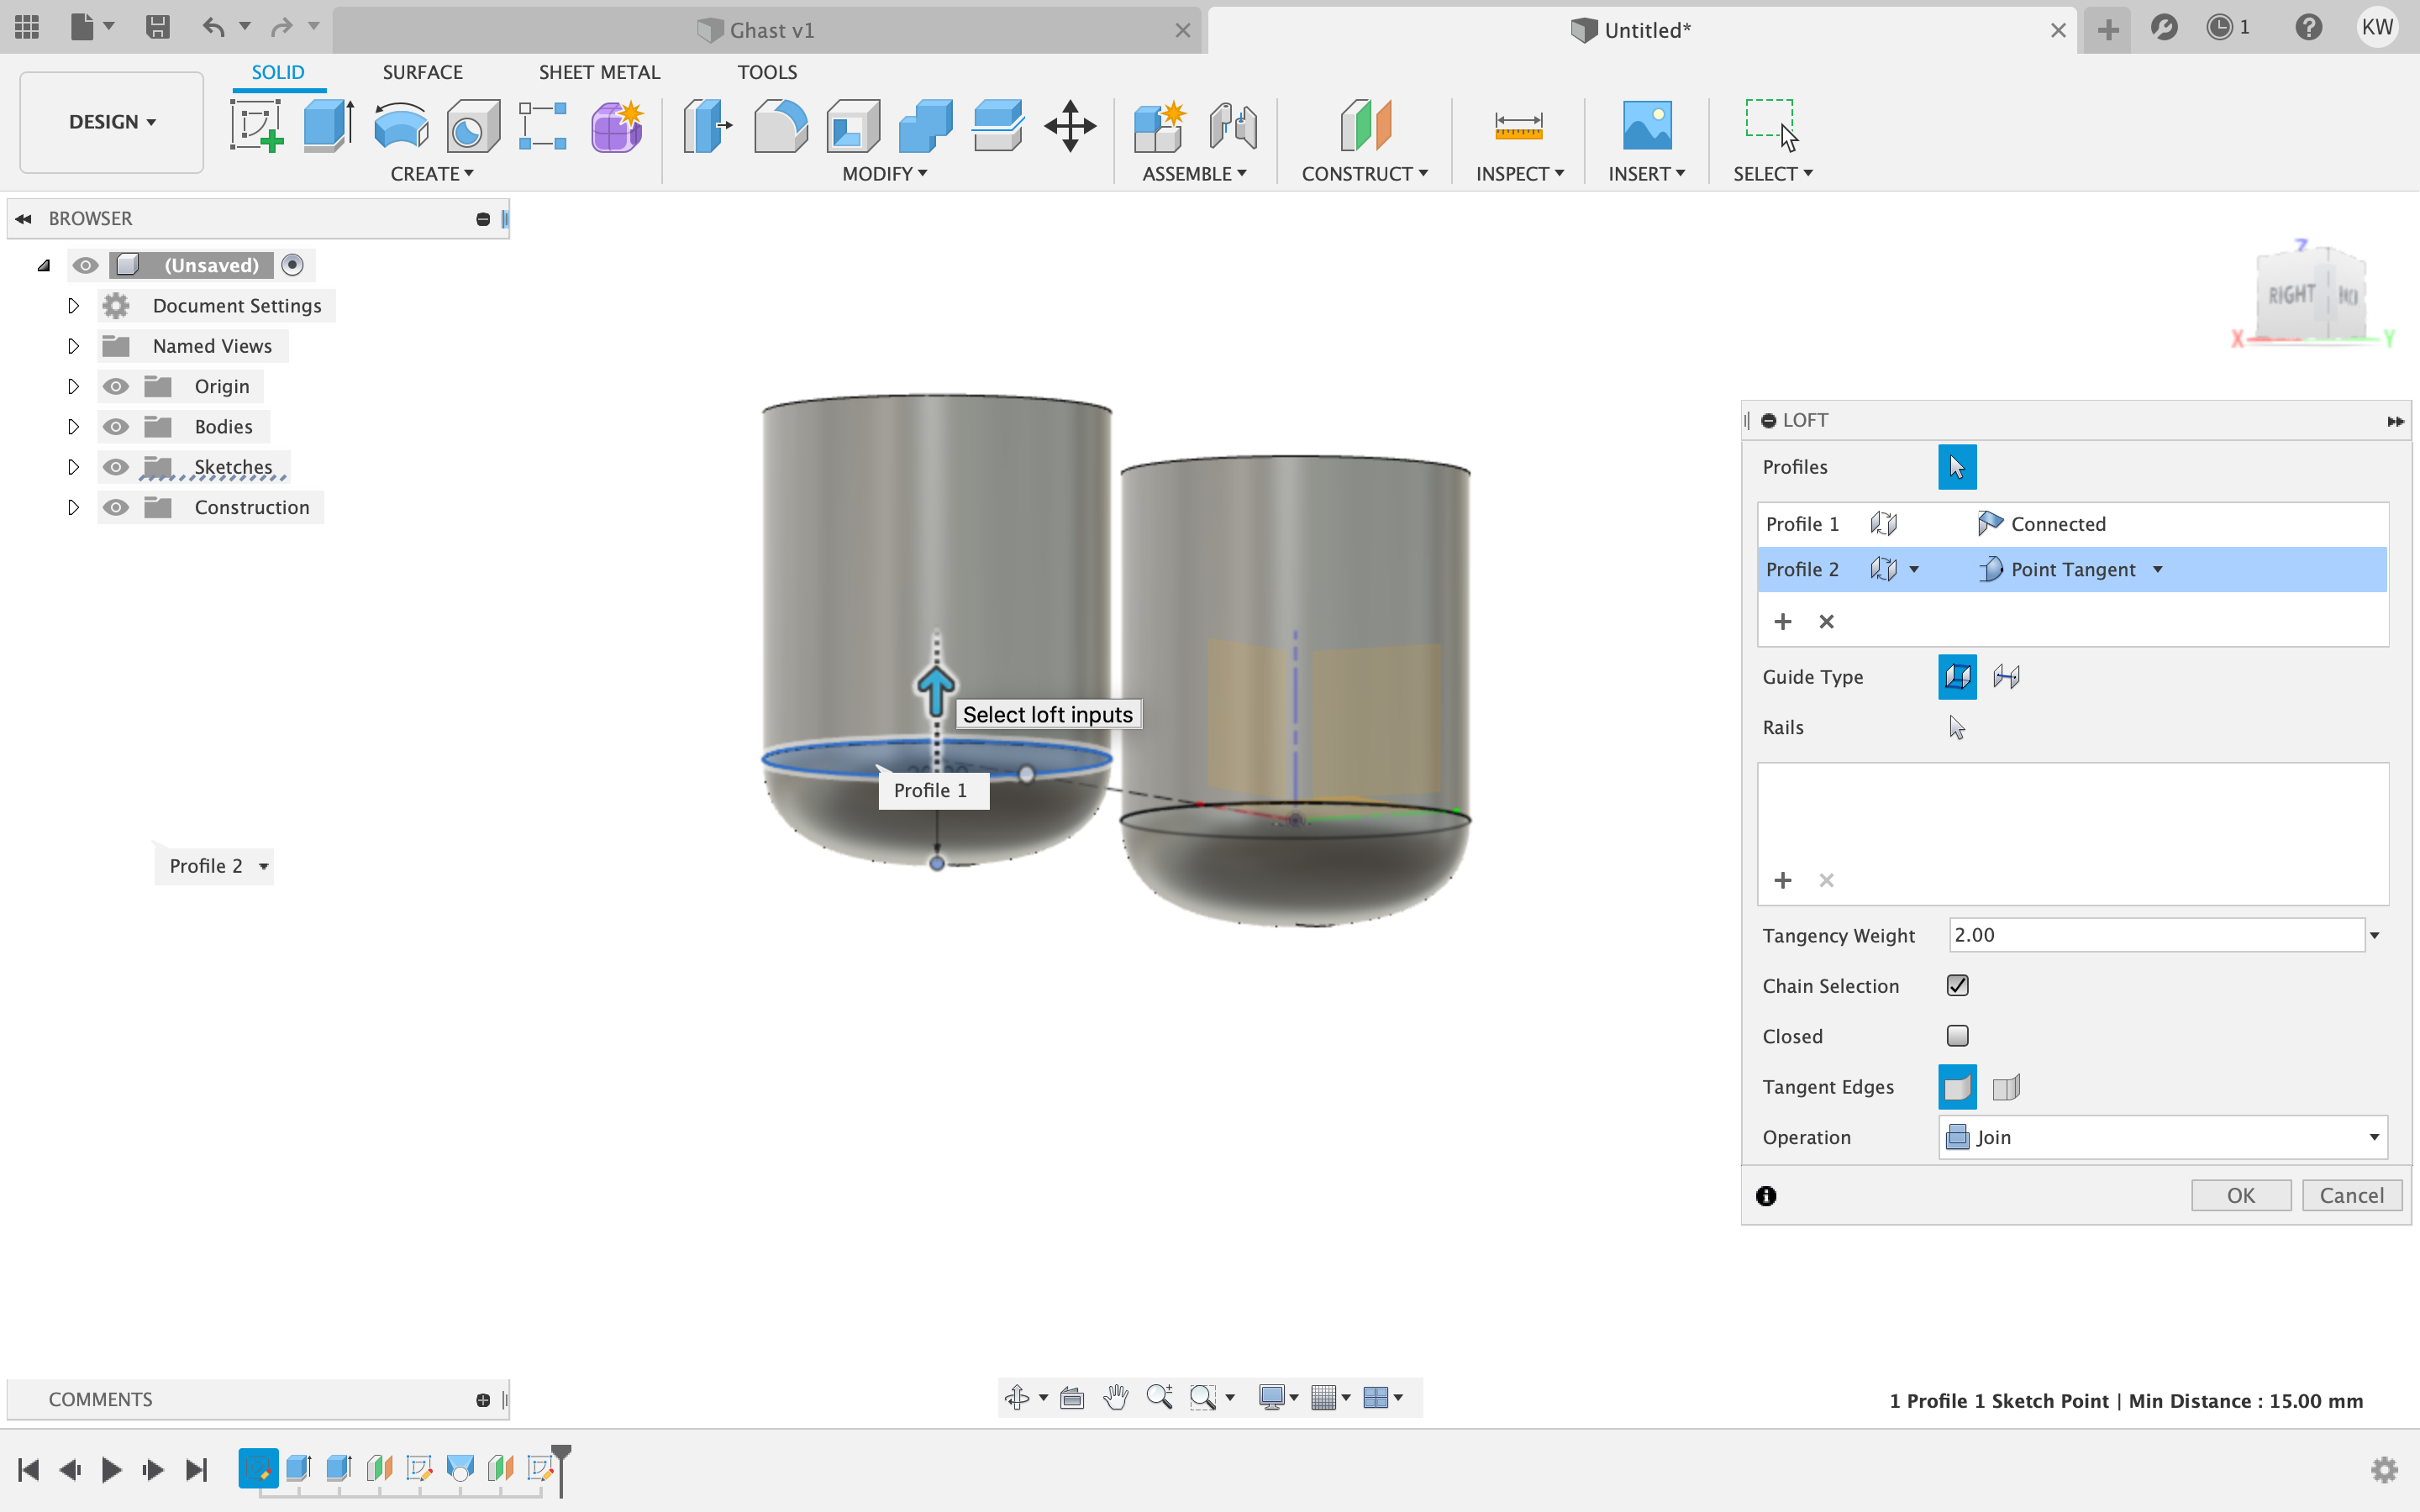
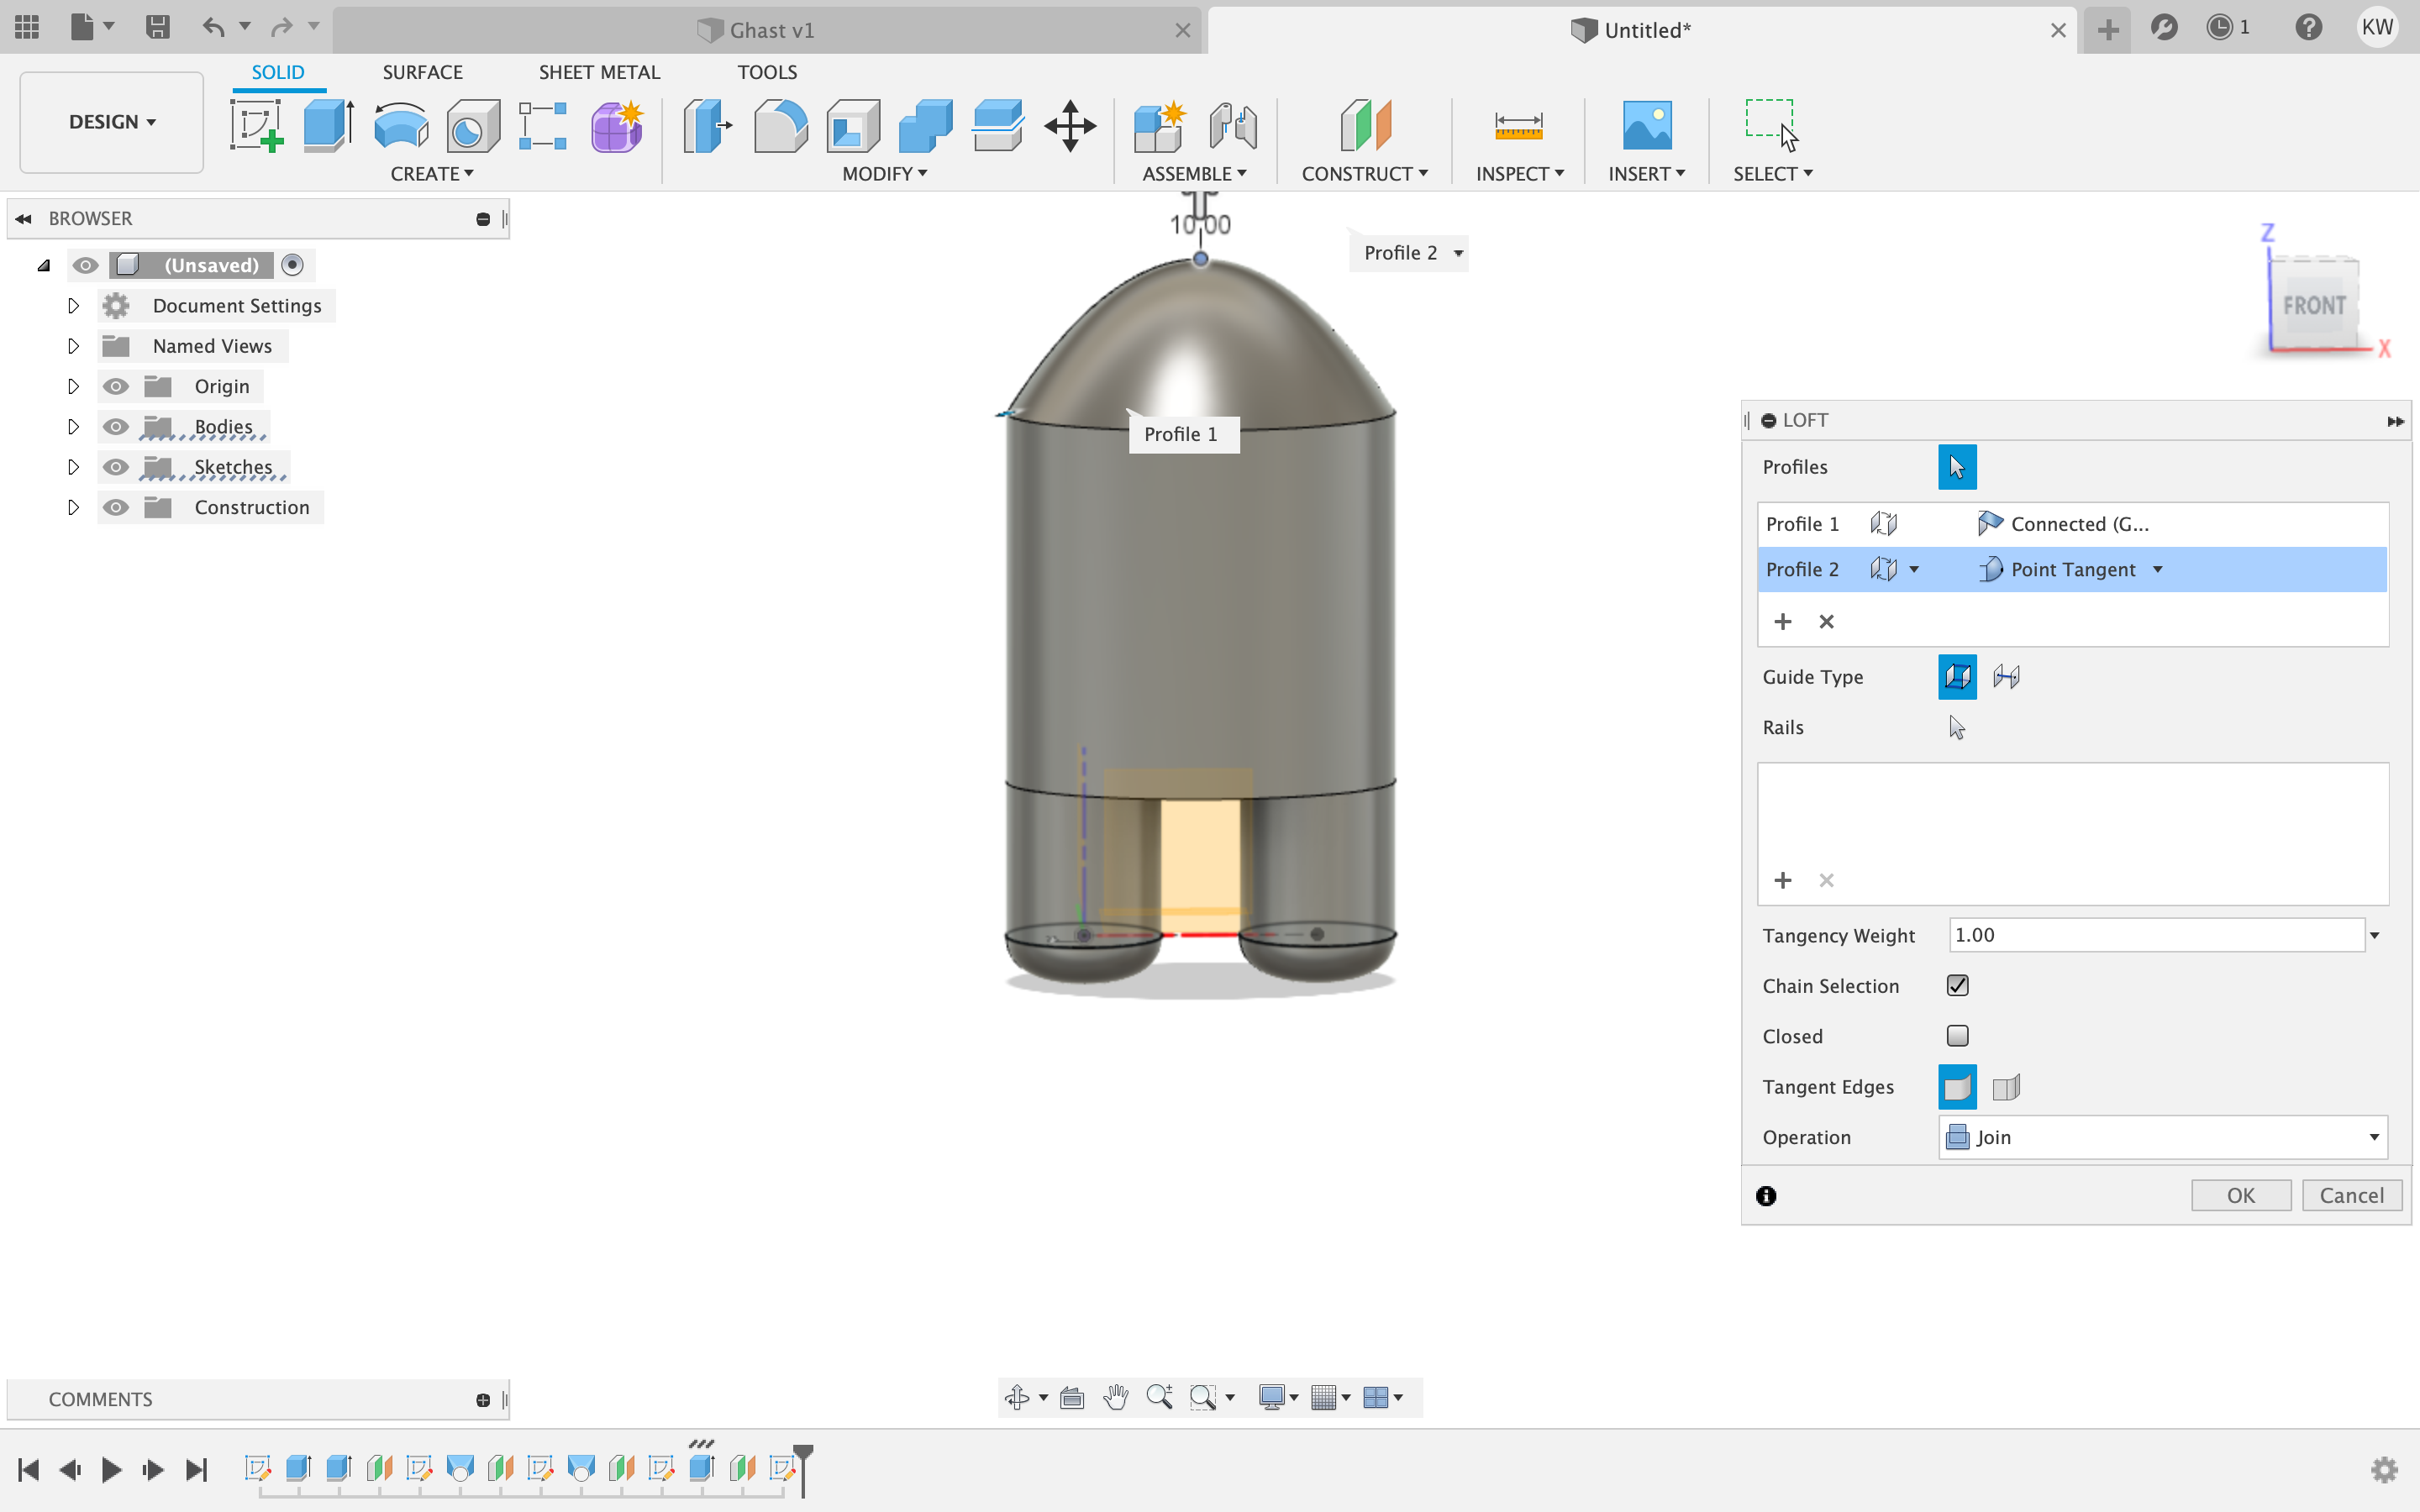
 Next I used the loft tool to create a cone connecting to the point in of offset plane.
 Then I rounded it out.
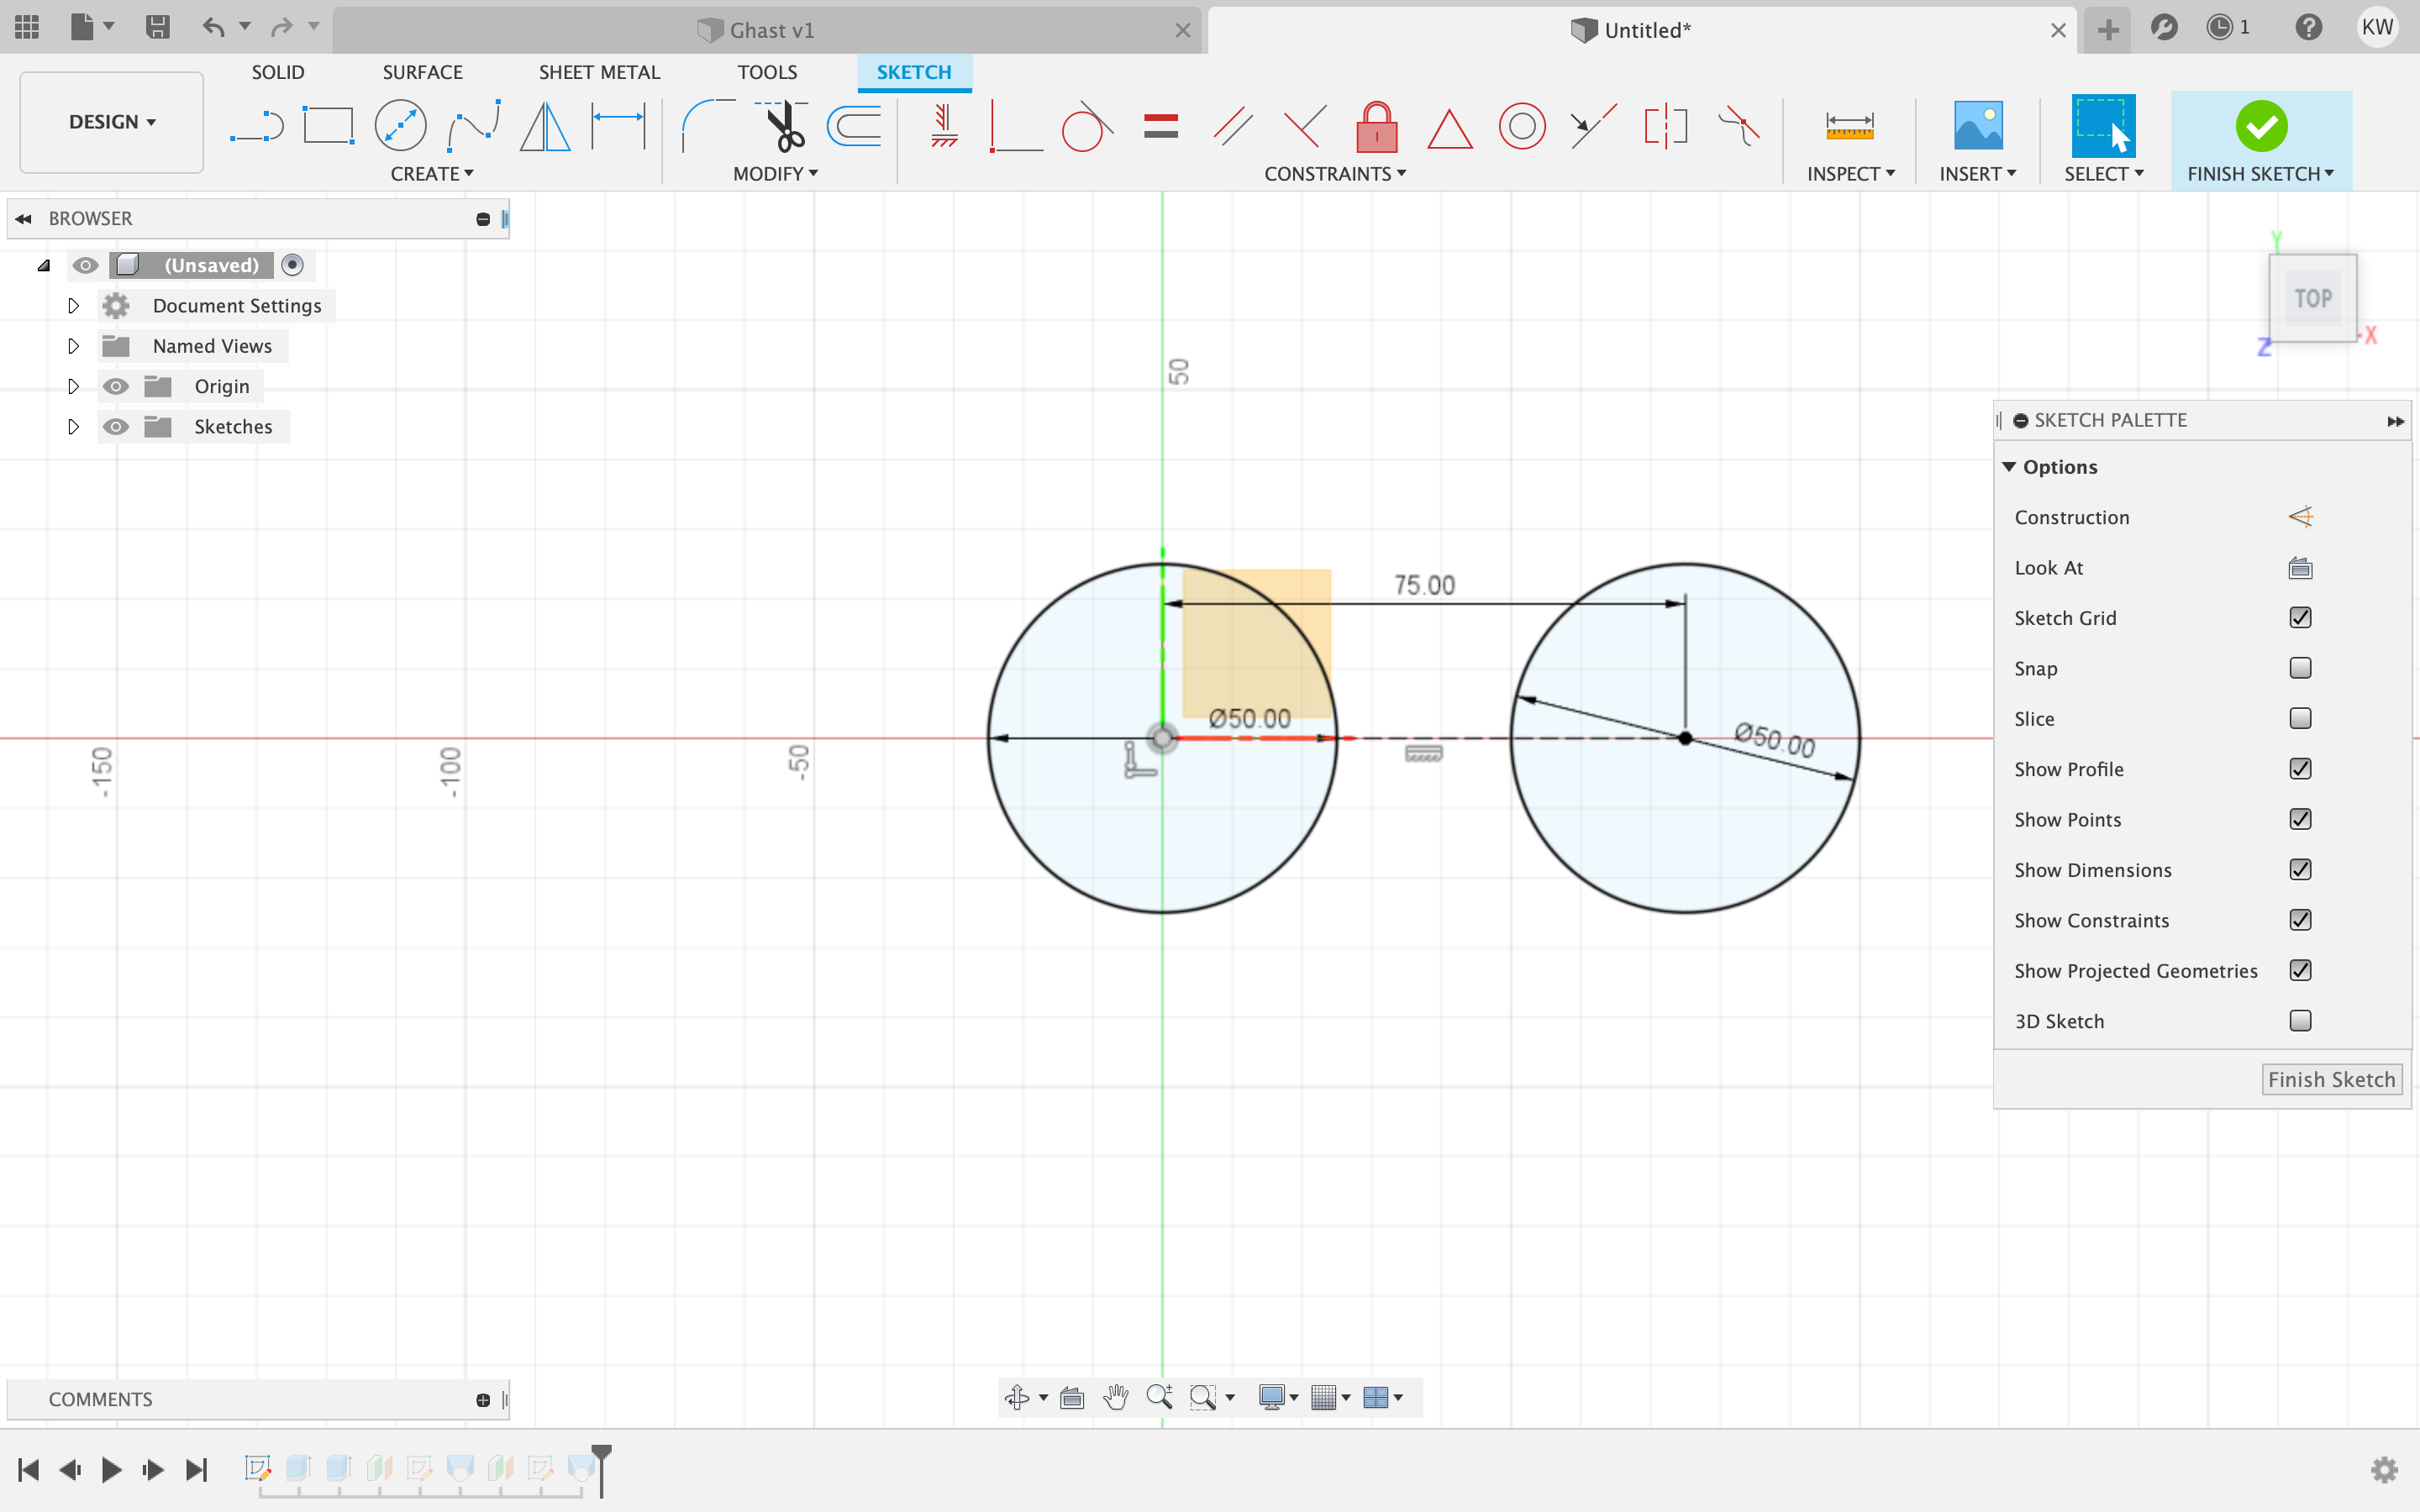
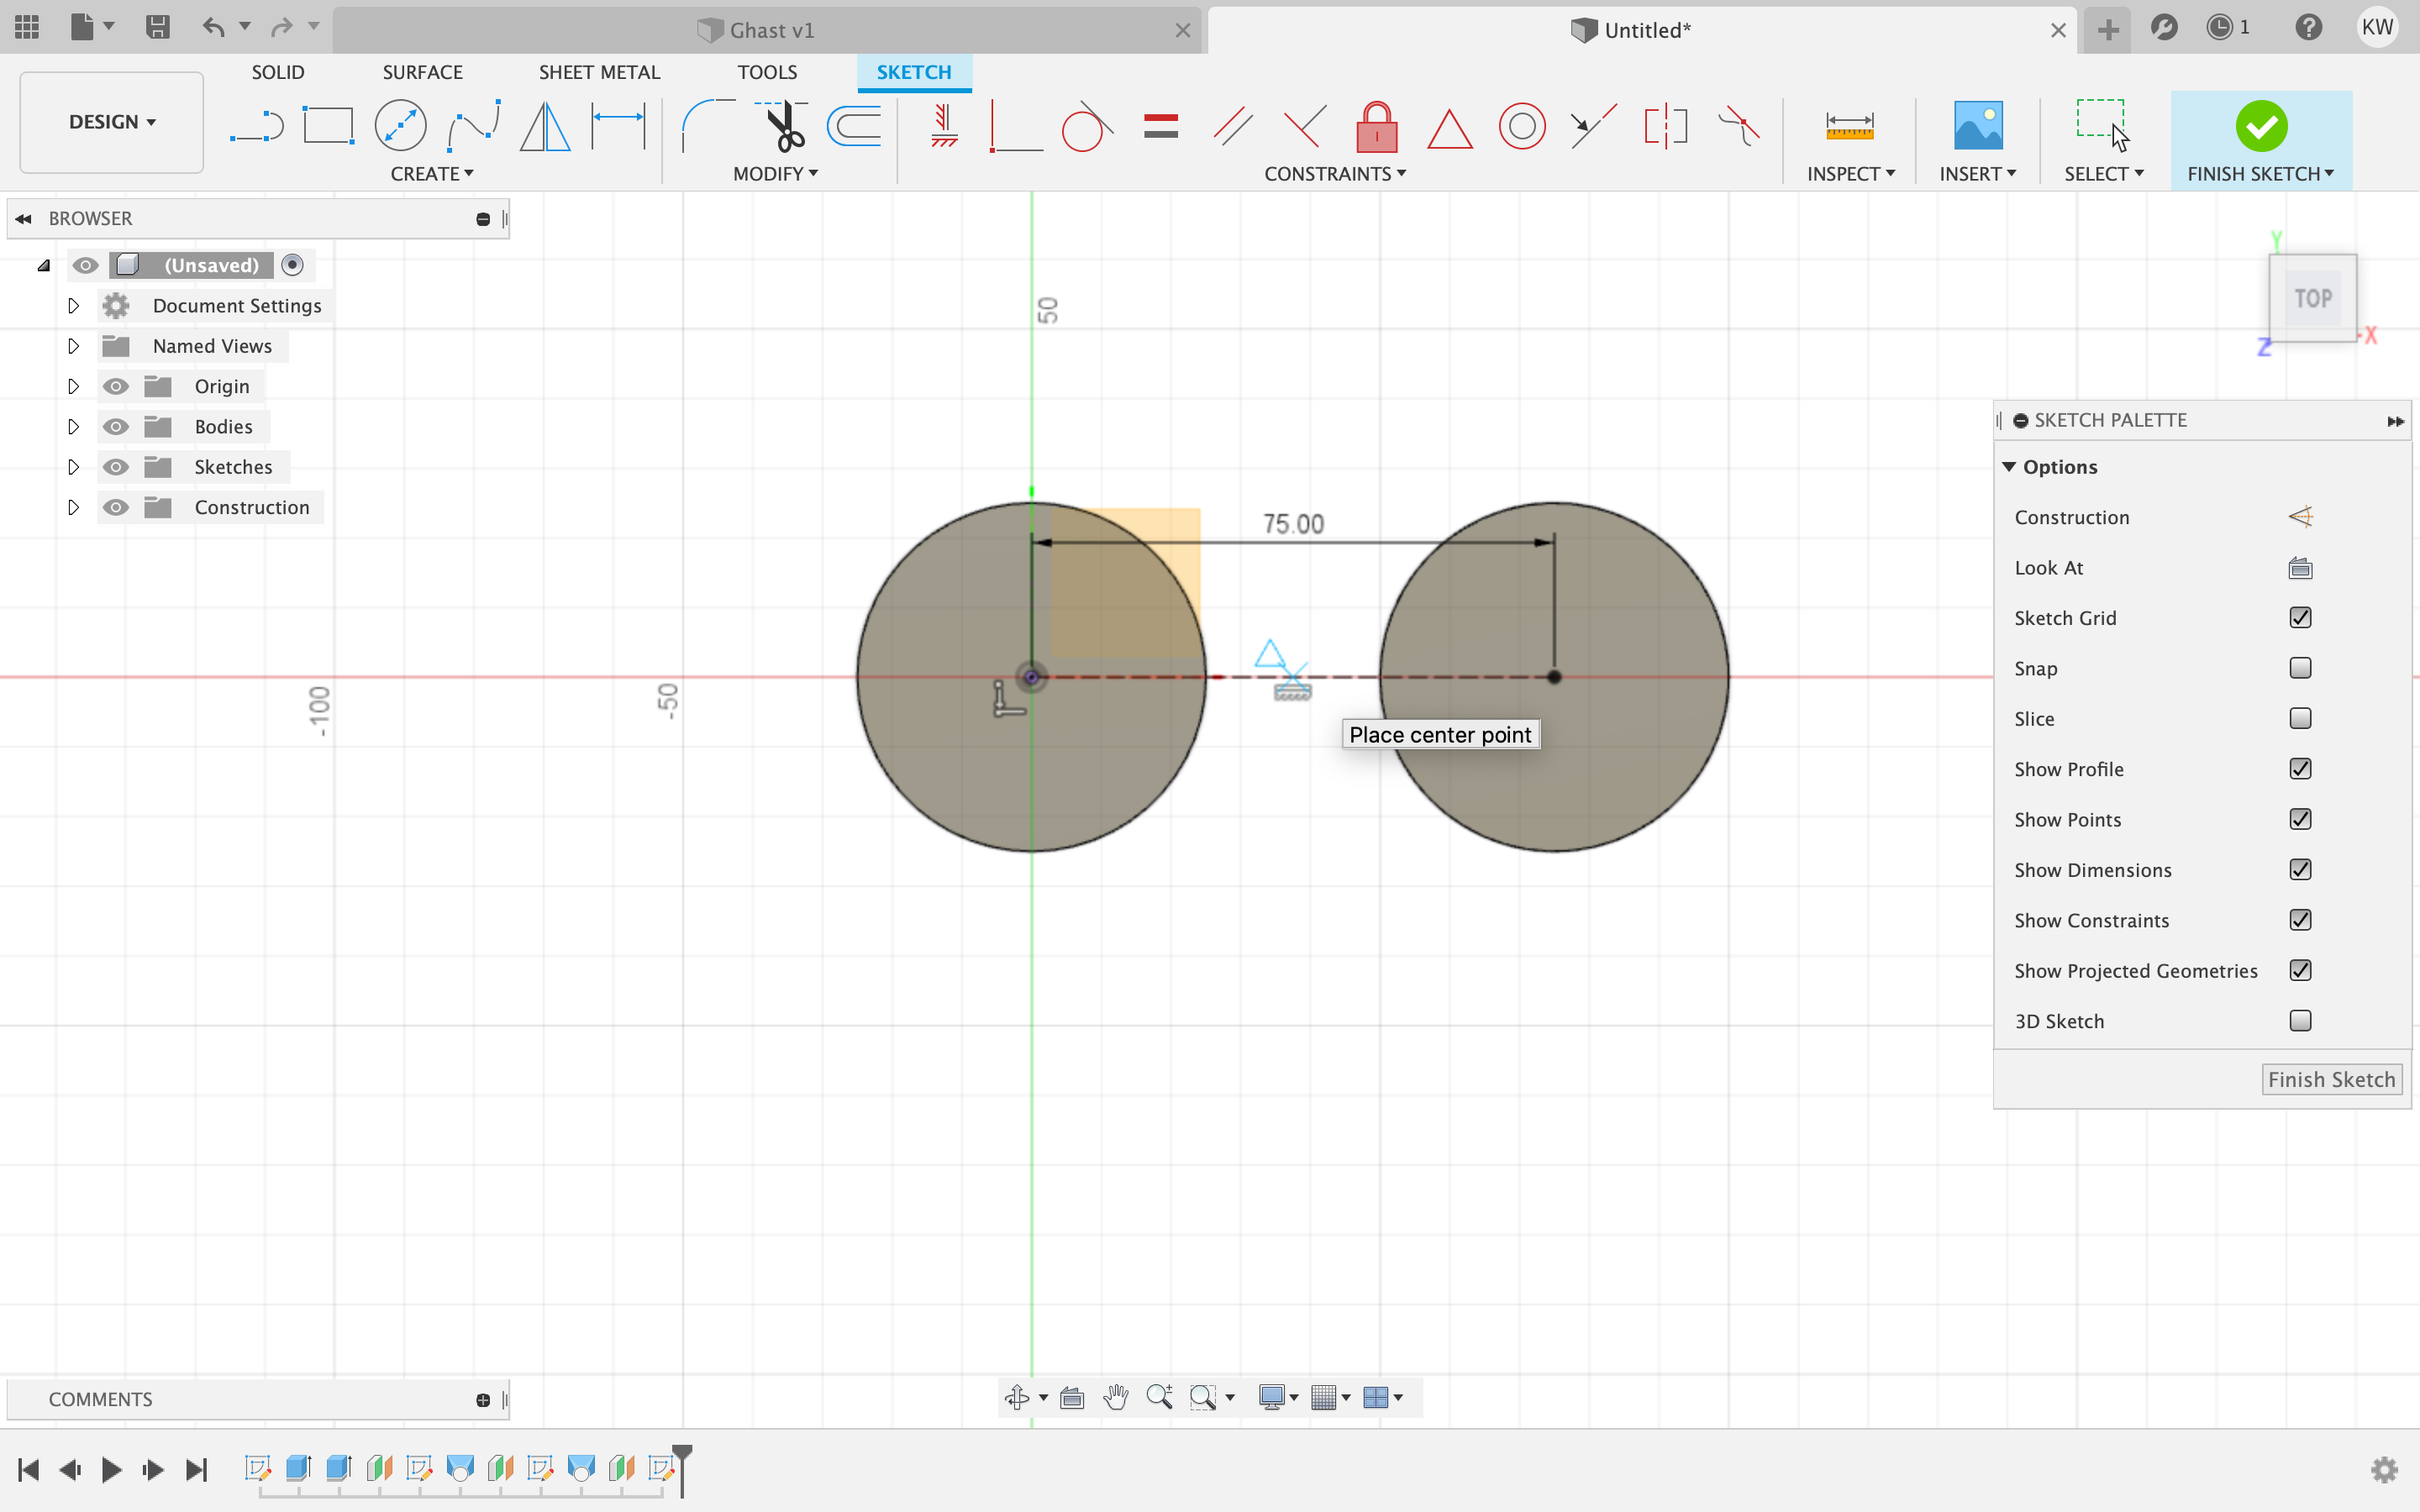
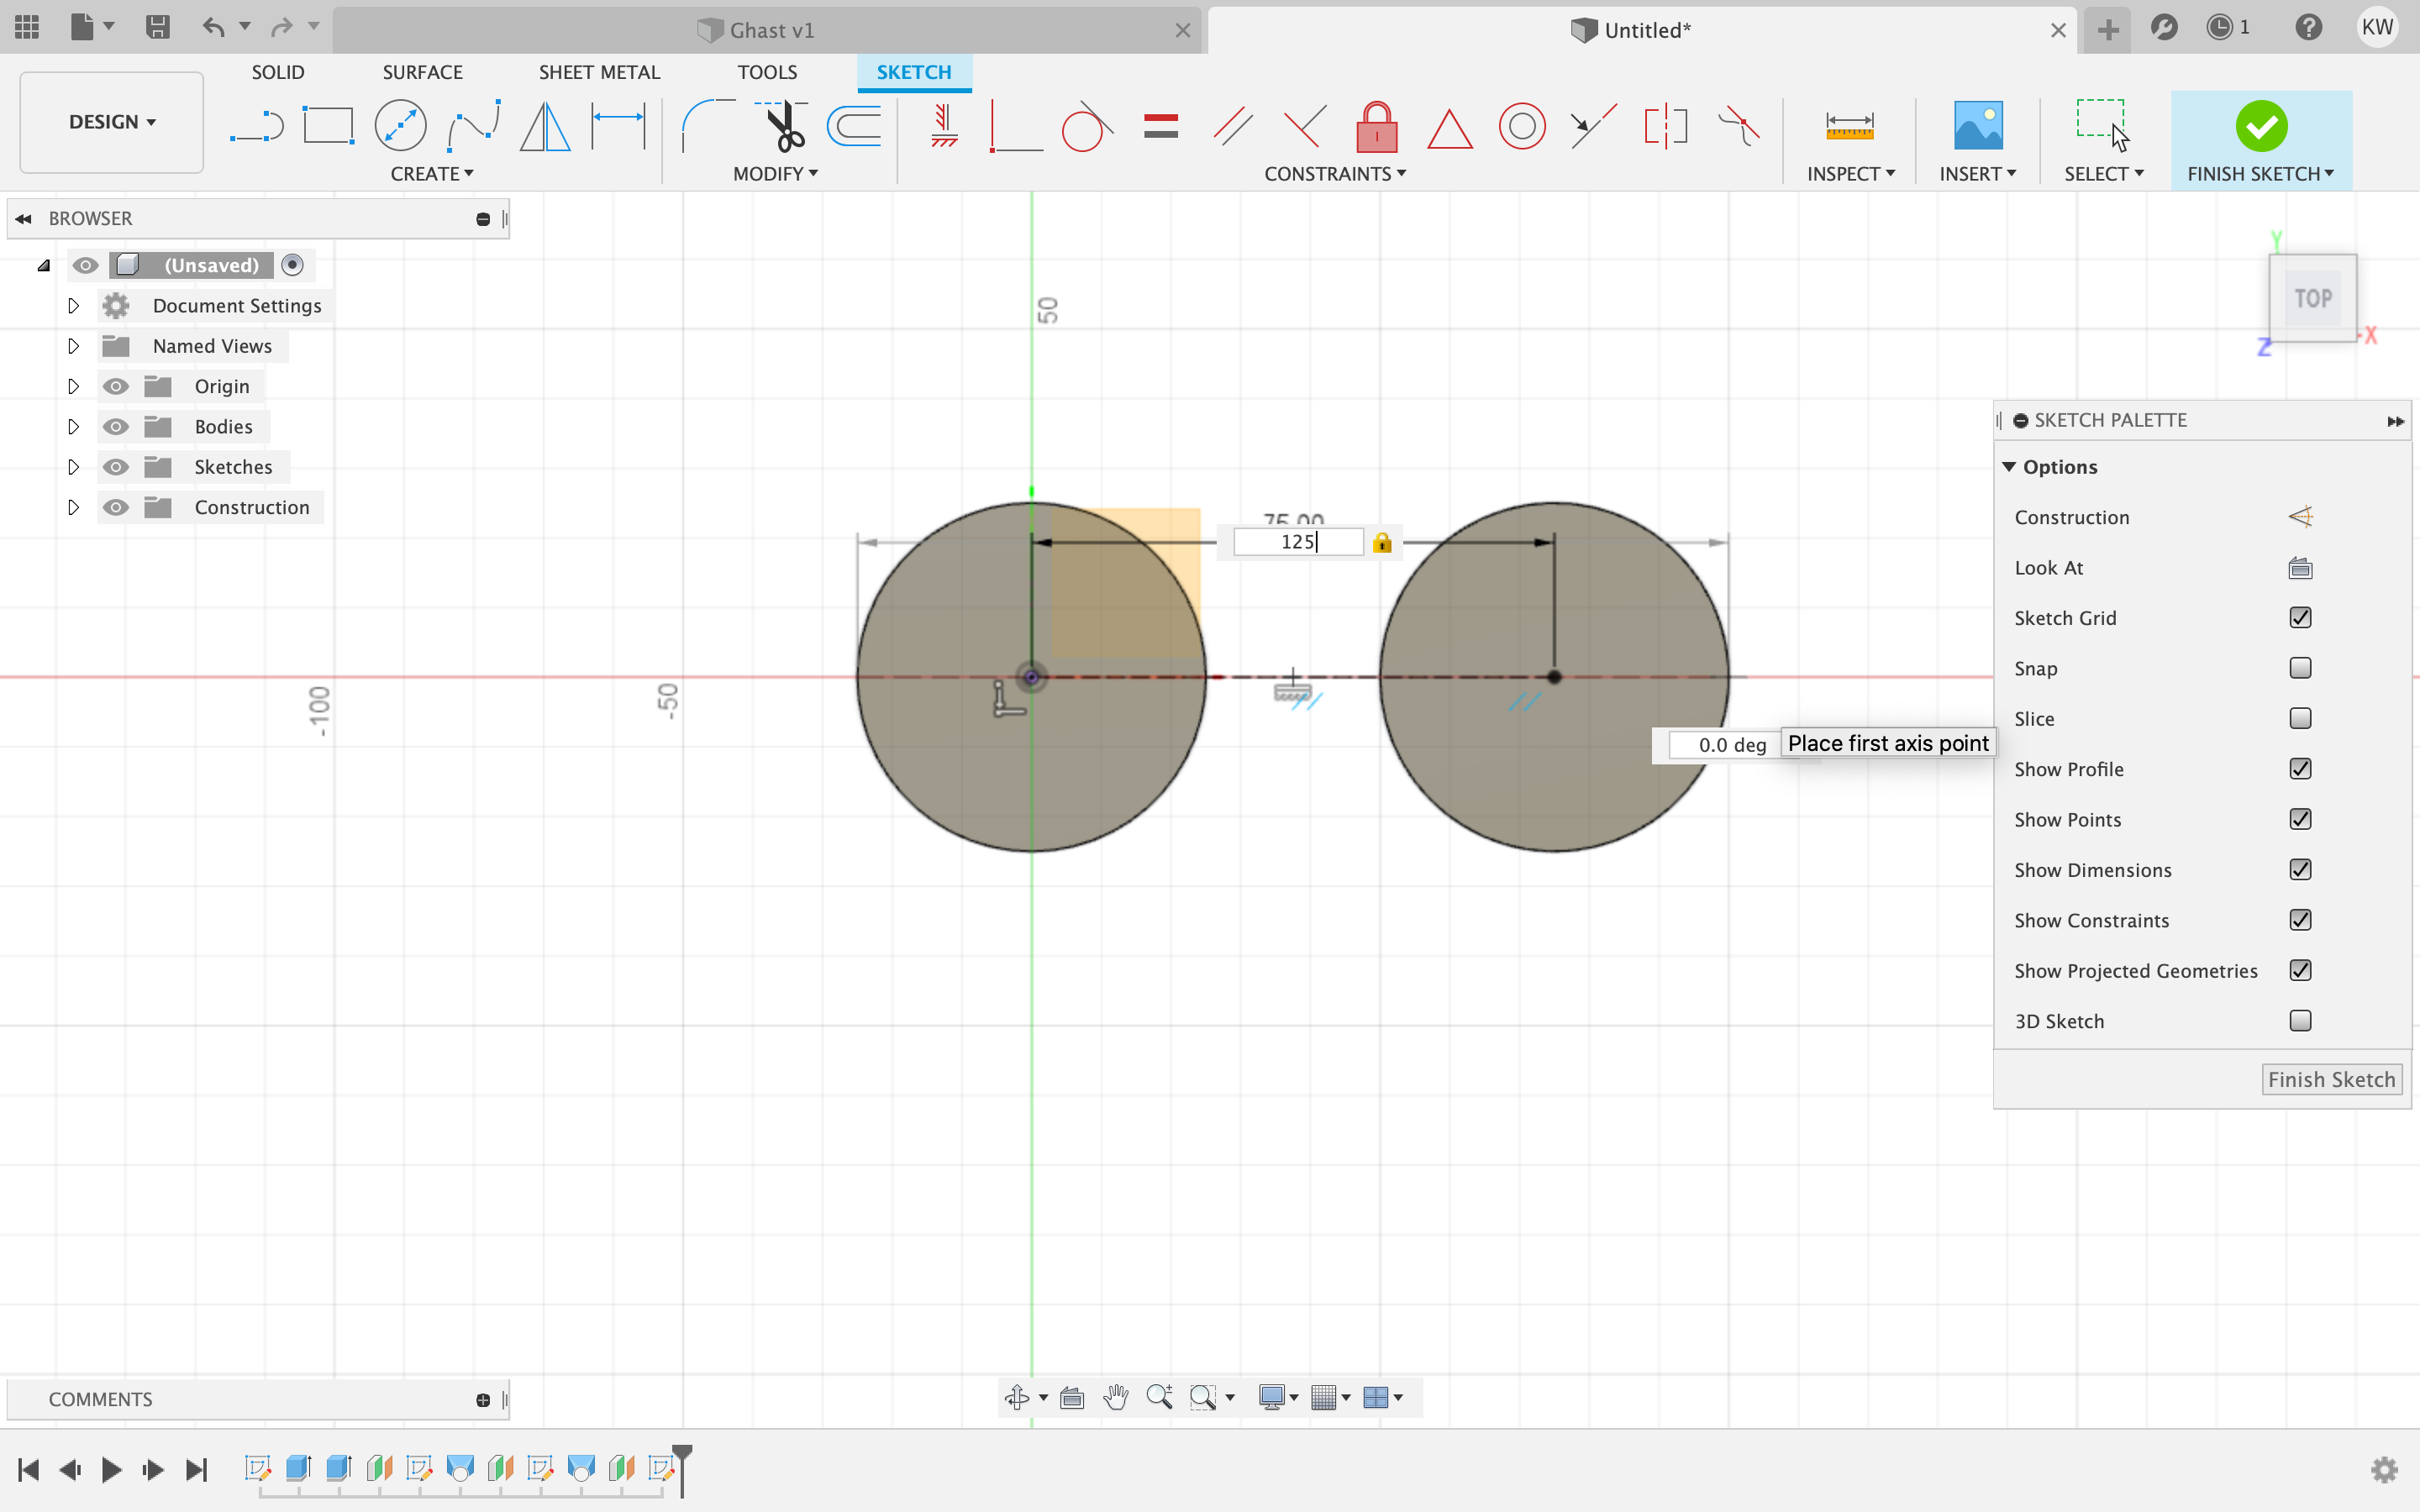
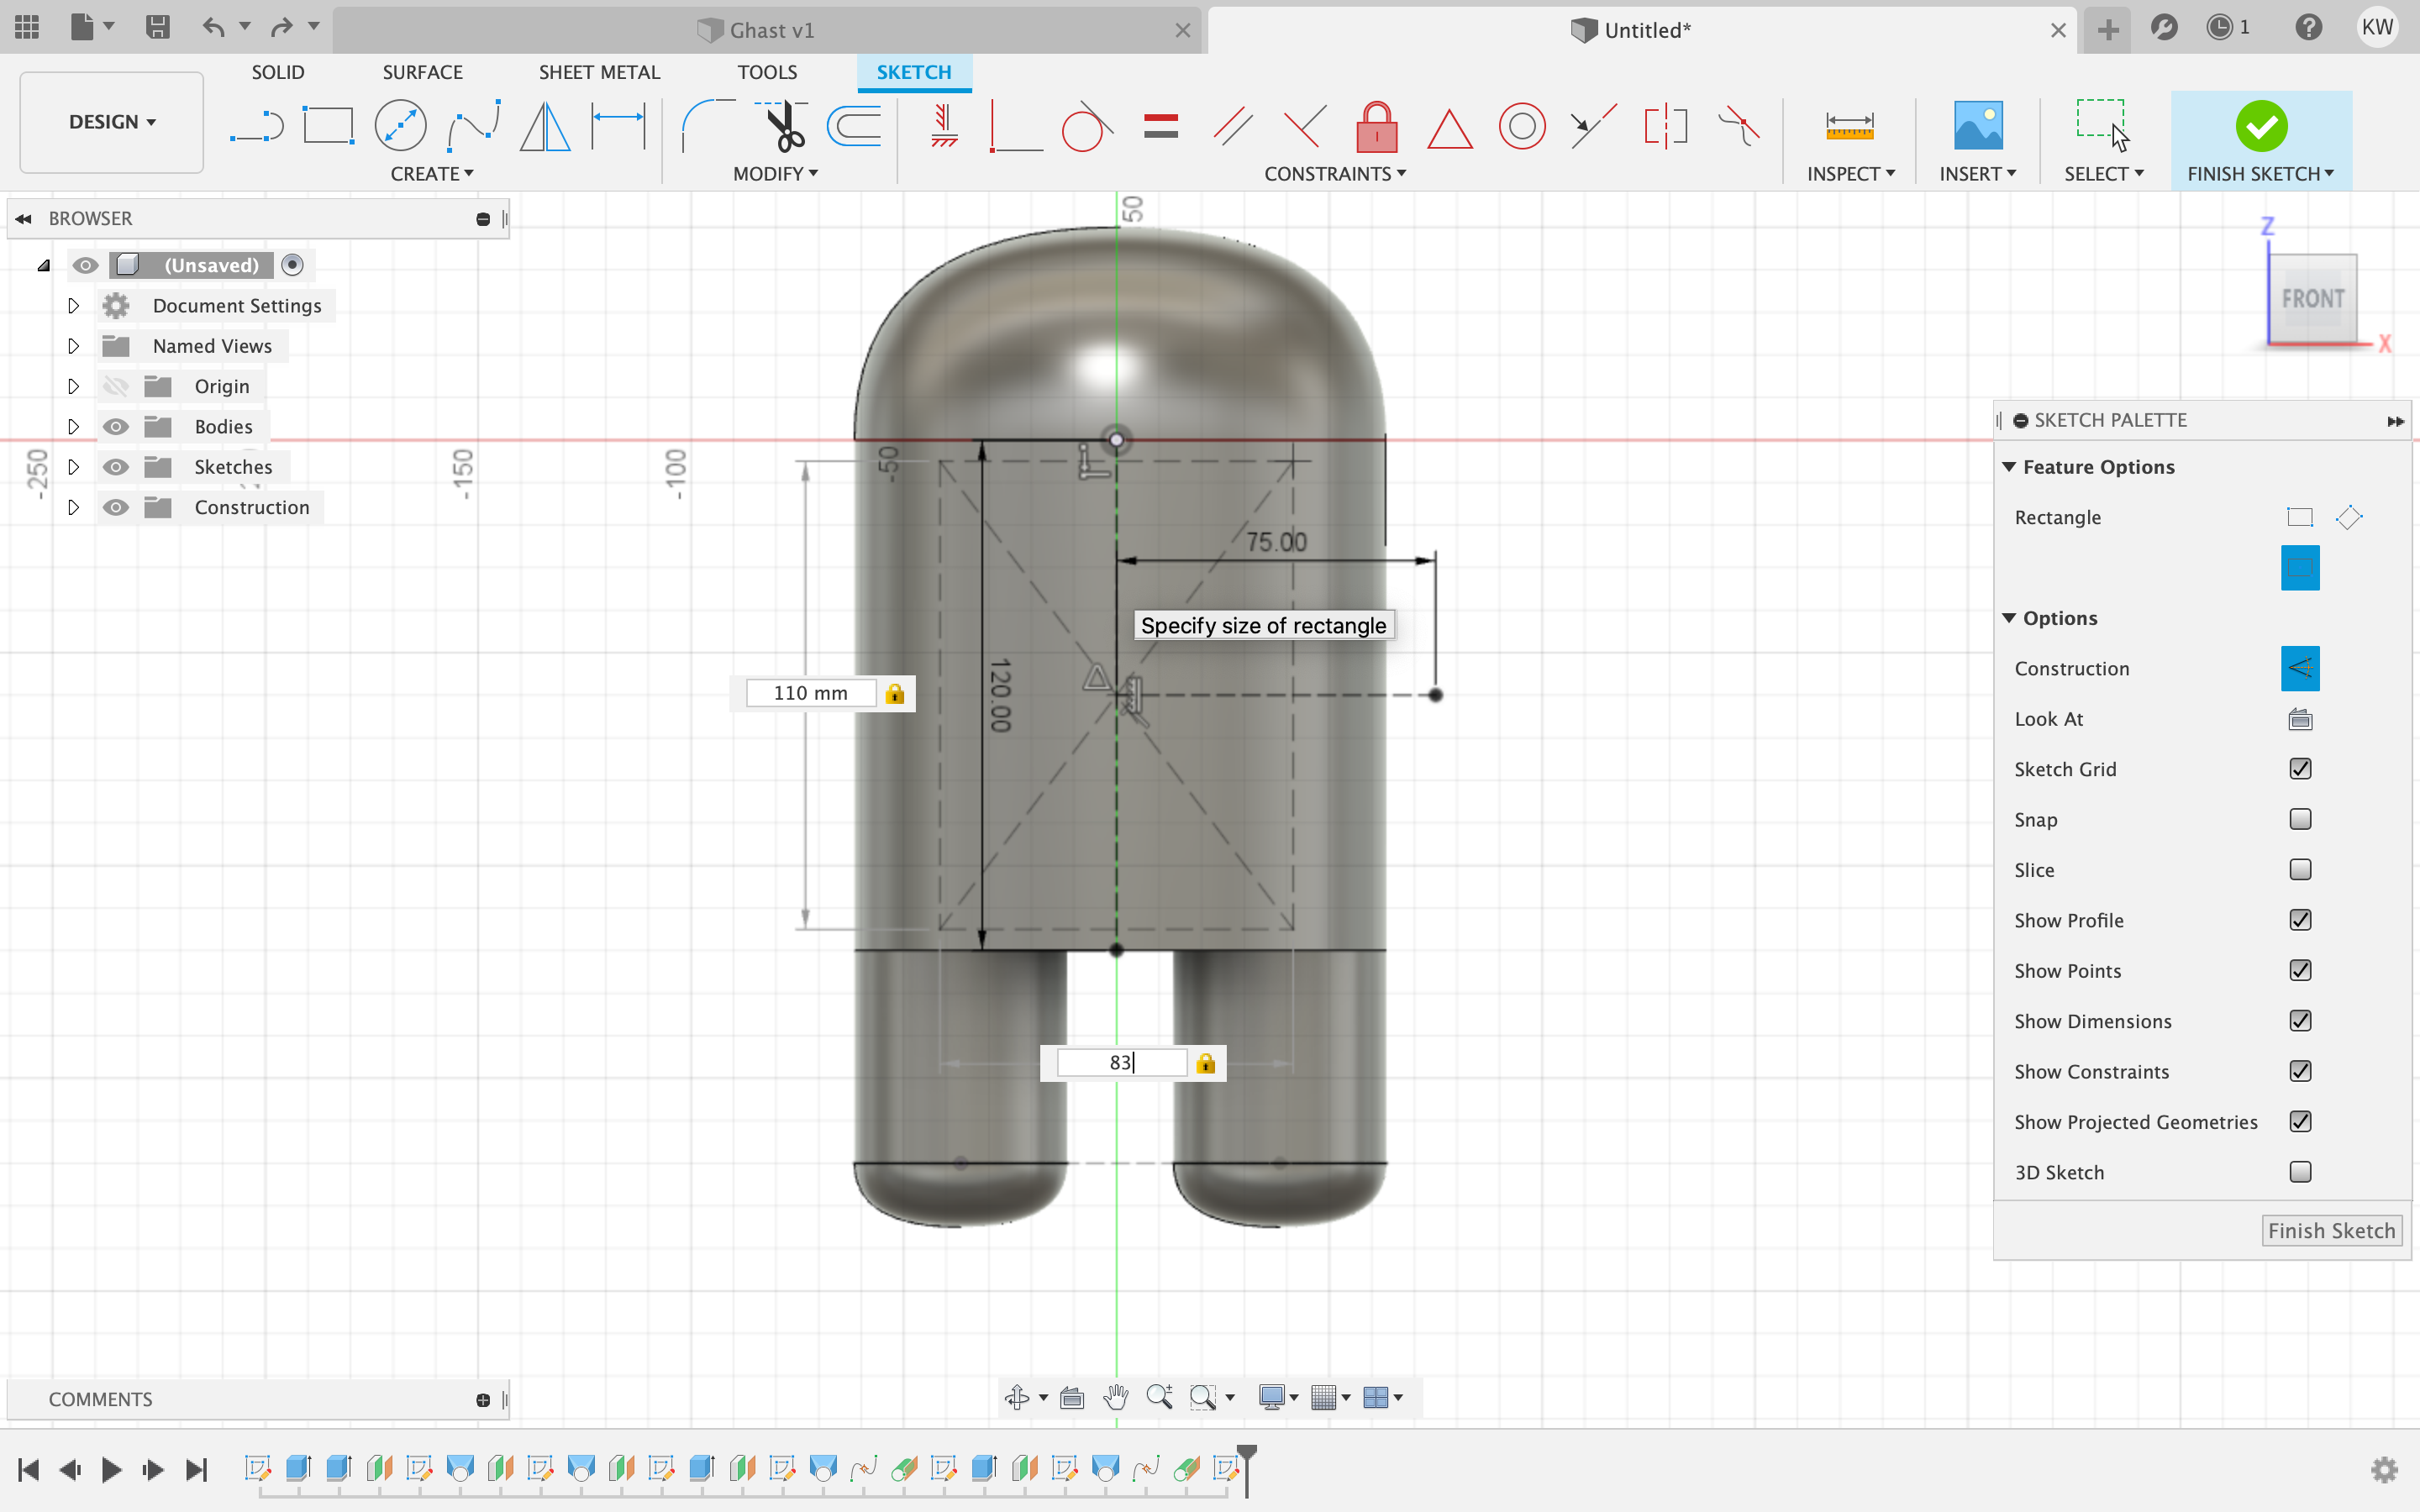
 This made 1 leg for the character so I went back into the original sketch and created a line 75mm away from the center of my original cirlce then made another cirlce at the end of the line.
 Then I did the same process with this leg as the other.


 The next thing I did was create a sketch on top of one of the legs and made a line 75 mm from each center of the cirlce like the oringal sketch and set it as the mid point.

 Then I created an oval around the center of the new line.
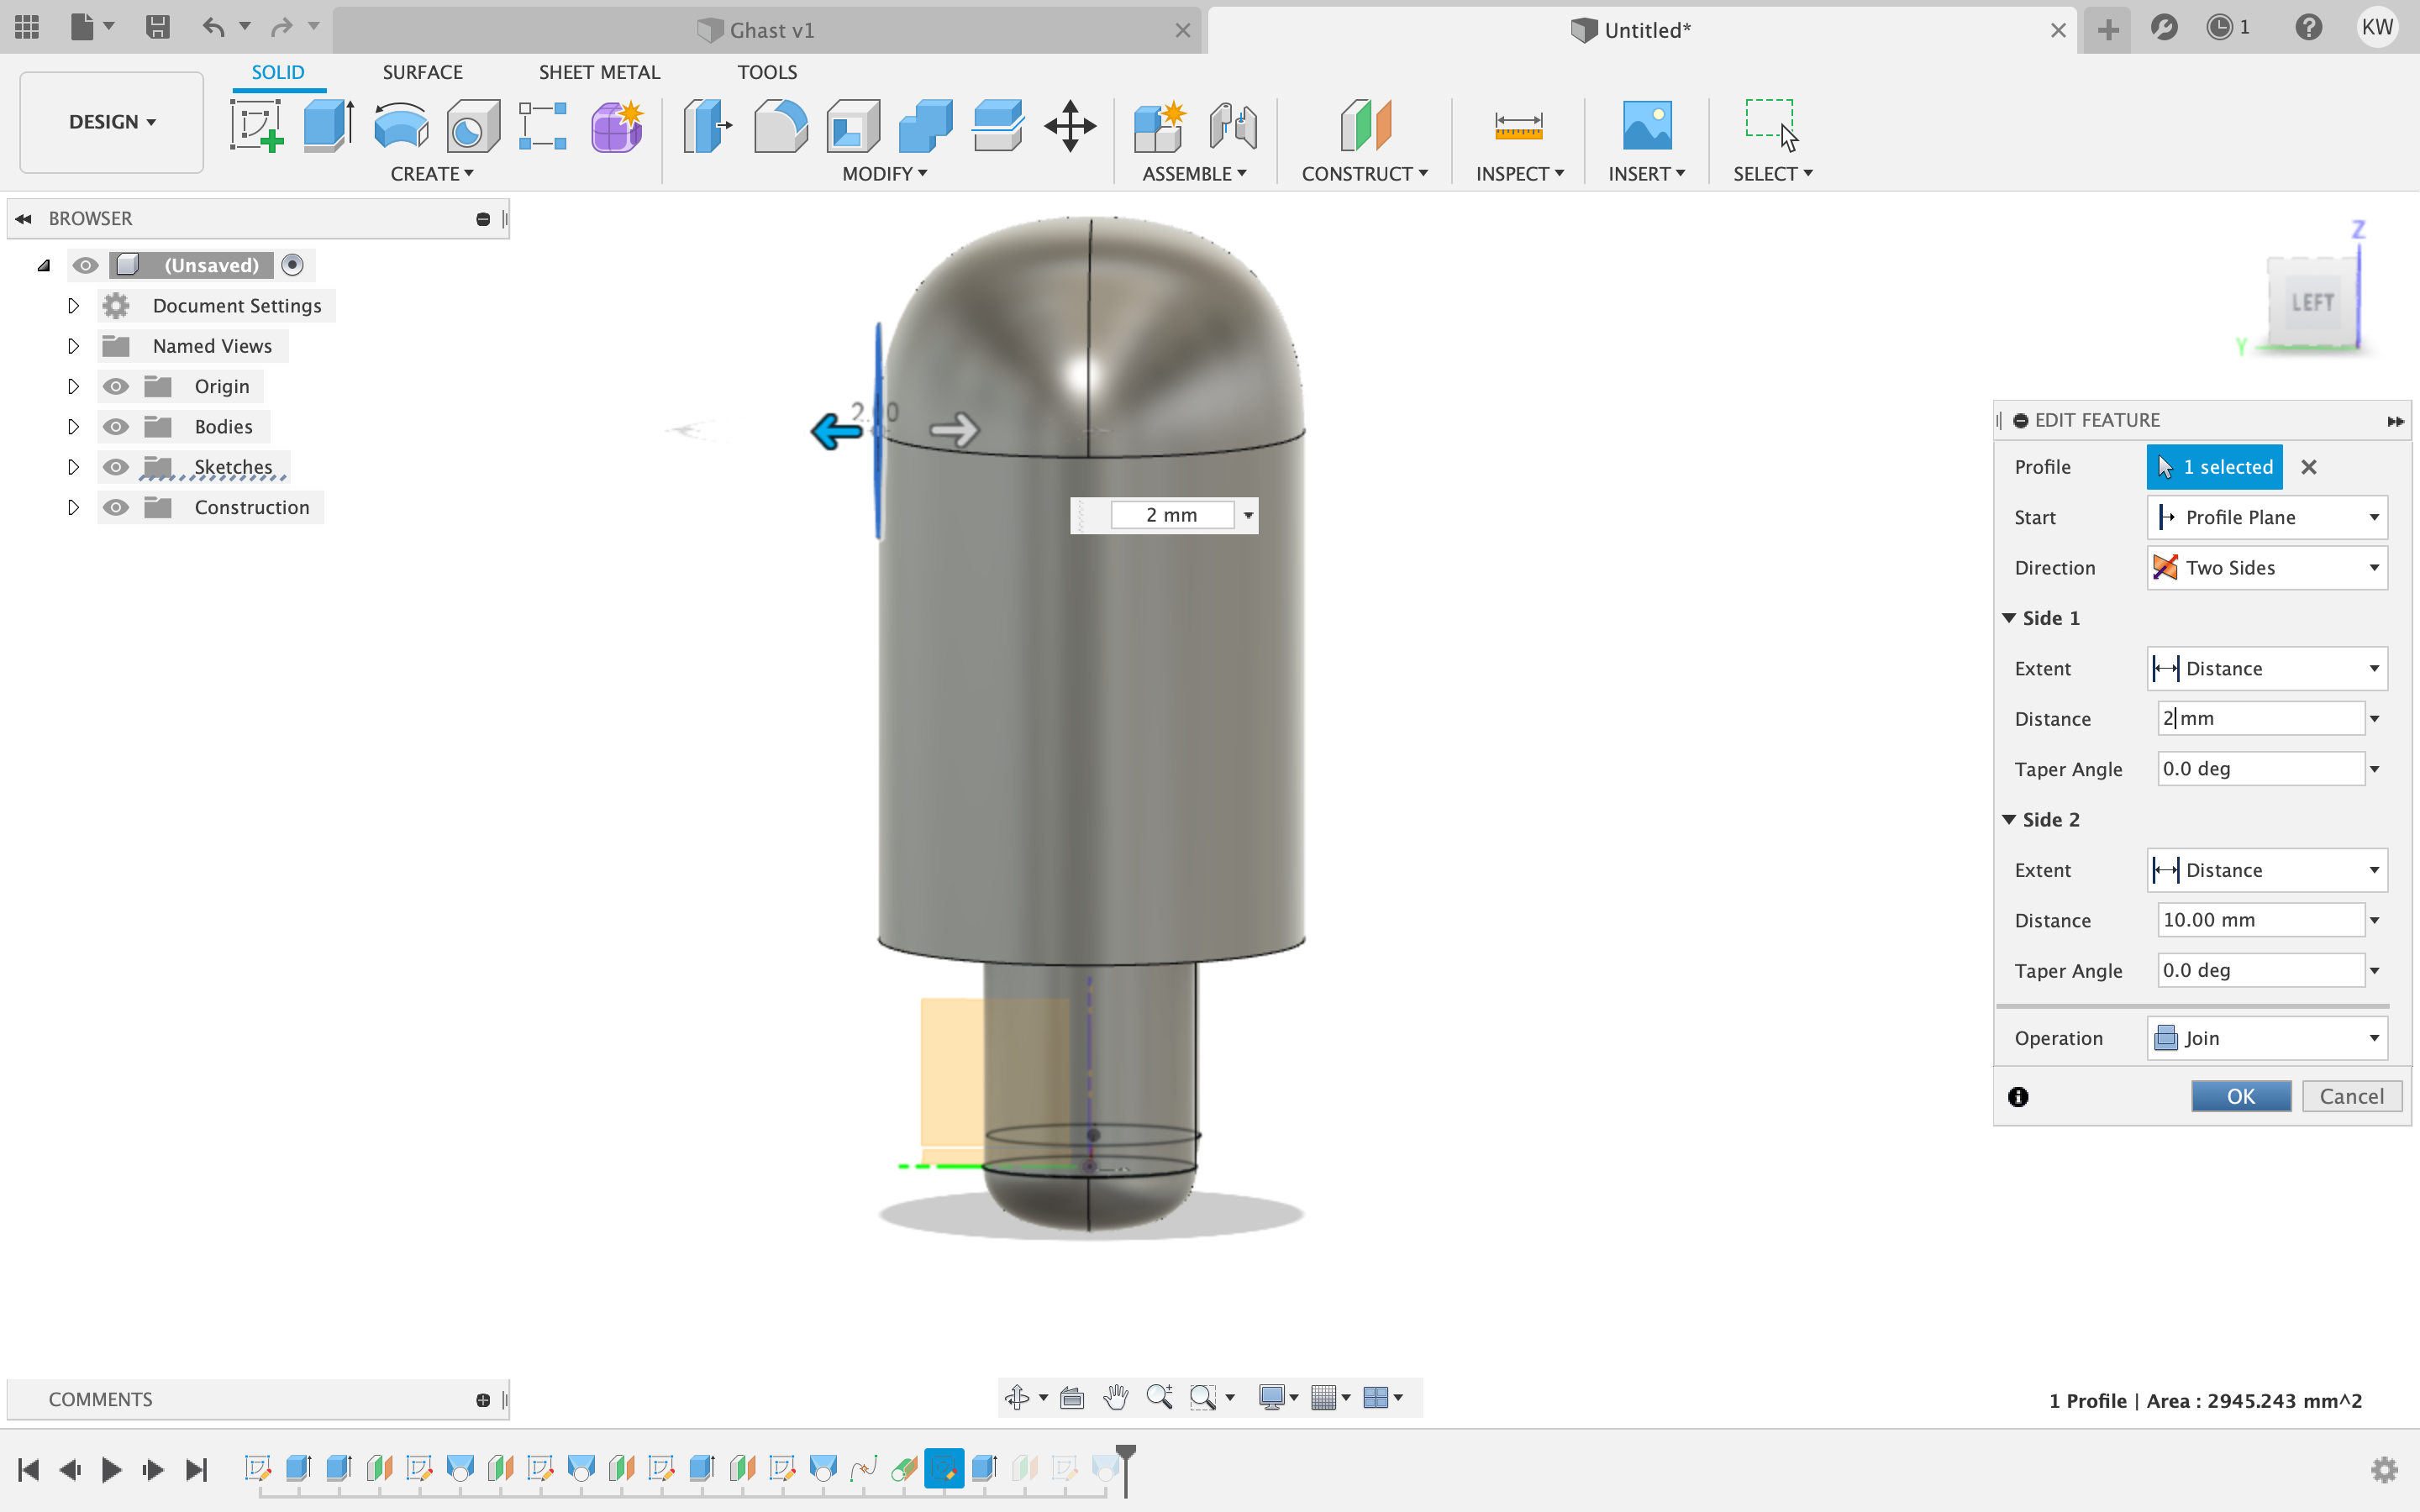
 I extruded it 120 mm up. And that was going to be the body of the character.
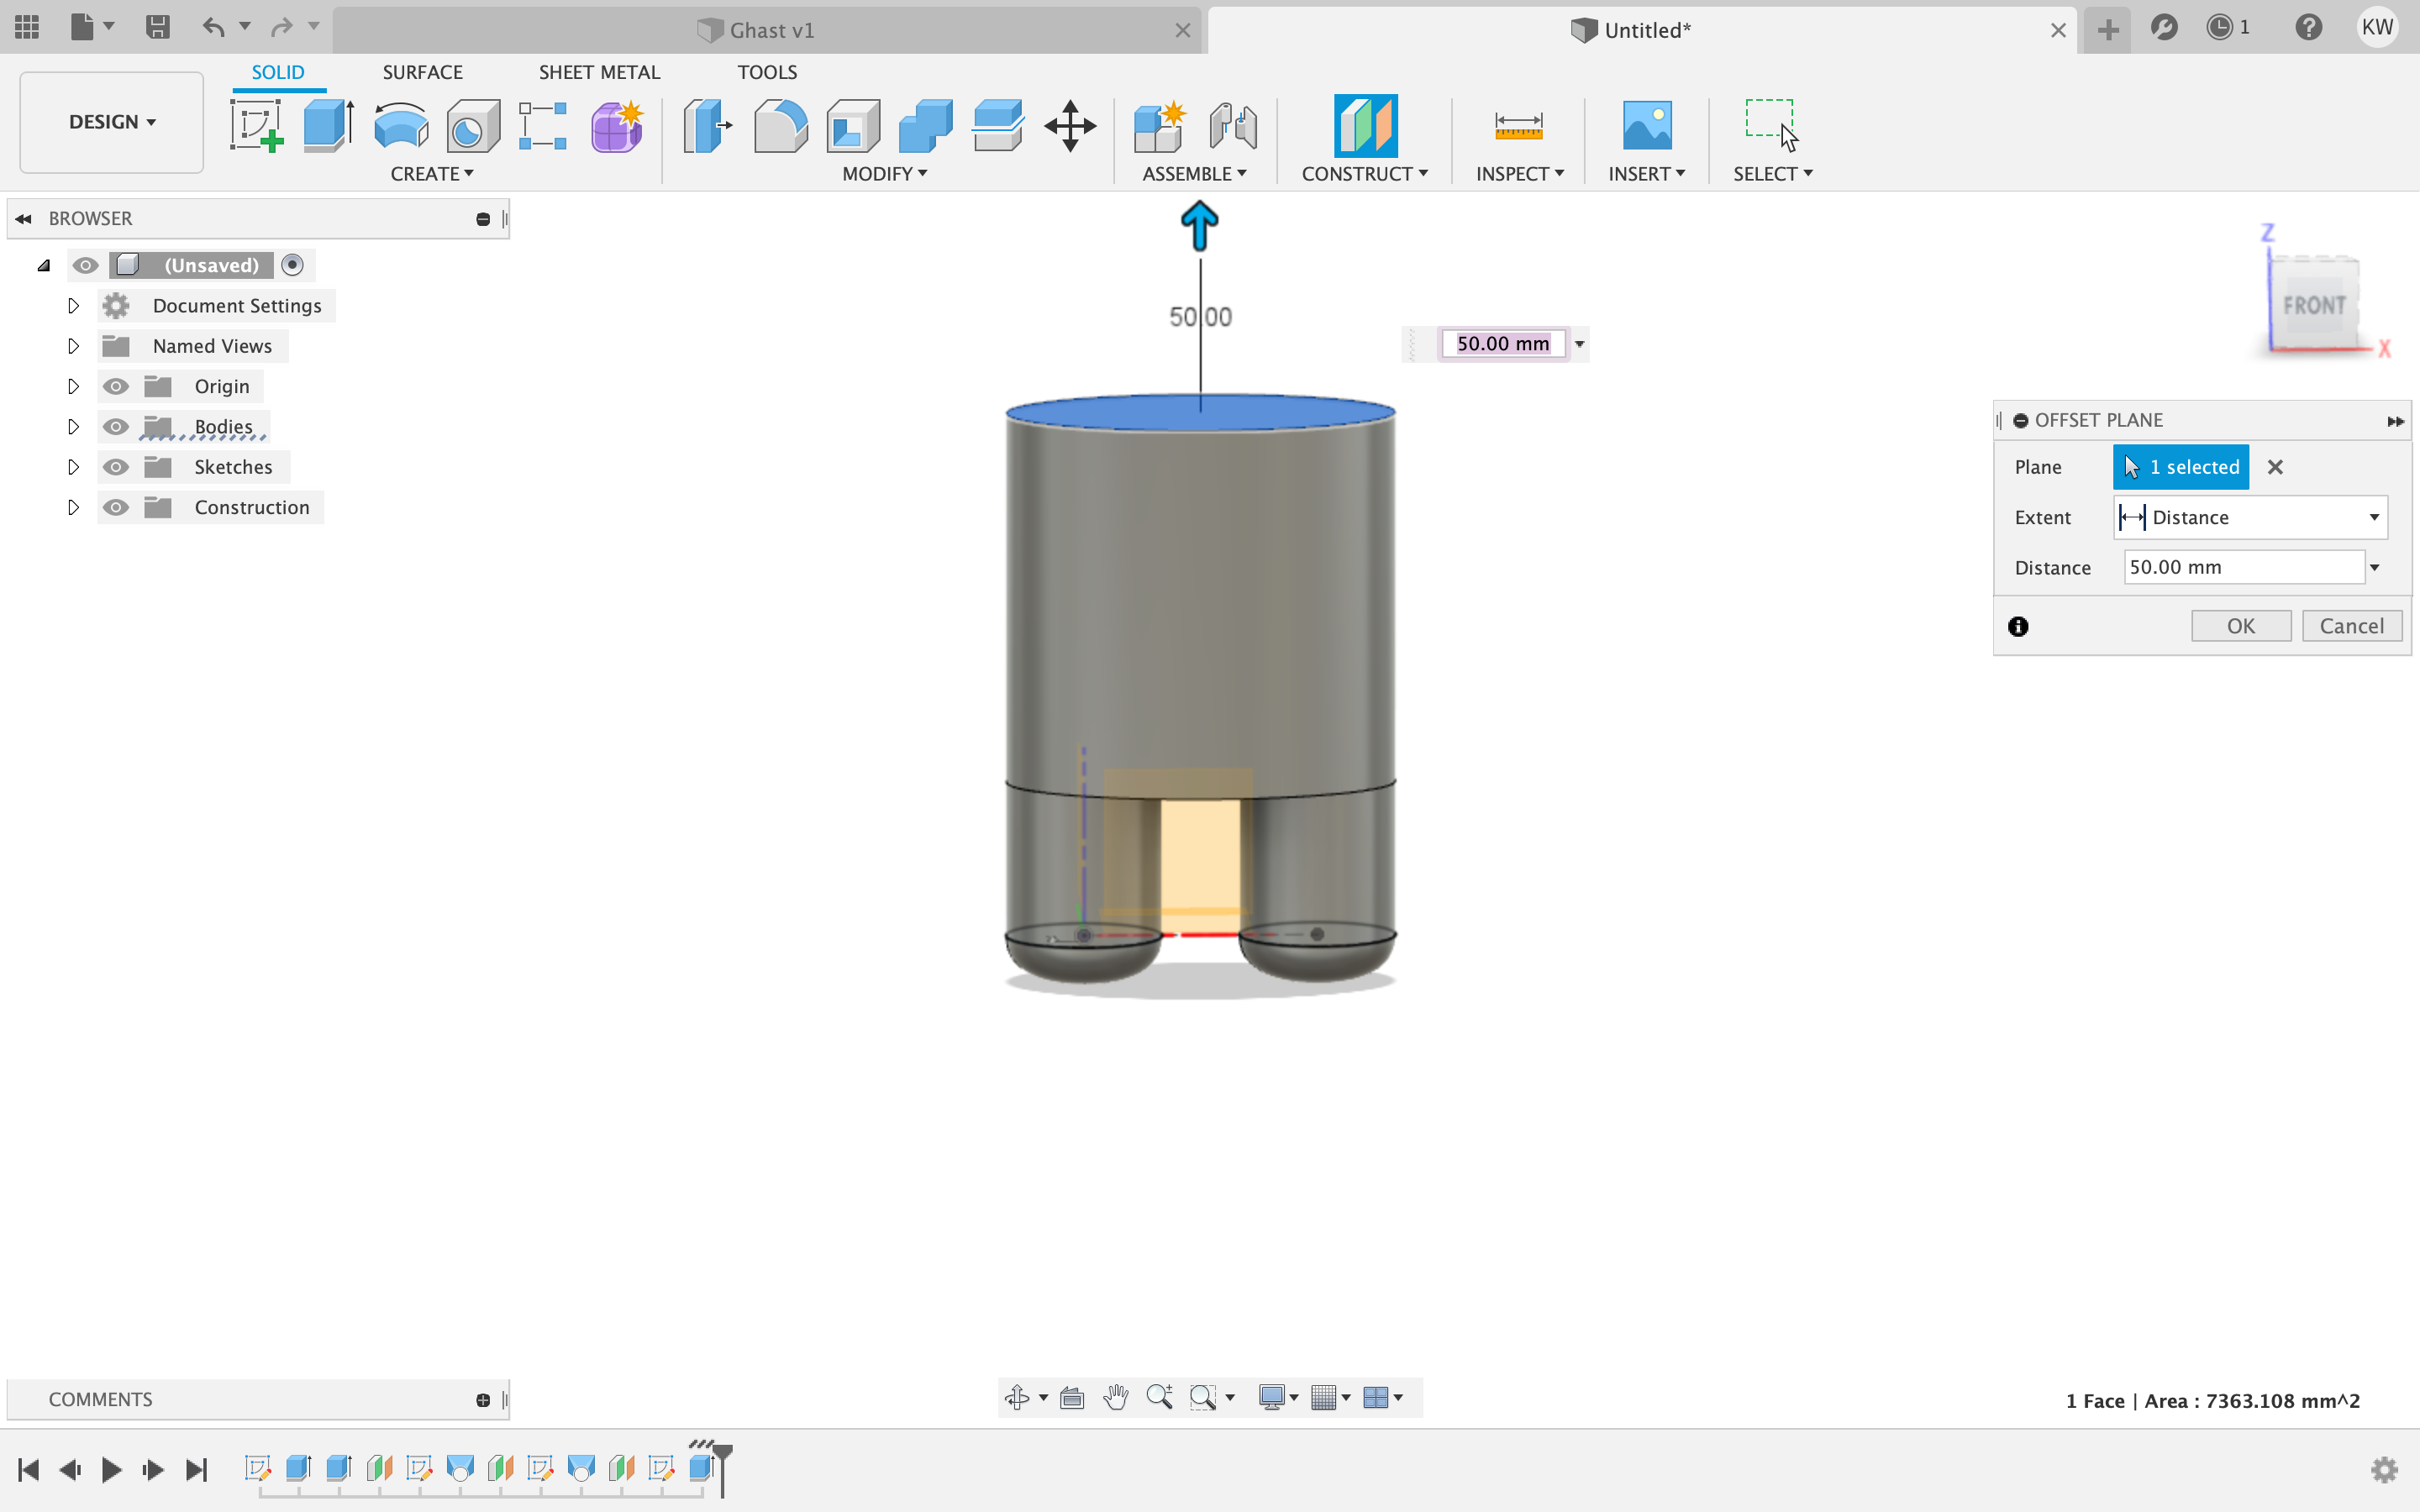
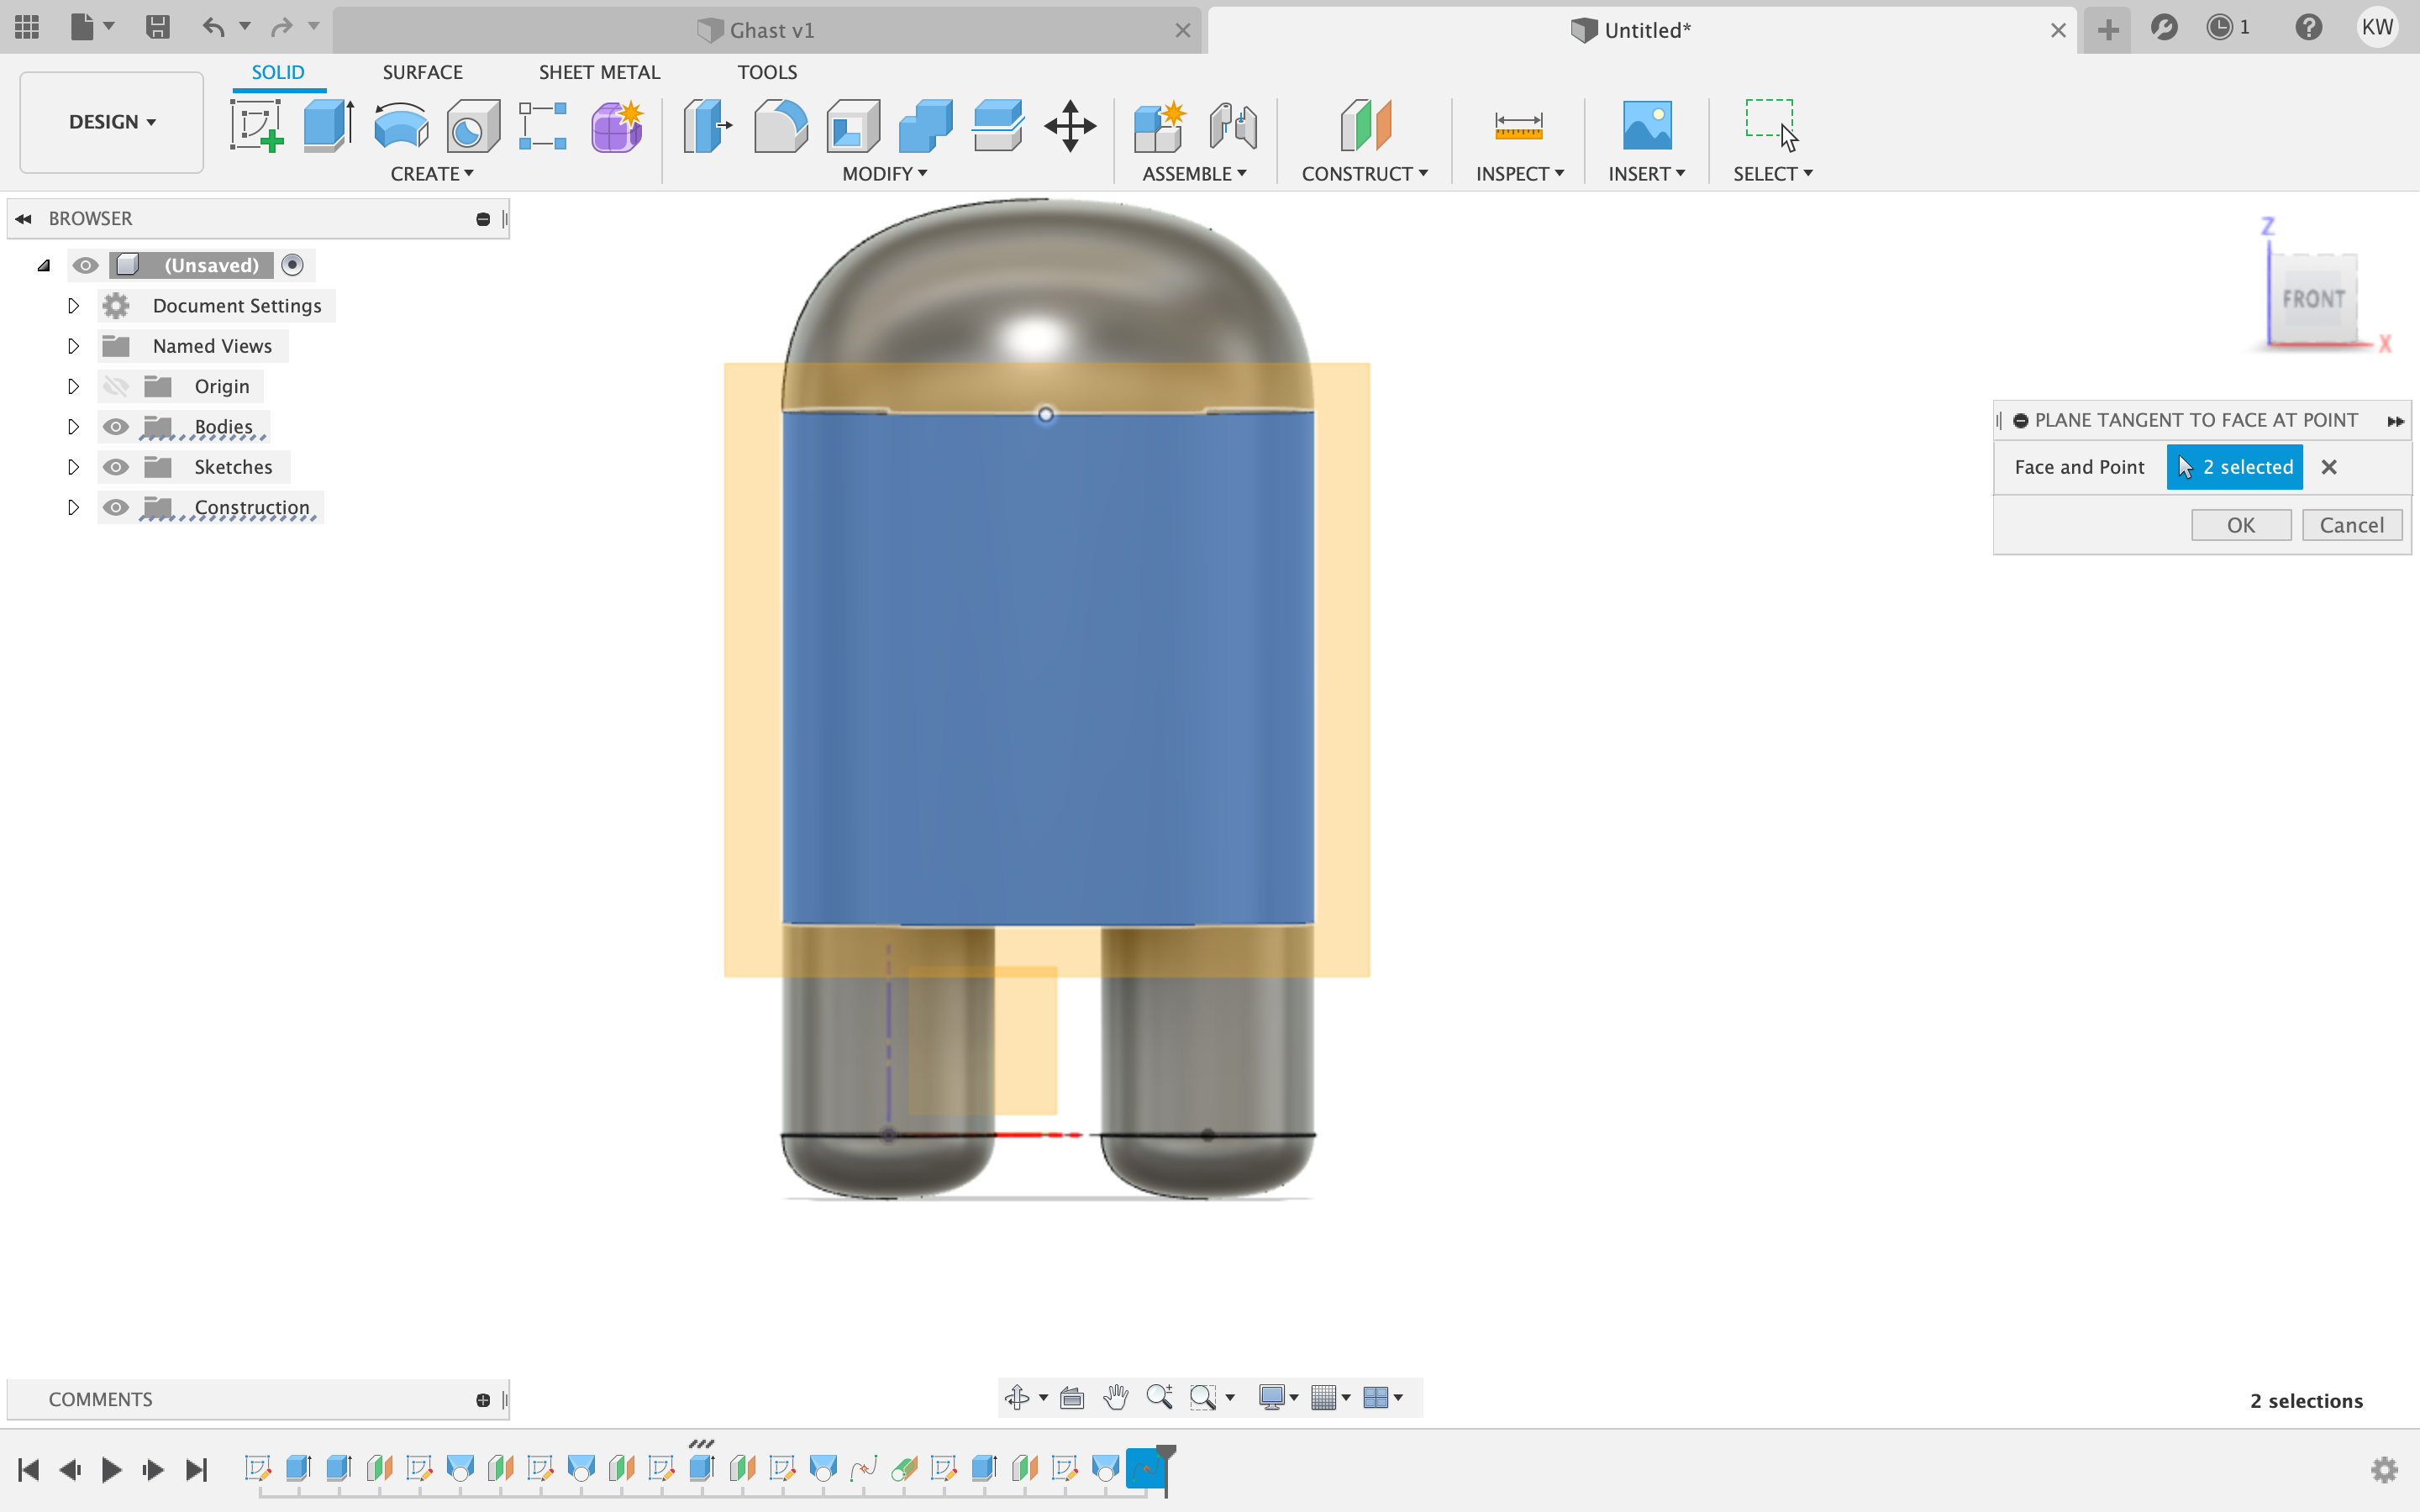
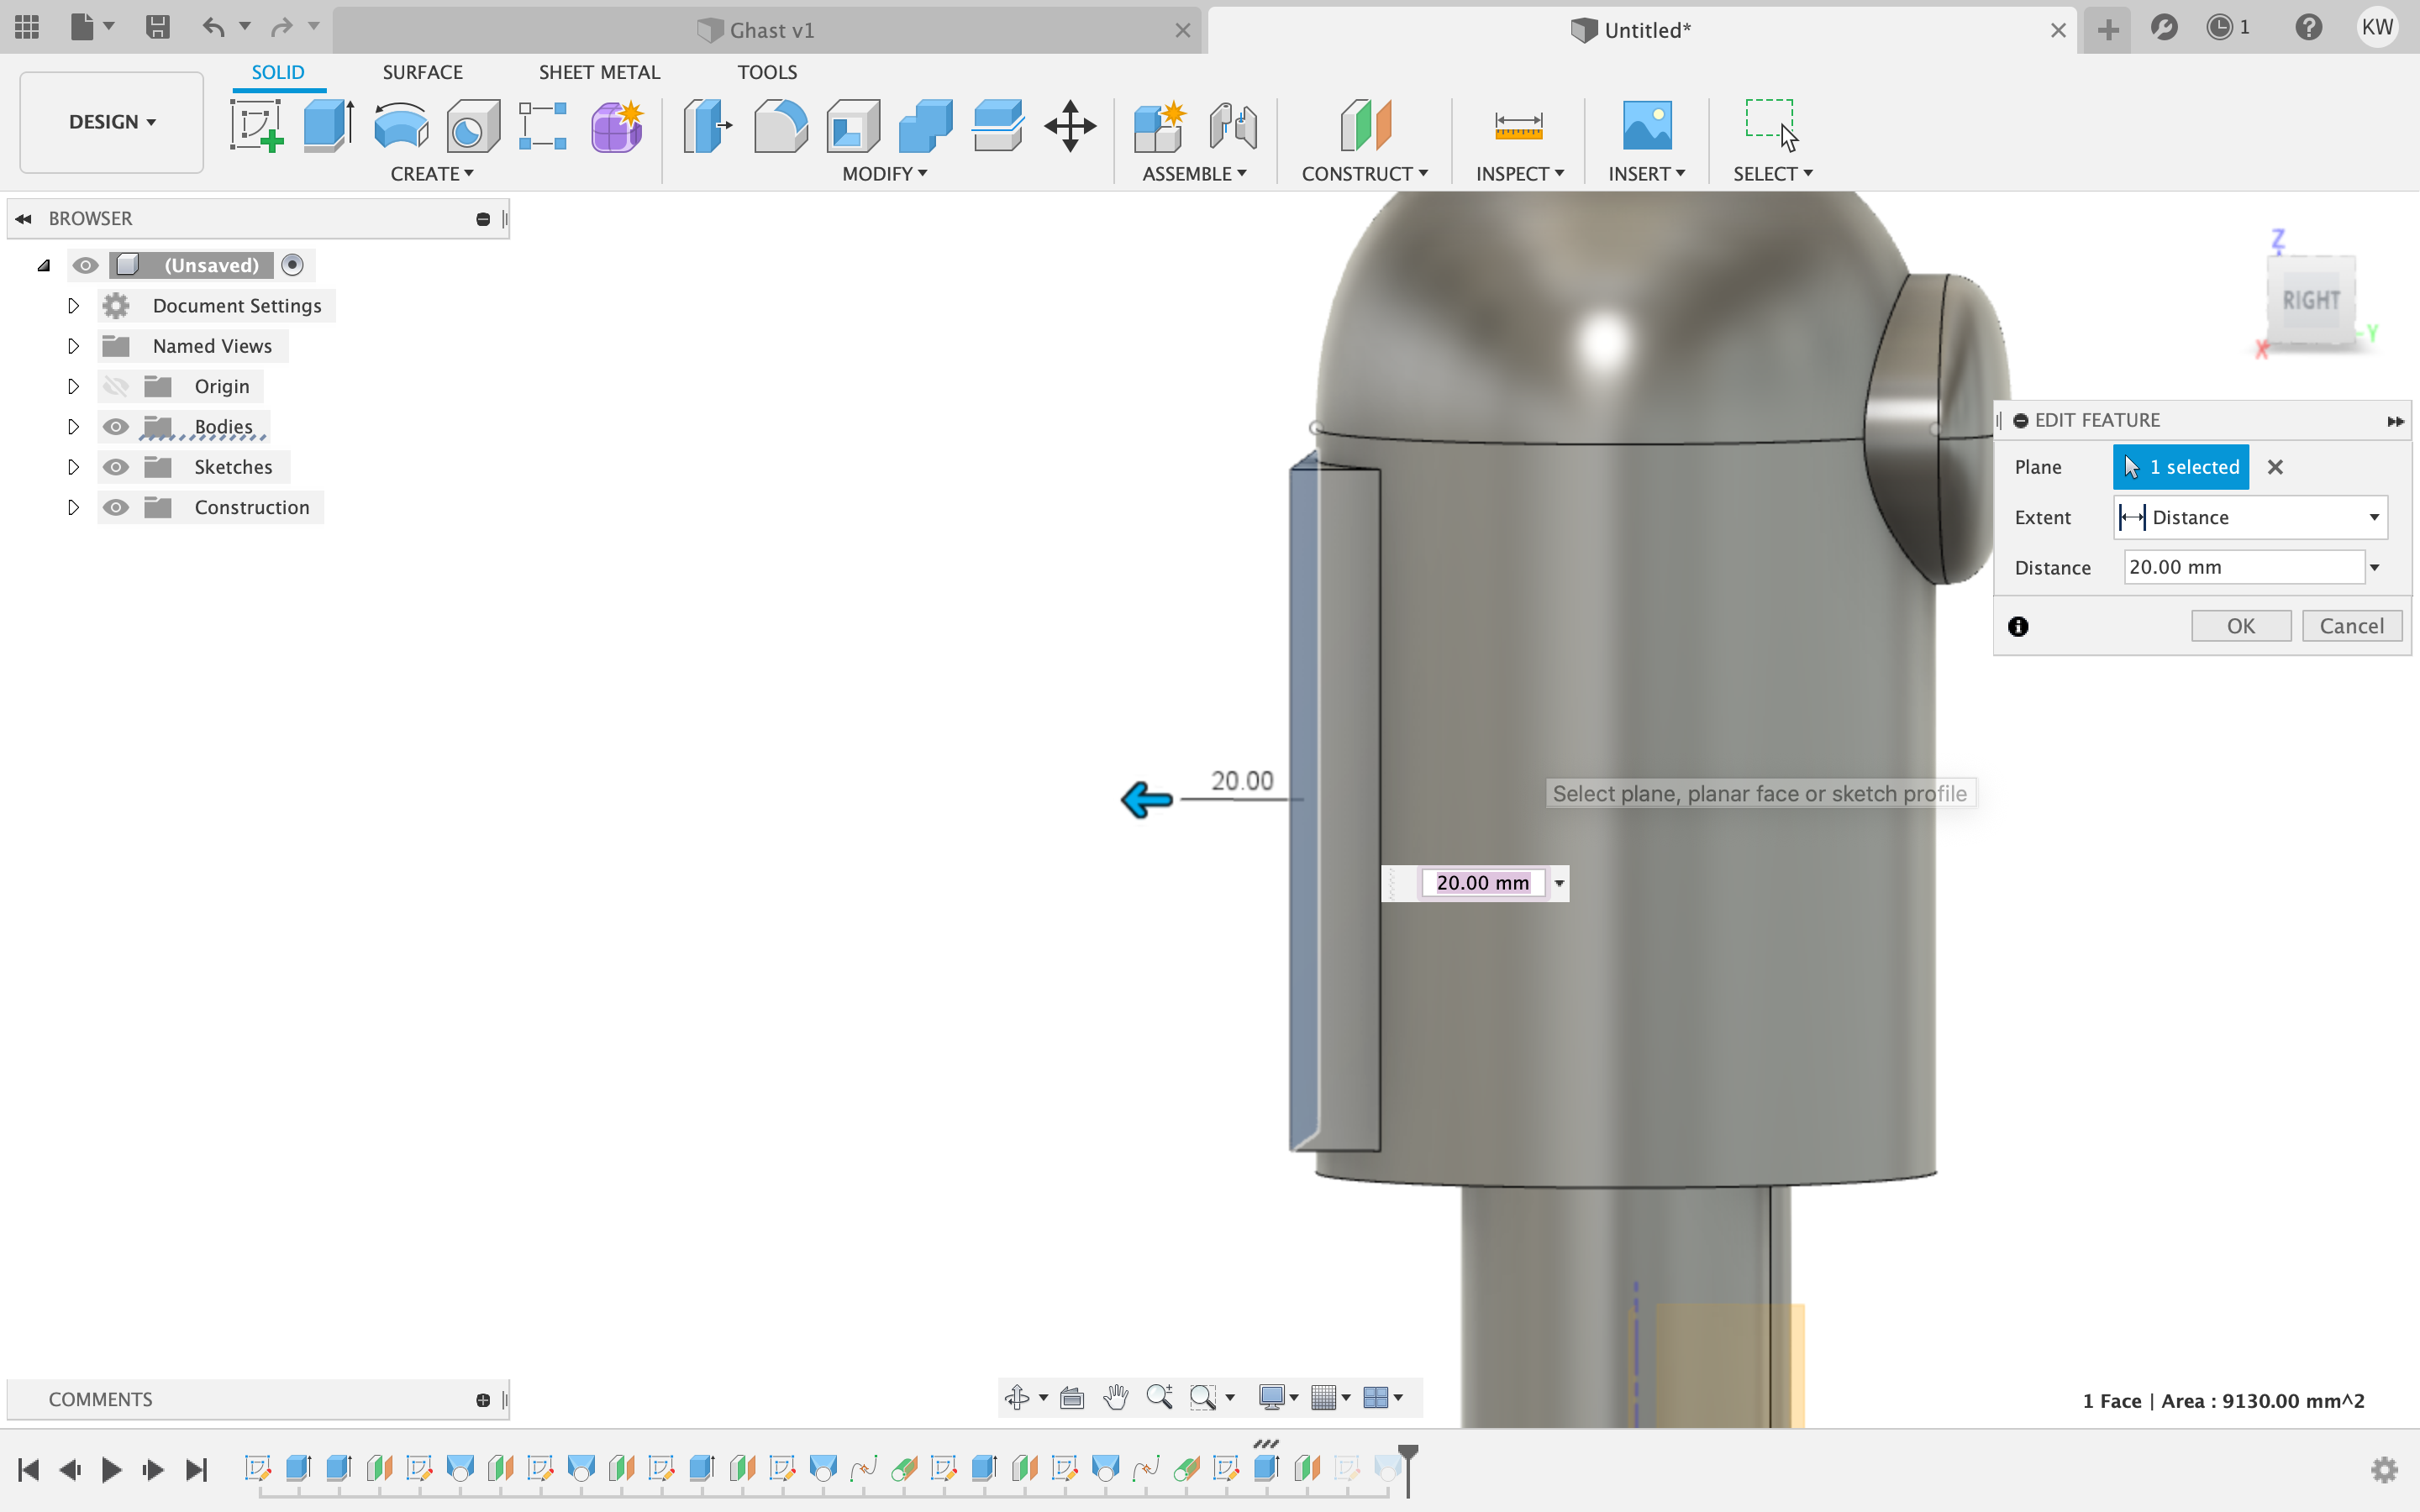
 Then I used the top to create a offset plane 50mm from the top of the body for the head.
 I did the same process for the feet as I did with the head because it has a rounded head.

 Then I worked on creating the little mask for the front. I placed a dot along the line of the body and the head to use as my plane.

 Then I made a cylinder 75mm wide and 50mm tall for the mask.

 Then I extruded it 2mm and made a offset plane and did the same thing I did for the head and feet for the mask.
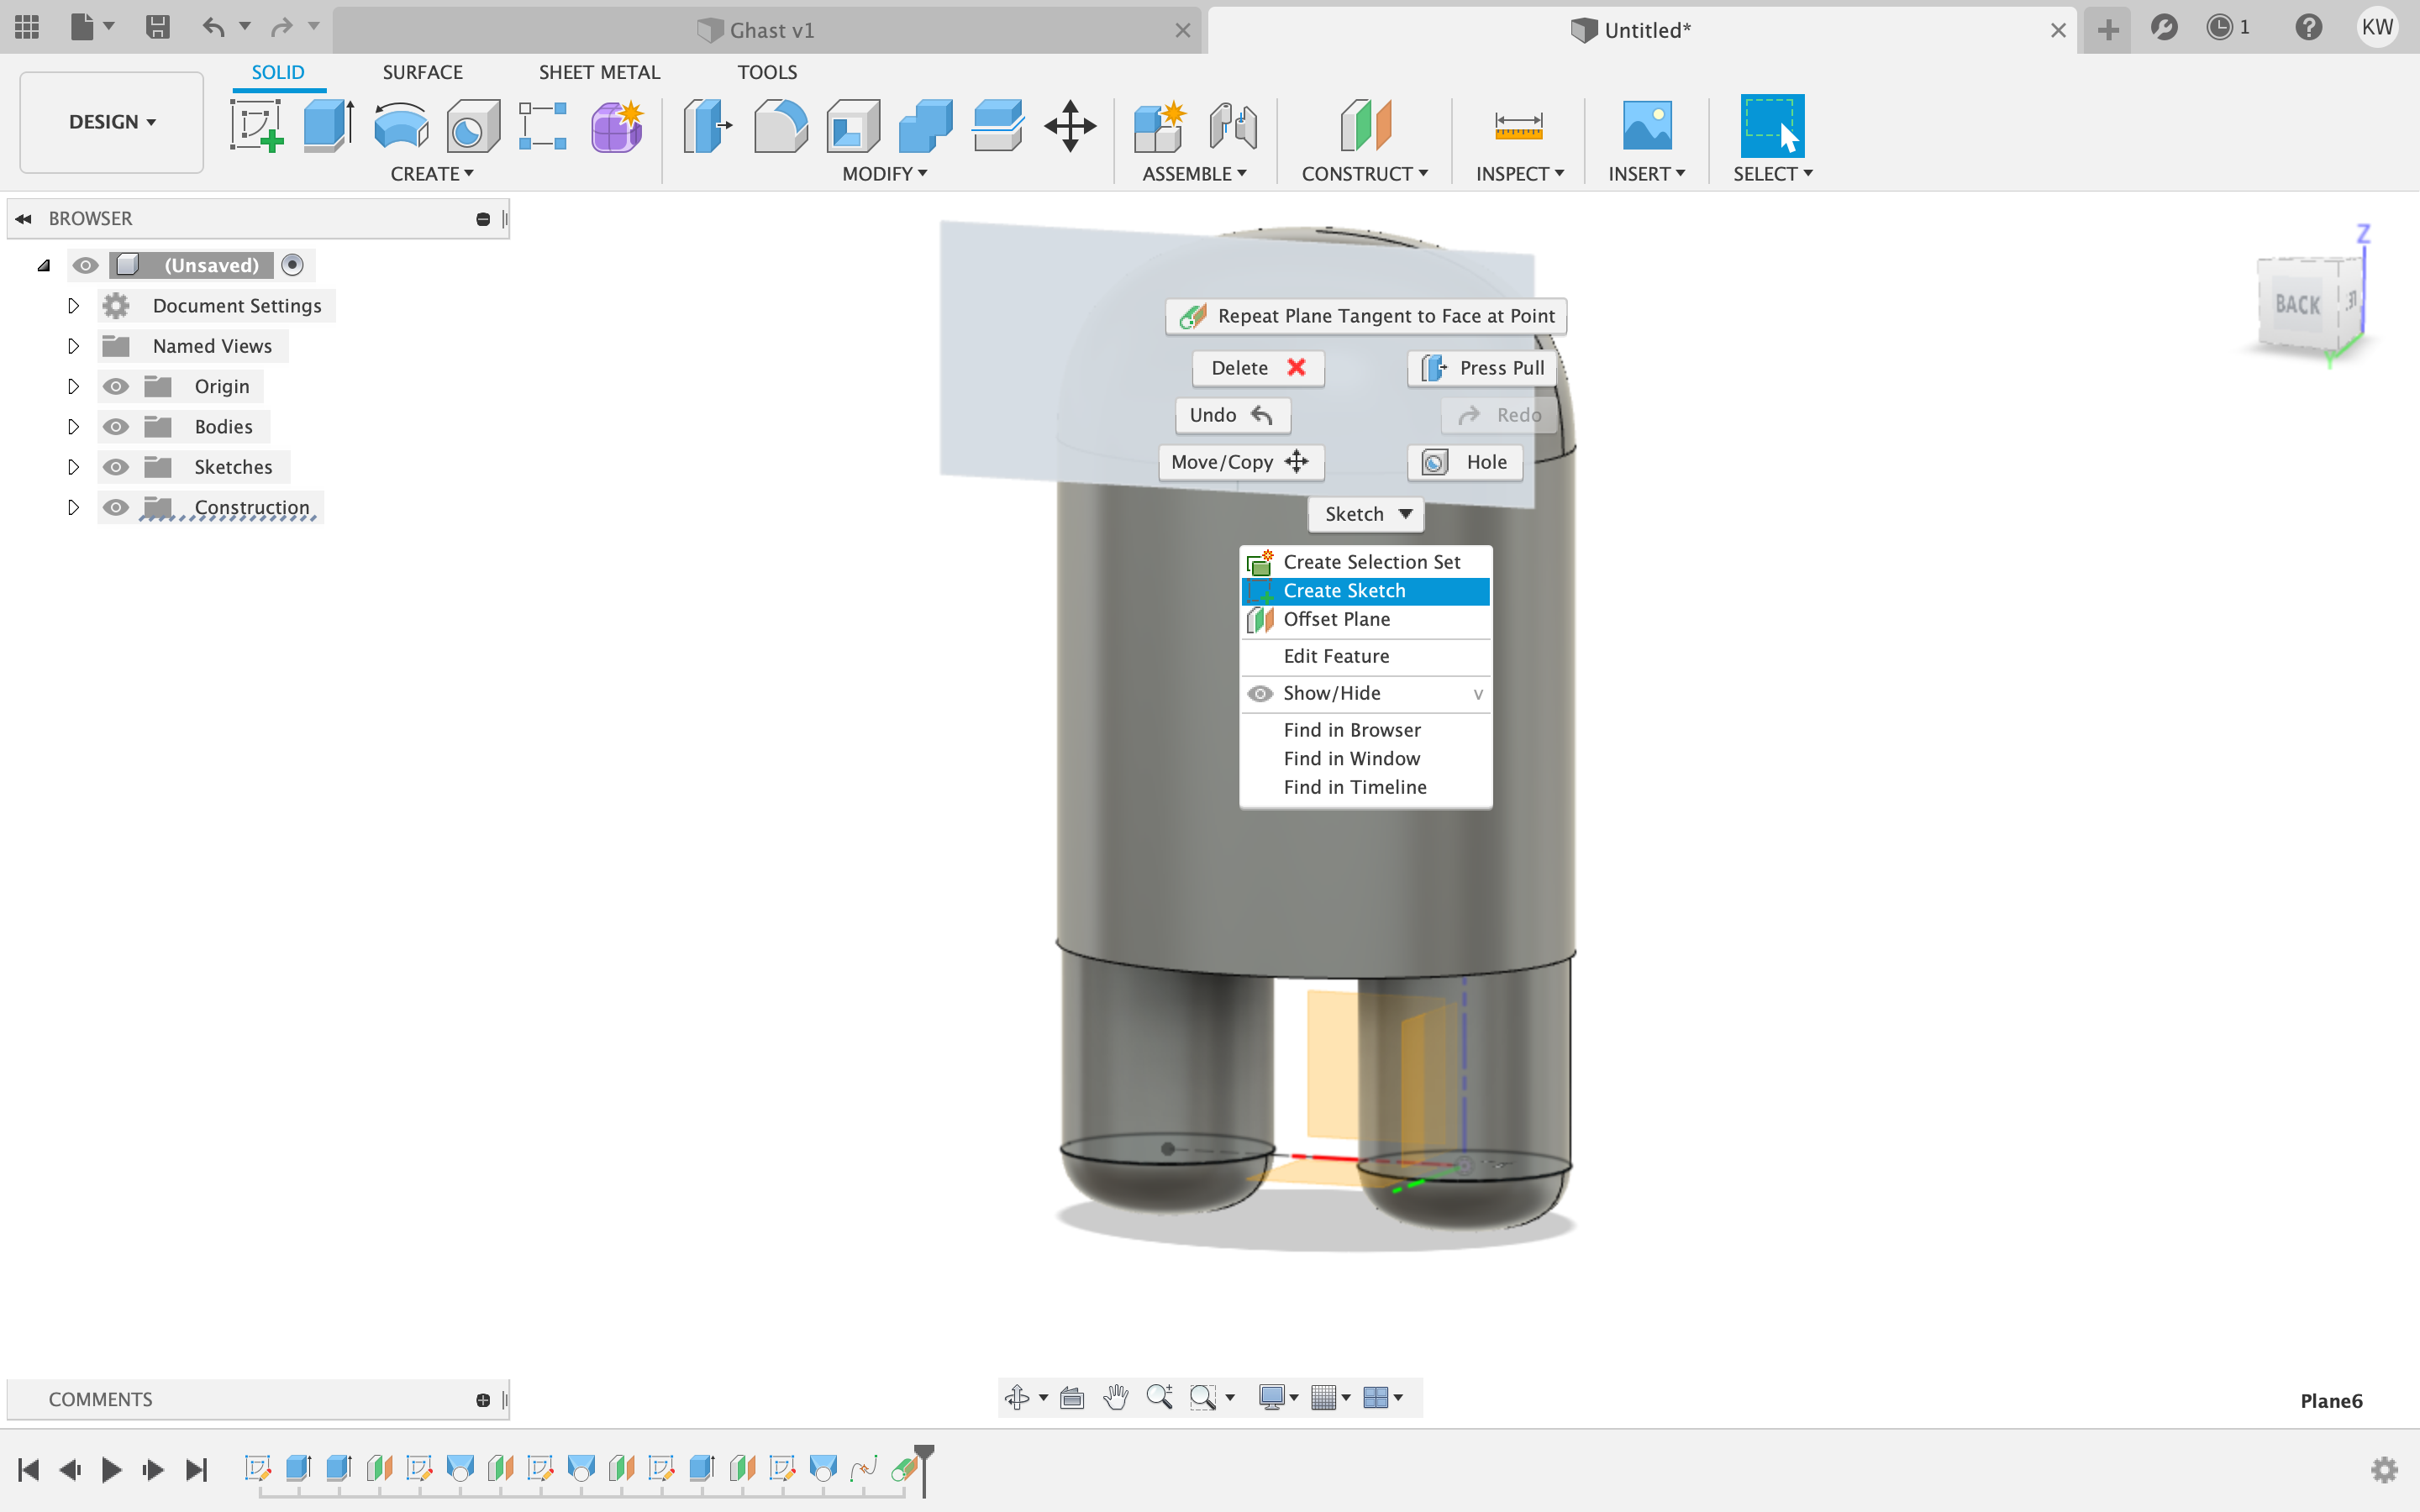
 Then I created a dot on the backside of the character to create a new offset plane for the backpack.

 I created a few construction lines so I can get the box centered in the back of the character.
 then I extruded it 12.5mm so I can creat the offset plane and round it out with the same technique as before.

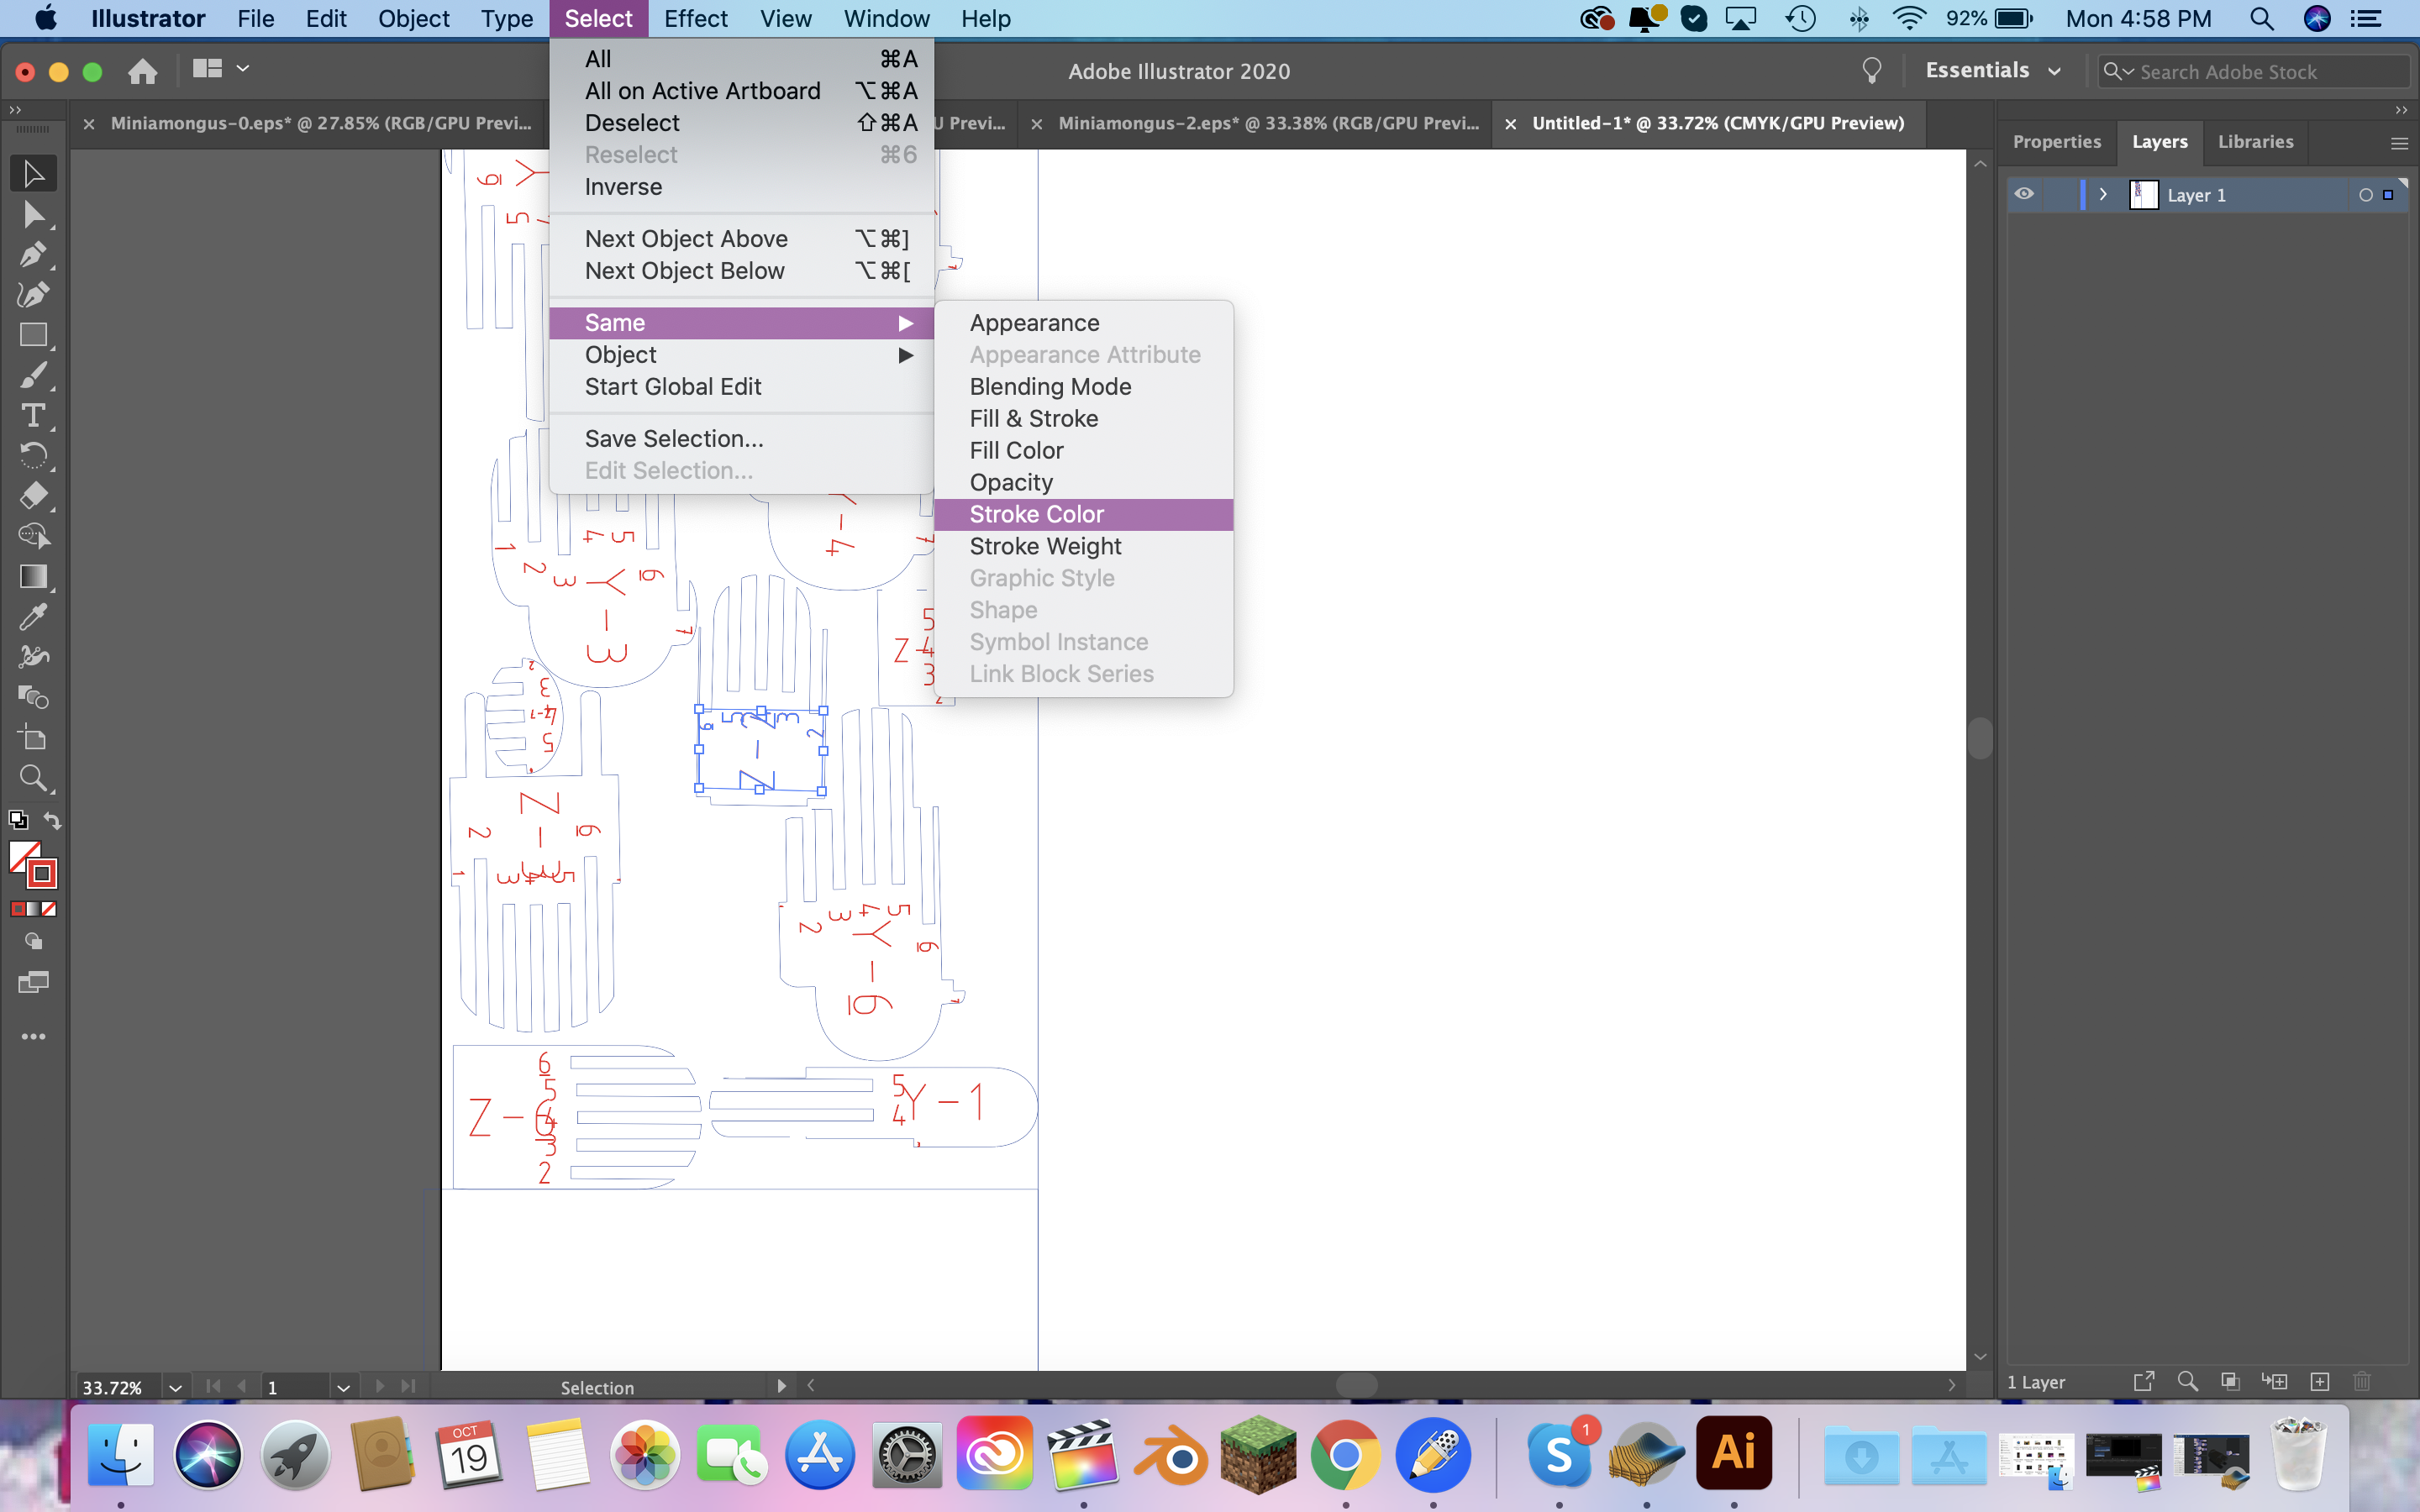
 The next thing I did was bring it into Slicer for Fusion 360 and created the carboard material and its correct settings, 26 for height and 28 for length and a 1.570 thickness.
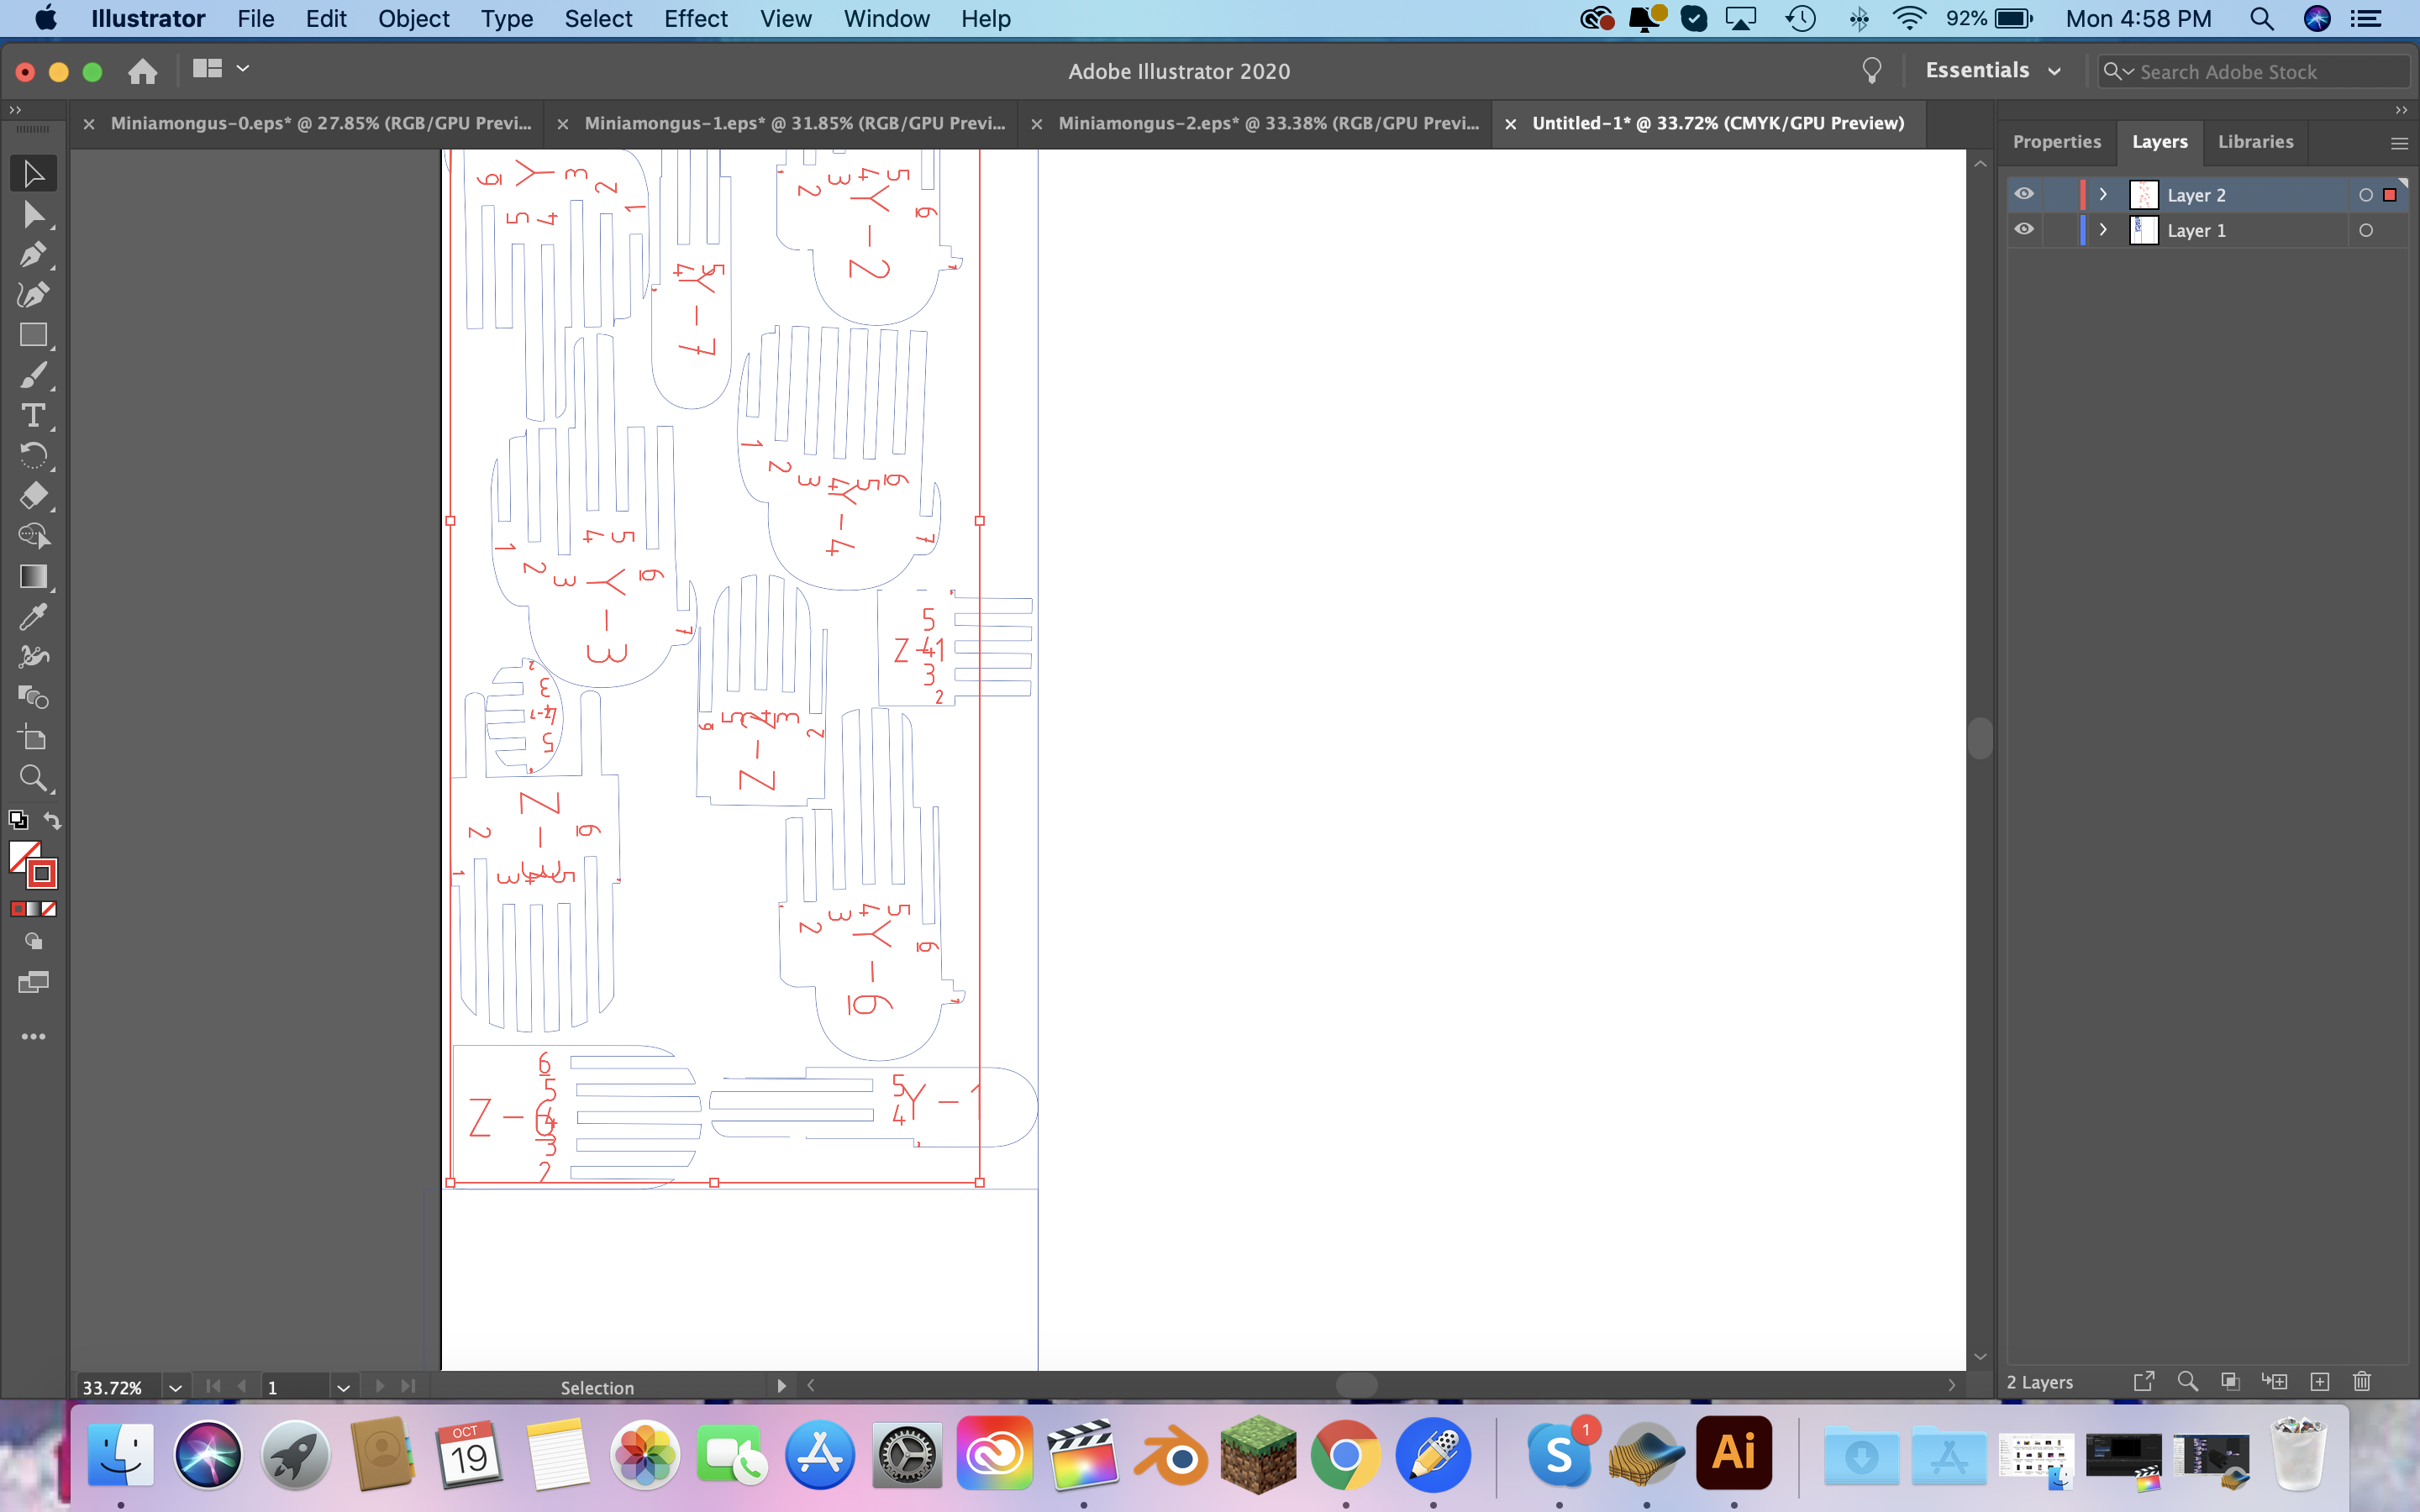
 Next I made the width 5 inches so the tallest part will be 5 inches tall. Then I had nothing to change so I brought all the parts into Adobe Illustator.
 I deselected all of them and made them their own little groups. I did this by double clicking the group and selecting the text and outline and copy and pasting them outside of the orignal group. Then I used the shortcut command g to group them together so it wouldnt just be the line and the text seperate.
 Next I put them together as closley as possible to not waste a lot of material.
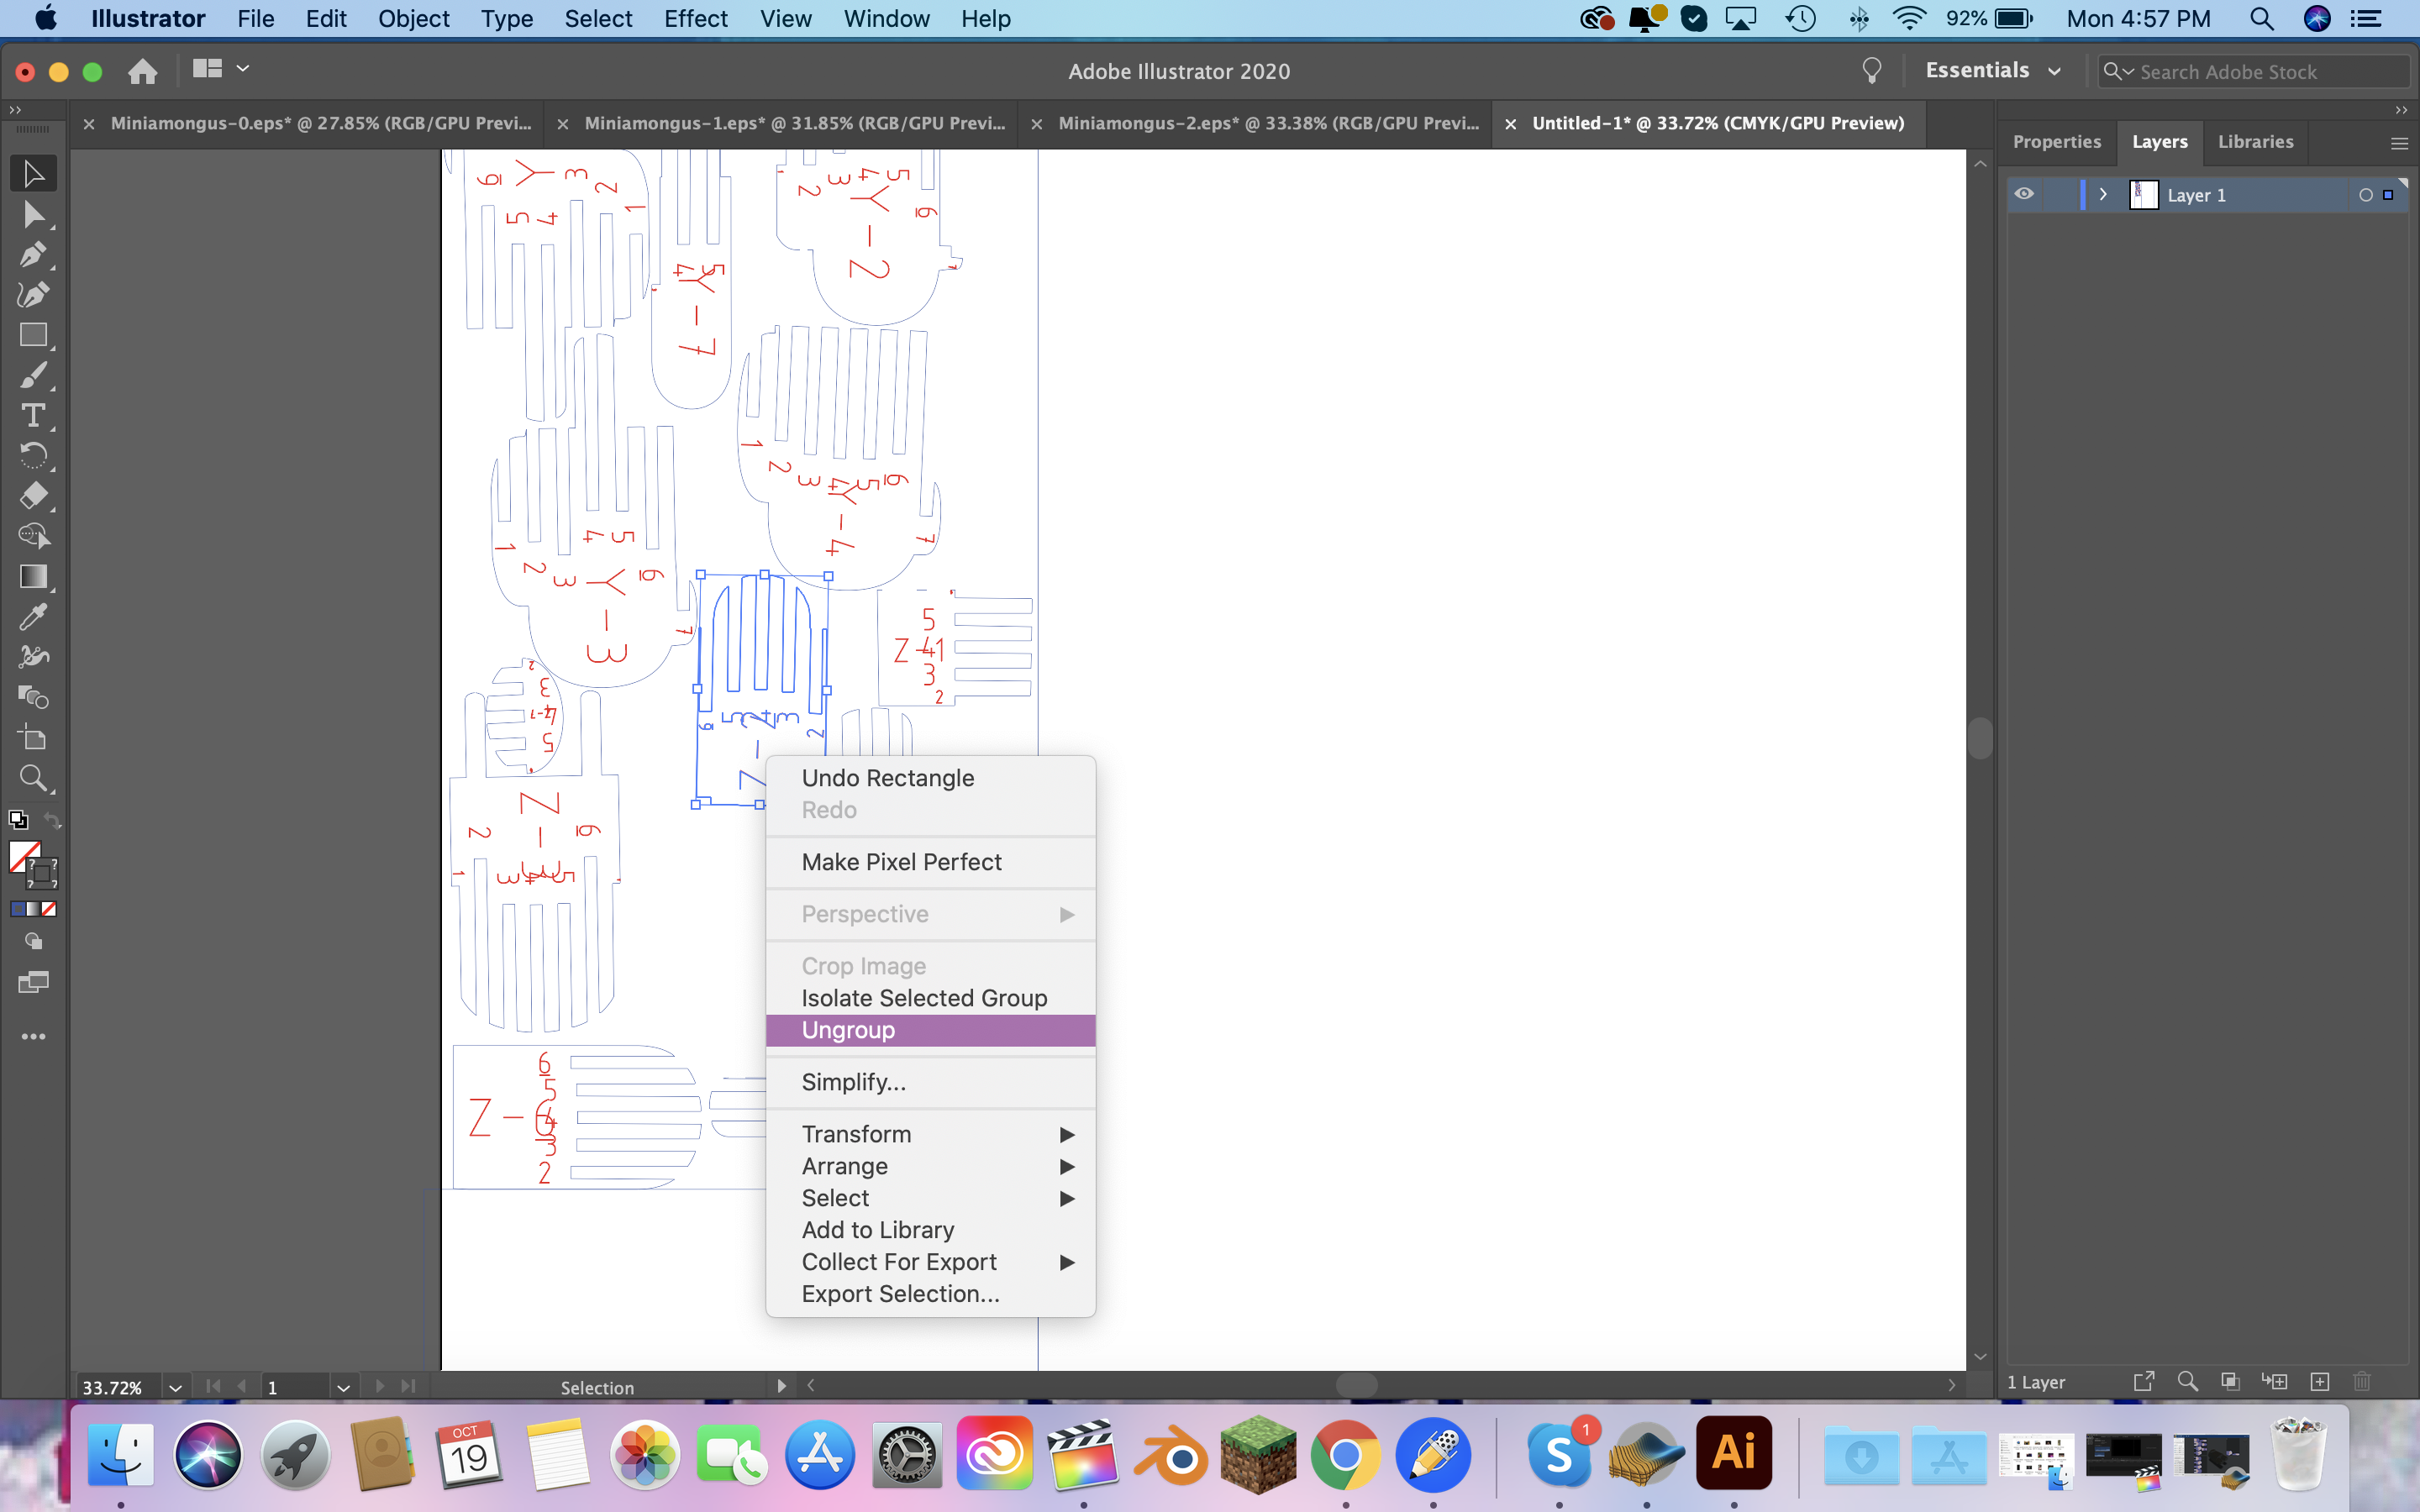
 Next, I ungrouped one pair of text and outline so I could select all the text to make its own layer.
 I did that so I could set the outline to be the setting so the laser knows to cut it and not engrave it (.01mm). Then I put it into the computer into the lab and printed it out.
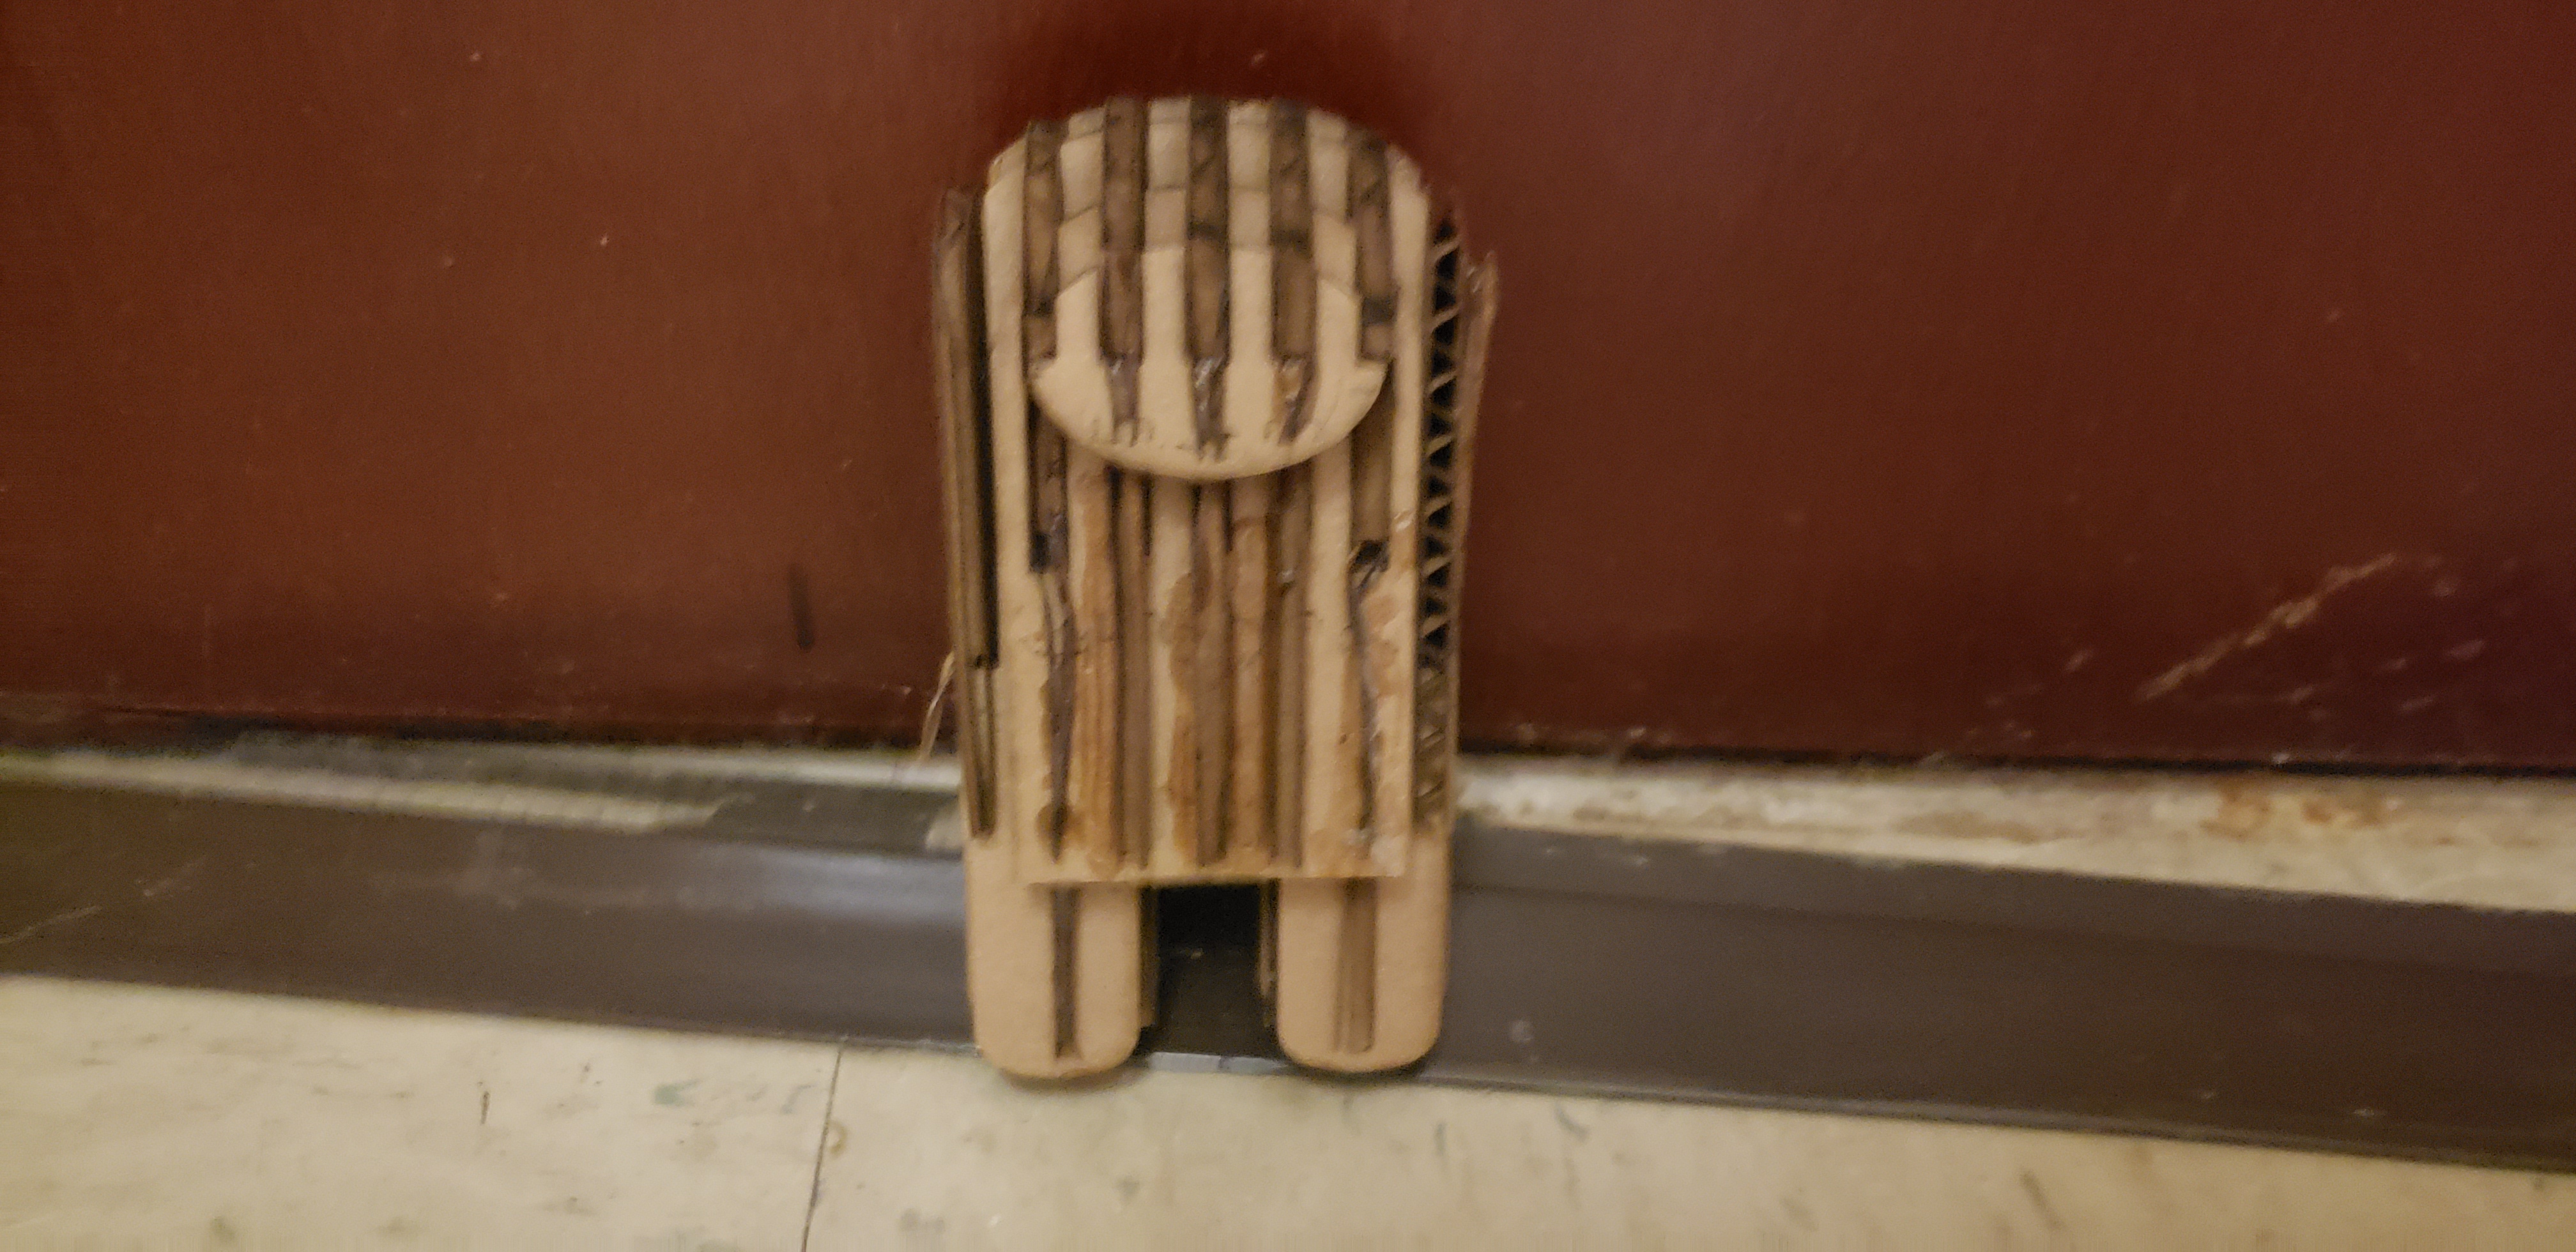
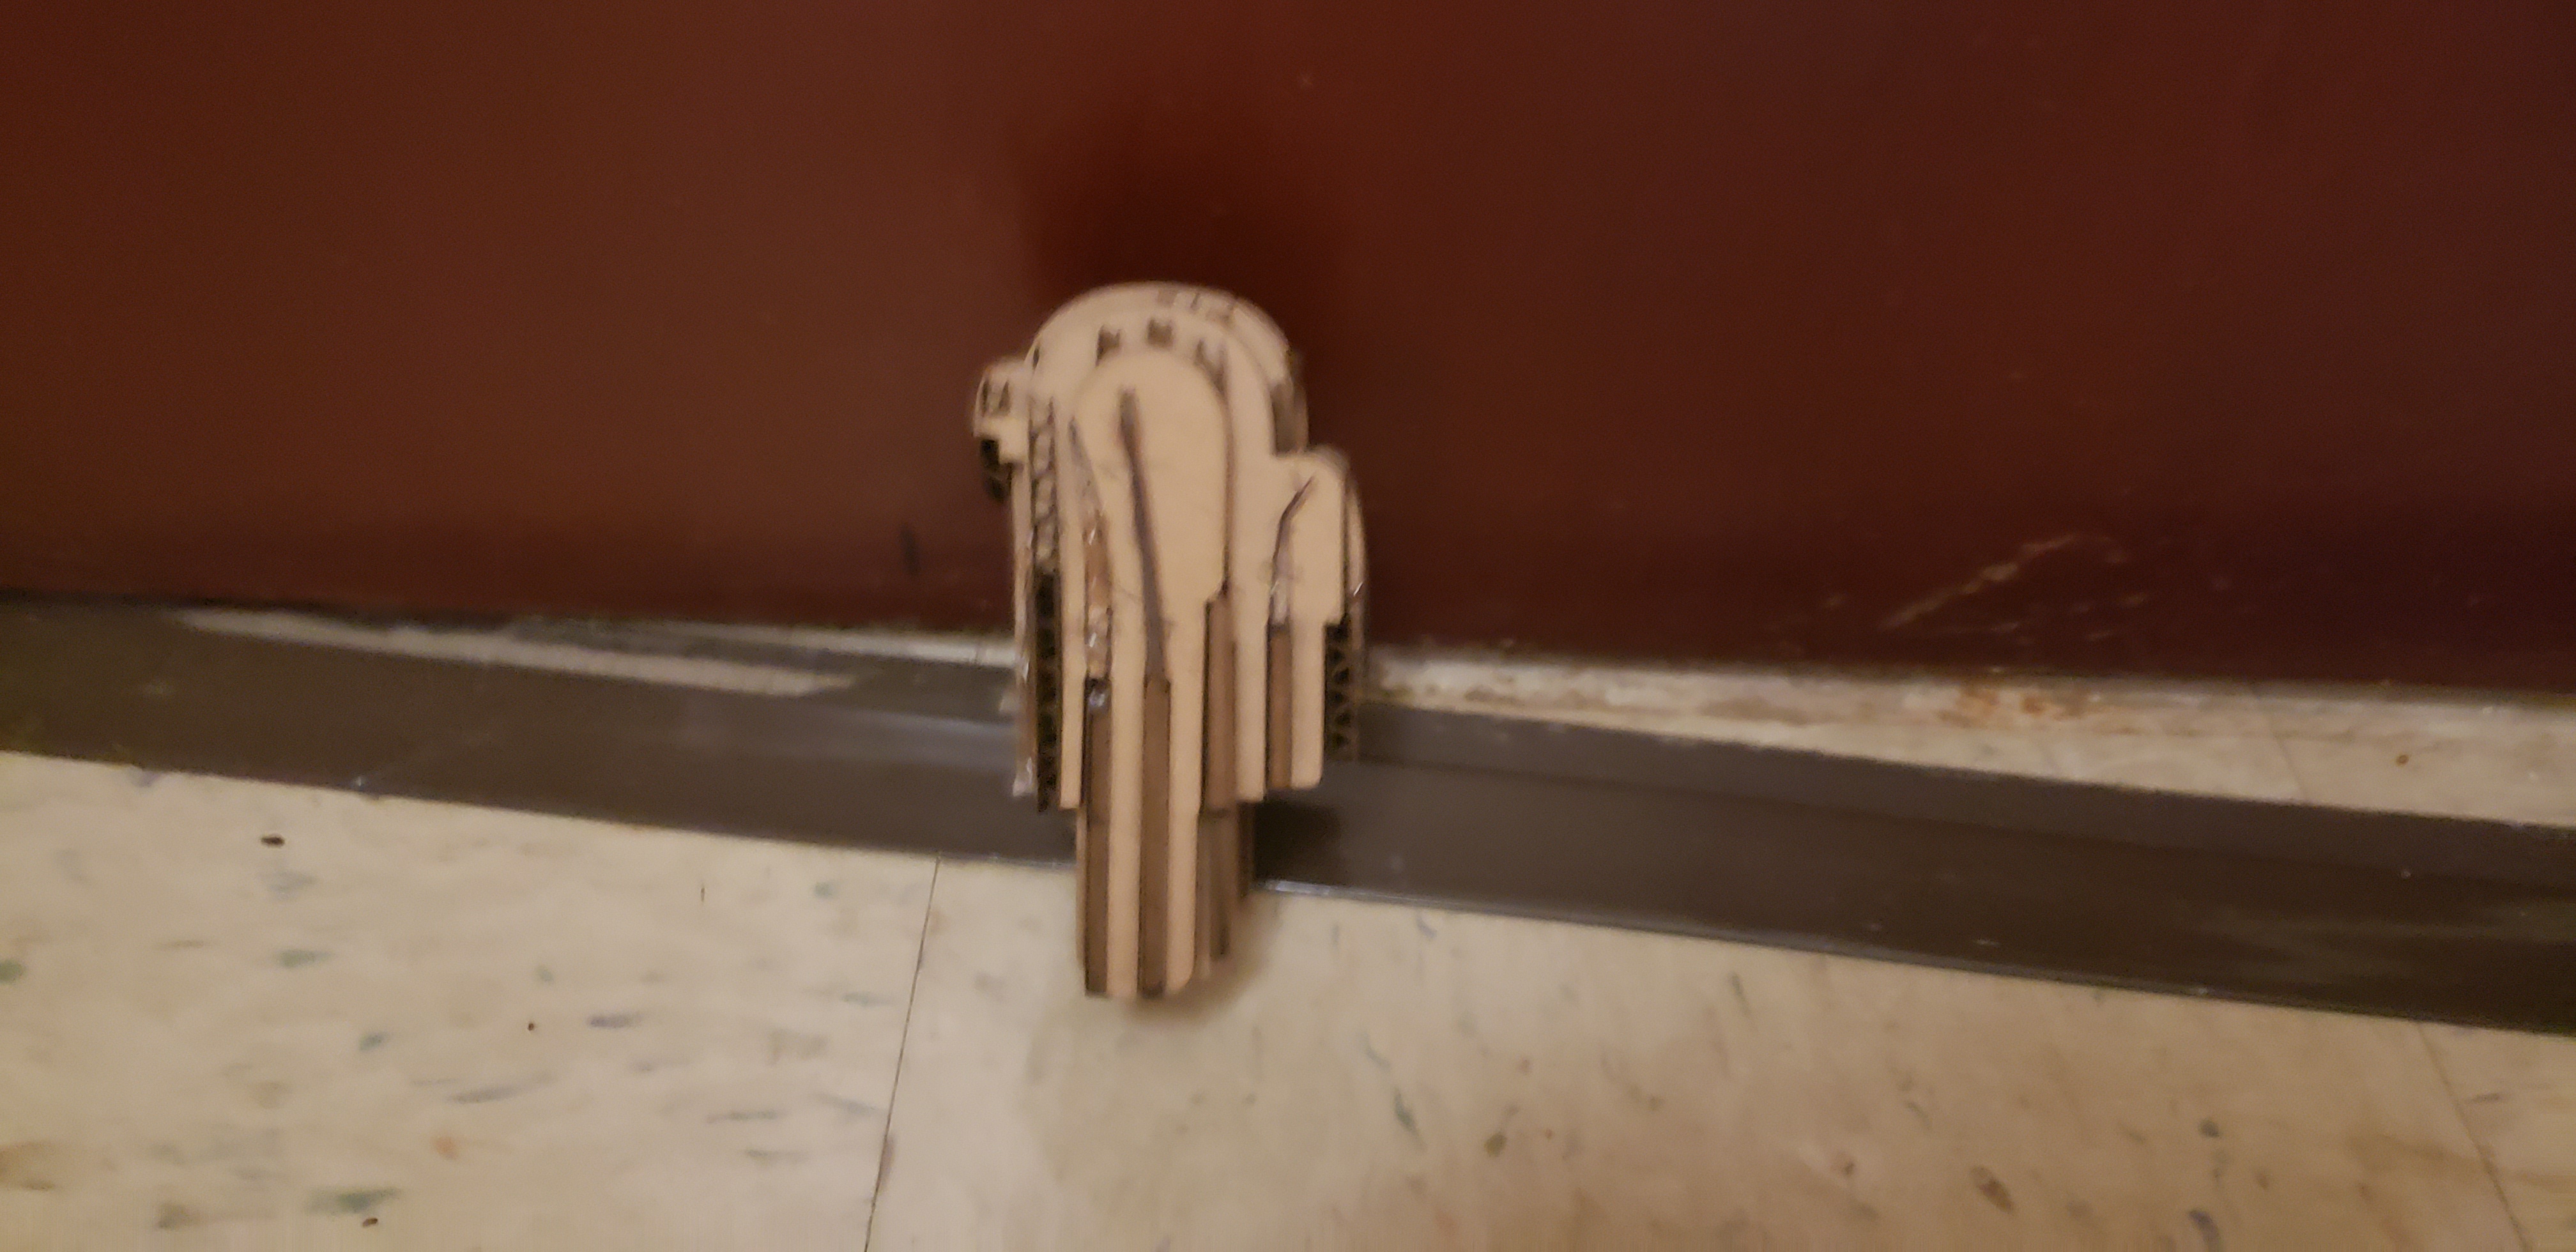
 Then I put him together and with using a lot of hot glue that is the final product!
 Files for this week
This week we had to create something out of carboard using Slicer for Fusion 360. The mini version is this week because next week we make it big. So the first thing I did before anything was download Slicer for Fusion 360
Then I opened up Fusion 360 created a new sketch and made a circle with the radius of 50mm.
Then I took that circle and extruded it 50mm I did this orignially to test if my idea was going to work. My plan was to try and modle an Among Us character (Picture in the files folder)
Then I made a offset plane 15 mm from the bottom of my new cylinder
I created a dot so I could refrence the center of the plane then I backed out of the sketch.
Next I used the loft tool to create a cone connecting to the point in of offset plane.
Then I rounded it out.
This made 1 leg for the character so I went back into the original sketch and created a line 75mm away from the center of my original cirlce then made another cirlce at the end of the line.
Then I did the same process with this leg as the other.
The next thing I did was create a sketch on top of one of the legs and made a line 75 mm from each center of the cirlce like the oringal sketch and set it as the mid point.
Then I created an oval around the center of the new line.
I extruded it 120 mm up. And that was going to be the body of the character.
Then I used the top to create a offset plane 50mm from the top of the body for the head.
I did the same process for the feet as I did with the head because it has a rounded head.
Then I worked on creating the little mask for the front. I placed a dot along the line of the body and the head to use as my plane.
Then I made a cylinder 75mm wide and 50mm tall for the mask.
Then I extruded it 2mm and made a offset plane and did the same thing I did for the head and feet for the mask.
Then I created a dot on the backside of the character to create a new offset plane for the backpack.
I created a few construction lines so I can get the box centered in the back of the character.
then I extruded it 12.5mm so I can creat the offset plane and round it out with the same technique as before.
The next thing I did was bring it into Slicer for Fusion 360 and created the carboard material and its correct settings, 26 for height and 28 for length and a 1.570 thickness.
Next I made the width 5 inches so the tallest part will be 5 inches tall. Then I had nothing to change so I brought all the parts into Adobe Illustator.
I deselected all of them and made them their own little groups. I did this by double clicking the group and selecting the text and outline and copy and pasting them outside of the orignal group. Then I used the shortcut command g to group them together so it wouldnt just be the line and the text seperate.
Next I put them together as closley as possible to not waste a lot of material.
Next, I ungrouped one pair of text and outline so I could select all the text to make its own layer.
I did that so I could set the outline to be the setting so the laser knows to cut it and not engrave it (.01mm). Then I put it into the computer into the lab and printed it out.
Then I put him together and with using a lot of hot glue that is the final product!
Files for this week