WEEK 7
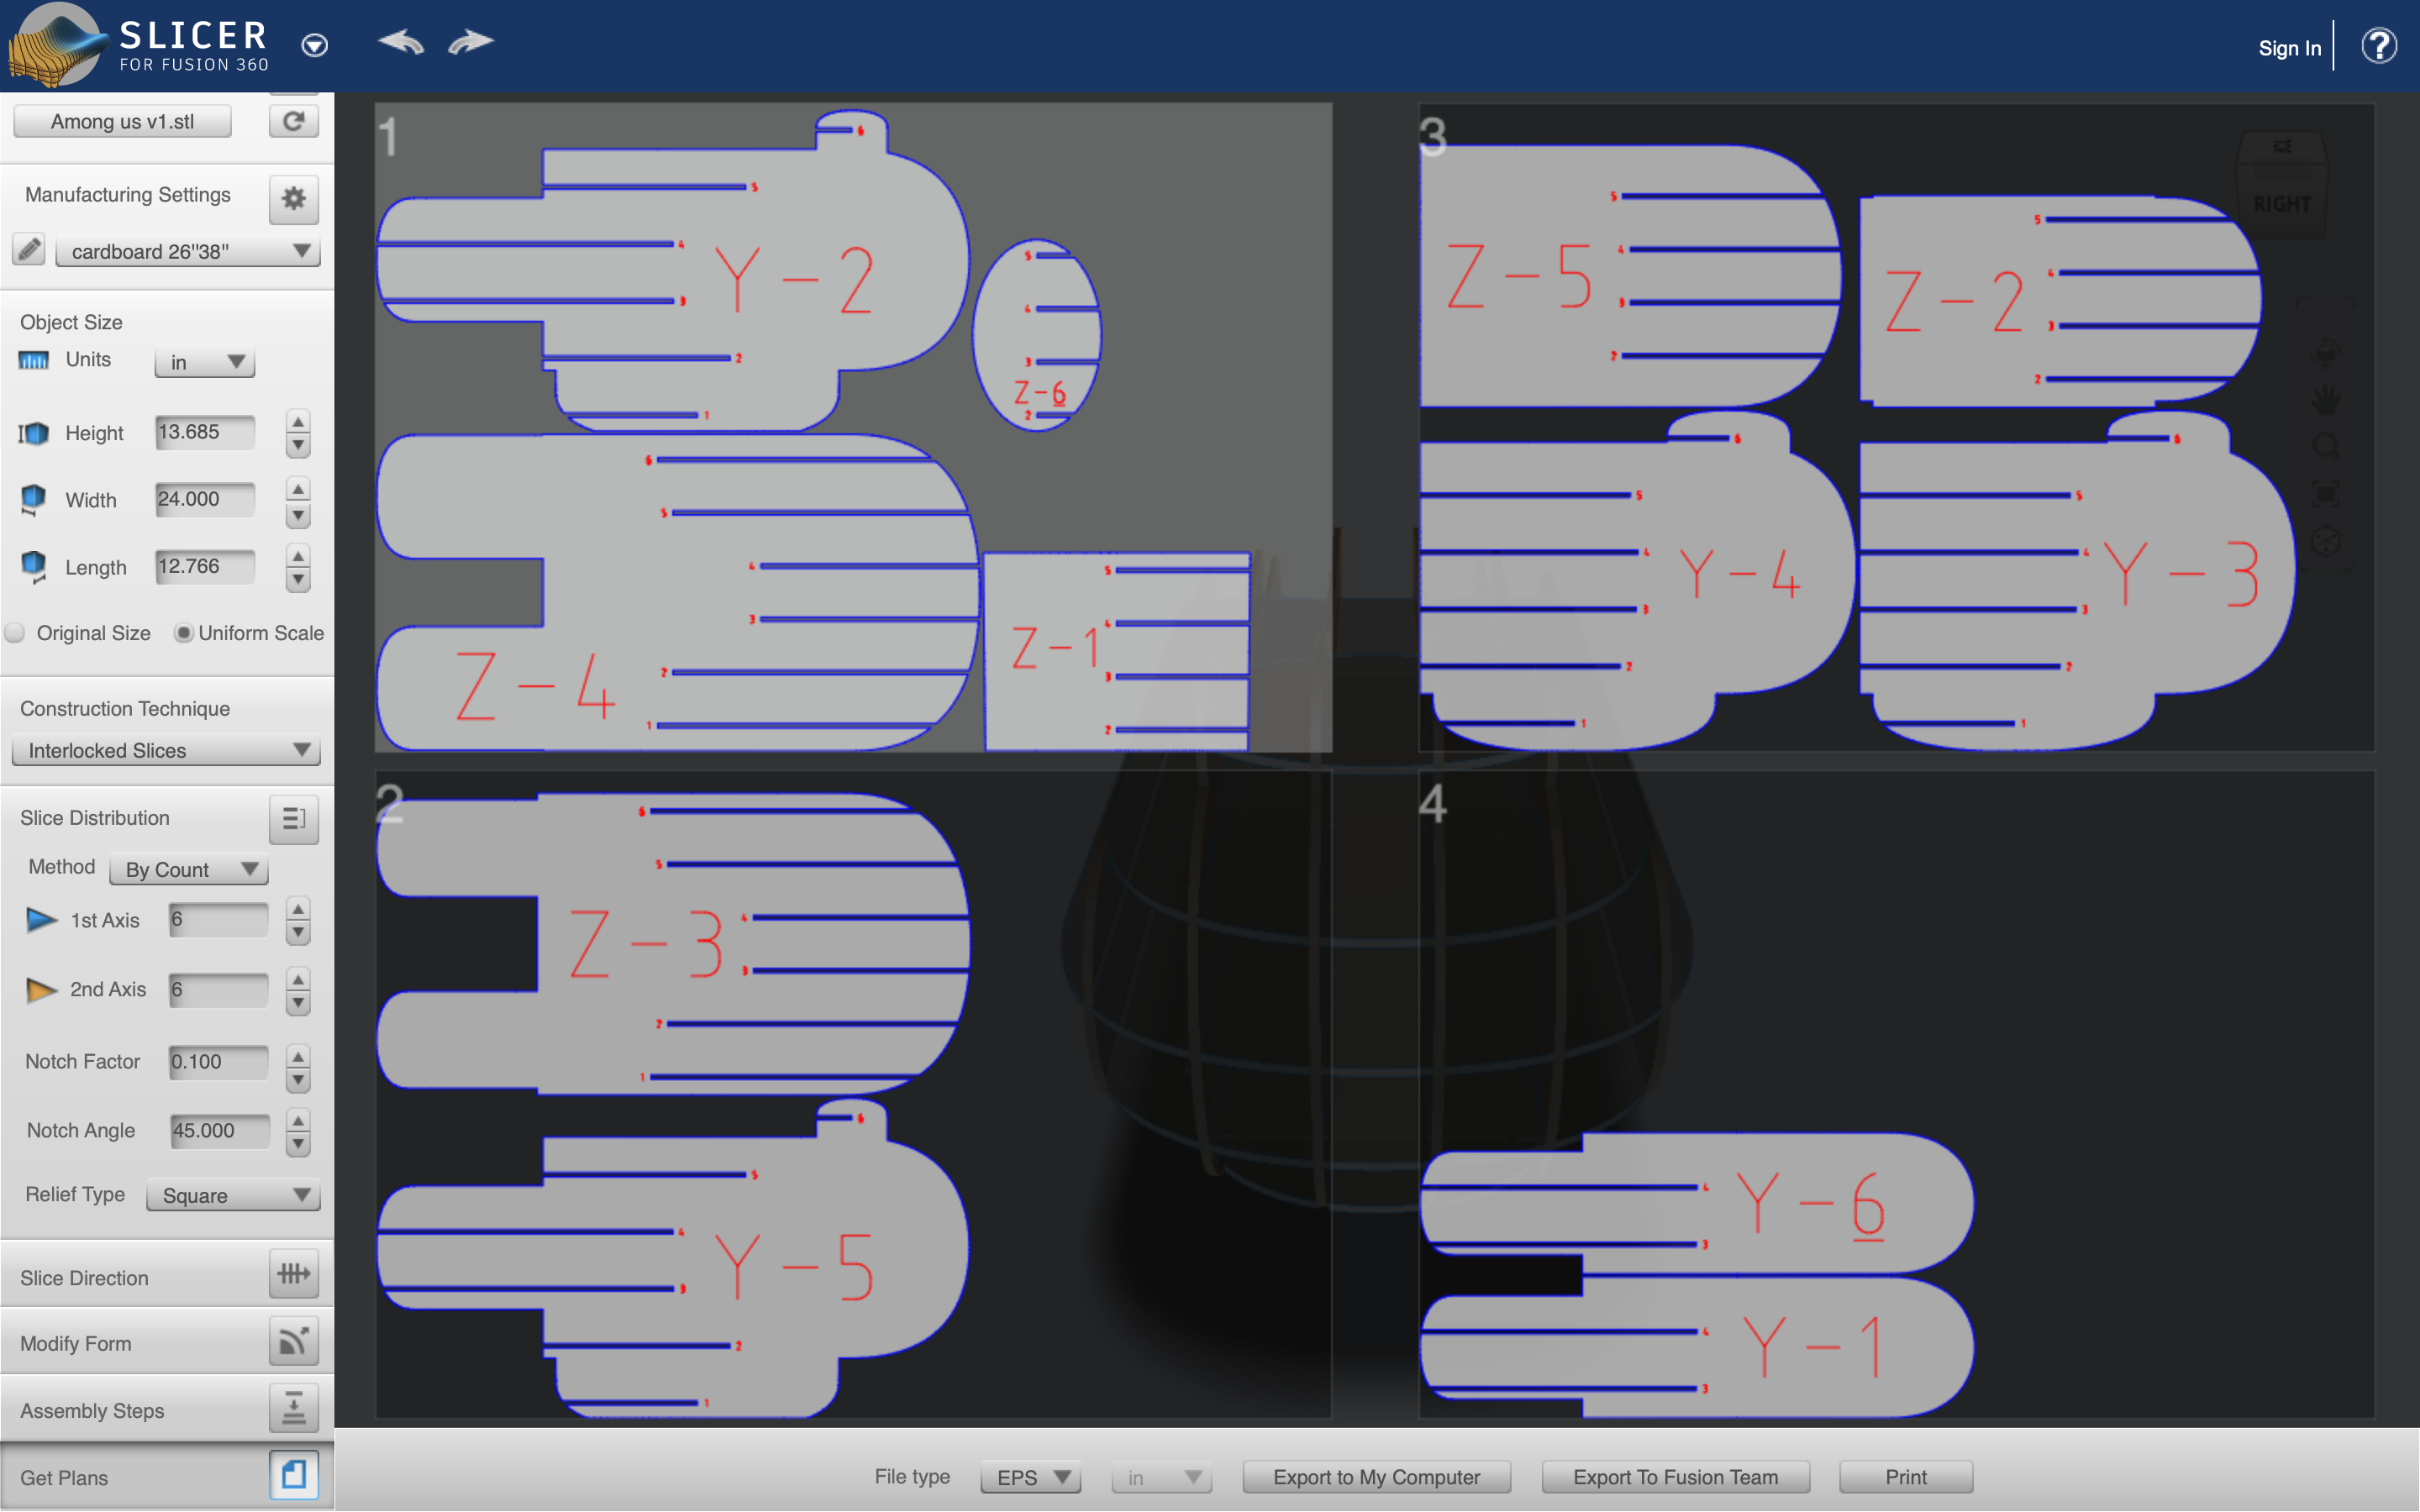
For this week we had to make our mini model big... like 2 feet tall big. So the first thing I did was make the height of my material in slicer for fusion 360 24 in and the width of it 13. It is acutally reversed but I made it so the height of my guy is 24 in.
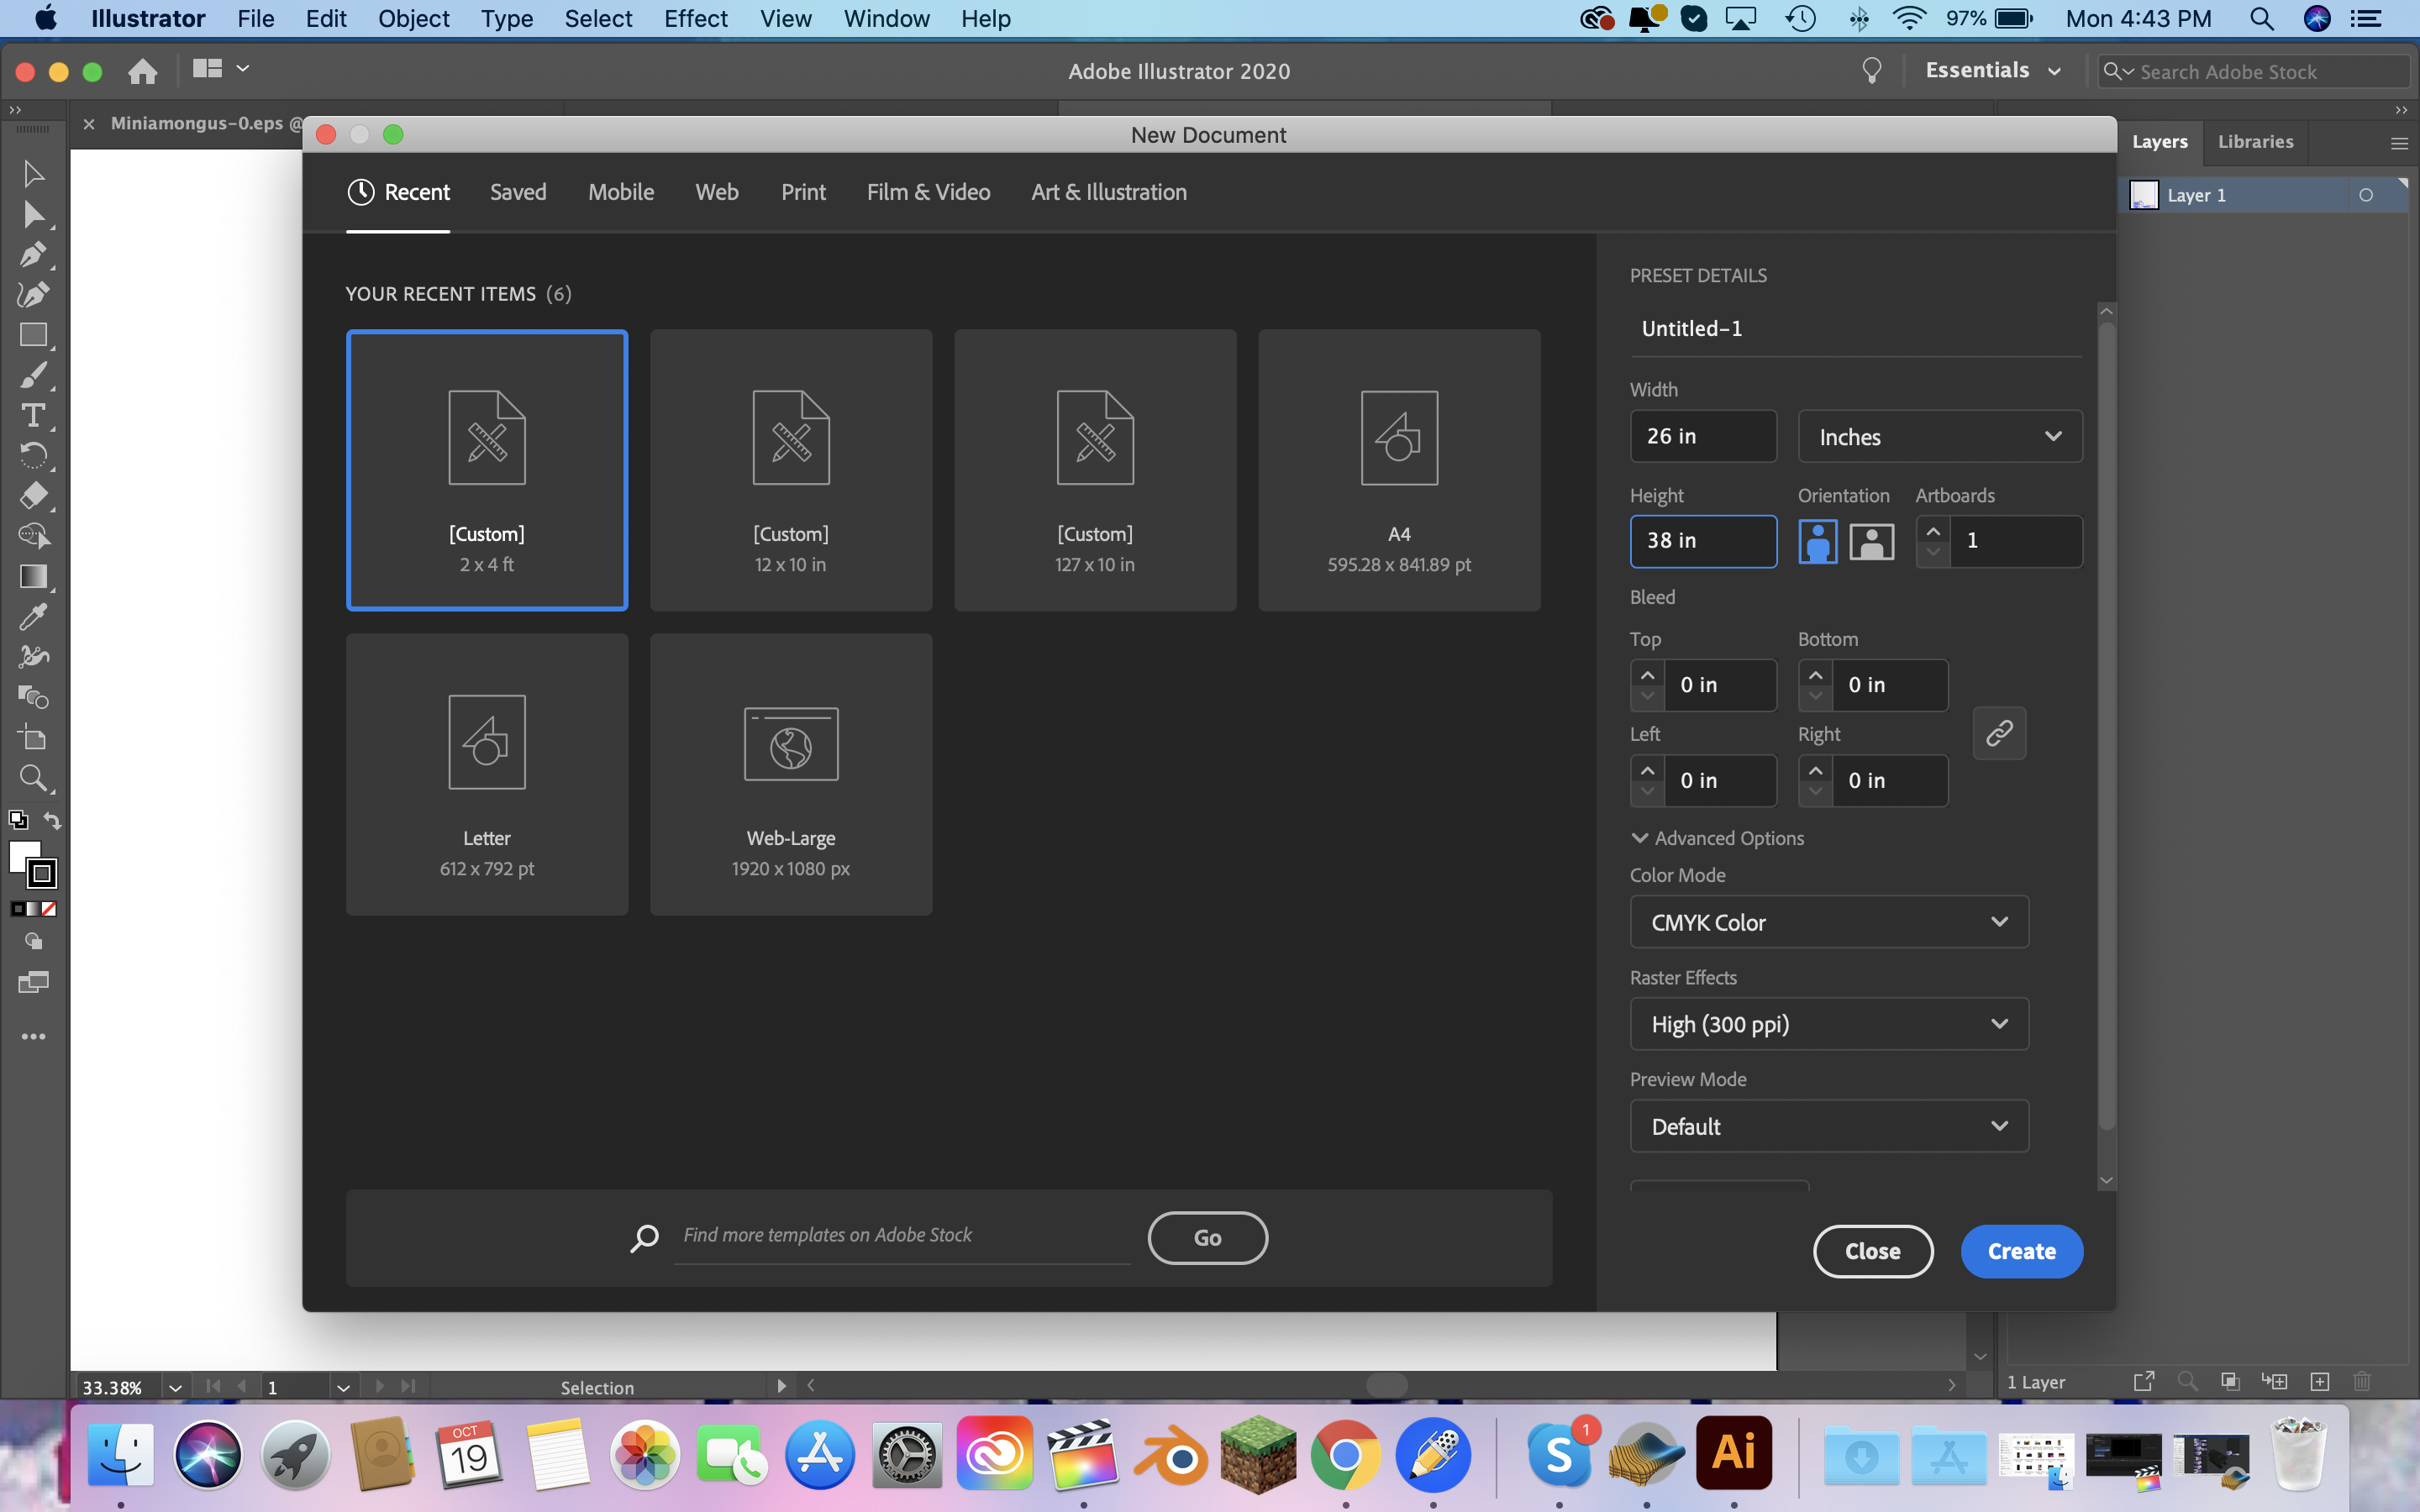
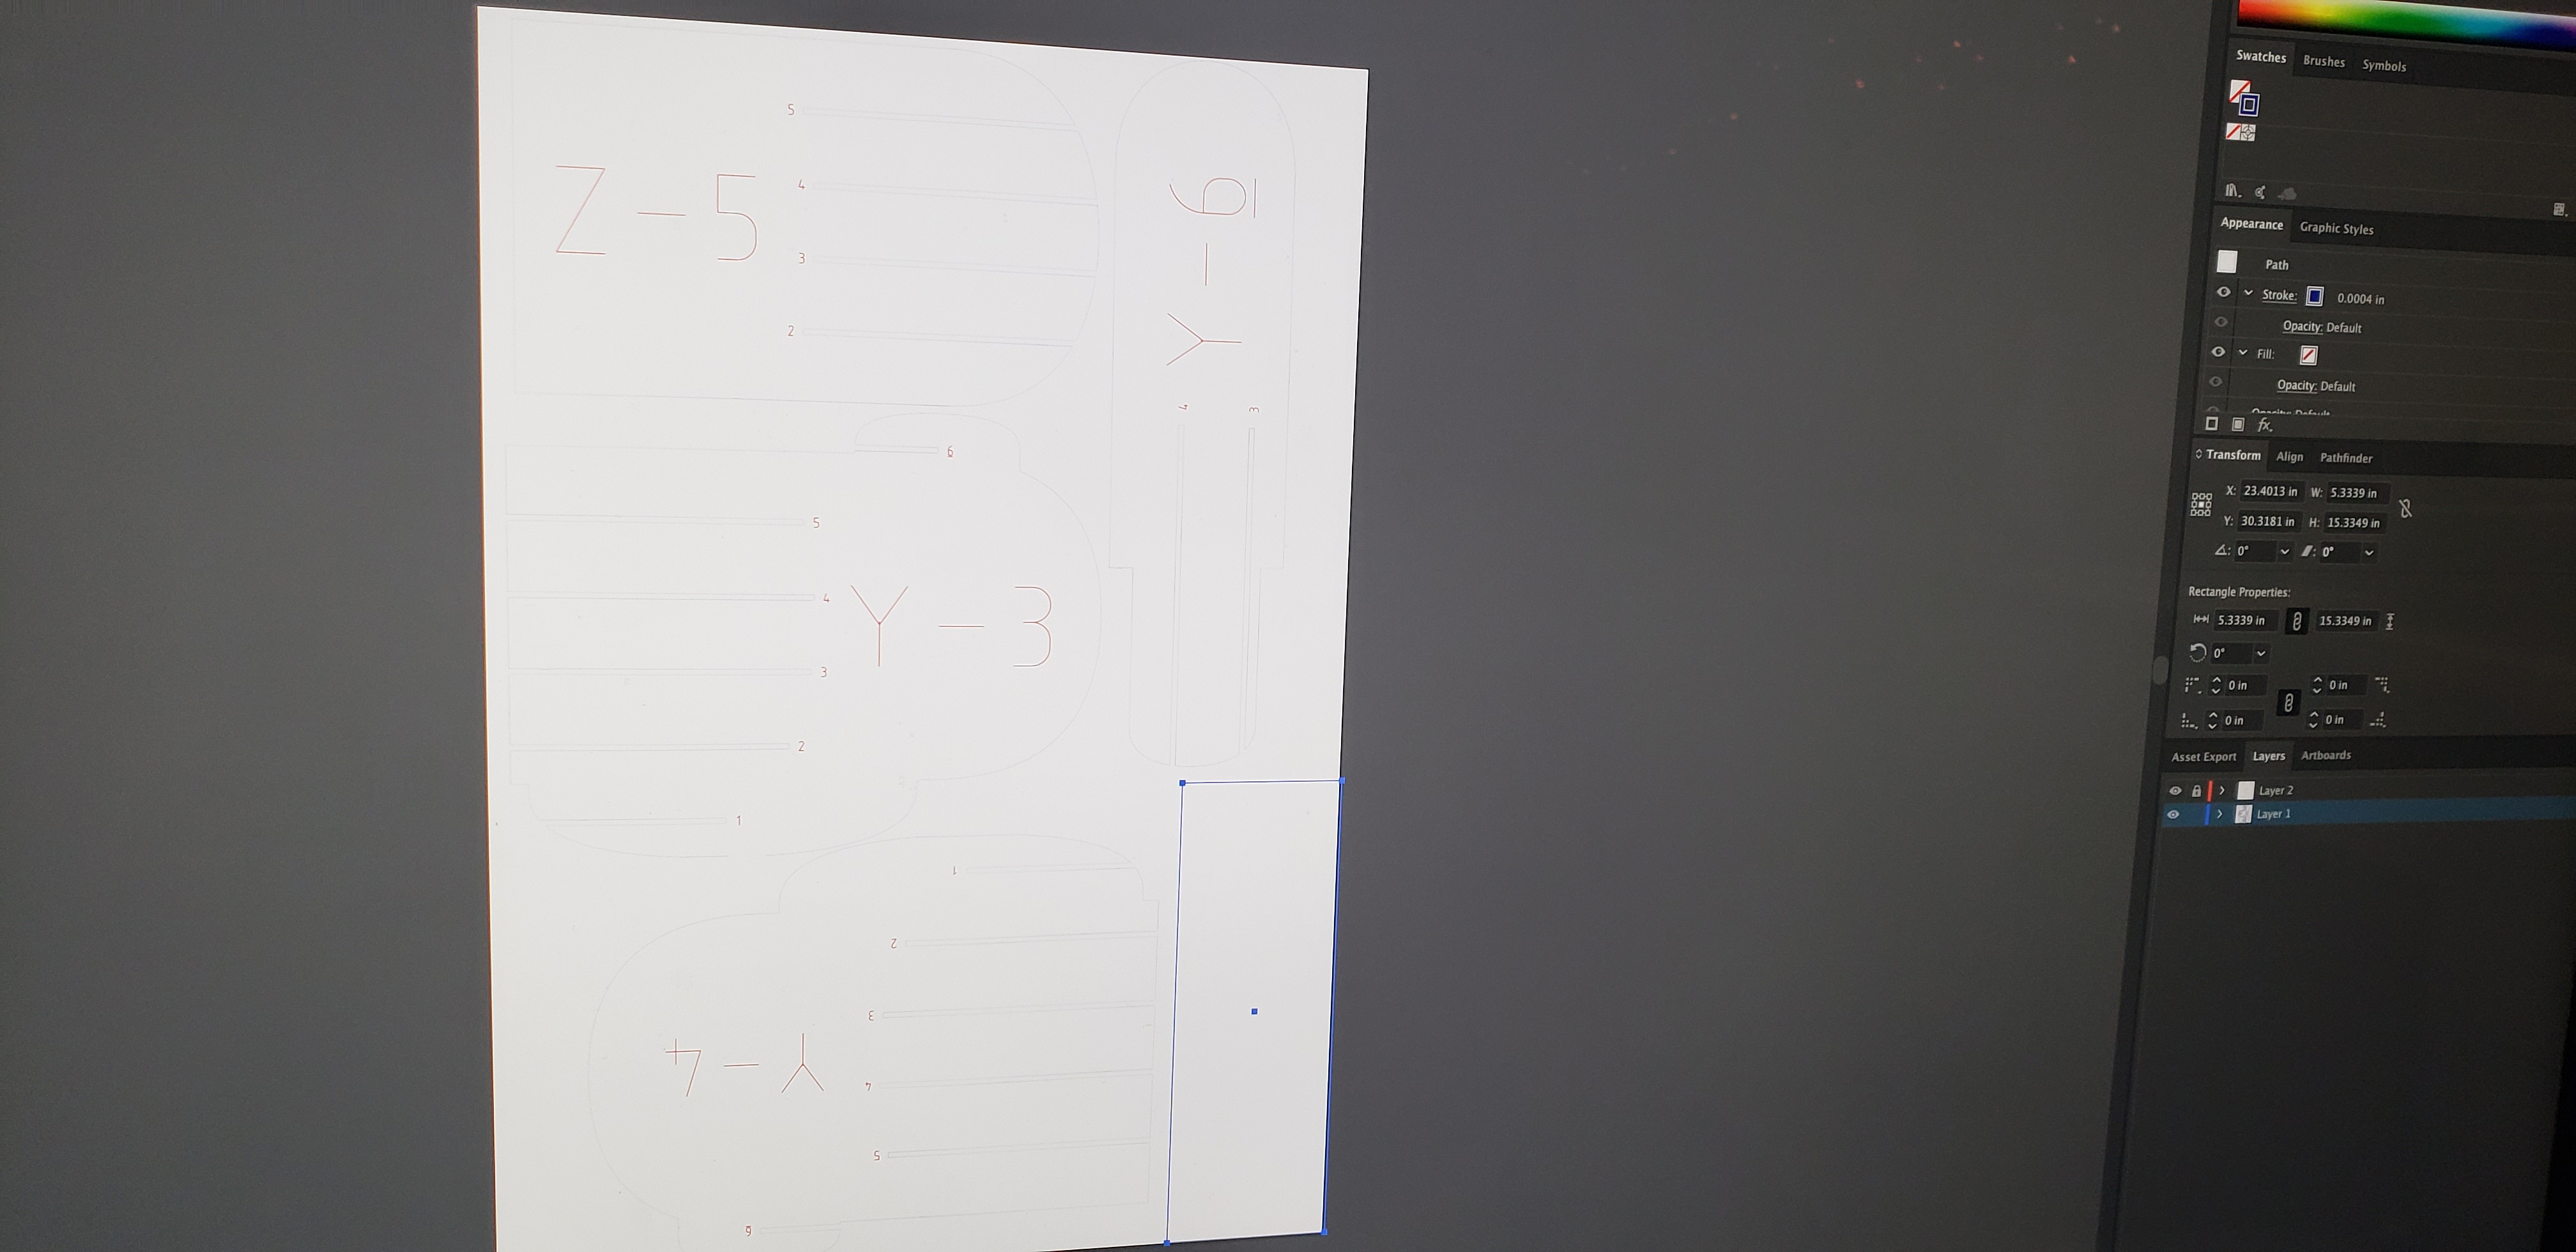
 The next thing I did was create a new project in Adobe Illustrator the same size of the material to put all of my pieces on.
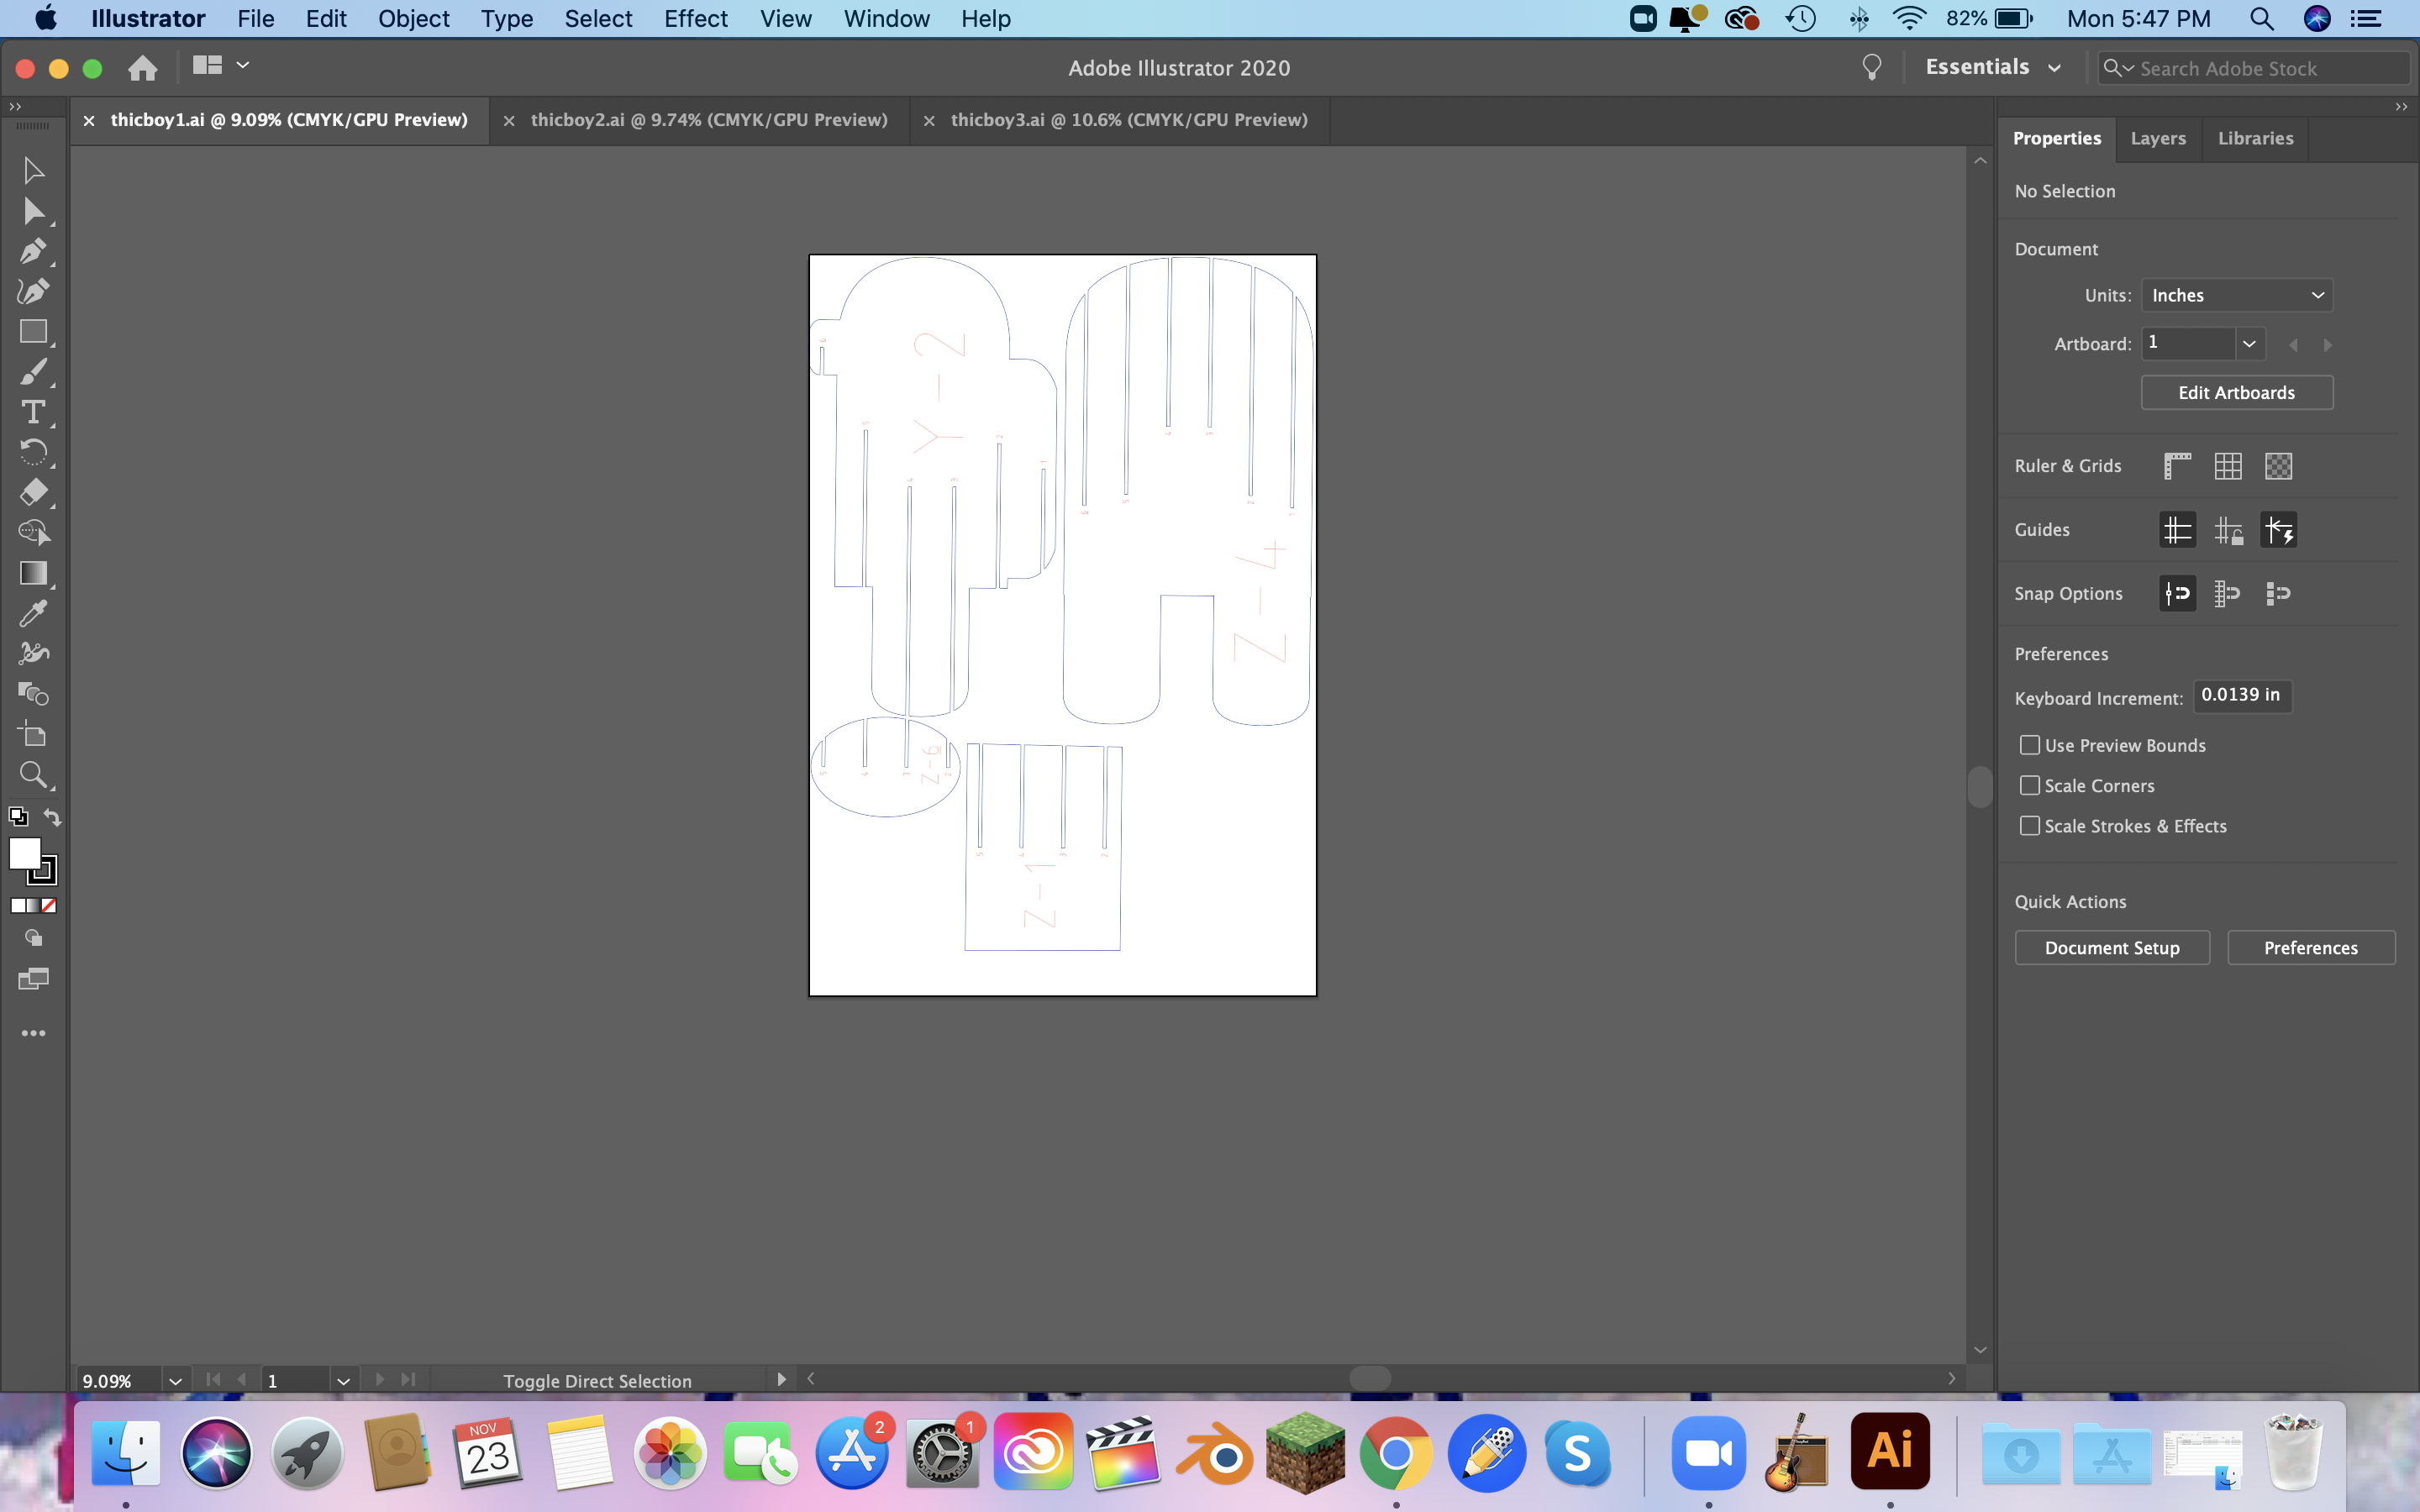
 I draged them in and it eneded up need 3 sheets of cardboard.
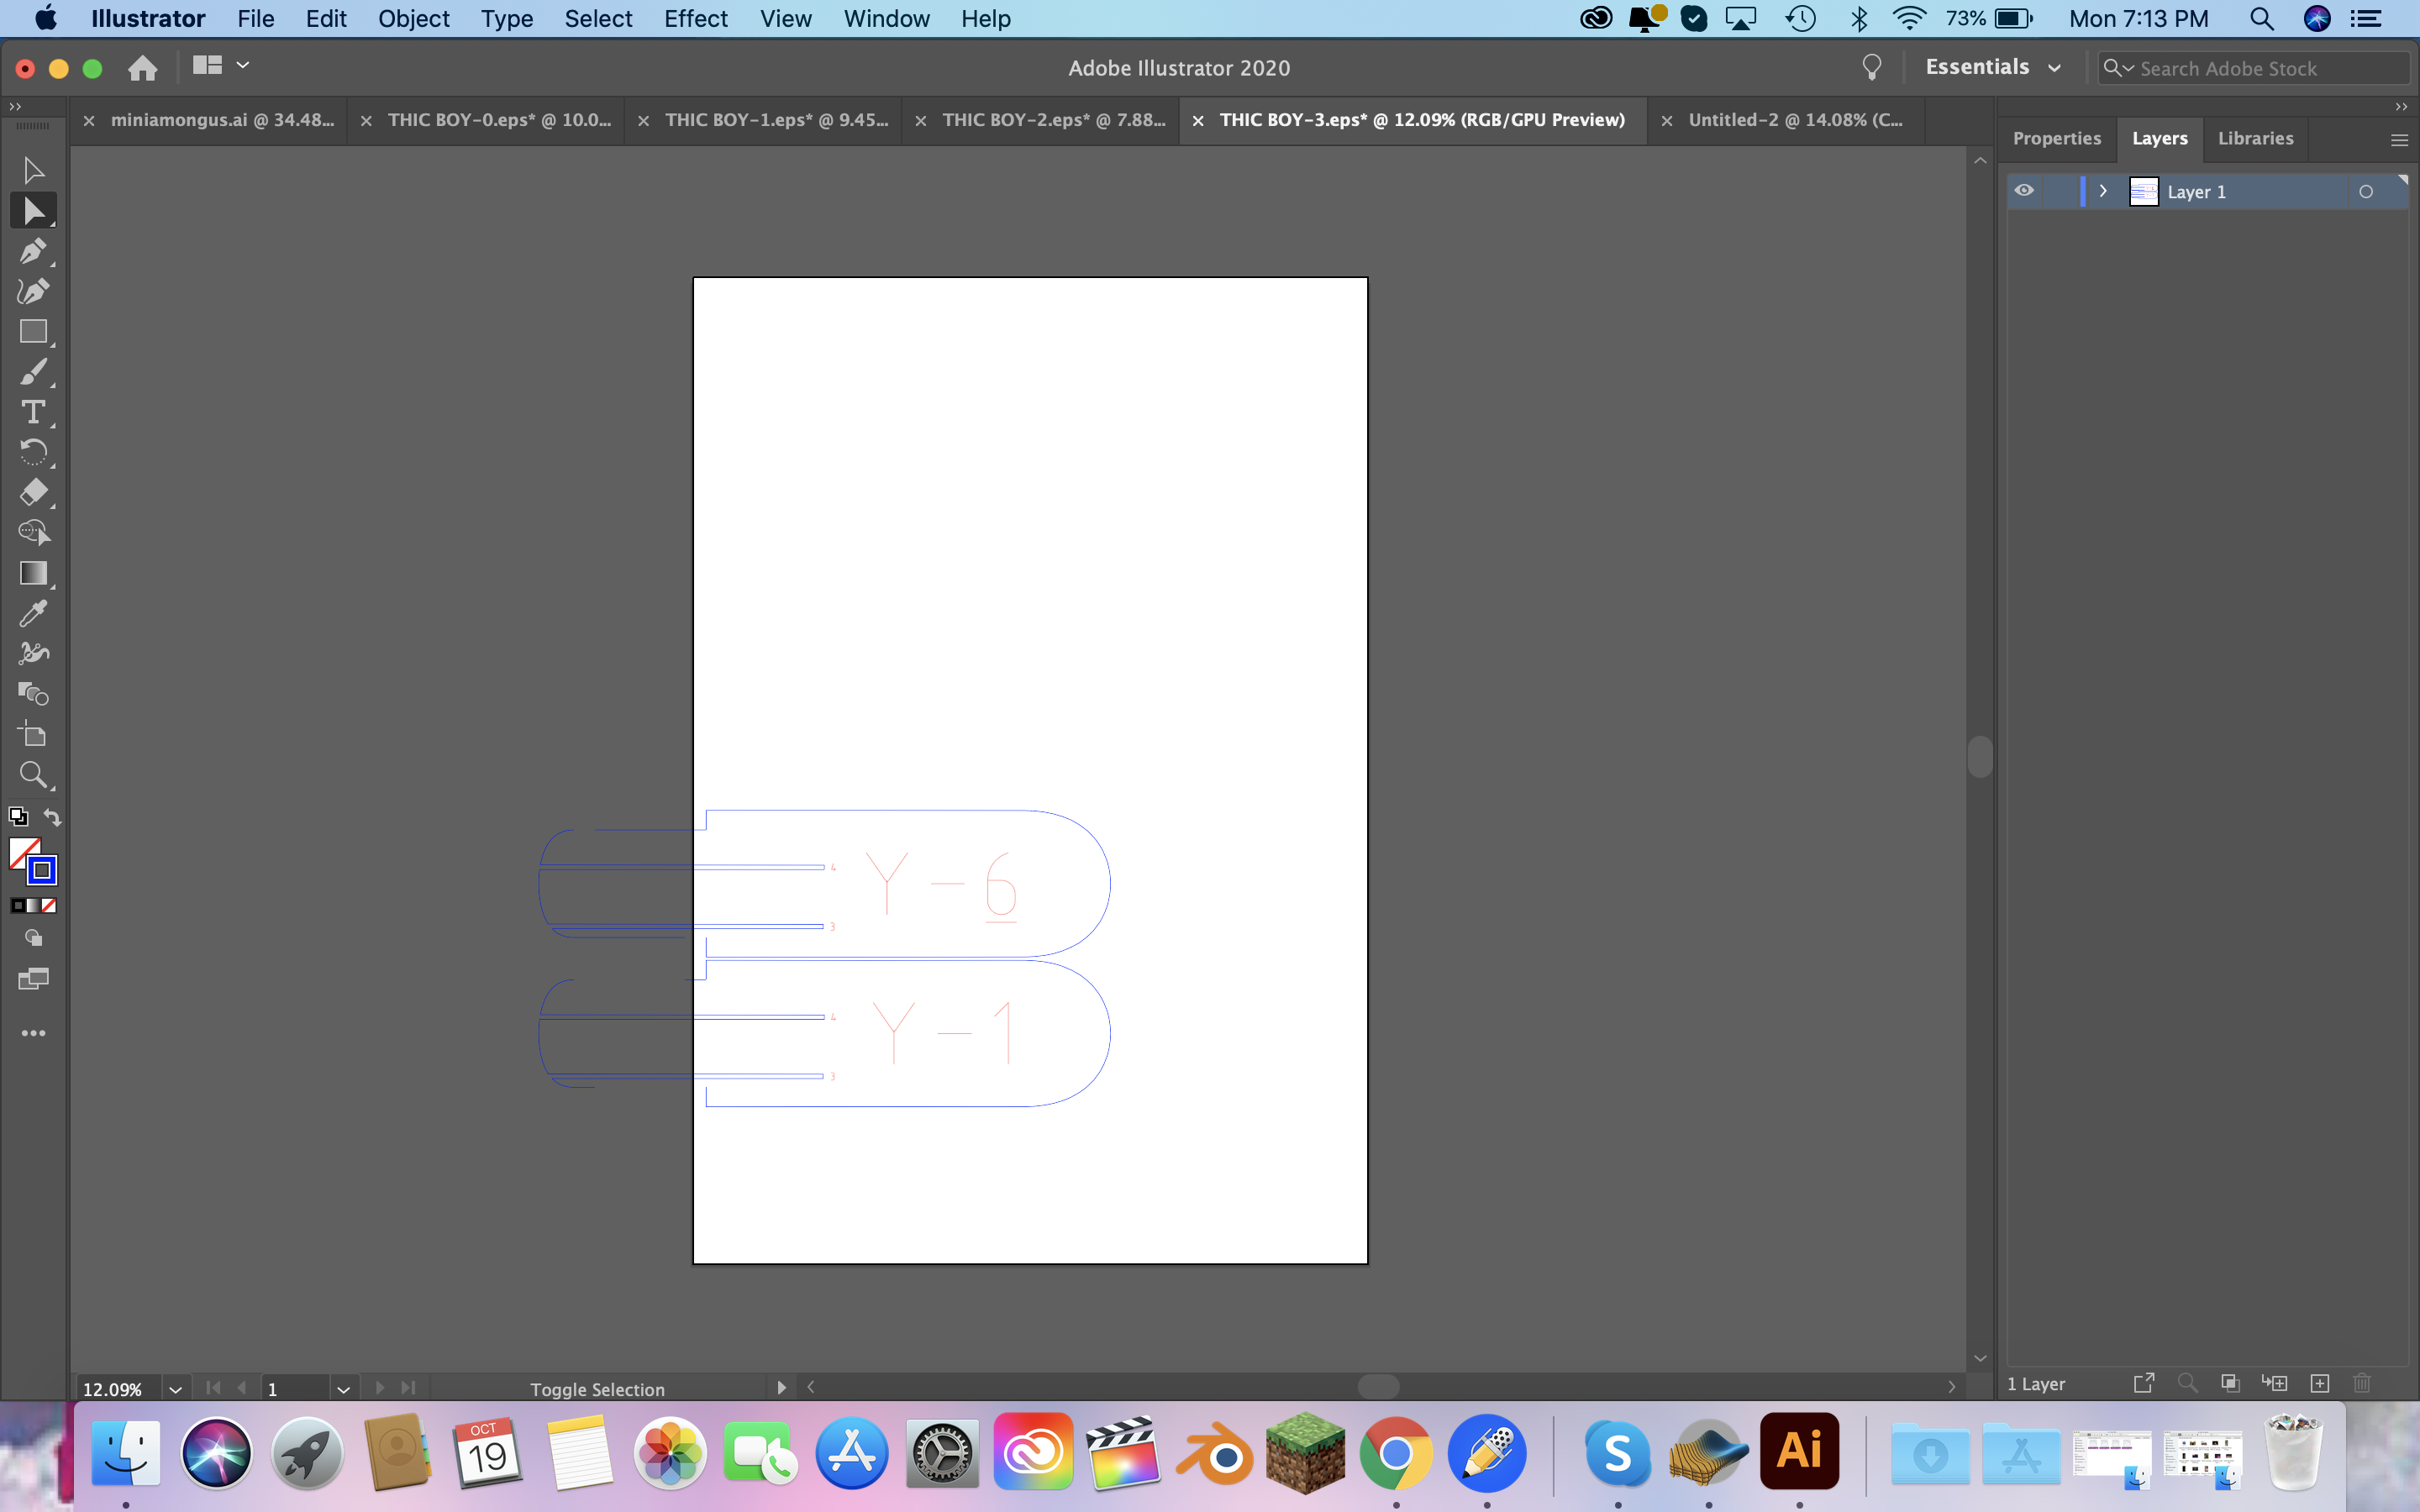 I did the same thing that I did for the Mini version which was squeeze everything together to hopefully not waste material. Then selected each one and seperated the text to the outlines so I can laser cut and engrave them.

 Then I brought it to the laser cutter and set my vector speed to the new setting for the new laser and cut them out.
 Then I remembered I need to add lines to cut the material that is empty so I did that now.
 I had some trouble with the second sheet so it took a few attempts. It was cutting off some of the guy so I just kept trying until it worked.
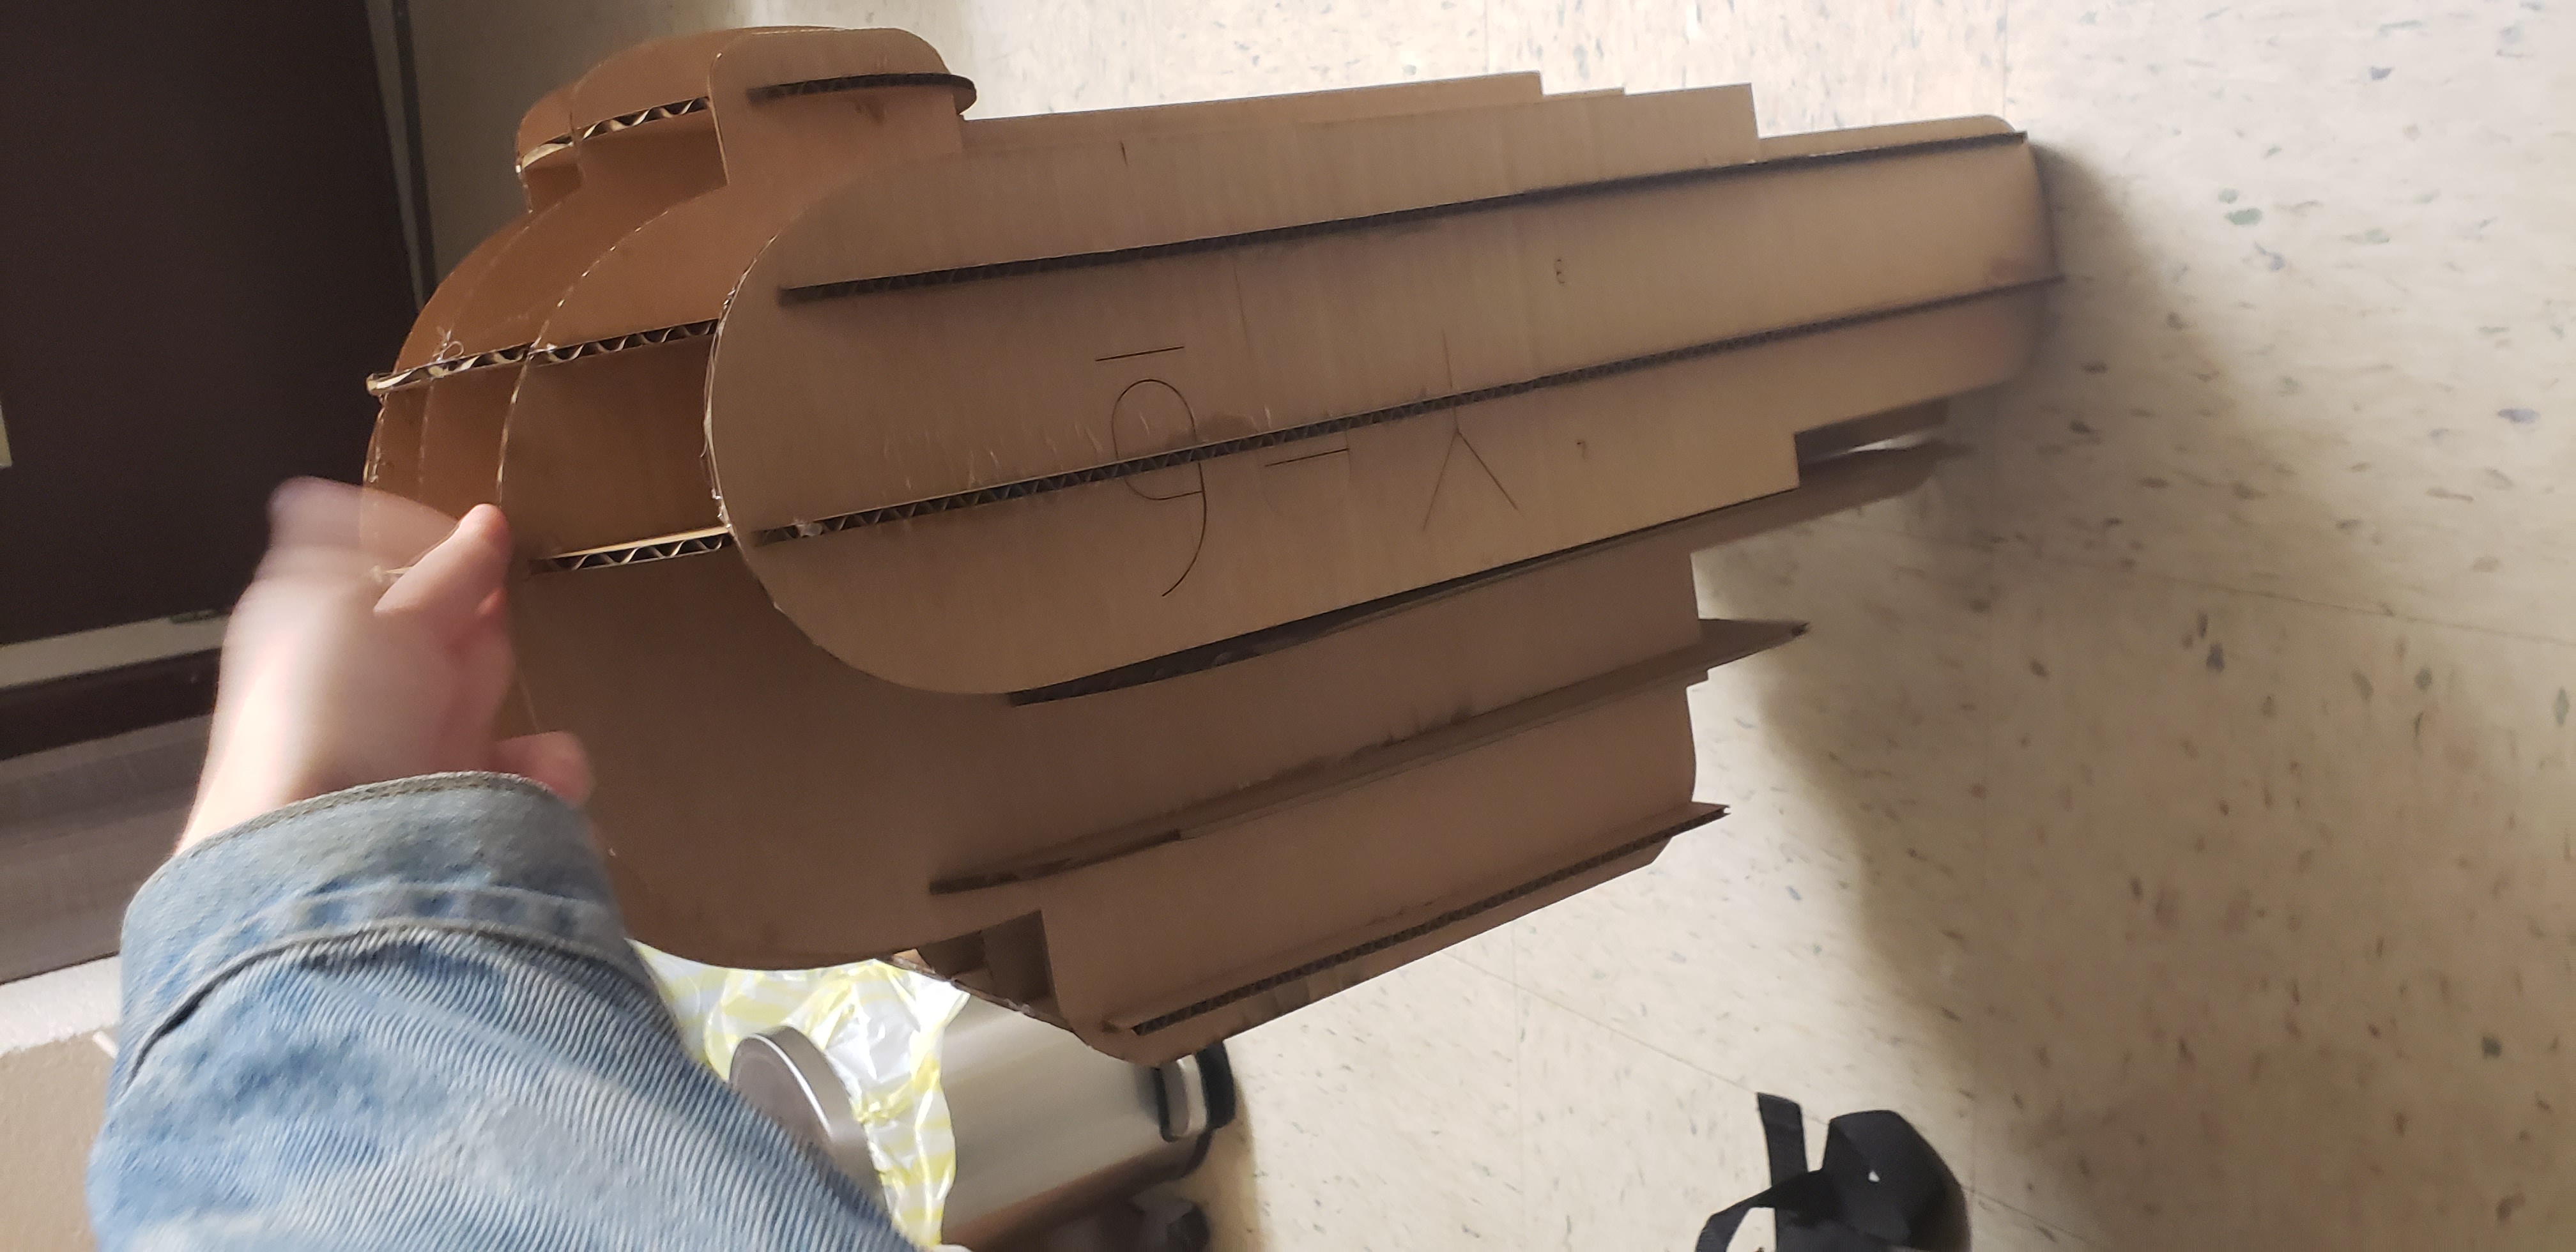
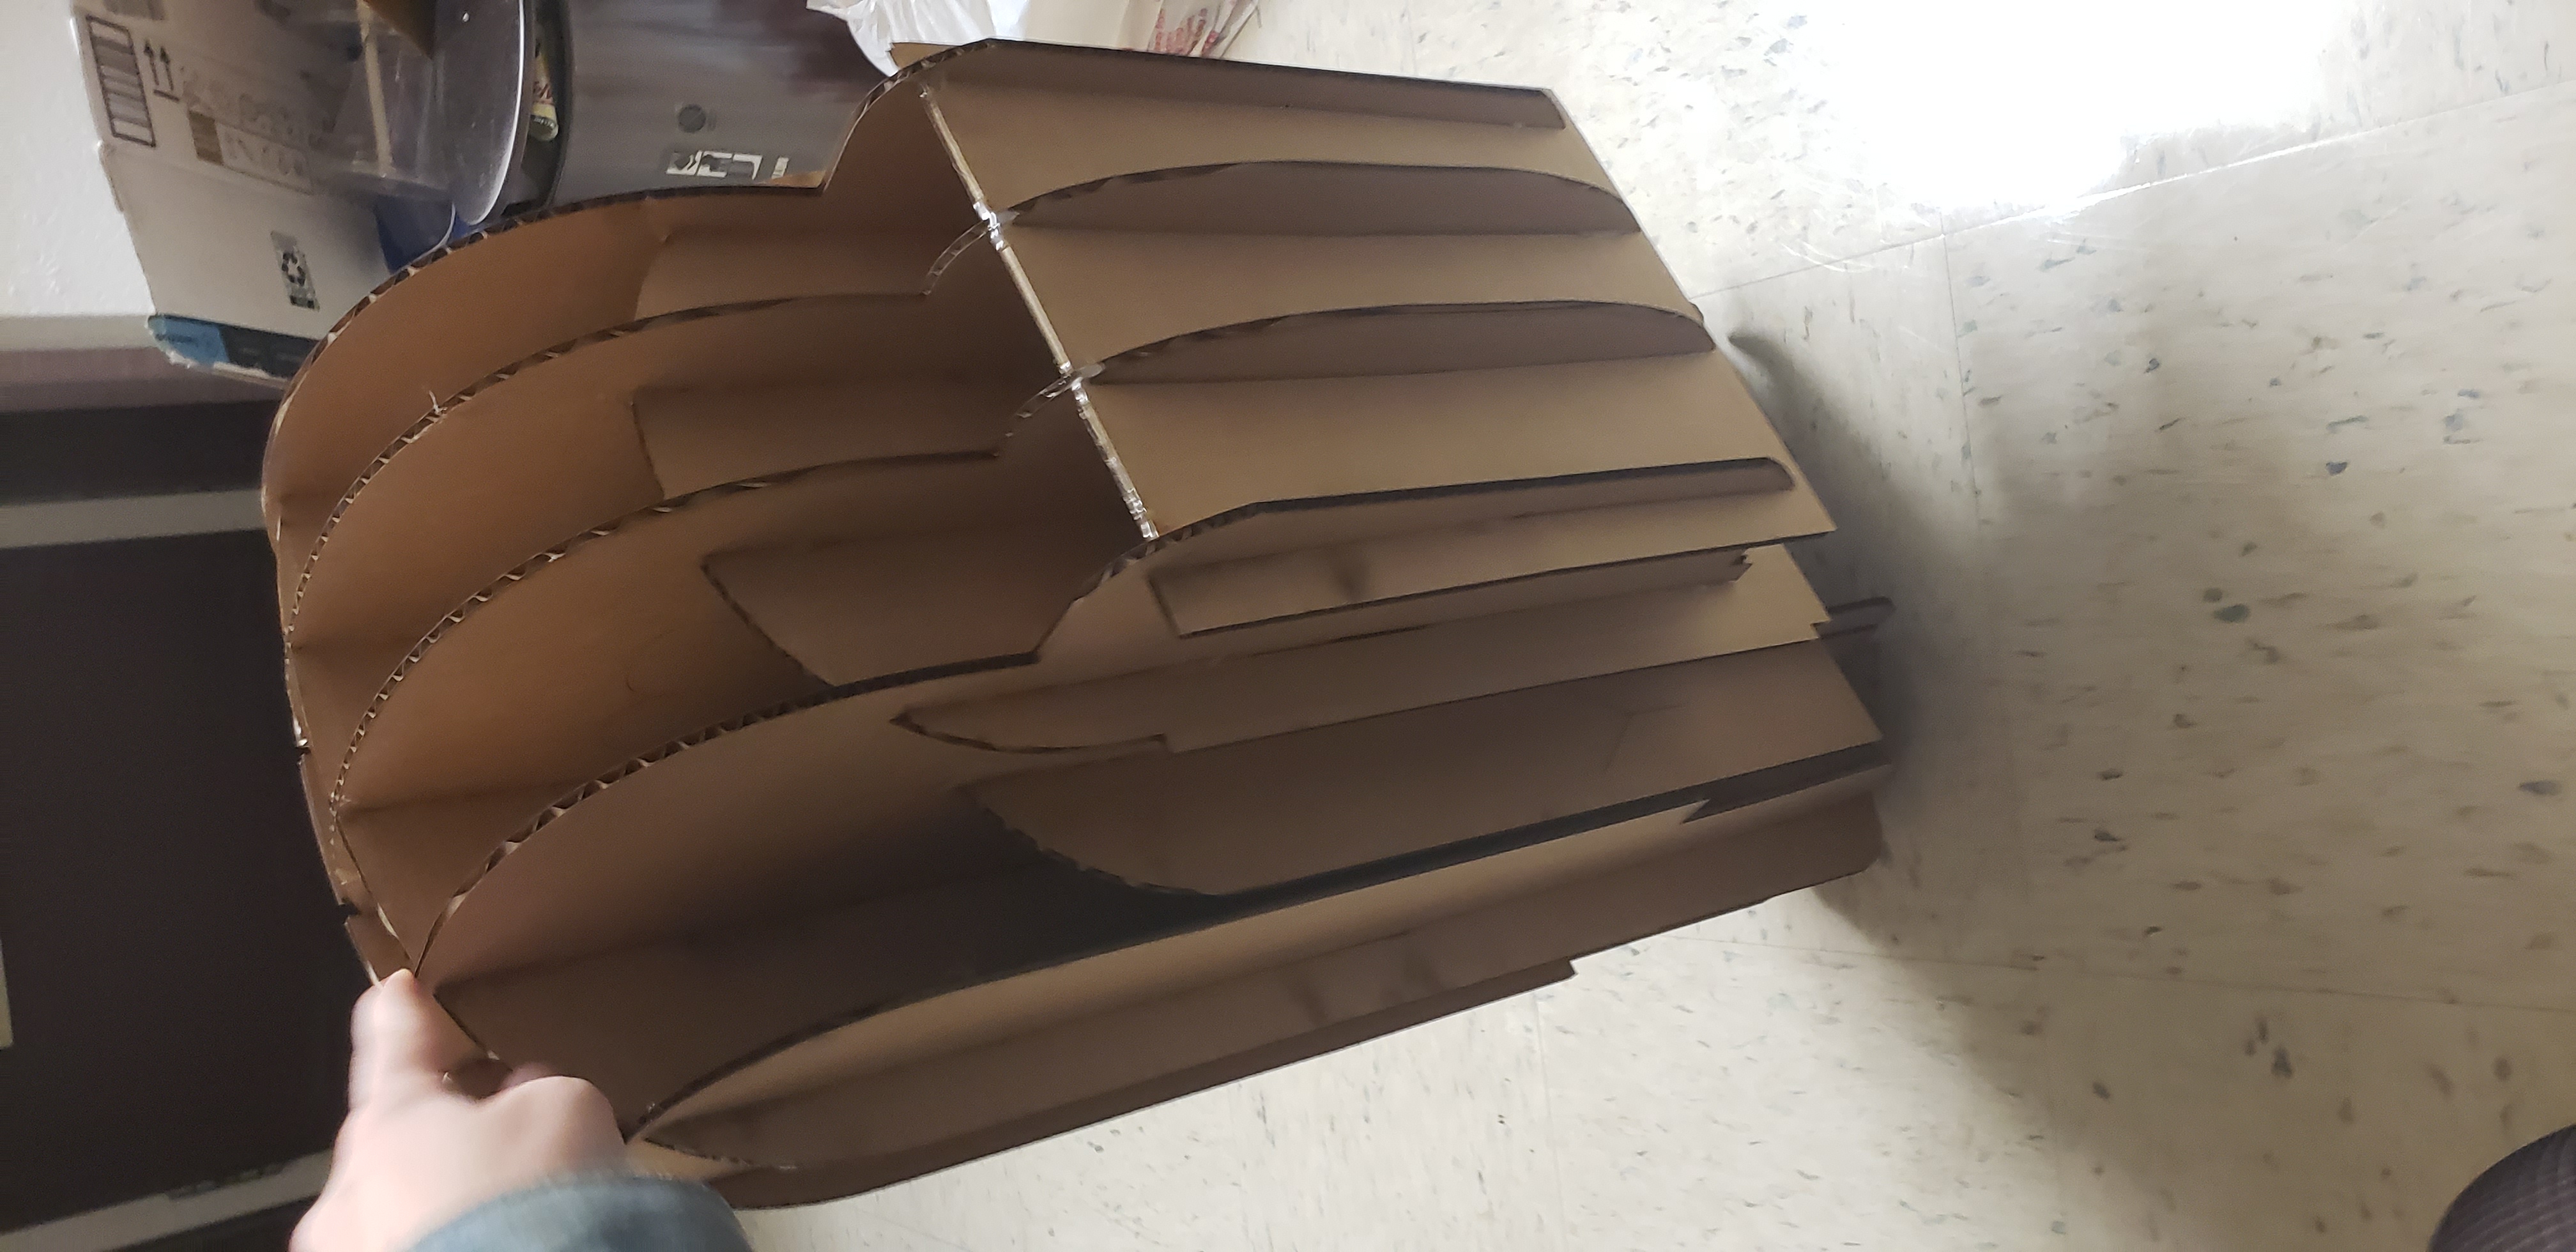
 Then I had all the pieces, and started putting them all together. I ended up using a lot of hot glue and took me a WHILE to compelte them. Even with the instructions I still had a hard time... I dont think I am all that good at puzzles.


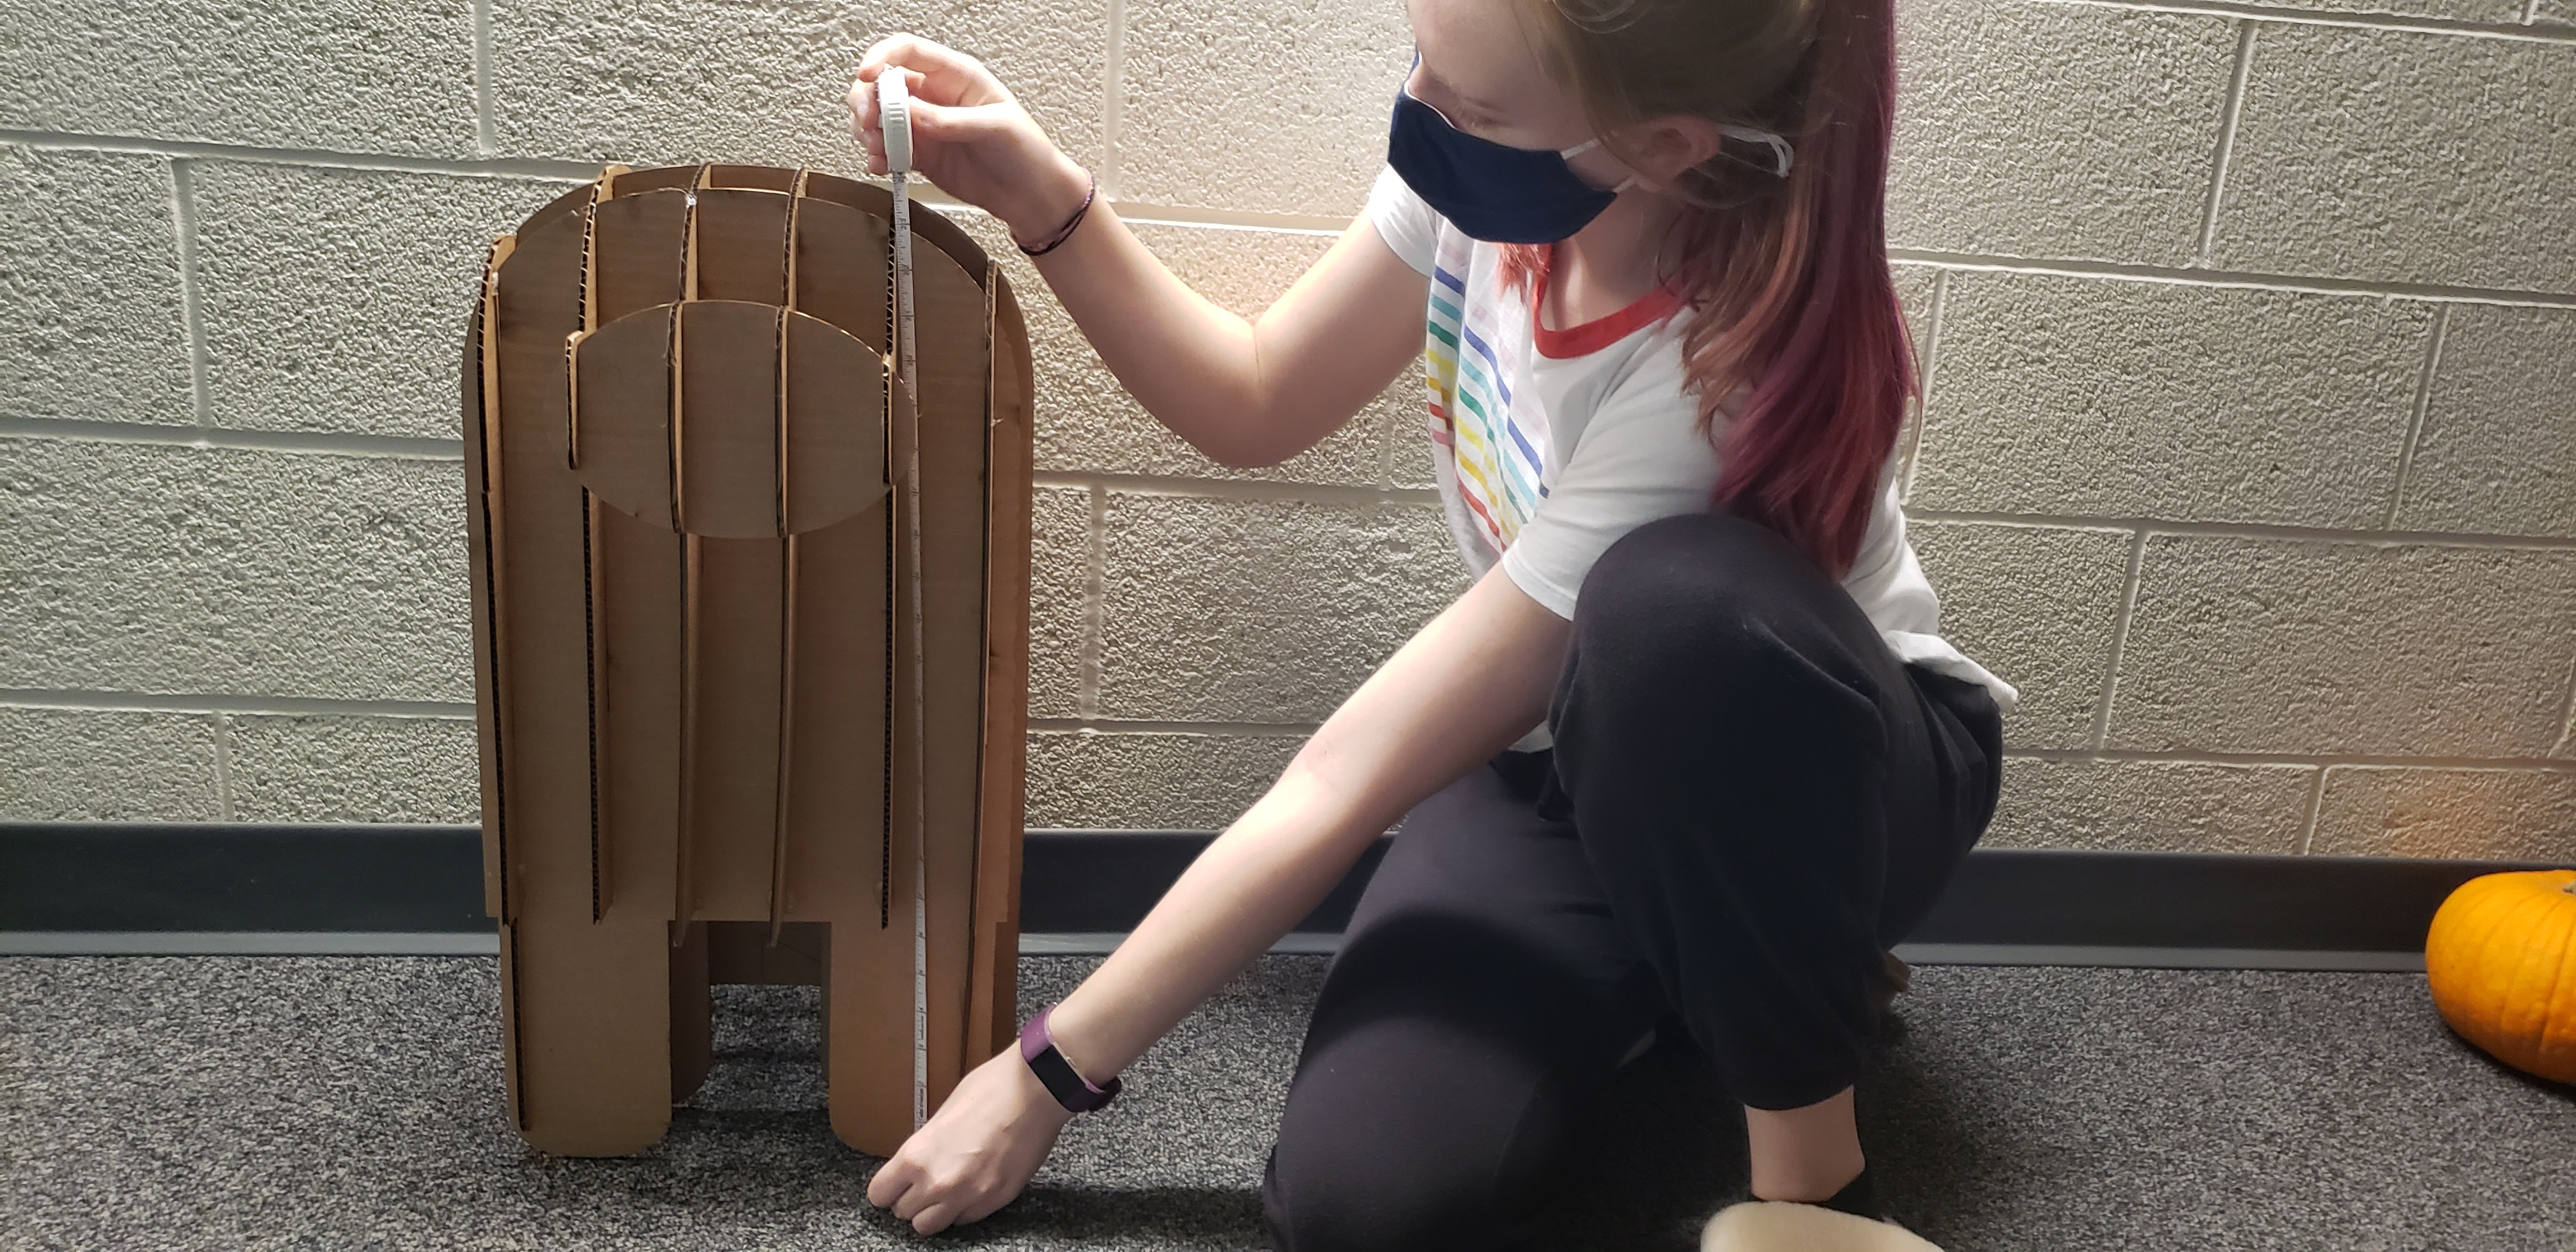
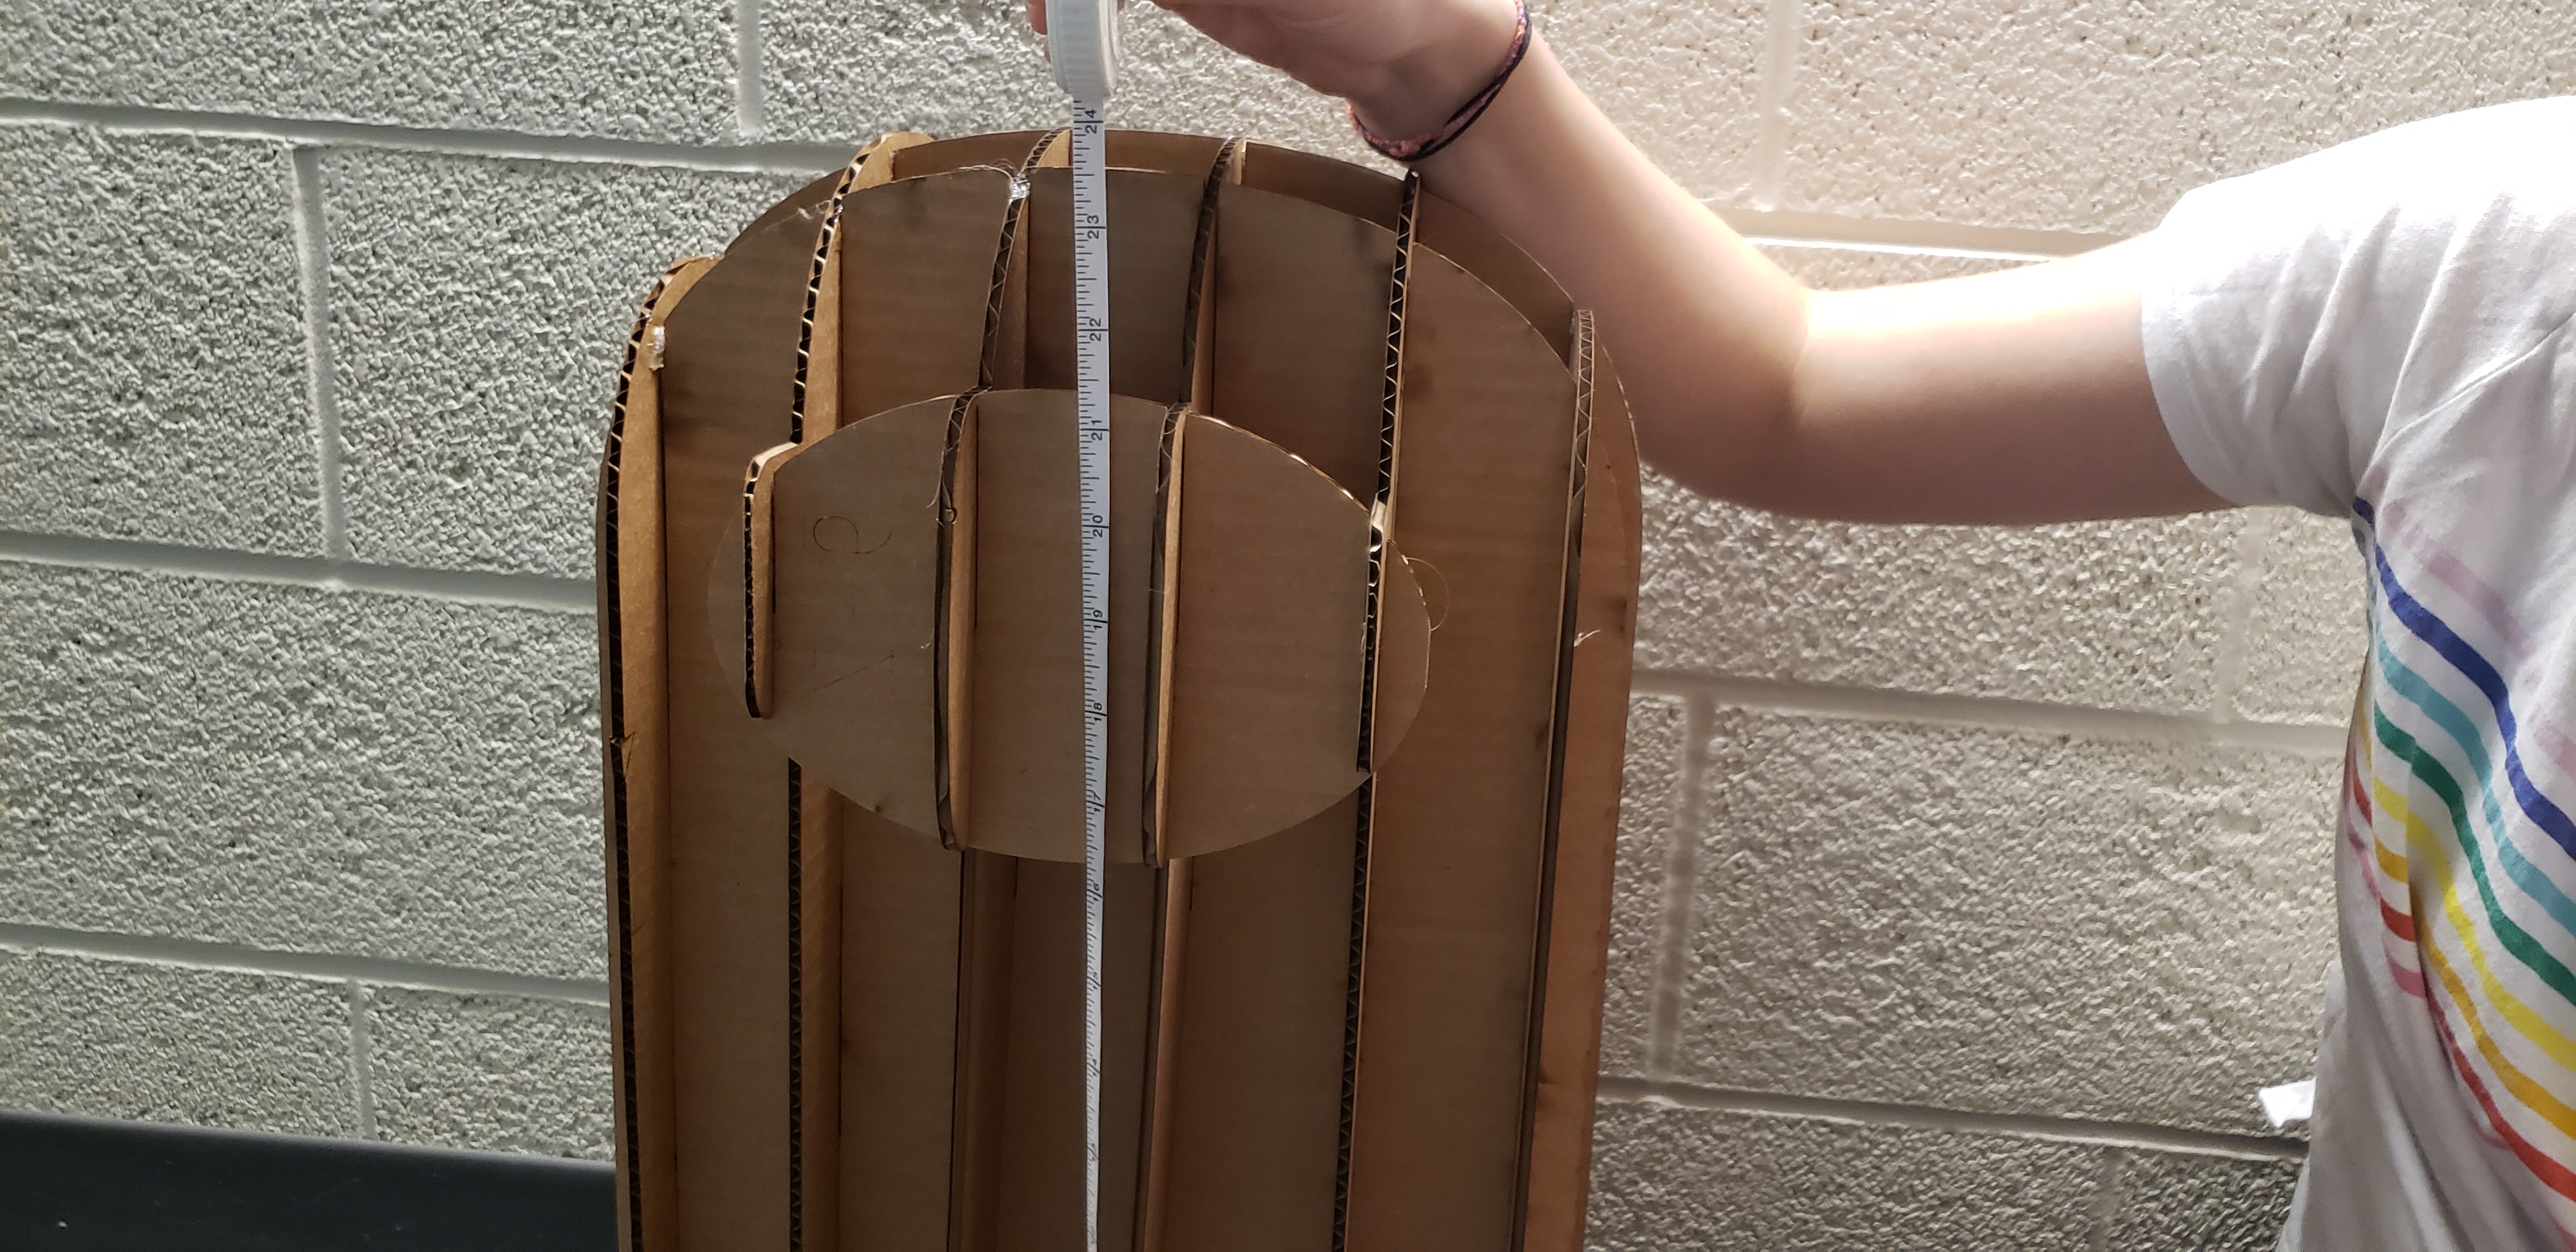
 This is the final product and it is infact 24 inches tall. As shown below my attempt of messuring him.
 Now he lives in my room just sitting in the corner, and once I showed my friends him, they all wanted one.
Files for this week
Now he lives in my room just sitting in the corner, and once I showed my friends him, they all wanted one.
Files for this week
The next thing I did was create a new project in Adobe Illustrator the same size of the material to put all of my pieces on.
I draged them in and it eneded up need 3 sheets of cardboard.
I did the same thing that I did for the Mini version which was squeeze everything together to hopefully not waste material. Then selected each one and seperated the text to the outlines so I can laser cut and engrave them.
Then I brought it to the laser cutter and set my vector speed to the new setting for the new laser and cut them out.
Then I remembered I need to add lines to cut the material that is empty so I did that now.
I had some trouble with the second sheet so it took a few attempts. It was cutting off some of the guy so I just kept trying until it worked.
Then I had all the pieces, and started putting them all together. I ended up using a lot of hot glue and took me a WHILE to compelte them. Even with the instructions I still had a hard time... I dont think I am all that good at puzzles.
This is the final product and it is infact 24 inches tall. As shown below my attempt of messuring him.
Now he lives in my room just sitting in the corner, and once I showed my friends him, they all wanted one.
Files for this week